
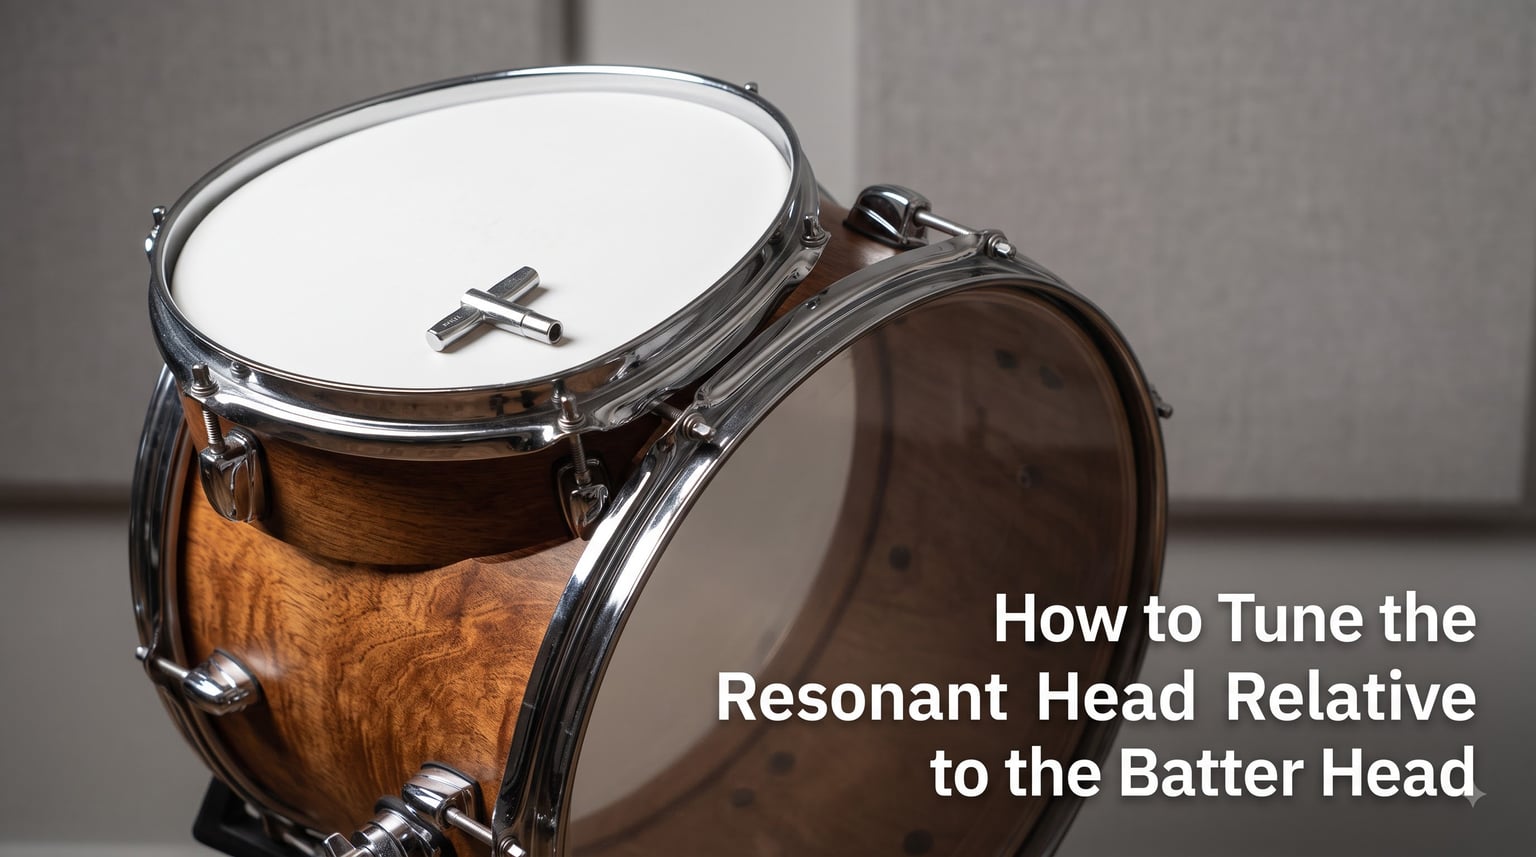
If you have ever cranked the tension rods on a drum kit hoping for a great sound and ended up with a cardboard box instead, the problem is usually not the batter head alone. It is the relationship between your batter head and your resonant head. Learning how to tune the resonant head relative to the batter head is the single biggest leap most drummers can make toward a kit that sounds like music instead of noise.
I have been tuning drums on sessions and stages for over a decade, and I still treat every head change as a fresh experiment. In this guide I will walk you through what each head does, the three ways they can relate to each other, and a repeatable method to dial in the sound you actually want.
Table of Contents
What Are the Batter Head and Resonant Head?
The batter head is the drumhead you strike with a stick, mallet, or brush. It sits on top of the shell, takes the impact, and sets the fundamental pitch and attack character of the drum. Batter heads are usually built from one or two plies of Mylar film, and many are coated or textured to control brush response and overtones.
The resonant head, often called the reso head or bottom head, is the drumhead on the opposite side of the shell. You do not hit this head directly, but it vibrates in sympathy with the batter head every time the drum is struck. It is usually thinner than the batter head, often a single ply of 7 to 10 mil film, and is almost always clear rather than coated.
The two heads are partners. The batter head initiates the vibration, and the resonant head reflects that energy back into the shell and out through the air. Together they decide the drum’s pitch, sustain, sensitivity, and overtone behavior. When people ask how to tune the resonant head relative to the batter head, they are really asking how to balance the two halves of one vibrating system.
Quick Reference: Head Roles
- Batter head: top, struck, sets fundamental pitch and attack.
- Resonant head: bottom, not struck, controls sustain and overtone response.
- Together: they form a coupled vibration that defines the drum’s voice.
Why the Relationship Between Your Heads Matters
Tension between the two heads is not just about tightness. It is about the conversation between two vibrating surfaces. When you change one, you change the other, even if you never touch the tension rods on the second head.
Our team has tested this on everything from 8-inch rack toms to 18-inch floor toms, and the pattern is consistent. The resonant head controls how long the drum sings, how loud the overtones are, and how the drum reacts to ghost notes and buzz strokes. On a snare drum, the reso head tension changes snare sensitivity, articulation, and how crisp the wires sound.
Think of the batter head as the drummer’s voice and the resonant head as the room it sings in. A bright, tight room makes the voice sound sharper and drier. A loose, soft room makes the voice sound warmer and longer. Same singer, totally different experience. That is the core of how to tune the resonant head relative to the batter head in practice.
What Changes When You Adjust the Reso Head
- Higher reso head: drier tone, shorter sustain, more attack, increased sensitivity on snares.
- Lower reso head: fatter tone, longer sustain, warmer pitch bend, more overtones.
- Equal tension: maximum sustain, fullest resonance, most open and resonant character.
The Three Tuning Configurations Explained
There are really only three ways to set the relationship between your heads, and each one produces a clearly different sound. I run through all three on every kit I set up so I can hear the personality each drum has before I commit to a tuning.
1. Resonant Head Tuned Higher Than the Batter Head
This is the most common configuration on modern drum kits, and it is the starting point I recommend for snare drums and toms. When the resonant head sits at a higher lug frequency than the batter head, the batter head can vibrate more freely because it is the less restricted of the two.
The result is a drier, more focused tone with shorter sustain and quicker decay. On a snare, this gives you more sensitivity, a snappier response, and tighter articulation. On toms, it gives you punchy attack with controlled overtones, which is exactly what most rock, pop, and studio work demands.
The classic guideline is to tune the reso head a perfect fifth above the batter head, which works out to roughly 1.5 times the batter lug frequency. A major third or perfect fourth above also works well and is what many drummers prefer for a slightly fatter sound.
2. Resonant Head Tuned Lower Than the Batter Head
When you drop the resonant head below the batter head, the drum gets fatter, darker, and more tubby. Sustain gets longer, overtones get louder, and the drum seems to bloom more when you hit it. This is a vintage sound, and you will hear it on classic rock and jazz recordings from the 1960s and 1970s.
For toms, a lower reso head can sound huge and atmospheric, which is wonderful for cinematic music, ballads, and any genre where you want the drum to ring. For snare drums, it can give you a thicker, fatter crack with more body, though it can also feel less responsive at lower volumes.
The trade-off is that the drum becomes harder to tune evenly and is more prone to unwanted overtones. It is also less headroom-friendly, meaning loud playing can cause the batter head to choke against the looser reso head.
3. Both Heads Tuned to the Same Pitch
Tuning both heads to the same lug frequency gives you the maximum resonance the drum is capable of producing. Sustain is at its longest, the tone is the most open and full, and every ghost note and buzz stroke comes through.
Equal tension is hard to achieve on most drums because of bearing edge variations and minor shell inconsistencies. Even a tiny mismatch between the heads makes the whole drum sound uneven. When it does work, however, the result is a beautifully resonant, sustained sound that is perfect for jazz, fusion, and any setting where you want the drum to breathe.
For deeper drums, where the depth equals or exceeds the diameter, equal tension tends to work well. For shallow drums, equal tension often produces a flat, lifeless sound because there is not enough air volume to support the longer sustain.
Tuning Configurations at a Glance
| Configuration | Sound Character | Best For |
|---|---|---|
| Reso higher than batter | Drier, focused, shorter sustain | Rock, pop, studio, snare |
| Reso lower than batter | Fatter, warmer, longer sustain | Vintage rock, ballads, big toms |
| Both heads equal pitch | Maximum resonance, open tone | Jazz, fusion, deep drums |
Understanding Frequency Ratios and Intervals
If you own a tune-bot or any drum tuning gauge, you will see numbers like 132 Hz, 198 Hz, or 264 Hz. These are the lug frequencies, meaning the resonant frequency each individual tension rod produces when you tap the head near that rod. The relationship between the batter and reso lug frequencies is what shapes your drum’s voice.
For the resonant head a perfect fifth above the batter, multiply the batter lug frequency by 1.5. If your batter head reads 200 Hz, the reso head should land near 300 Hz. A major third is about 1.26 times the batter, and a perfect fourth is about 1.33 times. These ratios are not magic numbers, but they give you a reliable starting range.
On toms in a kit, you will usually hear drummers tune each drum up to the next, either by a perfect fourth or a perfect fifth. That keeps the kit musically related, even if the batter head and reso head on each drum have their own internal relationship.
How to Seat a Drum Head Before Tuning
Most beginners skip seating the head, and that is the single biggest reason new drum heads sound uneven. Seating means pressing the head firmly against the bearing edge so it sits flat and even before you start adjusting tension.
To seat a head, press straight down on the center of the head with the heel of your hand while the head is under moderate tension. You will usually feel the head shift slightly and hear a small creak as it settles onto the bearing edge. Do this a few times, then tune in your normal pattern, and repeat the seating step at higher tension. This simple habit eliminates most of the unevenness that plagues first-time tuners.
Step-by-Step Method to Tune the Resonant Head Relative to the Batter Head
Here is the exact procedure I use on every drum. It assumes you have already installed both heads, replaced the batter head, or are doing a full re-tune.
Step 1: Tune the Batter Head First
Always start with the batter head. Mount it on the drum, finger-tighten all tension rods, then seat the head by pressing on the center with your palm while the tension is moderate. Tune the batter head using a star or cross pattern, working opposite rods in equal half-turns until you reach your target pitch.
Step 2: Tap Test Around Each Lug
Tap about one inch in from each tension rod and listen. The pitch should match at every rod. If one rod sounds sharper, back it off a quarter turn. If it sounds flat, tighten a quarter turn. Repeat the star pattern until the batter head is even.
Step 3: Decide the Relationship You Want
Pick one of the three configurations based on the genre and sound you need. For most modern kits, I start with the reso head a perfect fifth above the batter. For jazz, I go equal tension. For vintage or fat sounds, I drop the reso head a major third or fourth below the batter.
Step 4: Tune the Resonant Head in the Same Star Pattern
Mount the reso head, seat it the same way, and tune it with the cross pattern. Use your drum tuner to read each rod, or tap-test if you do not have one. Aim for the lug frequency you calculated in Step 3, and check every rod for even tension.
Step 5: Fine-Tune by Ear
Hit the batter head and listen to the decay. If sustain is too long, raise the reso head slightly. If the drum sounds choked or dead, lower the reso head. Trust your ear over the numbers. The drum should sound musical at a whisper and at full volume.
Genre-Specific Tuning Recommendations
Different styles of music call for different head relationships. Here is what I reach for on most sessions, and what you will hear on classic records if you listen for it.
Jazz and Fusion
Equal tension on deep toms produces that warm, open, sustained sound you hear on classic Blue Note and ECM records. Snare reso heads tend to sit a major third to a perfect fifth above the batter for a sensitive, articulate crack with plenty of body.
Rock and Pop
Reso heads tuned a perfect fourth to a perfect fifth above the batter is the workhorse setting for modern rock and pop. It gives you the punchy attack and controlled overtones that sit well in a mix. Bonham-style rock toms often use slightly looser batter heads with reso heads sitting higher for that massive, focused thump.
Studio and Recording
In the studio, even tension matters more than the specific relationship. I tune both heads evenly, choose the relationship that flatters the song, and always re-check before a final take. The repeatability problem that forum drummers complain about is solved by writing down your settings in Hz.
Live Performance
For live work, lean toward drier settings with reso heads higher than the batter. Less sustain means less bleed into other mics, fewer feedback problems, and a tighter stage sound. Save the long-sustaining tunings for songs that benefit from them.
Common Mistakes and How to Avoid Them
After tuning hundreds of kits and watching drummers struggle, I see the same handful of mistakes over and over. Avoiding these will put you ahead of most players.
Skipping the Seating Step
Without seating, your head will never sit evenly on the bearing edge. Always press on the center and let the head settle before fine-tuning. This is the difference between a drum that sounds pretty good and one that sounds truly dialed.
Tuning in the Wrong Order
Always tune the batter head first and finish it completely before you touch the reso head. If you tune both heads at once, you will chase your tail because changing one changes the other.
Over-Tightening the Reso Head
A reso head that is cranked too tight chokes the drum, kills sustain, and can crack the head. Most reso heads should sit well below their maximum tension. If the drum sounds dead, the answer is almost always less tension, not more.
Ignoring Quarter-Turn Differences
Small tension changes make a big difference in sound. The difference between a drum that is in tune and one that is almost in tune is often a single quarter-turn on one rod. Take your time and trust your ears.
Frequently Asked Questions
Should the resonant head be higher than the batter head?
In most modern setups, yes. Tuning the resonant head higher than the batter head produces a drier, more focused tone with shorter sustain and increased sensitivity. It is the most common configuration for rock, pop, and studio drums. For jazz and vintage sounds, equal tension or a lower reso head is also a valid choice.
Can you use a resonant head as a batter head?
You can, but the sound will be different. Resonant heads are thinner and built for sympathetic vibration, not for stick impact. Using one as a batter head gives you a darker, more sensitive feel with less durability. For most playing situations, a proper batter head will outlast and out-perform a reso head on top.
How should I tune my reso head?
Tune the reso head after you finish the batter head, using the same cross-lug pattern. For most drums, start with the reso head a perfect fifth (1.5x) above the batter lug frequency. Adjust by ear from there: raise the reso for drier sound, lower it for fatter sustain.
What is the 80 20 rule in drumming?
The 80 20 rule in drumming refers to the idea that 80 percent of your sound comes from 20 percent of your effort, usually head selection, tuning, and shell choice. Small investments in proper tuning and quality heads deliver most of the improvement you will hear, while more expensive gear adds only marginal gains.
Final Thoughts on Tuning Your Drum Heads
Learning how to tune the resonant head relative to the batter head is less about memorizing numbers and more about training your ear to recognize the relationship between the two heads. Start with the batter head, pick one of the three configurations, and use a cross-lug pattern to bring the reso head into balance. Seat the head, take your time, and trust the quarter-turn increments.
I encourage you to spend an afternoon tuning the same drum three different ways and recording each result. Once you hear the differences side by side, the concept clicks for life. After that, every drum you tune becomes a deliberate choice rather than a guessing game.