
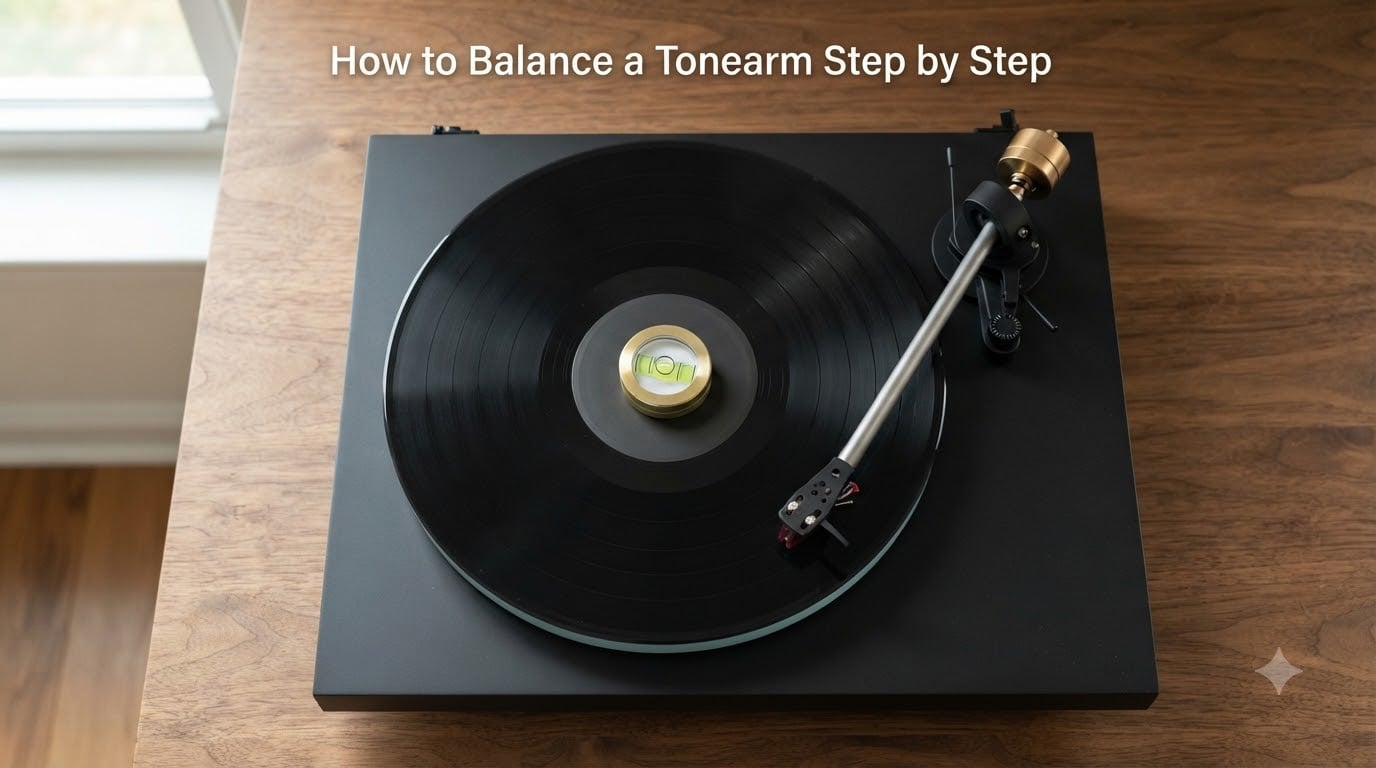
Learning how to balance a tonearm is the single most important adjustment you can make to your turntable. A properly balanced arm protects your records, extends stylus life, and delivers the cleanest sound your vinyl can produce.
I have balanced dozens of tonearms on everything from entry-level Audio-Technica LP60s to vintage Technics SL-1200s, and the process is the same every time. In this guide I will walk you through the exact steps our team uses, plus the troubleshooting tips that fix 90% of beginner issues.
Table of Contents
What Is Tonearm Balancing and Why It Matters
Tonearm balancing is the process of adjusting the counterweight at the back of your tonearm so the arm floats perfectly level. When balanced, the stylus rests in the groove with just enough pressure to track the music without digging in or skipping.
The counterweight offsets the mass of the headshell and cartridge at the front. If the balance is off, the stylus either presses too hard (causing record wear and distortion) or floats too lightly (causing mistracking and channel imbalance).
How does the stylus read the groove? The stylus tip rides inside the V-shaped groove walls. A moving magnet cartridge converts those tiny mechanical movements into an electrical signal. Too much downward force distorts that signal and gradually wears both the record and the stylus. Too little, and the stylus skips out of the groove on louder passages.
Tools and Setup You Need Before Starting
Before you touch the counterweight, gather these items and run through a quick pre-flight check. Skipping the prep is the most common reason beginners get inconsistent results.
You will need:
A small bubble level (a phone level app works in a pinch)
Your cartridge spec sheet, or the manufacturer’s recommended tracking force number
Optionally, a stylus force gauge for verification
A clean, static-free surface to work on
Level the turntable first. Place the bubble level on the platter and rotate it slowly. Adjust the turntable feet until the bubble stays centered in every position. A turntable that is even slightly tilted will pull the arm toward one side and make balancing unreliable.
Remove the stylus guard if your cartridge has one. Most guards sit over the cantilever and add weight the counterweight cannot account for. Leave the arm cued in its rest, then lift it out and set the guard aside in a safe spot.
How to Balance a Tonearm Step by Step
Follow these five steps in order. The whole process usually takes under five minutes once you have done it a few times.
Step 1: Set Anti-Skate to Zero
Turn the anti-skate dial to zero before doing anything else. Anti-skate pulls the arm toward the spindle, and you want it out of the equation while you find true balance. If the dial has numbers, rotate it fully counterclockwise until it stops.
Step 2: Find the Neutral Balance Point
With the counterweight numbers completely ignored for now, hold just the rear (black) portion of the counterweight. Rotate it forward or backward until the tonearm floats perfectly level when you release it.
A correctly balanced arm will hover parallel to the platter, neither tilting up at the back nor dropping toward the record. You may need to nudge it slightly with your finger to break static and confirm it actually floats.
Step 3: Zero Out the Counterweight Dial
Once the arm floats level, hold the rear black portion of the counterweight completely still. Now turn only the numbered dial ring until the zero line sits exactly at the 12 o’clock position (straight up).
This step locks your neutral balance point so the numbered scale can now show you the actual tracking force.
Step 4: Set the Tracking Force
Check your cartridge spec sheet for the recommended tracking force. Most moving magnet cartridges fall between 1.5 and 2.5 grams. Common ranges include:
Audio-Technica cartridges: 1.8 to 2.2 grams
Ortofon 2M series: 1.6 to 2.0 grams
Shure M97xE: 1.25 to 1.75 grams
With the dial held at zero, rotate the entire counterweight (both pieces together) clockwise until the number on the dial matches your target tracking force. A typical safe starting point is 2.0 grams.
Step 5: Match Anti-Skate to Tracking Force
Now return to the anti-skate dial and set it to the same number you just dialed in. If your tracking force is 2.0 grams, anti-skate goes to 2.0. This counteracts the inward pull the groove wall creates on the stylus.
Lower the cue lever gently and let the stylus settle on a blank section of a record. If the arm slides toward the spindle or outward toward the label, fine-tune the anti-skate by 0.25 increments until the arm stays put.
How a Balanced Tonearm Should Look and Sound
A balanced tonearm should hover level when the cue lever is raised, with no tilt up or down. When you lower it onto a spinning record, it should settle into the groove without bouncing or skating sideways.
Sound cues that confirm proper balance:
Clean, undistorted playback even on loud passages
Equal volume from left and right channels
No skipping during dynamic swells or bass-heavy sections
Quiet vinyl surface noise rather than a buzzing or grinding tone
If the sound is thin and bright, the tracking force is likely too low. If it sounds compressed and you see visible record wear after a few plays, the force is too high.
Common Mistakes and Troubleshooting
Even with the right steps, beginners run into a few predictable snags. Here is how our team handles each one.
Counterweight runs out before the arm balances. If you rotate the counterweight all the way forward and the arm still drops, the cartridge may be too heavy for your counterweight range. Check the cartridge’s weight against your tonearm’s specified range (usually listed in the turntable manual).
Arm drifts toward the spindle. Anti-skate is too low, or the turntable is not level. Re-check the bubble level first, then bump anti-skate up by 0.5 increments until the drift stops.
Arm drifts outward toward the label. Anti-skate is set too high. Lower it in 0.25 increments until the arm stays centered in the groove.
Numbers on the dial confuse you. That is normal at first. Always remember: the numbers mean nothing until after Step 3. Until then, you are only looking for the floating point.
Arm bounces when lowered. Lower the cue lever more slowly, or check that the stylus tip is clean and properly seated in the headshell.
When to Re-balance Your Tonearm
You should re-balance your tonearm any time something changes about the headshell assembly. A good rule of thumb from our experience: re-check the balance every time you would normally clean the stylus.
Re-balance right away if you:
Install a new cartridge or replace the stylus
Swap the headshell (common with SME-style connectors)
Move the turntable to a new surface or shelf
Notice a sudden change in sound quality
For most setups, a quick balance check every 6 to 12 months keeps everything dialed in. There is no harm in checking more often; it only takes a couple of minutes.
FAQs
How should a balanced tonearm look?
A balanced tonearm hovers perfectly level when the cue lever is raised, with no tilt up at the rear or down at the front. When lowered onto a spinning record, it should settle smoothly into the groove without drifting toward the spindle or the label.
How often should I balance my tonearm?
Re-balance your tonearm every time you install a new cartridge or stylus, swap the headshell, move the turntable, or notice a sudden change in sound. For most listeners, a quick balance check every 6 to 12 months is plenty.
How do I know if my tonearm is too heavy?
Signs of too much tracking force include distorted sound on loud passages, accelerated record wear, and a dull or compressed soundstage. Lower the counterweight in 0.25 gram steps and re-test until distortion disappears.
How do you fix an unbalanced record player?
First confirm the turntable is level using a bubble level. Then set anti-skate to zero, find the floating balance point, zero the dial, set the cartridge’s recommended tracking force, and finally match anti-skate to that number. If problems persist, check the cartridge weight against your tonearm’s supported range.
How to tell if a tone arm is balanced?
With anti-skate at zero, lift the cue lever and release the arm. A balanced tonearm will float level, parallel to the platter, and remain stationary when you gently nudge it. If it tilts or sinks, rotate the rear of the counterweight until it floats.
Final Thoughts on Tonearm Balancing
Knowing how to balance a tonearm turns a finicky piece of gear into a precision instrument. Run through the prep, follow the five steps in order, and trust the floating point over the numbers until Step 3. Once you have done it twice, the whole process becomes muscle memory.
If you own an Audio-Technica LP60 or LP120, Pro-Ject Debut, or Rega Planar, the steps are identical; only the counterweight shape and anti-skate dial location vary. Your cartridge manual will always have the final word on tracking force, so keep it handy the first few times you balance.