
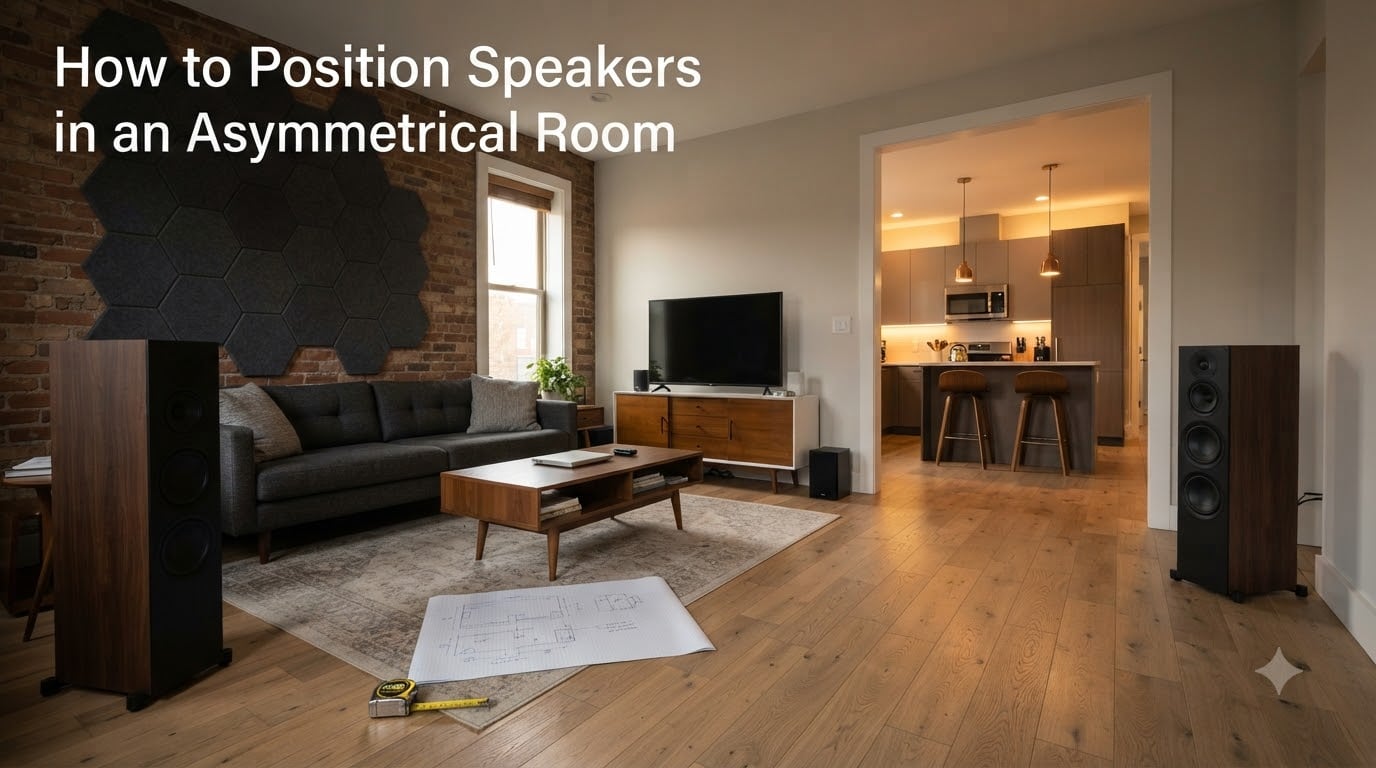
If you’ve ever set up speakers in a room that wasn’t perfectly square, you’ve probably noticed the sound feels off. One side sounds brighter, bass piles up in one corner, or the stereo image leans to the left. That’s because asymmetrical rooms are the rule, not the exception, in real homes. Most of us deal with open kitchens, hallways, alcoves, or oddly placed windows that wreck symmetry.
In this guide, I’ll walk you through how to position speakers in an asymmetrical room from start to finish. I’ve used these techniques in my own living room, in a friend’s home studio, and in a basement theater that had a stairwell eating up one corner. The process works whether you have a two-channel stereo, a home theater, or nearfield monitors. By the end, you’ll have a clear, repeatable method instead of guesswork.
Table of Contents
Why Asymmetrical Rooms Make Speaker Placement Harder
Speakers and rooms work as a team. The room reflects, absorbs, and amplifies certain frequencies before the sound reaches your ears. When your room is symmetrical, reflections from the left and right walls arrive at your listening seat at nearly the same time and level. Your brain uses those reflections to build a stable stereo image.
Break the symmetry, and that image falls apart. If one speaker sits 2 feet from a wall and the other sits 6 feet away, the closer speaker will sound louder in the bass and slightly more present overall. The farther speaker will sound thinner. Stereo imaging drifts toward the louder side, and bass builds up unevenly across the room.
Forum users on Reddit’s r/audiophile deal with this constantly. One user summed it up well: “Since your room is asymmetrical, you’ll almost certainly need to position the speakers asymmetrically, and that is okay.” The goal isn’t to fake symmetry you don’t have. It’s to understand the asymmetries and compensate for them.
The Core Rules for Positioning Speakers (38% and 83% Explained)
Before you move anything, you need two placement rules that solve 80% of asymmetrical room problems. These are the 38% rule and the 83% rule, and they directly answer the most common PAA questions about speaker placement.
The 38% rule tells you where to put your speakers along the front wall. Measure the room’s length (front wall to back wall). Multiply by 0.38. Place each speaker that distance from the front wall. For a 16-foot-deep room, that’s roughly 6 feet from the wall. This position minimizes bass buildup from the front wall behind the speakers.
The 83% rule tells you where to sit. Measure the room’s length and multiply by 0.83. Place your listening seat that distance from the front wall (or from the speakers, depending on convention). In that same 16-foot room, your seat goes about 13 feet from the front wall. This puts you in a spot where the room’s low-frequency resonances are smoother.
Why these numbers? They land your speakers and seat in spots where room modes (low-frequency standing waves) are less excited. They’re starting points. In an asymmetrical room, you may need to nudge each speaker slightly off the 38% line to clear a window or doorway, but always measure from your actual front wall, not from a hypothetical one.
Step 1: Analyze Your Room Shape and Identify Problem Areas
Grab a piece of graph paper and draw your room to scale. Mark windows, doors, alcoves, built-in shelves, and any openings to other rooms. Note which walls are solid, which are partial, and where furniture already lives.
You’re looking for three things: asymmetry between the left and right sides of your speaker setup, hard reflective surfaces (bare walls, windows, hardwood floors), and openings that let bass escape (doorways, open archways, stairwells).
If your kitchen opens up on the right side of your listening room, the right speaker will lose bass into that space. You can compensate by moving the right speaker slightly closer to its nearest side wall, or by adding a bass trap in the corner where bass collects. Documenting these problem spots before placing speakers saves you hours of trial and error.
Step 2: Build the Equilateral Triangle with Your Speakers
The equilateral triangle is the foundation of good stereo imaging. Your left speaker, right speaker, and listening seat form the three points of an equal-sided triangle. Each side should be the same distance.
A good starting ratio is to make the speaker-to-speaker distance slightly less than the speaker-to-listener distance. For example, speakers 6 feet apart with your seat 7 to 8 feet back. In an asymmetrical room, you may not be able to make this a perfect equilateral triangle. That’s fine. Get as close as you can, then let your ears and measurements fine-tune the rest.
One trick: anchor the triangle to your most constrained side first. If your left speaker has to sit 3 feet from a wall because of a closet door, work outward from there. Place the right speaker to form the best triangle you can with the left, then set your listening seat at the apex.
Step 3: Set Wall Distances and Manage Boundary Interference
Speakers placed too close to walls sound boomy. Speakers placed in the middle of the room sound thin. There’s a sweet spot, and it’s different for every speaker.
Boundary interference happens when sound from the front of the speaker and sound reflecting off the nearby wall arrive at your ear at slightly different times. In the bass frequencies, this creates a comb-filter effect that either boosts or cancels certain notes. The closer your speaker is to a wall, the more pronounced the effect.
General starting points: place speakers at least 6 to 12 inches from the back wall, 2 to 3 feet from side walls, and avoid corners. If your room is asymmetrical and one speaker has to sit closer to a side wall than the other, you can compensate later with acoustic treatment or EQ. For now, get both speakers roughly within these distances and listen.
Pay attention to bass-reflex ports. If your speaker has a rear port, give it more breathing room from the back wall. Front-ported or sealed speakers are more forgiving in tight spaces.
Step 4: Adjust Speaker Height and Tweeter Level
Tweeters are directional. They beam high frequencies straight ahead, so height matters more than most people realize. Position your tweeters at ear level when you’re seated in your listening position.
Most stand-mount speakers place the tweeter roughly 32 to 36 inches off the floor when used with proper stands. Floor-standing speakers should be angled or chosen so the tweeter lines up with your ears. If your couch is lower than average, or if you sit higher, adjust accordingly.
In asymmetrical rooms, the listening seat sometimes ends up off-center. Make sure your tweeters still point at your ears, not at the center of the room. This often means rotating each speaker slightly toward the seat, which leads us to toe-in.
Step 5: Dial In Toe-In Angle and Stereo Imaging
Toe-in is the angle at which each speaker points toward the listening position. Zero toe-in means both speakers fire straight ahead. Full toe-in means each speaker points directly at your ears.
Start with the speakers aimed straight ahead (no toe-in). Listen to a track you know well. If the stereo image feels wide but vague, add a small amount of toe-in. If it feels too narrow or you lose the sense of space, reduce the toe-in.
Here’s where asymmetrical rooms give you a tool: you can toe in each speaker independently. If your left side is too reflective because of a large window, toe that speaker in slightly more so its energy focuses on your seat and less on the wall. This is one of the most useful asymmetric speaker placement techniques.
A common rule of thumb: toe in until you hear a strong center image (the lead vocal should feel like it’s coming from a phantom speaker between your two real speakers). If the center image collapses, you’ve gone too far.
Step 6: Use the Mirror Method to Find Reflection Points
The mirror method is the most accurate DIY way to find first reflection points, the spots on your walls where sound from your speakers bounces before reaching your ears. Treating these points makes a huge difference in clarity and imaging.
Here’s how to do it. Sit in your listening position. Have a friend hold a mirror flat against the side wall, or tape a small mirror to a piece of cardboard. Slide the mirror along the wall between your speakers and your seat. When you can see the reflection of the tweeter of the left speaker in the mirror, mark that spot. That’s a first reflection point.
Repeat for the right speaker’s tweeter. Then check the ceiling, the wall behind you, and the front wall behind the speakers. Each spot where you see a tweeter reflection is a candidate for acoustic treatment.
The mirror method is especially powerful in asymmetrical rooms because it shows you exactly where reflections are loudest. Don’t assume the reflection points are mirror images on left and right walls. In an L-shaped room or a room with a window on one side, they almost never are.
Step 7: Place Absorbers and Diffusers Strategically
Once you’ve marked your reflection points, you need to choose between absorption and diffusion. They do different things, and using the wrong one makes things worse.
Absorbers soak up sound energy. Use them at first reflection points on side walls and the ceiling. They tighten the stereo image and reduce slap echo. A 2-inch-thick panel handles mid and high frequencies. A 4-inch panel or bass trap handles lower frequencies.
Diffusers scatter sound energy in multiple directions without absorbing it. Use them on the back wall behind your listening position and on larger untreated wall areas. They keep the room sounding live while reducing flutter echoes.
In an asymmetrical room, prioritize absorption on the side that has the most reflective surface. If your left wall is bare drywall and your right wall has a bookshelf, you may need one or two absorbers on the left and nothing on the right. The bookshelf is already doing diffusion for free.
A budget-friendly test before buying panels: have someone hold a mattress or thick blanket at each reflection point while you listen from your seat. If the sound cleans up noticeably, that spot needs treatment. This is the mattress test, and it saves you from buying panels you don’t need.
Step 8: Optimize Your Listening Position (The Sweet Spot)
The sweet spot is the single seat where imaging, tonality, and detail all click into place. In a symmetrical room, it sits at the apex of your speaker triangle, centered between the speakers. In an asymmetrical room, it can shift.
Use the 83% rule as your starting point, then fine-tune. Sit slightly off-center toward the more reflective side. This puts you closer to the more reflective wall and balances the reflections between your two ears. Move forward and back in small increments. The spot where vocals sound most centered and bass feels most even is your sweet spot.
If you’re sharing the room with a couch for multiple listeners, accept that only one seat will be the perfect sweet spot. Position your main listener there, and use acoustic treatment to make the surrounding seats sound acceptable.
Step 9: Apply Room EQ Correction for Asymmetric Acoustics
Sometimes speaker placement and acoustic treatment aren’t enough. That’s where room EQ software comes in. These tools measure your room’s frequency response and apply corrective filters to flatten peaks and dips.
Room EQ Wizard (REW) is free and works with a measurement microphone. It shows you exactly which frequencies are boosted or canceled at your seat. Many receivers and processors include automatic room correction like Audyssey, MCACC, or YPAO, which apply EQ based on their own measurements.
EQ is most useful for fixing the bass asymmetries that room treatment can’t fully address. If your right speaker sits near an opening to the kitchen, EQ can lift its low frequencies to match the left speaker’s fuller sound. EQ should come last, after placement and treatment. Don’t use it to fix problems that physical positioning could solve.
Real-World Setups: Open Plans, L-Shaped Rooms, and Odd Layouts
Most readers aren’t dealing with perfect rectangles. Here are three common asymmetrical scenarios and how to handle each.
Open-plan living room with kitchen on one side. The kitchen opening steals bass from that side. Place the speaker nearest the kitchen slightly closer to the front wall (less than the 38% rule) to reinforce bass. Add a thick absorber at the speaker’s first reflection point to control reflections off the kitchen counter.
L-shaped room. Treat each leg of the L as a separate acoustic space. Place your speakers along the long wall of the main leg, not in the corner of the L. The corner creates bass problems. Keep your listening seat within the main leg of the L for best imaging.
Room with a large window on one side. Windows are acoustically transparent at low frequencies and reflective at high frequencies. Hang a heavy curtain over the window when listening, or place an absorber panel on the wall opposite the window to balance the reflections.
Common Mistakes to Avoid in Asymmetrical Rooms
I’ve made most of these mistakes myself. Here are the ones that cost the most sound quality.
Don’t force perfect symmetry when your room doesn’t have it. You will waste time fighting your room instead of working with it. Asymmetrical placement, when done thoughtfully, sounds better than forced symmetry.
Don’t skip acoustic treatment. EQ alone can’t fix a 15 dB peak caused by a bare wall reflection. Treatment first, EQ second.
Don’t place speakers directly on a shelf or inside a cabinet. The shelf acts like a soundboard and adds unwanted resonances. Use proper stands or isolate the speakers with foam.
Don’t trust auto-setup programs blindly. Room correction software is helpful, but it sometimes makes wrong decisions about speaker distances in asymmetrical rooms. Verify distances with a tape measure, and re-run calibration after any speaker moves.
Don’t move speakers in tiny increments. Move them 6 to 12 inches at a time. Small moves sound the same. Larger moves reveal which position is clearly better.
FAQs
What is the 38% rule for speaker placement?
The 38% rule says to place your speakers 38% of the room’s length away from the front wall. For a 16-foot-deep room, that is about 6 feet. This position reduces bass buildup from the front wall behind the speakers and gives smoother low-frequency response.
What is the 83% rule for speakers?
The 83% rule tells you where to put your listening seat. Measure the room’s length, multiply by 0.83, and place your seat that distance from the front wall. In a 16-foot room, the seat goes about 13 feet back, in a spot where room resonances are smoother.
What is the golden rule for speaker placement?
The golden rule is to form an equilateral triangle between your left speaker, right speaker, and listening seat. All three sides should be roughly equal. This geometry produces the most stable stereo image and accurate soundstage in any room, symmetrical or not.
How should I position my speakers in a small room?
Keep speakers at least 6 inches from the back wall and 2 feet from side walls. Form an equilateral triangle with your seat at the apex. Use nearfield placement if possible, with speakers closer to you. Add bass traps in corners and absorbers at first reflection points to control the small room’s stronger reflections.
Final Thoughts: Position Speakers in an Asymmetrical Room with Confidence
Learning how to position speakers in an asymmetrical room is really about accepting what your room gives you and working with it. The 38% and 83% rules give you a strong starting point. The equilateral triangle gives your imaging a foundation. Toe-in, height, and the mirror method let you fine-tune for your specific space. Acoustic treatment balances the asymmetries, and EQ handles whatever’s left.
Start with measurement, place your speakers using the rules, then treat the reflection points you find. Don’t chase perfect symmetry. Chase balanced sound at your seat. With this process, even the most awkward L-shaped living room can sound like a properly treated listening space.