
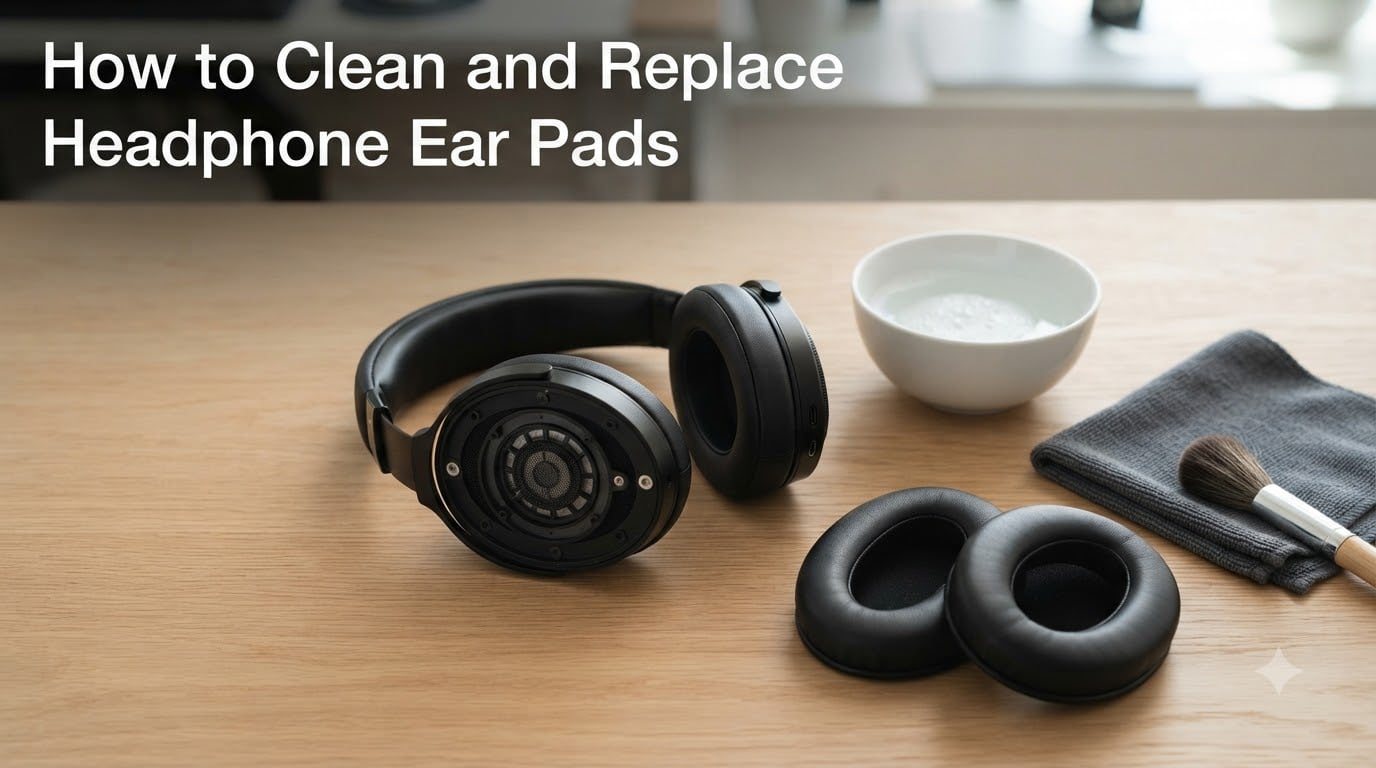
Yes, you can absolutely clean headphone ear pads, and you should be doing it regularly. Your ear cushions collect sweat, body oils, dead skin cells, and bacteria every single time you wear your headphones. Over months of daily use, that buildup turns into permanent odor, material breakdown, and even skin irritation.
If you have ever noticed your headphones smelling a little off after a long listening session, you are not imagining it. The warmth and moisture trapped between your skin and the ear pads create the perfect environment for bacteria to thrive. I have dealt with this firsthand after months of gym workouts wearing the same pair of over-ears.
In this guide, I will walk you through exactly how to clean headphone ear pads the right way, how to remove them without breaking anything, how to handle different materials (leather, fabric, and mesh), and when it is time to toss the old pads and install fresh ones. We will also cover the tricky scenario of non-removable pads that many guides skip entirely.
Table of Contents
What You Need to Clean Headphone Ear Pads
You do not need any specialty products or expensive cleaning kits. The best cleaning supplies are probably already sitting in your kitchen or bathroom. Here is what I keep on hand for ear pad maintenance:
Two lint-free microfiber cloths (one for cleaning, one for drying)
Mild dish soap or baby shampoo
Lukewarm distilled water (tap water works in a pinch, but distilled avoids mineral residue)
Soft-bristled brush, like a clean toothbrush or detailing brush
Cotton swabs for tight crevices and non-removable pads
A clean towel for the drying surface
Avoid rubbing alcohol, hand sanitizer, bleach, hydrogen peroxide, and any household disinfectant sprays. These chemicals break down the polyurethane coating on leatherette pads and can cause premature cracking and peeling. I learned this the hard way when I wiped down a pair of protein leather pads with isopropyl alcohol and watched the surface start flaking within a week.
For a quick daily wipe-down, you only need a slightly damp microfiber cloth. No soap required. Save the deeper cleaning solution for your weekly or biweekly maintenance sessions.
How to Remove Headphone Ear Pads Safely
Before you can do a proper deep clean, you need to get the pads off the headphones. Most over-ear headphones use one of three attachment methods, and removing them incorrectly is the number one way people break their gear.
Twist-Lock Pads (Bose, Sony, and Similar Brands)
Many Bose QuietComfort models and some Sony headphones use a bayonet-style twist-lock mechanism. Grip the ear pad firmly around its outer edge and rotate it counterclockwise about a quarter turn. You will feel it release from the mounting ring. Pull straight off gently.
To reinstall, line up the pad ears with the slots on the mounting ring, push in, and twist clockwise until it locks. You should hear or feel a distinct click.
Snap-On and Clip Pads
Brands like Audio-Technica, Sennheiser, and many gaming headsets use snap-on pads that clip into a lip on the ear cup. Start at one point on the edge and gently pry the pad lip over the mounting ridge, working your way around the circumference. Use your fingers, not tools. A plastic spudger is acceptable if your fingers cannot get purchase, but never use metal objects.
Magnetic Pads (Premium Models)
Some premium models like the Sonos Ace and certain Apple products use magnetic attachment. Simply pull the pad straight away from the ear cup and the magnets release. This is the easiest system to work with and the reason I personally prefer magnetic pads for long-term ownership.
Glue-On Pads (Permanent Attachment)
If your pads appear to be glued directly to the ear cup with no visible mounting lip, twist mechanism, or magnet, they are likely non-removable. Skip ahead to the section on cleaning non-removable pads. Attempting to pry these off will destroy the pad and possibly damage the headphone housing.
How to Clean Headphone Ear Pads Step by Step
Once you have the pads off, the actual cleaning process is straightforward. The key rule throughout: use minimal moisture. Damp, not wet. Soaking the memory foam core will lead to lingering moisture that damages the foam and creates mold.
Step 1: Mix Your Cleaning Solution
In a small bowl, combine one cup of lukewarm water with a quarter teaspoon of mild dish soap. This is the same ratio Sonos recommends and it is gentle enough for all pad materials. Stir gently to create a light sudsy solution. You are not looking for a bubble bath.
Step 2: Dry-Brush Loose Debris
Before introducing any moisture, use your soft-bristled brush to sweep away loose dust, dead skin flakes, and dried sweat from the pad surface. Pay special attention to the seam where the cushion meets the mounting plate, as debris collects there heavily. This step alone makes a visible difference.
Step 3: Wipe Down the Surface
Dip your microfiber cloth into the solution, then wring it out thoroughly until it is barely damp. Wipe the entire outer surface of the pad in gentle circular motions. For leather and leatherette pads, use light pressure to avoid stretching the material. For fabric and velour pads, you can be slightly more assertive.
If you encounter stubborn grime or a waxy buildup (common on the inner ring near the speaker), apply a tiny bit more pressure with a damp cloth. Let the soap do the work rather than scrubbing aggressively.
Step 4: Rinse With a Clean Damp Cloth
Rinse your cloth under clean lukewarm water, wring it out until barely damp, and wipe the pads again to remove any soap residue. Soap left on leather and leatherette pads accelerates drying and cracking, so this rinse step is not optional.
Step 5: Address Odor If Present
For smelly pads, add a few drops of white vinegar to your rinse water. Vinegar is a natural deodorizer that kills odor-causing bacteria without damaging the pad material the way alcohol would. Do not soak the pads in vinegar. Just wipe them with a barely damp vinegar-water cloth.
Material-Specific Care for Ear Pads
Different materials require different approaches. What works for leather will ruin fabric, and mesh needs its own treatment entirely. Here is how to handle each type.
Cleaning Leather and Leatherette Ear Pads
Leatherette (also called pleather, protein leather, or synthetic leather) is the most common material on modern headphones. It is essentially a polyurethane coating over a fabric backing, and it is sensitive to oils, alcohol, and excessive moisture.
For regular cleaning, a barely damp microfiber cloth with a tiny drop of mild soap is all you need. Wipe gently, rinse with a clean damp cloth, and pat dry with a towel immediately. Never let water sit on leatherette surfaces.
For conditioning, a small amount of leather conditioner designed for synthetic leather can help prevent cracking. Reddit users have also reported success with a light application of shoe grease for genuine leather pads. Apply conditioner every few months to keep the material supple.
Cleaning Fabric and Velour Ear Pads
Fabric and velour pads are more forgiving when it comes to moisture. They are commonly found on studio headphones (like the Beyerdynamic DT series) and are favored by audio enthusiasts for breathability and comfort.
For fabric pads, you can be more generous with your cleaning solution. Work the damp cloth into the material with gentle pressure, focusing on areas that touch your skin most directly. Velour’s plush texture traps more oils, so spend extra time on the inner surface.
Reddit users in the r/headphones community recommend hand-washing fabric and velour pads in a bowl of warm soapy water for deep cleans. Gently squeeze the pad in the water without twisting or wringing. Rinse under clean running water by squeezing repeatedly. Never machine wash or tumble dry these pads, as the agitation and heat will destroy the elastic mounting rings.
Cleaning Mesh Speaker Grills
The thin mesh covering the actual speaker drivers behind the pads needs careful attention. This is where earwax and dead skin accumulate over time, and it is the source of that waxy substance many people notice on the inner cup.
Use a dry soft-bristled brush to gently sweep the mesh surface. If there is stubborn residue, lightly dampen a cotton swab (not dripping, just barely moist) and dab the affected area. Never press hard on the mesh, as it is fragile and can tear or get pushed into the speaker driver.
For wax-like buildup that refuses to budge, a piece of painter’s tape or a lint roller sheet pressed lightly against the mesh and peeled away can lift debris without introducing moisture near the drivers.
How to Clean Non-Removable Headphone Ear Pads
This is the scenario that trips up the most people. Many cheaper headphones, some gaming headsets, and certain wireless earbuds have pads permanently bonded to the ear cups. You cannot remove them for cleaning without destroying them. But you can still keep them fresh.
The approach here is all about minimal moisture and precision. You are working dangerously close to sensitive electronic components, so caution is critical.
Surface Wipe Technique
Start by turning off and disconnecting your headphones from any power source. Tilt the headphones so the ear cup faces slightly downward, which helps any moisture move away from the speaker rather than toward it.
Take a barely damp microfiber cloth and wipe the pad surface in sections. Work from the outer edge inward, but stop short of the speaker mesh area. Let each section air dry for a minute before moving to the next, rather than wetting the entire pad at once.
Cotton Swab Detail Work
For crevices and the seam where the pad meets the ear cup housing, use cotton swabs lightly moistened with your soap solution. Replace the swab frequently as it picks up dirt. A dirty swab just redistributes grime.
For persistent odor in non-removable pads, a light dusting of baking soda left on overnight and brushed off the next morning can absorb smells. Make sure no powder gets near the speaker mesh. A fabric-safe enzymatic cleaner applied sparingly to the pad surface (never soaking) can also tackle bacteria-driven odor at the source.
What Not to Do With Non-Removable Pads
Never spray cleaning solution directly onto the headphones. Never submerge any part of the headphones in liquid. Never use a soaking wet cloth. And never use a hair dryer or heat gun to speed up drying. All of these will force moisture into the electronics and potentially ruin your headphones permanently.
Drying and Reassembling Your Headphones
Drying is not a step to rush. Trapped moisture inside the memory foam core leads to mold growth and material degradation that you will not notice until it is too late.
After cleaning, pat the pads gently with a dry towel to remove surface moisture. Then place the pads in a well-ventilated room at normal temperature. I typically leave mine overnight, which gives at least eight hours of drying time. In humid climates, you may need twelve to twenty-four hours.
Never use a hair dryer, radiator, direct sunlight, or any heat source to accelerate drying. Heat warps the pad shape, melts adhesives on pads that use them, and degrades the leatherette coating. Air drying is the only safe method.
Before reassembling, do the squeeze test. Press the pad firmly between your fingers. If any moisture is visible or the foam feels cool and damp to the touch, it is not ready. Wait longer. Once the pads are completely dry to the core, reinstall them using the reverse of your removal method.
After reassembly, give the headphones a final wipe-down with a clean dry microfiber cloth to remove any fingerprints from handling. Let everything settle for another hour before your next listening session.
When to Replace vs Clean Your Ear Pads
Cleaning extends the life of your ear pads significantly, but eventually every pair reaches the end of the road. Knowing when to replace them versus when a good cleaning will suffice saves you money and keeps your headphones sounding and feeling their best.
Clear Signs It Is Time to Replace
The most obvious sign is visible peeling or flaking. Once the leatherette coating starts coming off, it will only get worse. Those tiny black flakes end up on your ears, your clothes, and your skin. No amount of cleaning reverses this degradation.
Flattened foam is another indicator. If your pads have lost their squish and feel hard or paper-thin, the memory foam inside has compressed permanently. This affects both comfort and sound quality, as the acoustic seal between the pad and your head is compromised. You may notice reduced bass response or increased sound leakage.
Persistent odor that survives a thorough cleaning means bacteria have penetrated deep into the foam core where surface cleaning cannot reach. At this point, replacement is the only effective solution.
Replacement Cost and Brand Considerations
Replacement pads are generally affordable, especially compared to buying new headphones. Many brands offer official replacements, and third-party options from companies like Wicked Cushions and Dekoni Audio provide upgraded materials and thickness.
For Bose QuietComfort models, official replacement pads run around $30 and are designed to snap in with the twist-lock mechanism. Sony WH-1000X series pads are similarly replaceable. For brands like Sennheiser and Beyerdynamic, both official and aftermarket pads are readily available.
If your headphones cost under $50 and have non-replaceable pads that are falling apart, it may make more financial sense to replace the headphones entirely rather than attempt a DIY pad transplant using adhesive.
Preventive Maintenance Schedule
To maximize pad lifespan, I follow a simple maintenance routine. After every listening session, I give the pads a quick wipe with a dry microfiber cloth to remove fresh oils. Once a week, I do a damp cloth wipe-down with mild soap. Every two to four weeks, depending on usage intensity, I do a full deep clean following the steps above.
If you use headphones for workouts or live in a hot, humid climate, increase this frequency. Sweat is the number one enemy of ear pad longevity. Wiping down gym headphones after every session can extend pad life by months or even years.
FAQs
Can you clean headphone ear pads?
Yes, you can and should clean headphone ear pads regularly. Remove the pads if possible, wipe them with a barely damp microfiber cloth and mild soapy water, rinse with a clean damp cloth, and air dry completely before reattaching. Hand wash only. Never machine wash or use harsh chemicals like alcohol or bleach.
Is it worth replacing headphone pads?
Yes, replacing headphone pads is almost always worth it compared to buying new headphones. Replacement pads typically cost between $15 and $50 depending on the brand and material, and they restore both comfort and sound quality. If your current pads are peeling, flattened, or persistently smelly despite cleaning, replacement is the right call.
How do I clean my over-ear headphones so they stop smelling weird?
To eliminate odor, remove the ear pads and wipe them with a barely damp cloth using a solution of warm water, a quarter teaspoon of mild dish soap, and a few drops of white vinegar. The vinegar kills odor-causing bacteria without damaging the pad material. Let the pads air dry completely for at least eight hours before reattaching. For non-removable pads, use the same solution on a barely damp cloth and wipe carefully.
What to do if headphone cushion is peeling off?
If your headphone cushion is peeling, it is time to replace the pads. Peeling means the polyurethane coating on leatherette pads has degraded, and no cleaning or conditioning product can reverse it. Small flakes will shed onto your skin and clothes. Order replacement pads designed for your headphone model and follow the installation instructions for your specific attachment type.
How often should you clean headphone ear pads?
For regular daily use, wipe your ear pads with a dry microfiber cloth after each session and do a damp cloth cleaning with mild soap once a week. Perform a full deep clean every two to four weeks. If you use headphones for workouts or in hot climates, clean them more frequently to manage sweat buildup.
Conclusion
Knowing how to clean headphone ear pads is one of those simple maintenance skills that pays off every single day. A quick weekly wipe-down with a damp cloth and mild soap keeps your headphones fresh, hygienic, and comfortable for years longer than neglect would allow.
Remember the core principles: minimal moisture, mild soap only, no alcohol or harsh chemicals, and always let pads dry completely before reattaching. When cleaning can no longer revive your pads, replacement is straightforward and affordable for most popular headphone models.
Treat your ear pads right and they will keep treating you to clean, comfortable, great-sounding listening sessions. Grab that microfiber cloth and give your headphones the care they deserve today.
1 thought on “How to Clean and Replace Headphone Ear Pads (September 2026) Guide”