
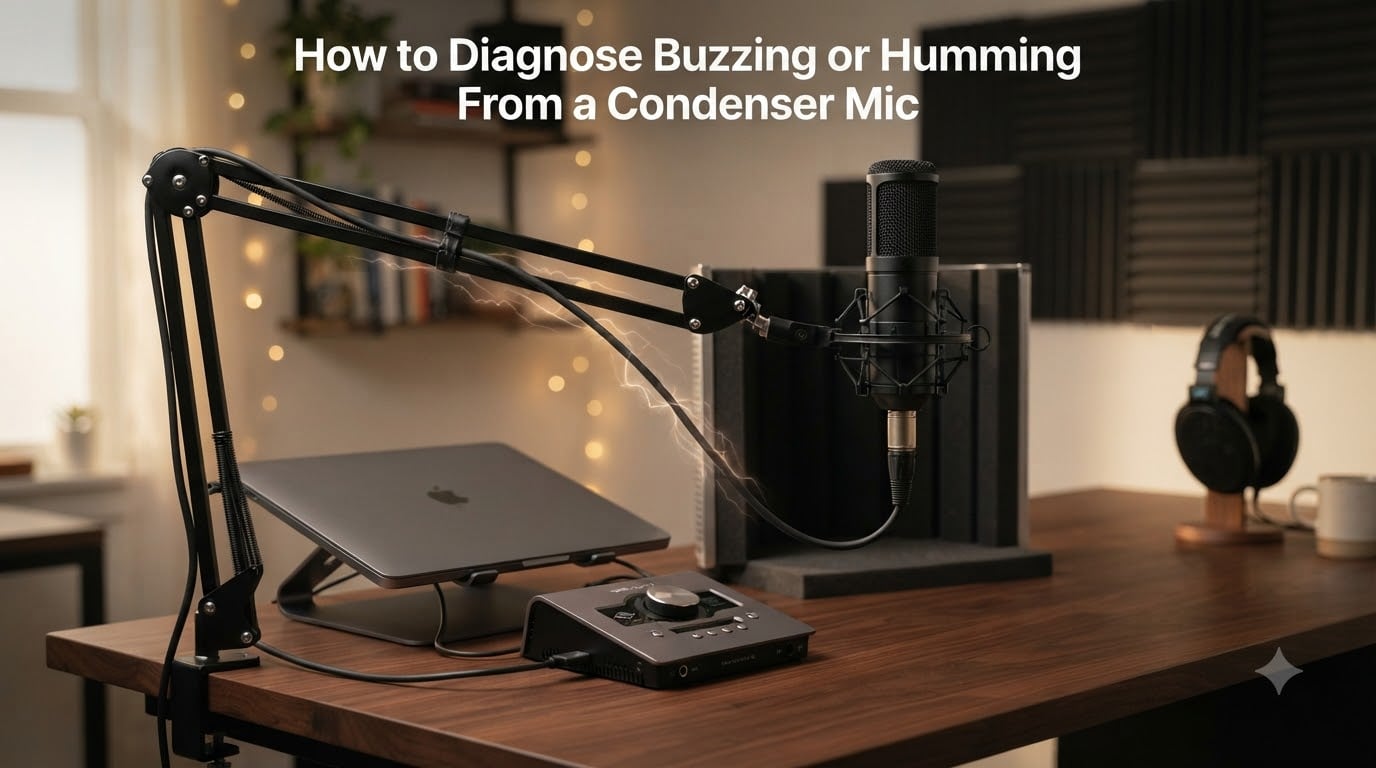
If your condenser mic is producing an annoying buzz or hum, the problem usually comes down to electrical interference, a ground loop, a faulty cable, or incorrect phantom power. I have spent hundreds of hours in home studios troubleshooting these exact issues, and I can tell you that diagnosing buzzing or humming from a condenser mic is a systematic process of elimination. This guide walks you through every step I use to pinpoint and fix the noise.
The good news: most buzzing problems are fixable without buying new gear. By the end of this article, you will know exactly what to check, in what order, and why each step matters. Whether you are podcasting, recording vocals, or streaming, these diagnostic techniques will save you hours of frustration.
Table of Contents
What Causes Buzzing and Humming in Condenser Mics
Condenser mic buzzing is typically caused by ground loops, faulty XLR cables, electromagnetic interference (EMI), improper phantom power, or loose connections. Condenser mics are more sensitive than dynamic mics, which means they pick up electrical noise that other microphones might ignore.
The four most common culprits I see in home studios are:
- Ground loops – when multiple devices share different ground potentials
- Faulty or cheap XLR cables – broken shielding allows EMI to enter the signal
- Electrical interference – from lights, computers, monitors, or appliances
- Phantom power issues – inconsistent or missing 48V power
Understanding which category your noise falls into is the first step. A 60Hz hum often points to a ground loop or AC interference. A higher-pitched buzz (120Hz or above) usually indicates EMI from electronics. Random crackling typically means a loose connection or damaged cable.
Condenser mics require phantom power (48V) to operate, and this requirement makes them more susceptible to certain noise problems than dynamic mics. If you are hearing noise only when the mic is active, phantom power is a likely suspect.
How to Diagnose Buzzing or Humming From a Condenser Mic: Step-by-Step Process
Follow these diagnostic steps in order. I recommend testing after each step before moving to the next. Most people find their answer within the first three steps.
Step 1: Test with a different XLR cable. Swap your current cable for a known-good one. Cheap or damaged XLR cables are the single most common cause of condenser mic buzzing. If the noise disappears, your original cable was the problem.
Step 2: Try a different microphone input on your audio interface. This rules out a faulty preamp channel. Plug into input 2 (or another available input) and see if the buzz persists.
Step 3: Test the mic in a different room or outlet. Move your setup to another circuit in your home. If the buzz goes away, you have a ground loop or electrical interference issue tied to that specific circuit.
Step 4: Disconnect all other USB and audio devices. Computers, monitors, and external drives can introduce EMI. Unplug everything except your mic and audio interface, then check for noise.
Step 5: Turn off phantom power and back on. Cycle the 48V switch on your interface. Some interfaces develop phantom power inconsistencies that cause buzzing. A clean power cycle often resolves this.
Step 6: Lower the gain and listen for noise. Set your gain to minimum. If you still hear buzz with no signal, the problem is in your signal chain before the mic capsule. If the noise disappears, it was gain-related self-noise.
Step 7: Touch the mic grill and listen. If touching the grill stops the buzz, you have a grounding issue. This is one of the most useful diagnostic tricks, and I explain why it works in detail below.
Understanding Ground Loops and Electrical Interference
A ground loop occurs when two or more devices in your audio chain have different ground potentials, creating an unintended path for electrical current that introduces hum into your signal. This 60Hz hum (or 50Hz in Europe) is one of the most common condenser mic problems.
Ground loops typically happen when your computer, audio interface, and monitors are plugged into different outlets or power strips. The ground voltage difference between these outlets creates a small current that travels through your audio cables, and your condenser mic picks it up as a constant hum.
Common symptoms of a ground loop:
- Constant 60Hz hum that does not change when you speak
- Hum gets louder when you turn up the gain
- Hum disappears when you unplug your computer from power
- Touching the metal chassis of your interface changes the hum volume
Electromagnetic interference (EMI) is different. EMI comes from external sources like fluorescent lights, dimmer switches, Wi-Fi routers, computer monitors, and even cell phones. This type of interference usually sounds like a higher-pitched buzz rather than a low hum.
The fix for ground loops is to ensure all your audio gear shares the same electrical ground. The fix for EMI is distance and shielding. Both are covered in the solutions section below.
Why Touching the Mic Stops the Buzz (The Grounding Trick)
Touching your condenser mic stops the buzz because your body provides an alternative ground path, draining the stray electrical current that is causing the noise. This phenomenon is one of the most reliable indicators of a grounding issue.
When you touch the metal grill or body of your condenser mic, you create a direct electrical connection between the mic’s chassis and ground (through you). If the mic has a loose or missing internal ground connection, touching it completes the circuit and eliminates the hum.
I learned this trick from forum discussions on Reddit and Sound Stack Exchange, where users consistently report the same behavior. The fix is usually one of these:
- A loose set screw on the mic body that needs tightening
- A damaged XLR cable with broken pin 1 (ground)
- A faulty audio interface with poor grounding
- A missing or loose ground connection in the mic’s internal wiring
If touching the mic stops the buzz, start by checking your XLR cable pins. Pin 1 is the ground pin, and if it is not making solid contact, you will hear exactly this kind of noise. A quality cable with proper connectors solves this in most cases.
Phantom Power and Condenser Mic Hum
Condenser mics require 48V phantom power to operate, and inconsistent or improper phantom power delivery is a frequent cause of buzzing and humming. If your interface has a weak or fluctuating phantom power supply, the mic will produce noise.
Phantom power is sent through the same XLR cable that carries your audio signal. Pins 2 and 3 carry the +48V DC voltage, while pin 1 is ground. If any of these pins have a poor connection, you will hear buzzing, crackling, or intermittent dropouts.
Signs that phantom power is causing your issue:
- Buzzing only happens when 48V is engaged
- Noise disappears when you switch to a dynamic mic on the same channel
- The buzz changes pitch or volume when you touch the phantom power switch
- You are using a long XLR cable (over 25 feet) without proper shielding
Some budget audio interfaces have phantom power supplies that are not perfectly regulated. If you suspect this, try a different interface or a dedicated phantom power supply. External phantom power units are available and provide cleaner 48V delivery than many built-in interface supplies.
Audio Interface and Preamp Troubleshooting
Audio interface problems account for roughly 30% of condenser mic buzzing issues I encounter. The most common culprits are gain settings, USB port issues, and preamp quality.
Gain staging: If your gain is set too high, you will amplify the self-noise of your preamp along with your voice. This sounds like a steady hiss or buzz. Try reducing gain by 10-15dB and see if the noise drops proportionally. If it does, the noise was being amplified by your gain setting.
USB port issues: USB 3.0 ports are known to introduce EMI that can affect audio interfaces. If your interface is plugged into a USB 3.0 port, try a USB 2.0 port instead. You can also use a USB cable with ferrite cores on both ends to filter out interference.
Preamp quality: Budget interfaces often have noisy preamps. This is not a defect, it is a limitation of the design. If your preamp self-noise is the source of your buzz, the solutions are: gain optimization, upgrading your interface, or using a cleaner preamp (like a Cloudlifter) to reduce the gain burden on your interface.
Driver and buffer settings: Outdated audio drivers can cause crackling and buzz. Update your interface drivers and try increasing your buffer size. A buffer size of 256 samples or higher reduces CPU load and can eliminate certain types of digital noise.
Mic Placement and the 3:1 Rule
The 3:1 rule states that when using multiple microphones, each mic should be at least three times farther from the next mic than it is from its own sound source. This rule helps prevent phase cancellation and also reduces interference pickup between microphones.
Even with a single mic, placement matters. Keep your condenser mic at least 6-12 inches away from your computer monitor, as the monitor emits EMI that condenser mics easily pick up. Position the mic so the back (or side, depending on the polar pattern) faces the noise source.
For USB and laptop users, distance is your best friend. I have seen condenser mics pick up hard drive noise from just inches away. Move the mic at least 2 feet from any computer or laptop, and you will often see immediate improvement.
Software and DAW Solutions for Persistent Buzz
After you have ruled out hardware causes, software tools can help eliminate residual noise. I use these techniques when hardware fixes are not possible or when I need a quick fix for existing recordings.
Noise gates: A noise gate mutes the signal when it falls below a set threshold. This eliminates background buzz during pauses in speech. Most DAWs include a noise gate plugin, and dedicated plugins like Waves NS1 Noise Suppressor work exceptionally well.
EQ to remove hum frequencies: If your buzz is a steady 60Hz hum, a narrow EQ cut at 60Hz can reduce it. For 120Hz buzz, cut there instead. Use a narrow Q (high value like 5-10) to avoid affecting your voice.
Noise removal plugins: iZotope RX, Waves NS1, and Accusonus ERA Noise Remover can learn your noise profile and remove it automatically. These are excellent for cleaning up existing recordings that have persistent buzz.
Audacity and free options: Audacity has a built-in noise reduction tool that works surprisingly well for simple hum removal. Record 5-10 seconds of the room tone (no talking), then use that as your noise profile.
When to Use Ground Loop Isolators and Ferrite Cores
Ground loop isolators and ferrite cores are hardware solutions for stubborn electrical noise. Use them when you have confirmed the noise source is electrical interference or ground potential differences.
Ground loop isolators break the ground path between devices. Popular options include the ART DTI and Behringer HD400. These connect between your interface and computer, or between your interface and monitors, and eliminate ground loop hum. I recommend trying these before replacing any cables or interfaces.
Ferrite cores clamp around your XLR or USB cables and filter out high-frequency EMI. They are inexpensive and effective, especially for cables running near computers or power supplies. Forum users on Reddit consistently report that adding a ferrite core to their mic cable eliminated their buzz issue.
Hum bucking coils are specialized XLR cables with built-in hum elimination. They are more expensive than standard cables but provide an extra layer of noise rejection. Shure and Mogami make well-regarded hum bucking cables.
If you have tried all the above and still hear buzz, the noise source may be inside your microphone. Condenser mics have a self-noise specification, and cheaper models can produce audible hiss. Check your mic’s EIN (equivalent input noise) rating. Anything above 20dB will produce audible noise in quiet recordings.
Frequently Asked Questions
Why is my condenser mic buzzing?
Condenser mic buzzing is usually caused by a ground loop, a faulty XLR cable, electromagnetic interference from nearby electronics, or inconsistent phantom power. Start by swapping your XLR cable and trying a different power outlet to isolate the cause.
How to test a condenser mic?
Test a condenser mic by recording in a quiet room, speaking at normal volume, and listening for background noise. Then touch the mic grill. If the buzz stops when you touch it, the issue is grounding. If the buzz remains constant regardless of input, the problem is likely in your cable, interface, or phantom power supply.
What is the 3:1 rule for mics?
The 3:1 rule states that when using multiple microphones, each mic should be placed at least three times farther from the next mic than it is from its own sound source. For example, if your main mic is 6 inches from your mouth, any secondary mic should be at least 18 inches away from your main mic. This reduces phase issues and interference pickup.
Why is my condenser making a humming sound?
A humming sound in a condenser mic is typically caused by a ground loop (60Hz hum in North America, 50Hz in Europe), electromagnetic interference from power supplies or monitors, or a faulty XLR cable with broken shielding. Check your cables first, then verify all audio gear shares the same electrical circuit.
Final Thoughts on Diagnosing Condenser Mic Buzzing
Learning how to diagnose buzzing or humming from a condenser mic comes down to systematic elimination. Start with cables, check your phantom power, test different outlets, and verify your audio interface. In most cases, the answer is a simple cable swap or a ferrite core. For persistent noise, ground loop isolators and proper mic placement finish the job.
If you have worked through this guide and still cannot eliminate the buzz, leave me a comment describing your setup. I read every one and help troubleshoot specific configurations. Your problem might also help other readers facing the same issue.