
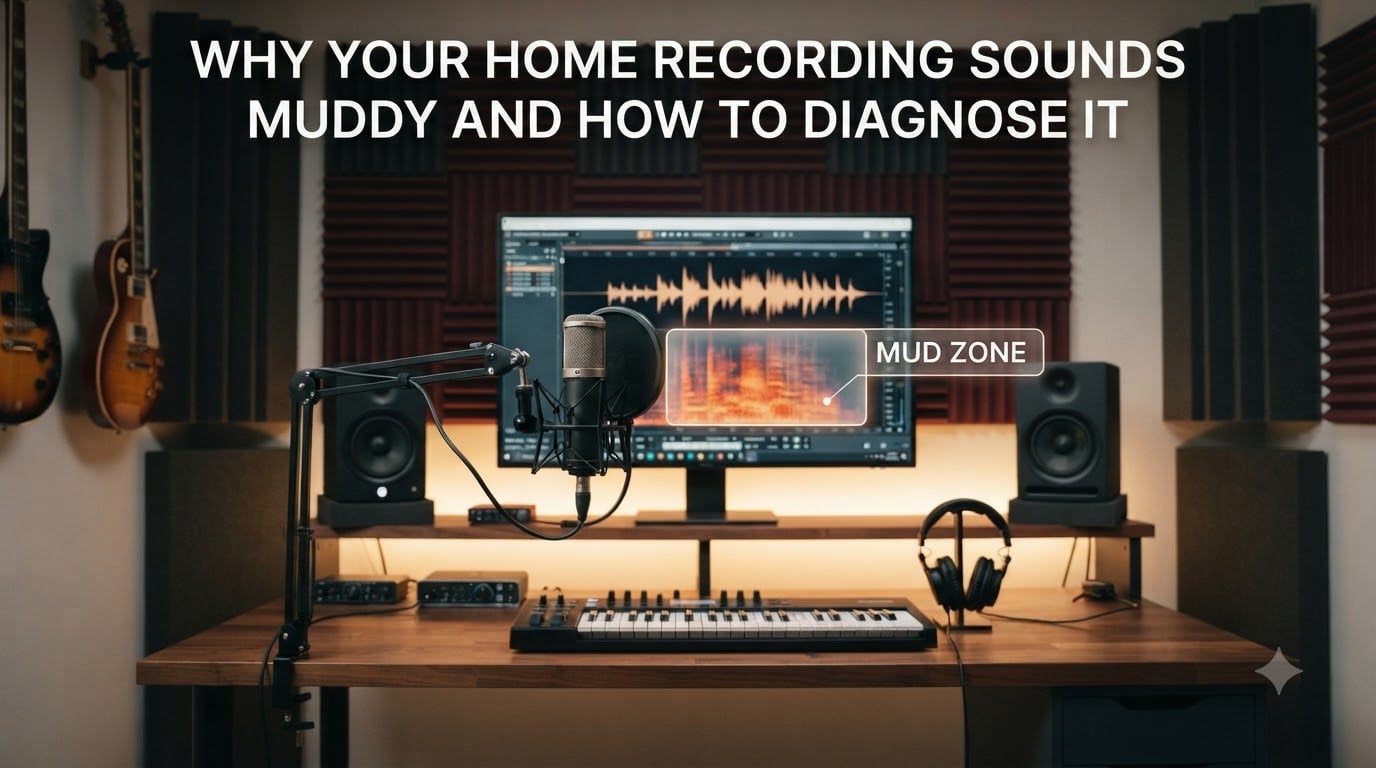
Your home recording sounds muddy when instruments blur together and vocals lose their edge. After producing music in my home studio for years and helping dozens of bedroom producers troubleshoot their tracks, I’ve learned one uncomfortable truth: mud does not come from one place.
It comes from a combination of room problems, microphone decisions, gain staging mistakes, and frequency clashes in your arrangement. By the end of this guide, you will know exactly what muddy means, where it lives in your frequency spectrum, and how to run a complete diagnosis on your own home recordings.
Table of Contents
What Does Muddy Mean in Audio?
A muddy recording sounds unclear, boxy, and muffled. Instruments and vocals lose their individual character and blend into one indistinct wall of sound. When I describe mud to new producers, I tell them to listen for three warning signs: words become hard to understand, the bass guitar fights the kick drum instead of supporting it, and everything feels like it’s stuck in a cardboard box.
The technical cause is excessive energy piling up in the low-mid frequencies, roughly 200 Hz to 500 Hz. This is the range where most instruments carry their fundamental tones, so when too many sounds compete there simultaneously, they mask each other.
Signs Your Recording Sounds Muddy
Here is the diagnostic checklist I run through whenever a producer sends me a mix that “just doesn’t sound right.” If you hear three or more of these symptoms, your home recording has a mud problem:
- Vocals sound like they are coming through a wall or pillow
- The bass and kick drum fight each other instead of locking in
- Lead instruments lack definition and “cut” through the mix
- Turning up the volume makes the mud worse, not better
- Reference tracks sound clearer and more open than your mix
- High frequencies feel harsh while the low end feels thick
I keep this list taped to my studio wall because mud is sneaky. You can spend hours EQing individual tracks and still miss the underlying cause. The goal is not just to identify symptoms but to find the root.
The Mud Zone: 200-500Hz Explained
The mud zone sits between 200 Hz and 500 Hz, and this is where the trouble lives. Bass guitars, snare drums, vocals, guitars, and even piano all carry important information in this range. When too many of these elements hit simultaneously, your ear cannot separate them.
Think of it like a highway with too many cars in the same lane. Each instrument needs its own “lane” in the frequency spectrum to be clearly heard. When everyone crowds into 200-500Hz, everything slows down and sounds congested.
Why These Frequencies Pile Up
Three things cause buildup in the mud zone. First, room acoustics in small home studios boost these frequencies through standing waves and bass buildup in corners. Second, microphone proximity effect adds bass when you get close to the mic. Third, poor gain staging often forces you to push low-energy signals higher, magnifying the mud.
This is why a “mix problem” frequently turns out to be a “recording problem.” The mud was baked into your tracks before you ever opened your DAW.
5 Common Causes of Muddy Home Recordings
Diagnosing why your home recording sounds muddy requires understanding five distinct causes. I have ranked these by frequency I encounter them in my own studio and when mentoring other home producers. Run through them in order when starting your diagnosis.
Cause 1: Room Acoustics and Standing Waves
Your room is the first variable most people miss. Bedroom studios and home recording spaces are typically small rectangular boxes, and small boxes create standing waves that pile up bass frequencies in corners and along parallel walls. The result is recordings with exaggerated low-mids that no amount of EQ fully fixes.
I learned this the hard way tracking vocals in my first home studio. The recordings sounded great through my monitors at the time. When I played them back in my car, the vocals were buried in mud. The room had been the culprit all along.
Cause 2: Microphone Placement and Proximity Effect
Cardioid microphones boost bass when you sing or speak close to them, an effect called proximity effect. Sing 2 inches from the mic and you pick up rich warmth. Sing 1 inch away and that warmth becomes a thick, muddy low-mid buildup that smothers your vocal clarity.
The fix is not more EQ. The fix is consistent mic distance, a pop filter to maintain spacing, and angling the mic slightly off-axis to reduce plosives. For instruments, try moving the mic further back or pointing it at the speaker edge instead of dead center.
Cause 3: Gain Staging Errors
Gain staging is the most overlooked cause of mud in home recordings. If your preamp is clipping into your interface and you pull the fader down in your DAW, you have not removed distortion. You have only made loud distortion quieter. That distortion often lives in the low-mids, adding mud without obvious clipping artifacts.
Set proper input levels: peaks around -18 dBFS on your interface meter gives headroom while preserving signal integrity. Record with healthy levels and your tracks will have less mud and more clarity from the start.
Cause 4: Over-Compression
Compression brings up the quiet parts of a signal, but on acoustic sources like vocals and bass, aggressive compression can pull up frequencies you do not want. When a compressor activates, it often lifts the low-mid energy in vocals, making them sound thick and choked.
Use a high-pass filter in your compression sidechain (or before the compressor) to keep low-end rumble from triggering the compressor. Use moderate ratios (3:1 or 4:1) and watch your gain reduction meter. If you see more than 6 dB of gain reduction on a vocal, the compressor is probably adding mud.
Cause 5: Arrangement Clutter
Sometimes the mud is simply too many instruments in the same octave range. Layering a bass guitar, piano, guitar, and pads all occupying 200-500Hz creates buildup that no EQ can fully solve. The instruments mask each other regardless of how you pan or process them.
Try this experiment: mute half the tracks in your mix. If the mix suddenly sounds clearer, you have an arrangement problem, not an EQ problem. The fix is choosing complementary instruments, rolling off low-end on elements that don’t need it, and giving each sound its own sonic space.
Step-by-Step Diagnosis Guide
Now that you know the five causes, here is the diagnostic workflow I teach to every home producer I mentor. It takes about 30 minutes the first time and 10 minutes once it becomes habit.
The 5-Minute Mud Audit
Run through this audit every time a mix feels muddy. I designed it for bedroom producers without expensive test equipment, so all you need is your DAW and headphones.
- Bypass all processing: turn off every EQ, compressor, and effect on every track. Listen in solo to each track. Identify which tracks already sound muddy on their own.
- Check your room: play a familiar reference track through your monitors at mix volume. If it sounds muddy too, your room or monitors are contributing. If it sounds clean, the mud is in your recordings.
- Solo your bass and kick drum together. They should lock into a tight pocket. If they fight and blur, you have low-mid masking.
- Solo your vocal and lead instrument. If the vocal disappears behind the lead, your lead has too much energy in the 1kHz-4kHz range competing with vocal presence, OR your vocal is buried in 200-500Hz mud.
- Solo all rhythm section elements at once. Then add one element at a time. The exact moment a previously clear mix turns to mud tells you which track is the culprit.
When I run this audit on mixes sent to me for feedback, the culprit is usually track 4 or 5 in step 5. Adding one too many rhythm elements is the most common cause of muddy home recordings.
When to Start Your Mix Over
Sometimes the diagnosis reveals a problem you cannot fix in mixing. Knowing when to start over saves hours of frustration. I restart a mix when three or more of the following conditions are met:
- Multiple tracks sound muddy even in solo with no processing
- Removing the muddy tracks leaves too little material for a full arrangement
- The mud is consistent across the entire song, not just one section
- Your reference tracks sound nothing like your recordings
- You find yourself boosting highs to compensate, creating a thin, harsh sound
Starting over does not mean throwing away the recordings. It means reconsidering which tracks to keep, re-recording problematic parts, or accepting the mud and working with it. The best producers I know would rather re-record a vocal than spend a day fighting EQ.
EQ Techniques to Fix Muddy Recordings
Once you have diagnosed the cause, EQ becomes your surgical tool. The goal is not to make every track bright and thin. The goal is to remove only the frequencies each track does not need. Here are the three EQ approaches I rely on most.
High-Pass Filter Best Practices
Start with a high-pass filter on every track that does not need deep bass. Vocals, guitars, snare drums, overheads, and most synthesizers do not benefit from frequencies below 80-120Hz. Rolling off the low end on these tracks clears space for the bass and kick drum.
The mistake home producers make is setting the filter too high. A vocal needs warmth around 100-200Hz, so do not high-pass above 150Hz on most vocals or you lose richness. The rule of thumb: high-pass at the lowest frequency that does not thin out the source.
Surgical Cuts in the 200-500Hz Range
When two instruments are masking each other in the mud zone, narrow EQ cuts solve the problem without changing the character of either sound. Use a parametric EQ with a narrow Q (around 3-5) and cut 2-4 dB at the specific frequency causing the masking.
For muddy vocals on a busy mix, try a 3dB cut at 250Hz with a Q of 3. For guitar on top of bass, try a 2dB cut at 300Hz on the guitar. Small moves matter more than big ones.
Dynamic EQ vs Static EQ
Dynamic EQ adjusts its gain only when a specific frequency crosses a threshold. This is invaluable for mud that comes and goes. A static EQ cut on a vocal at 300Hz removes mud always. A dynamic EQ at 300Hz only reduces mud when the vocal gets loud enough to cause masking.
Use dynamic EQ for vocals where mud appears only on loud phrases. Use static EQ for tracks where mud is consistent throughout. Modern DAWs include dynamic EQ in stock plugins, so you do not need expensive third-party tools.
Home Studio-Specific Fixes
Professional studios spend tens of thousands on acoustic treatment. Home producers do not have that budget, but you can still dramatically improve your recordings with affordable solutions.
Affordable Room Treatment
Three purchases will solve 80% of bedroom studio acoustic problems. First, put a bass trap in each vertical corner of your room. Second, place 4-inch acoustic panels at the first reflection points on your side walls (the spot where sound from your monitors bounces back to your ears). Third, add a thick rug or carpet between you and your monitors.
I built my first bass traps from rigid fiberglass and fabric for under $200 total. They reduced the room mud more than any plugin I owned. Acoustic treatment is the single best investment for any home studio struggling with muddy recordings.
Monitoring Position Guide
Where you sit relative to your monitors matters as much as the monitors themselves. Form an equilateral triangle between your head and the two monitors. Place the monitors at ear height. Keep them away from the wall behind them (at least 6 inches, ideally 12).
Your listening position also matters in the room. Sitting closer to the back wall puts you in a bass null zone where low-mid problems get exaggerated. Move your desk forward 1-2 feet if possible, away from the wall behind your monitors.
Frequently Asked Questions
Why does my record sound muddy?
Your record sounds muddy because too much energy is piling up in the low-mid frequencies between 200Hz and 500Hz. This buildup comes from room acoustics, microphone proximity effect, gain staging issues, or too many instruments occupying the same frequency range simultaneously. The result is that vocals and instruments lose clarity and definition.
How to fix muddy audio?
Fix muddy audio with these steps: 1) Apply a high-pass filter on all non-bass tracks to remove unnecessary low-end. 2) Make narrow EQ cuts (2-4dB with Q of 3-5) in the 200-500Hz range on tracks that sound thick. 3) Check your microphone placement to avoid proximity effect buildup. 4) Address room acoustics with bass traps and acoustic panels. 5) Reconsider your arrangement if too many instruments occupy the low-mid range.
What does it mean when audio sounds muddy?
Muddy audio sounds unclear, muffled, and indistinct. Instruments and vocals blend together rather than standing out. The technical cause is excessive energy in the 200-500Hz frequency range, where most instruments carry their fundamental tones. When too many sounds compete in this range at once, they mask each other, creating a thick, boxy sound lacking clarity.
Why does my voice sound so muddy?
Your voice sounds muddy for three main reasons: 1) Proximity effect is adding bass when you sing too close to the microphone. 2) Your recording room has untreated corners creating standing waves that exaggerate low-mids. 3) Your vocal processing chain uses too much compression, which pulls up low-mid energy. Move back from the mic, treat your room, and use gentler compression with a high-pass sidechain filter.
Diagnose the Root Cause Before You Reach for EQ
Fixing muddy home recordings starts with diagnosis, not plugins. When a mix sounds muddy, run through the five causes systematically: room acoustics, microphone placement, gain staging, compression, and arrangement clutter. The audit steps in this guide walk you through each one in order, so you can identify which factor is actually causing your home recording to sound muddy.
I have watched producers spend entire days twisting EQ knobs when the real fix was a 6-inch change in microphone distance or a bass trap in the corner. Step back from the plugins and listen to the recording first. Most mud problems come from decisions made before you ever pressed record, and those decisions need different solutions than another EQ band.
Bookmark this guide and run through the 5-minute audit before every mix. Once diagnosis becomes habit, you will spend less time fighting mud and more time making music that sounds clear and professional. That shift is what separates bedroom producers who stay stuck from those who finally get the clarity they have been chasing.