
I remember the first time I tried recording vocals in my DAW and heard my voice echo back half a second later. It was unusable. That delay, called latency, is the single most common frustration for home studio producers, and it almost always comes down to one thing: your audio driver.
ASIO drivers are the standard solution for low-latency audio on Windows. They bypass the slow default audio path and talk directly to your sound hardware. In this guide, I’ll walk you through exactly how to set up ASIO drivers to lower latency in your DAW, whether you own a dedicated audio interface or you’re using ASIO4ALL with your onboard sound card.
Table of Contents
What Is ASIO and Why Does It Lower Latency in Your DAW
ASIO stands for Audio Stream Input/Output. Steinberg developed the protocol in the late 1990s specifically to solve a problem Windows still hasn’t fully fixed: native Windows audio (WDM, MME, DirectSound) routes audio through layers that add noticeable delay.
ASIO bypasses those layers and lets your DAW communicate with your audio hardware directly. The result is a much shorter signal path, measured in milliseconds. A well-tuned ASIO setup can achieve 5-10ms of round-trip latency, while default Windows drivers often sit above 30ms.
Low latency matters because of perception. Most musicians start to feel a delay above 10-15ms, and anything over 20ms makes live recording and software instrument monitoring feel like playing in a canyon. When you learn how to set up ASIO drivers in your DAW, you remove that canyon entirely.
ASIO is also important because it gives your DAW exclusive access to the sound card. No other program can grab audio focus mid-session, which prevents dropouts during recording.
ASIO4ALL vs Dedicated Audio Interface: Which Should You Use
You have two paths to ASIO. The first is the driver that ships with a dedicated audio interface (Focusrite, Universal Audio, Behringer, MOTU, etc.). The second is ASIO4ALL, a free universal driver that wraps your existing sound card.
ASIO4ALL is the right choice when you’re starting out, on a budget, or using a laptop with no audio interface. I used it for two years before buying my first interface, and it got me through dozens of recordings. Dedicated interfaces, however, deliver far better performance, often 2-4ms of round-trip latency versus 15-24ms with ASIO4ALL on the same machine.
Here’s a quick decision rule. If your interface has a name like Scarlett, Komplete Audio, or Babyface, use its native ASIO driver. If you’re plugging headphones into your laptop’s 3.5mm jack, use ASIO4ALL.
Forum users frequently report that ASIO4ALL still feels “unusable” for hardware synths, and they’re not wrong. ASIO4ALL is a workaround, not a replacement for proper audio hardware. If you’re serious about producing, plan to invest in a dedicated interface within your first six months.
How to Set Up ASIO Drivers in Your DAW
The exact steps depend on your DAW, but the core idea is identical: open Preferences, find the Audio settings, and switch the driver type from Windows Audio or DirectSound to ASIO. Then choose your interface from the dropdown.
Ableton Live
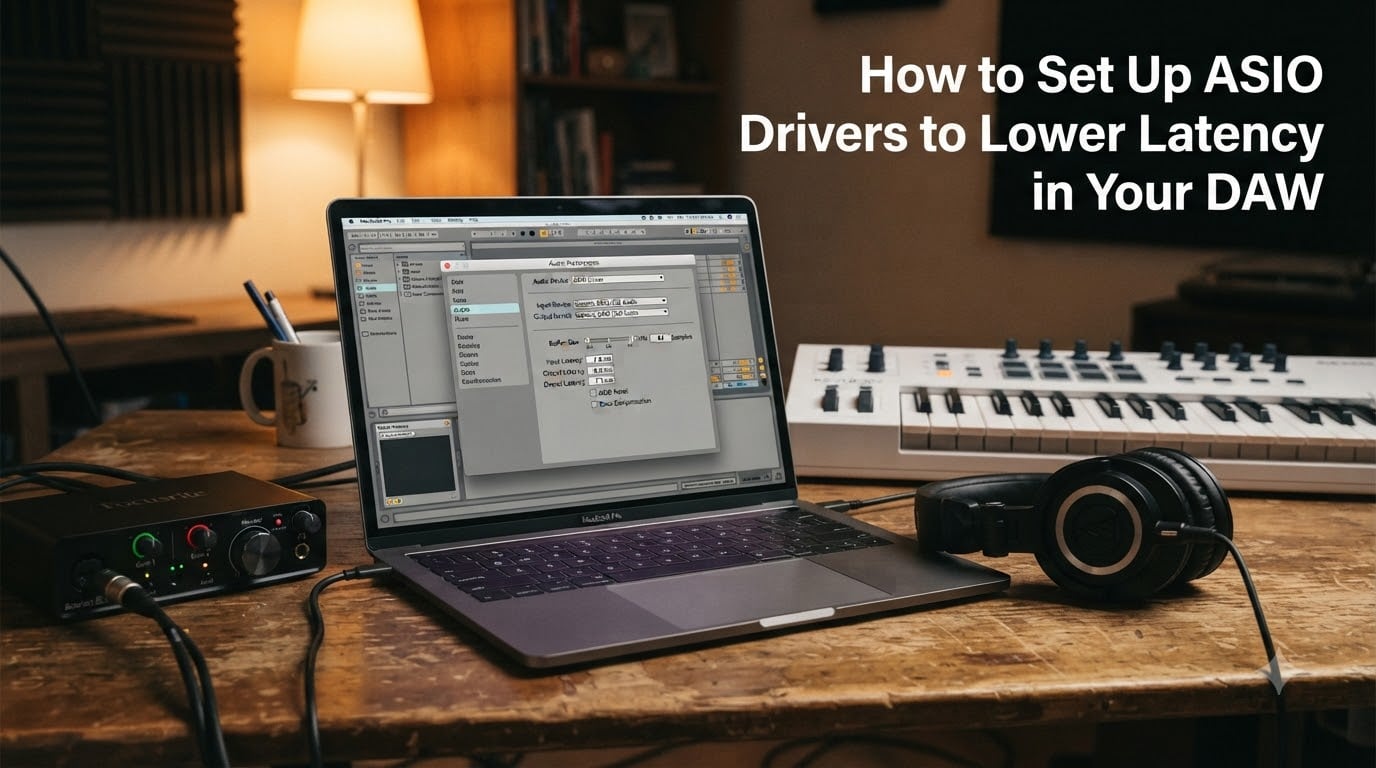
Open Live’s Preferences from the Options menu (or press Ctrl+, on Windows). Click the Audio tab on the left. Set Driver Type to ASIO. Choose your audio interface or ASIO4ALL from the Input and Output Device dropdowns.
Click “Hardware Setup” next to the driver selector to open your interface’s control panel. This is where you’ll set the hardware buffer size, which we’ll cover in detail below.
FL Studio
Go to Options, then Audio Settings. Set the device dropdown to ASIO4ALL v2 or your interface driver. Click the ASIO panel button to open the driver settings. You can also enable the “Switch to ASIO when possible” option for automatic selection.
Reaper
Open Preferences (Ctrl+P), navigate to Audio, then Device. Set Audio system to ASIO. Choose your interface or ASIO4ALL. Reaper also lets you adjust the block size directly from this screen, which is a nice touch.
Pro Tools
Open the Playback Engine dialog from the Setup menu. Select your ASIO driver from the dropdown. Pro Tools is more restrictive about which interfaces it supports, so make sure yours is on the approved list if you go this route.
How to Install and Configure ASIO4ALL for Low Latency
If you don’t own an audio interface, ASIO4ALL is your best friend. Here’s how to install and tune it properly.
Step 1. Download ASIO4ALL v2 from the official source. Avoid third-party download sites that bundle adware.
Step 2. Run the installer and reboot when prompted. The driver installs as a system-level component.
Step 3. Open your DAW and set the driver to ASIO4ALL v2 as described in the previous section.
Step 4. Click “ASIO Panel” or “Hardware Setup” to open ASIO4ALL’s control panel.
Step 5. In the control panel, click the wrench icon next to your sound device. Make sure your input and output devices are selected. Most laptops will show Realtek or another onboard chipset.
Step 6. Set the buffer size to 256 samples to start. If your audio is stable, drop it to 128. If you hear crackling, pop back up to 256 or 512.
Warning: don’t enable every checkbox in ASIO4ALL’s advanced settings. Most users don’t need the “Force WDM” or “Always resample” toggles, and these can actually increase latency. Keep the panel minimal until you know what each option does.
Buffer Size and Sample Rate: Finding Your Lowest Stable Latency
Buffer size is the single most important setting for lowering latency. It controls how many audio samples your computer processes before sending them to the hardware. Smaller buffers mean less delay but more CPU strain. Larger buffers mean more delay but smoother playback.
Here’s a practical starting point for buffer sizes:
- 512 samples: safe for any computer, around 11ms at 48kHz
- 256 samples: balanced choice for most users, around 5-6ms
- 128 samples: aggressive, ideal for recording and live monitoring, 2-3ms
- 64 samples: only on powerful machines with optimized setups, 1-2ms
I keep my buffer at 128 samples during tracking and bounce it up to 512 when mixing. This single habit has saved me countless dropouts during long sessions.
Sample rate also matters. Higher sample rates (88.2kHz, 96kHz) mean more data per second but actually slightly less latency for the same buffer size because samples arrive faster. The tradeoff is more CPU load and larger file sizes.
For most home studios, 44.1kHz or 48kHz is the right call. Going higher rarely improves sound quality unless you’re doing specific high-fidelity work.
The golden rule: lower the buffer until you hear glitches, then raise it by one step. That sweet spot is your lowest stable latency.
Windows OS-Level Audio Optimizations for Lower Latency
Your DAW settings are only half the battle. Windows itself can sabotage your latency if you don’t tune a few system-level options.
Disable Windows Audio Enhancements. Right-click your speaker icon, choose Sounds, select your playback device, click Properties, then the Advanced tab. Uncheck “Enable audio enhancements.” These add processing that fights against ASIO’s direct path.
Set your power plan to High Performance. Search for “Power Plan” in the Start menu and select High Performance. Balanced or Power Saver plans throttle your CPU and can cause dropouts at low buffer sizes.
Close background applications. Browsers, Discord, and cloud sync clients all compete for CPU time. Before recording, close anything you don’t absolutely need.
Disable USB selective suspend. This Windows power-saving feature can cause audio interfaces to drop out. Search for “Power Options” and click “Change plan settings,” then “Change advanced power settings.” Find USB settings and disable selective suspend.
Update your audio drivers. Even with ASIO installed, your underlying sound card drivers matter. Check your laptop or motherboard manufacturer’s site quarterly for updates.
Troubleshooting Common ASIO Errors and Latency Issues
Even with a perfect setup, things break. Here are the issues I see most often in production forums and how to fix them.
“ASIO driver not found.” Your DAW is looking for a specific driver that isn’t installed. Reinstall your interface’s ASIO driver from the manufacturer’s website, or verify ASIO4ALL is selected if that’s what you’re using.
Audio dropouts and clicks at low buffer sizes. Your CPU can’t keep up. Raise the buffer size by one step, close background apps, and verify your power plan is set to High Performance.
ASIO4ALL still has high latency. This is a hardware limitation. ASIO4ALL cannot bypass the fundamental limitations of your onboard sound card. Consider buying a dedicated interface if you need consistently low latency.
Can’t use ASIO alongside other audio apps. ASIO takes exclusive control of your sound card. If you need to hear audio from a browser or game while producing, use a virtual audio cable like VoiceMeeter or ASIO Link Pro to route between programs.
Latency spikes during recording. CPU spikes cause these. Disable any plugins on your monitoring path, freeze or render tracks with heavy processing, and check that antivirus software isn’t scanning in the background.
Direct Monitoring: The Zero-Latency Shortcut
When latency just won’t drop low enough, direct monitoring saves the day. Most audio interfaces have a hardware monitor knob that routes your input signal straight to your headphones before it touches the DAW. The result is zero-latency monitoring, perfect for tracking vocals or instruments.
You’ll hear yourself in real time, with effects applied later during playback. This is how professional studios handle monitoring, and it removes latency as a variable entirely.
To enable it, press the Monitor button on your interface (often labeled “Direct Monitor” or “Input”) and make sure monitoring is disabled in your DAW’s track to avoid hearing your voice twice.
Frequently Asked Questions
How do I reduce latency in ASIO?
Lower your buffer size in your DAW’s audio preferences, starting at 256 samples and dropping to 128 if your CPU can handle it. Close background applications and set your Windows power plan to High Performance for stable low latency.
How to reduce latency on a DAW?
Set your DAW to use an ASIO driver instead of Windows Audio or DirectSound, lower the buffer size to 128-256 samples, and disable any monitoring plugins on your input track. For tracking vocals, enable direct monitoring on your interface for zero-latency performance.
What is the best ASIO driver for low latency?
A dedicated audio interface with its native ASIO driver delivers the lowest latency, often 2-5ms round-trip. ASIO4ALL is the best free option for users without an interface, but it typically achieves 15-24ms due to onboard sound card limitations.
What is the latency of ASIO?
ASIO itself does not have a fixed latency. Latency depends on your buffer size and sample rate. At 128 samples and 48kHz, ASIO achieves about 2.7ms of round-trip latency, while 256 samples gives roughly 5.3ms.
Are ASIO and ASIO4ALL the same?
No, they are different. ASIO is the audio driver protocol developed by Steinberg, and ASIO4ALL is a free third-party implementation that lets onboard sound cards use the ASIO protocol. Dedicated audio interfaces ship with their own custom ASIO drivers, which generally outperform ASIO4ALL.
How to set audio driver to ASIO?
Open your DAW’s Preferences, navigate to the Audio settings, and change the Driver Type dropdown to ASIO. Then select your audio interface or ASIO4ALL from the device list. Restart your DAW if the driver does not initialize on the first try.
Does ASIO improve sound quality?
ASIO improves perceived sound quality during recording and monitoring by eliminating delay, but it does not change bit depth or sample rate. Your audio files will sound the same as long as the bit depth and sample rate match those of non-ASIO drivers.
Final Thoughts on Setting Up ASIO Drivers for Low Latency
Lowering latency in your DAW comes down to three choices: pick the right ASIO driver, set your buffer size as low as your CPU allows, and remove the bottlenecks Windows puts in your way. Once you’ve set up ASIO drivers and tuned the buffer, the difference is immediate. You’ll play tighter, record cleaner, and stop fighting your setup.
Start with ASIO4ALL if you don’t have an interface, but plan your upgrade path. A solid audio interface with a native ASIO driver is the single biggest upgrade you can make to your home studio, and it unlocks the kind of low latency that makes producing actually fun.