
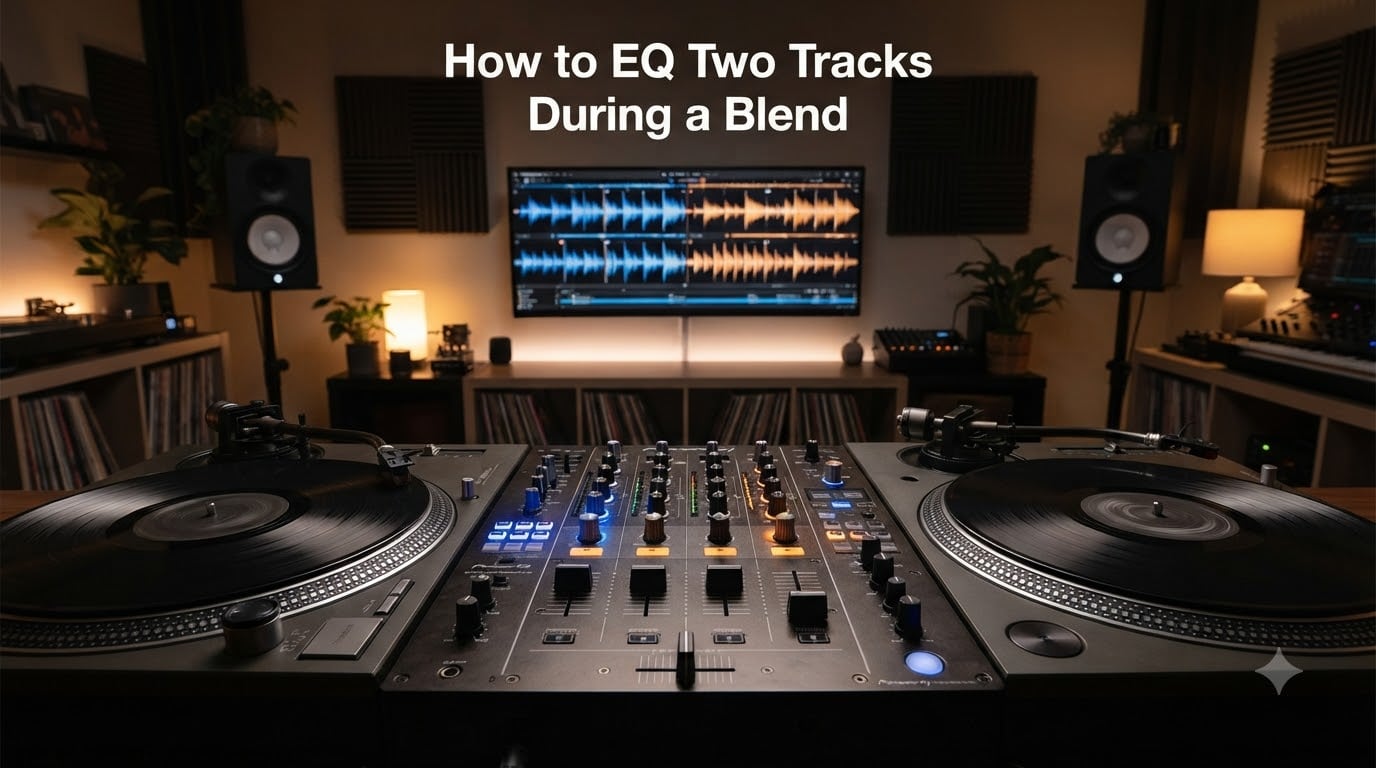
Blending two tracks together sounds simple until you actually try it. You line up the beats, hit play, and suddenly everything turns to mud. The kick disappears, the basslines fight each other, and the vocals get buried. I have been there more times than I want to admit.
The fix almost always comes down to one skill: knowing how to EQ two tracks during a blend. Equalization is the single biggest difference between a rough crossfade and a seamless, professional-sounding transition. In this guide, I will walk you through the exact techniques I use every week when mixing in clubs and producing in my home studio, including specific frequencies, knob positions, and the small habits that separate amateur blends from clean ones.
Table of Contents
What Is EQ and Why It Matters for Blending Tracks
EQ, short for equalization, is the process of boosting or cutting specific frequency ranges in an audio signal. Every sound you hear sits somewhere on the frequency spectrum, from the deep rumble of a sub bass around 40 Hz to the airy shimmer of cymbals above 12 kHz. When you play two tracks at the same time, those frequencies collide.
Think of EQ like giving each track its own lane on a highway. Without lanes, cars pile up and traffic stops. With lanes, everything flows. That is what good EQ does for a blend: it creates space so each track can be heard clearly.
The philosophy most professionals follow is “cut before you boost.” Cutting frequencies removes problems. Boosting frequencies adds character but can quickly overcrowd a mix. When blending two tracks, cutting is almost always the safer choice. If both tracks have heavy bass, you cut the bass on one. If both have bright hi-hats, you cut the highs on one. The result is a balanced blend where neither track overwhelms the other.
Understanding Frequency Ranges and Where Instruments Sit
Before you touch a single EQ knob, you need to know how the frequency spectrum is divided. Most engineers break it into three main zones, and each one has a personality.
The Three Core Frequency Zones
Lows (20 Hz to 250 Hz) carry the weight and energy of a track. This is where kick drums, basslines, and sub frequencies live. Too much low-end in a blend creates a muddy, boomy mess. Too little, and the mix feels weak.
Mids (250 Hz to 4 kHz) carry the body and warmth. Snare drums, guitars, vocals, and most melodic instruments sit here. The mids are also the most crowded range, which is why clashes happen so often when blending two full mixes.
Highs (4 kHz to 20 kHz) carry clarity, air, and detail. Hi-hats, cymbals, vocal air, and synthesizer sparkle live here. When two tracks share the same high frequencies, the result sounds harsh and fizzy.
For a quick reference, here are the typical frequencies where common elements sit. Memorize these and your EQ decisions will become much faster.
- Sub bass: 20-60 Hz
- Bass and kick fundamental: 60-120 Hz
- Low mids (warmth, mud): 120-400 Hz
- Mids (body, instruments): 400 Hz-2 kHz
- Upper mids (presence, vocals): 2-6 kHz
- Highs (clarity, air): 6-20 kHz
Frequency Masking: Why Blends Sound Muddy
Frequency masking is the technical term for what happens when two sounds fight for the same space. Your ear can only separate so much information at once. When two tracks both emphasize the same frequencies, the quieter one disappears.
I learned this the hard way during a live set at a small venue. I mixed two house tracks together without touching the EQ. The result was a wall of sound where nothing stood out. The crowd did not dance, and I knew exactly why. Both tracks were hammering the 100-200 Hz range with their basslines, and my ears could not separate them.
Frequency masking is the enemy of clean blends. Every technique I will show you in this guide is designed to defeat it. By giving each track its own frequency space, you prevent masking and let the listener hear every element clearly.
How to EQ Two Tracks During a Blend: Bass Swapping Step-by-Step
Bass swapping is the number one technique I recommend for any DJ or producer blending two full tracks. The idea is simple: when Track B enters, you cut the bass on Track A (or drop its volume) and let Track B own the low end. Once the transition is complete, you bring the bass back on Track A as it fades out.
This works because most dance, hip-hop, and pop tracks place their kick and bassline in the same 60-120 Hz range. Playing both at once creates phase issues and mud. Bass swapping solves it cleanly.
Step 1: Identify the Low-End on Both Tracks
Cue up both tracks in your software or mixer. Solo each one for a moment and listen for the kick and bass. Note where they sit. If both are in the 60-120 Hz zone, you have a clash waiting to happen.
Step 2: Engage a High-Pass Filter on the Incoming Track
Apply a high-pass filter (HPF) to Track B starting around 100-150 Hz. This removes the low-end from the incoming track so it does not fight with Track A. Bring the filter in slowly over 4-8 beats for a smooth transition.
Step 3: Cut the Bass on the Outgoing Track
On Track A, either drop the low EQ knob to zero (a full kill) or pull it down by 6-12 dB. Many DJ mixers have dedicated low EQ knobs for this exact purpose. The moment Track B enters, Track A loses its bass energy.
Step 4: Let Track B Own the Low End for 8-16 Beats
During this window, Track B’s bass carries the energy. Track A’s melody, vocals, or percussion sits on top without interference. This is the sweet spot of a blend.
Step 5: Swap Back as Track A Exits
As Track A fades out (or when Track B is fully established), you can bring Track A’s bass back in if it is still audible. By this point, Track A should be in its outro and the clash is less noticeable.
This whole process typically takes 16-32 beats. The exact timing depends on the tempo and phrasing of the tracks. Always align the EQ changes with musical phrases, not just beats.
Frequency Layering for Cleaner Two-Track Blends
Frequency layering takes the bass-swapping concept and applies it across the entire spectrum. Instead of just managing the lows, you assign each track its own frequency space across lows, mids, and highs.
For example, if Track A has a punchy midrange synth and Track B has a bright lead, you can boost Track A’s mids and cut Track B’s mids slightly. The result is both elements audible without one drowning the other.
A Practical Layering Example
Imagine blending a melodic house track with a vocal house track. Track A has a strong sub bass and lead synth. Track B has vocals, a hi-hat pattern, and a subtle bassline. Here is how I would layer them.
- Track A (outgoing): Pull lows down 6 dB at 80 Hz, keep mids, cut highs 4 dB at 8 kHz.
- Track B (incoming): Pull mids down 4 dB at 1 kHz, boost highs 3 dB at 10 kHz for vocal air, keep lows at zero.
The math is simple: if Track A is loud in the lows and Track B is loud in the highs, they never compete. Both tracks sound complete, and the blend feels full.
Common Pairings and Where to Cut
Here are a few pairings I run into constantly, with the EQ moves that work.
- Kick + bass: If they clash, cut the bass at 60-100 Hz on whichever one has less energy.
- Two vocals: Boost 3-5 kHz on the lead vocal, cut the same range on the supporting vocal.
- Kick + kick: Match them in phase first; if they still clash, cut one at 80 Hz by 3 dB.
- Two lead synths: Boost one in the 1-2 kHz range and cut the other in the same range.
Using Mid-Side EQ for Two-Track Mixing
Mid-side EQ is a more advanced technique, but it solves a problem the other methods cannot. Every stereo track has a mid channel (the center, mono content like vocals and kick) and a side channel (the stereo spread, like reverbs and panned instruments). A mid-side EQ lets you adjust each channel separately.
When blending two tracks, mid-side EQ is powerful because you can carve space for both tracks without losing stereo width. For example, if Track A has a wide, washy reverb and Track B has a centered vocal, you can cut Track A’s mids by 3-4 dB at 1-2 kHz while leaving its sides untouched. Track A keeps its spacious feel, and Track B’s vocal cuts through clearly.
When to Use Mid-Side EQ
Reach for mid-side EQ when the basic bass swapping and frequency layering are not enough. It is especially useful for ambient, cinematic, or wide-sounding genres where stereo image matters. If your DAW or plugin supports it (most do, including FabFilter Pro-Q, Waves, and stock EQs), give it a try.
For most DJ blends, mid-side EQ is overkill. But for studio work where you are blending full mixes together, it can rescue a muddy blend that nothing else fixes.
High-Pass and Low-Pass Filtering During Transitions
Filters are your friends when blending two tracks. A high-pass filter (HPF) removes low frequencies below a set point. A low-pass filter (LPF) removes high frequencies above a set point. Together, they let you reshape a track’s entire frequency balance in real time.
During a blend, I almost always engage an HPF on the incoming track at around 80-150 Hz. This clears the low-end space for the outgoing track. Some DJs also pull in an LPF on the outgoing track around 8-10 kHz, which dims its brightness as it leaves. The combination creates a classic “underwater” effect that many DJs use for dramatic transitions.
Watch Out for Resonance
When you push a filter hard, you might hear a resonant peak near the cutoff frequency. This is a known quirk of analog-modeled filters. If the resonance gets harsh, reduce the Q (resonance) knob or apply a slight cut at the cutoff frequency on a parametric EQ to tame it.
One more tip: automate your filter movements with curves, not jumps. A smooth 4-beat filter sweep sounds musical. A sudden filter drop sounds jarring and amateur.
Common EQ Mistakes to Avoid When Blending Tracks
I have made every mistake in the book. Here are the ones I see most often, and exactly how to fix them.
Boosting When You Should Be Cutting
New producers often reach for the boost knob first. They hear a weak vocal and crank 3 kHz up 6 dB. The vocal pops, but so does the harshness. Cutting competing frequencies on the other track would have achieved the same clarity without adding energy. Remember: cuts are subtractive and forgiving. Boosts are additive and easy to overdo.
EQing in Solo
EQing a track in solo is a trap. A track sounds great soloed, then disappears in the blend. Always make EQ decisions in context, with both tracks playing together. Your ear needs to hear the interaction.
Cutting Too Many Frequencies at Once
If you cut four or five bands on a single track, you are not solving problems, you are just making it dull. Each EQ move should have a clear purpose. If you cannot explain why you are cutting a frequency, undo the move.
Ignoring Phase Relationships
Two tracks playing in slightly different phases can cancel each other out, especially in the low end. If your blend sounds thin even after EQ, check the phase alignment. Some mixers and plugins have a phase flip button. Try it on the incoming track and see if the low end fills back in.
Applying the Same EQ to Both Tracks
If both tracks have the exact same EQ curve, they will clash everywhere. EQ should be different on each track. One might have a low cut, the other a high cut. The whole point of EQ is to give each track its own space.
Pro Tips for Mastering EQ Blends
Beyond the basics, here are a few habits that have made the biggest difference in my own mixing.
Match the Phrase Before You Touch the EQ
Never start EQ moves until the two tracks are phrase-aligned. The rule of 32 (32 beats per phrase in most dance music) is a good starting point. When both tracks hit a phrase boundary at the same time, your EQ moves feel natural.
Use Your Eyes as Well as Your Ears
A frequency analyzer like SPAN or your DAW’s built-in spectrum view helps you see where energy is building up. If you see two huge peaks at 200 Hz from both tracks, you have found your masking problem without even listening.
Try TrackSpacer or Similar Plugins
TrackSpacer is a popular plugin that automatically carves EQ space for one track based on the frequency content of another. It is not free, but the free alternatives like MAnalyzer or manual sidechain EQ can achieve similar results with more effort.
A-B Test Your Blend
After you have set your EQ, A-B test by toggling the EQ on and off. If the blend sounds better with EQ, your moves worked. If it sounds the same or worse, undo and try again. This habit has saved me from over-EQing countless times.
Check on Multiple Speakers
Your blend might sound great on your studio monitors but fall apart on earbuds or a club system. Play your blend on at least three different playback systems: monitors, earbuds, and a phone speaker. If it still sounds balanced on all three, you have nailed it.
Frequently Asked Questions
What are the most common EQ mistakes to avoid when blending tracks?
The most common EQ mistakes are boosting when you should cut, EQing in solo instead of in context, applying identical EQ curves to both tracks, ignoring phase relationships, and cutting too many frequencies at once. Each EQ move should have a clear purpose, and decisions should be made while both tracks are playing together.
What is the bass swapping technique for blending tracks?
Bass swapping means cutting the low frequencies (around 60-120 Hz) on the outgoing track while letting the incoming track own the bass. Once the transition is complete, you bring the bass back on the outgoing track if needed. This prevents two basslines from clashing and muddying the blend.
What frequencies should I cut when blending two tracks?
Focus on frequencies where both tracks compete. Common cuts include 60-120 Hz for bass clashes, 200-400 Hz for muddy low mids, and 8-12 kHz for harsh high-frequency overlap. Always cut on whichever track has less energy in that range.
How does mid-side EQ help with two-track mixing?
Mid-side EQ lets you adjust the center (mid) and stereo (side) channels of a track independently. You can cut mids on one track to make room for a centered vocal on another, while preserving the stereo width and reverb. It is a powerful tool for blends where stereo image matters.
Should I EQ tracks in solo or in the context of the blend?
Always make final EQ decisions in context, with both tracks playing together. EQing in solo can trick you into thinking a track needs cuts or boosts that actually clash in the blend. Your ears need to hear the interaction between the two tracks to make smart EQ choices.
Final Thoughts: Practice Your EQ Blends Until They Feel Automatic
Learning how to EQ two tracks during a blend is a skill that rewards repetition. The first few times you try bass swapping or frequency layering, it will feel slow and awkward. After a dozen attempts, your hands will start moving on their own. After a hundred, you will hear EQ problems before they happen.
Start simple: pick two tracks with similar basslines and practice the bass swap. Once that feels natural, try adding high-pass filters and frequency layering. Eventually, bring in mid-side EQ for your studio work. Each technique stacks on the others, and soon you will have a complete toolkit for any blend scenario.
The crowd does not care about your technical process. They only care about whether the music keeps them moving. Clean EQ blends are how you keep that energy flowing without a single awkward moment.