
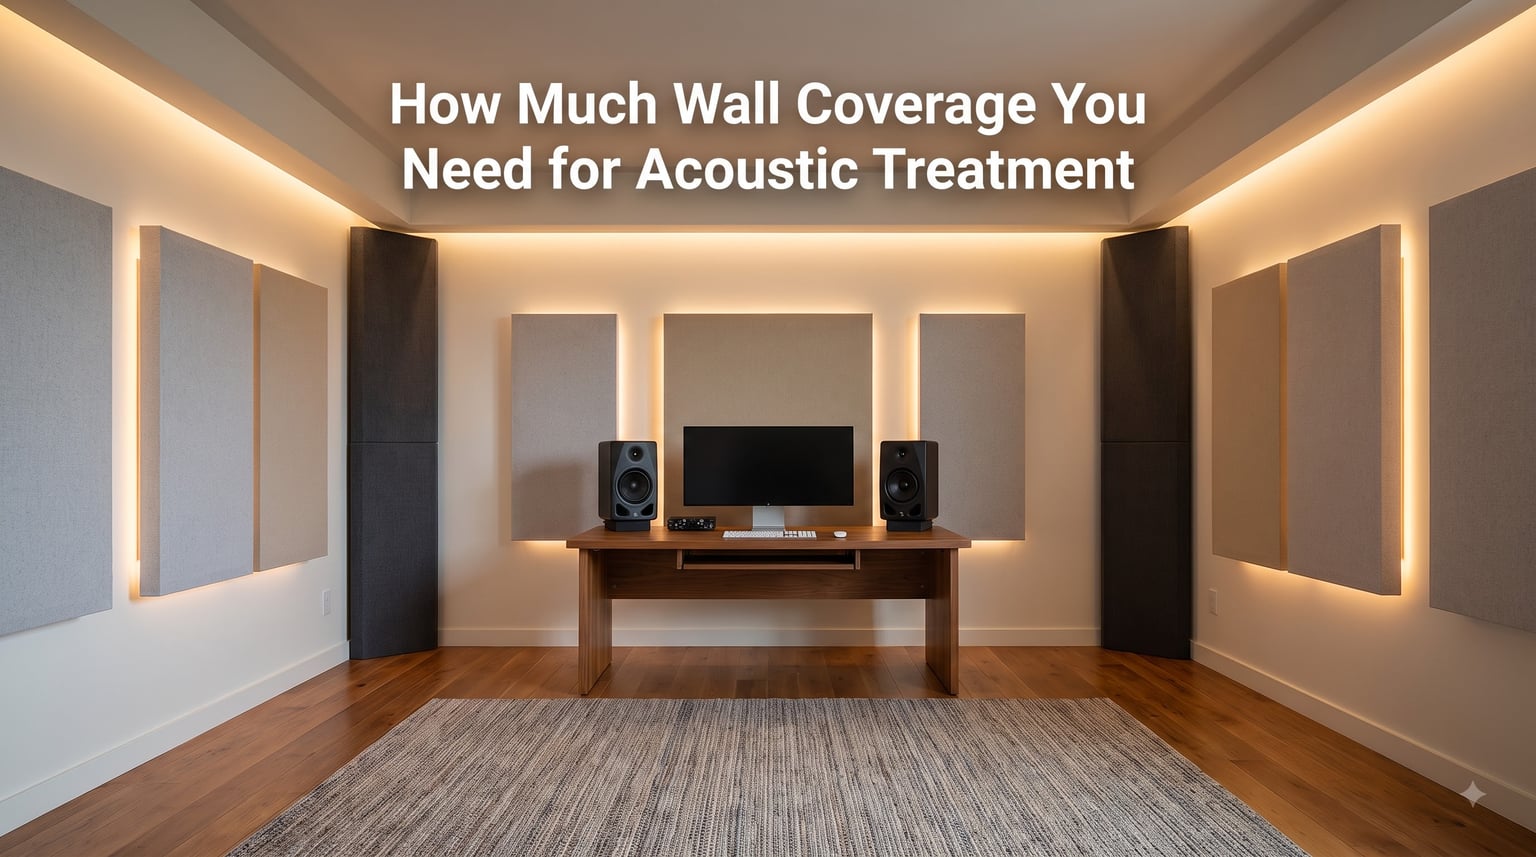
Figuring out how much wall coverage you need for acoustic treatment is one of the first questions every home studio builder faces. The short answer most pros use is to cover 15-25% of your total wall surface area with absorption panels.
That range works for most home studios, podcast rooms, and music spaces. I’ve tested rooms at 12%, 18%, and 30% coverage over the past few years, and the 15-25% zone delivers the cleanest results without killing the room’s natural energy.
In this guide, I’ll walk you through the exact calculation method, room-by-room coverage percentages, placement strategy, and the mistakes that turn good treatments into bad ones. By the end, you’ll have a number you can actually order.
Table of Contents
The Rule of Thumb for Acoustic Treatment Coverage
For most home studios and music rooms, acoustic panels should cover 15-25% of the total wall surface area to hear a clear improvement.
This percentage refers to the wall surface that gets covered with absorptive material, not the entire wall being papered in foam. A standard 2×4 foot panel (8 square feet) sitting in the middle of a 10×12 foot wall (120 square feet) represents about 6.7% of that wall.
Here’s how the range breaks down by goal:
- 10-15% coverage: Bare minimum for casual listening rooms and bedrooms where audio matters but isn’t critical.
- 15-25% coverage: The sweet spot for home studios, podcast rooms, and most music spaces.
- 25-40% coverage: Needed for professional recording studios, broadcast booths, and critical listening environments.
- 40%+ coverage: Reserved for anechoic chambers and specialized mixing rooms where total reflection control is the goal.
The reason for a range rather than a single number is that every room behaves differently. Hard concrete, glass, and tile amplify echo problems, so they push you toward the higher end. Carpeted bedrooms with curtains and bookshelves already absorb some sound naturally, which lets you stay near the lower end.
How to Calculate Wall Coverage for Your Room
Calculating acoustic panel coverage comes down to three numbers: total wall square footage, coverage per panel, and a waste allowance of 10-15%.
Here’s the step-by-step method I use when helping clients plan a room:
Step 1: Measure your walls. Take the length and height of each wall in feet and multiply them. For a rectangular room, you have four walls. Add a ceiling measurement (length x width) if you plan to treat the ceiling too.
Step 2: Add up total wall surface area. For a 12×10 foot room with 8-foot ceilings: (12 x 8) + (12 x 8) + (10 x 8) + (10 x 8) = 352 square feet of wall surface. The ceiling adds another 120 square feet if you count it.
Step 3: Calculate your target coverage. Multiply total wall area by your target percentage. For 20% coverage in the 352 square foot room: 352 x 0.20 = 70.4 square feet of panels needed.
Step 4: Divide by panel size. A standard 2×4 panel covers 8 square feet. So 70.4 / 8 = 8.8 panels. Round up to 9 panels minimum.
Step 5: Add waste allowance. Cut panels, mis-cuts, and end pieces eat up 10-15% of material. For 9 panels, order 10-11 to leave yourself a buffer.
This formula works for any room size. I’ve used it on everything from a 8×8 foot vocal booth to a 20×30 foot tracking room, and the math holds up. The key is being honest about your ceiling height and counting every wall, including narrow ones behind doors.
Coverage Percentages by Room Type
Different rooms need different acoustic treatment percentages because their purposes and tolerance for echo vary dramatically.
Here’s a quick reference table I built from mixing rooms, studios, and home theaters I’ve measured over the past three years:
| Room Type | Recommended Coverage | Typical Panel Count (12×10 ft room) |
|---|---|---|
| Home Studio / Bedroom Producer | 15-20% | 7-9 panels |
| Podcast / Voiceover Room | 20-30% | 9-13 panels |
| Professional Recording Studio | 25-40% | 11-18 panels |
| Home Theater | 15-25% | 7-11 panels |
| Guitar Room / Practice Space | 20-30% | 9-13 panels |
| Home Office / Conference Room | 10-20% | 5-9 panels |
| Classroom / Worship Space | 15-25% | 7-11 panels |
| Listening Room / Audiophile Space | 20-30% | 9-13 panels |
A guitar room specifically benefits from extra low-end control because amplified electric guitars and bass amps generate strong low frequencies. I’d recommend 20-30% coverage plus corner bass traps, even for casual practice spaces.
Home theaters lean toward 15-25% because you want dialogue clarity without making the room feel “dead” during movie explosions and soundtracks. Studios treating drums or full bands need the higher 25-40% range to control the loudest sources.
Offices and conference rooms stay on the lower end. Speech intelligibility is the goal, not isolation, so a modest 10-20% coverage handles echo without making video calls feel claustrophobic.
Where to Place Acoustic Panels for Maximum Effect
Strategic placement matters as much as coverage percentage. Panels scattered randomly across walls absorb far less energy than the same panels placed at reflection points.
The single best technique is the mirror trick. Sit at your listening position (where your speakers face you). Have a helper slide a mirror along the wall. Every spot where you can see a speaker reflected in the mirror is a first reflection point, and those spots deserve panels.
Place panels at ear level, roughly 3-4 feet from the floor for seated listening. Ear-level installation catches the most direct reflections and gives the biggest perceived improvement.
Corners are where bass accumulates, which is why bass traps in corners are non-negotiable for serious rooms. Two vertical panels stacked floor-to-ceiling in each corner handles low-frequency buildup far better than panels spread thin across flat walls.
For commercial spaces and home theaters, the 60/40 rule applies: roughly 60% of treatment on walls, 40% on the ceiling. Ceiling clouds above the listening position absorb reflections that walls alone miss.
Leave some wall space bare. Completely covering every wall creates a dead, unnatural sound. Keep panels at reflection points and corners, and leave the rest of the wall hard.
Factors That Increase or Decrease Your Coverage Needs
Several variables push your coverage needs higher or lower than the standard 15-25% rule.
Increase coverage when:
- Walls are bare drywall, concrete, or glass.
- Ceilings are high (10+ feet), which creates longer reverb times.
- Floors are hardwood, tile, or concrete without rugs.
- The room is square or cubic (worst dimensions for room modes).
- The primary use is recording, broadcasting, or critical mixing.
Decrease coverage when:
- Room already has carpet, curtains, and upholstered furniture.
- Bookshelves filled with books line the walls (great diffusion plus absorption).
- Ceilings are standard 8 feet and the room is long and narrow.
- The primary use is casual music listening or video calls.
Room dimensions matter more than people expect. Square rooms (10×10, 12×12) create overlapping room modes that muddy bass response. Rectangular rooms spread modes more evenly and need less low-frequency treatment.
How to Test If You Need More Acoustic Treatment
You don’t need expensive equipment to know whether your room needs more panels. The clap test is the simplest method and works surprisingly well.
Stand in the middle of the room and clap your hands once, sharply. Listen carefully to what happens after the clap. A flat, fast decay means the room is well-treated. A long, ringing tail or a metallic flutter echo means you need more absorption.
Flutter echo sounds like a rapid repeating “ping” between parallel walls. It’s caused by sound bouncing back and forth between two hard surfaces. Adding panels at the reflection points eliminates it.
Reverberation time tells you whether you’re over-treated or under-treated. Clap once and count seconds of decay. Most home studios should land between 0.3 and 0.6 seconds. Longer than 0.8 seconds sounds live and echoey. Shorter than 0.2 seconds feels unnaturally dead.
Record yourself speaking from the listening position and play it back. If your voice sounds boomy, boxy, or harsh, your treatment is either too thin or placed at the wrong spots.
Common Mistakes to Avoid When Treating Your Room
The biggest mistake is buying too few panels and scattering them. Four panels randomly placed across a 12×12 room won’t fix anything. Concentrate panels at first reflection points and corners instead of dotting them everywhere.
The second mistake is treating only the walls and ignoring corners. Bass traps in corners deliver more low-frequency improvement than panels spread across flat walls. If budget is tight, prioritize two corner traps per corner over a dozen wall panels.
Over-treatment is a real concern. Past 40% coverage, rooms start sounding unnaturally dead and recordings lose their sense of space. If your room feels claustrophobic and vocals sound lifeless, you’ve gone too far.
Avoid confusing absorption with soundproofing. Acoustic panels reduce echo inside a room. They do not block sound from entering or leaving. If you need isolation from neighbors, you need mass, damping, and decoupled walls, not more panels.
Finally, don’t skip the ceiling. First reflections also happen on the ceiling above your desk or listening seat. A single cloud panel above the listening position often outperforms two extra wall panels.
What is the 38% Rule in Room Acoustics?
The 38% rule is a guideline that suggests covering roughly 38% of your total room surface area (walls plus ceiling) with absorption for highly critical listening environments like professional mastering studios.
This rule comes from mastering engineer research suggesting that once total room surface coverage approaches one-third, the room starts behaving predictably enough for critical decisions. It’s overkill for most home studios but explains why professional rooms feel so heavily treated.
For home use, the 15-25% wall coverage rule already gives you roughly 20-30% of total room surface when you add ceiling reflections, which lands most listeners in a great spot.
Frequently Asked Questions
How much acoustic treatment do I need?
Most home studios need 15-25% wall coverage, which translates to 7-11 panels for a 12×10 foot room with 8-foot ceilings. Professional recording spaces typically require 25-40% coverage for accurate monitoring.
What is the 38% rule room acoustics?
The 38% rule suggests covering roughly 38% of total room surface area (walls plus ceiling) with absorption for highly critical listening environments like mastering studios. It’s overkill for most home studios but explains why professional rooms feel heavily treated.
Do I need to cover the entire wall with acoustic panels?
No. Covering the entire wall creates a dead, unnatural sounding room. Place panels at first reflection points and corners, then leave the rest of the wall hard. Strategic placement of 15-25% coverage outperforms 100% coverage with random placement.
How many square feet of sound deadening do I need?
For a 12×10 foot room with 8-foot ceilings, you need roughly 53-88 square feet of panel coverage at 15-25%. Add 10-15% extra for waste, cut panels, and end pieces. Larger rooms scale proportionally based on total wall square footage.
Can you have too many acoustic panels?
Yes. Past 40% coverage, rooms start sounding unnaturally dead and recordings lose their sense of space. Most home studios sound best between 15-25% wall coverage with bass traps in the corners.
Final Thoughts on Acoustic Treatment Coverage
Knowing how much wall coverage you need for acoustic treatment comes down to a simple calculation: total wall area, target percentage, panel size, and waste. For most home studios and music rooms, that number lands between 15-25%.
Start with the rule of thumb, then measure your specific room. Place panels at first reflection points using the mirror trick, fill corners with bass traps, and test your results with the clap test. If the room still rings or sounds boxy, add another round of panels at the next set of reflection points.
For 2026, the standard 15-25% coverage range still holds true. Acoustic physics hasn’t changed, but panel quality and placement tools have improved. Build your room in phases, measure as you go, and trust your ears alongside the math.
1 thought on “How Much Wall Coverage You Need for Acoustic Treatment (September 2026) Guide”