
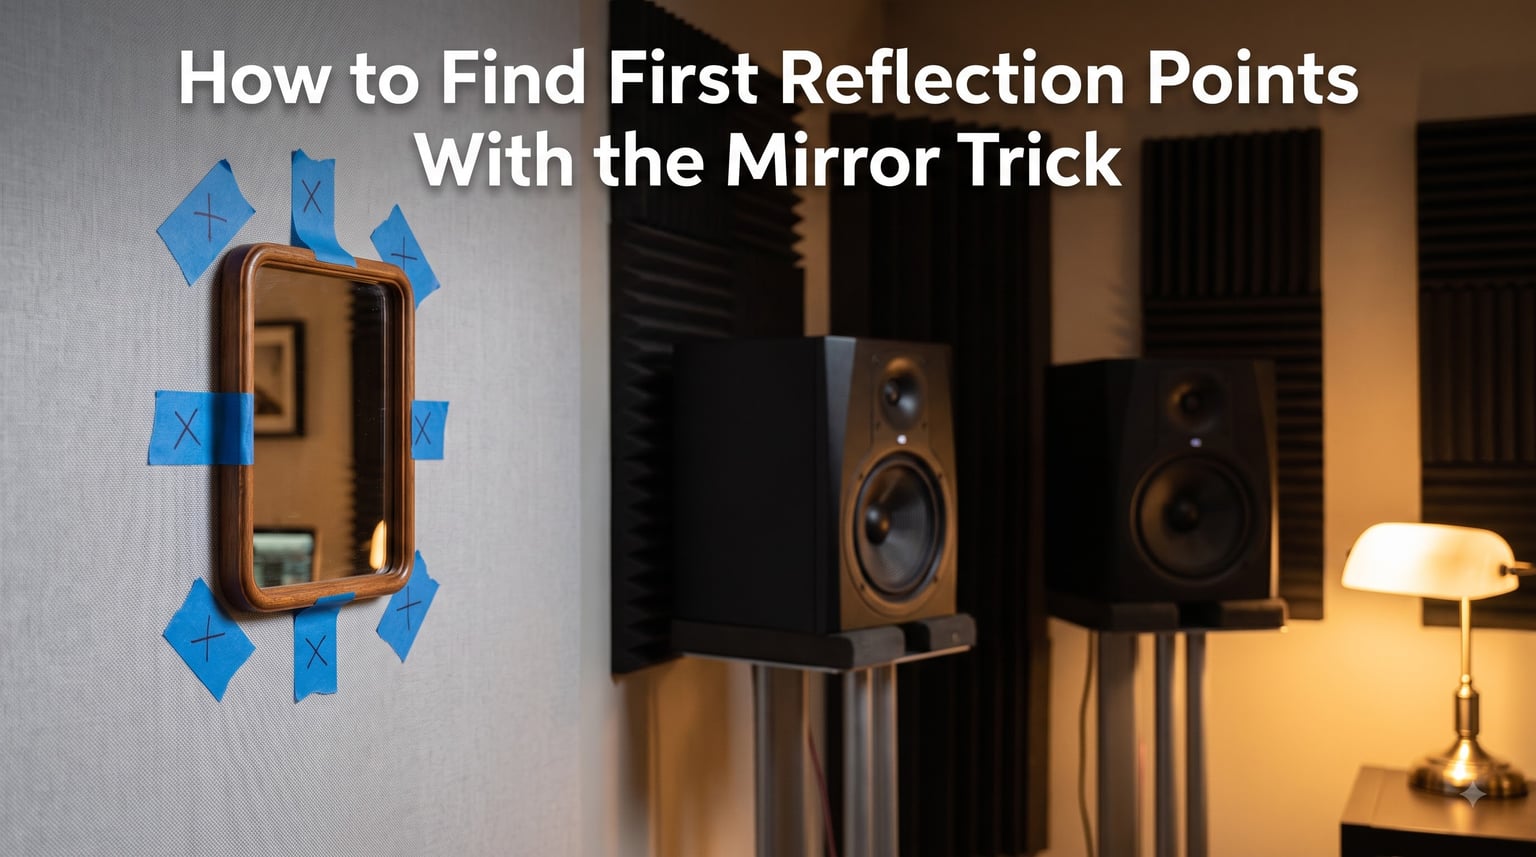
Finding first reflection points with the mirror trick takes about 10 minutes and only needs a small mirror, painter’s tape, and your listening chair. The mirror trick is the simplest reliable way to find exactly where sound from your speakers bounces off your walls and ceiling and arrives at your ears a few milliseconds after the direct sound.
When I first set up my home studio, I bought acoustic foam, stuck it randomly across my back wall, and wondered why my mixes sounded dull and weirdly scooped. The problem wasn’t the panels. I had placed them in spots that had nothing to do with the actual reflection paths in my room. Once I ran the mirror trick and treated the real reflection points, the difference in stereo imaging and clarity was immediate. This guide walks through the same method so you skip the trial-and-error phase.
Table of Contents
Understanding First Reflection Points and Why They Matter
First reflection points are the specific spots on your walls, ceiling, and sometimes floor where sound from your speakers bounces directly back to your ears before the room reverb decays. They arrive at your ears roughly 1 to 30 milliseconds after the direct sound, depending on the geometry of your room.
Because those reflected sound waves mix with the direct sound, they cause comb filtering, which creates a series of peaks and nulls across your frequency response. In plain language, your speakers add or cancel certain frequencies at your ears, and what you hear no longer matches what is actually on the recording.
This matters because if your mixing decisions are based on a skewed frequency response, your master will sound completely different on other systems. Treating first reflection points flattens what reaches your ears, improves stereo imaging, and lets you hear panning, depth, and reverb tails the way they were recorded.
The good news is that finding these points requires no math, no measurement microphone, and no special software. A mirror and a friend (or a clever solo trick) is all you need.
What You Need Before the Mirror Test
The mirror test is famously cheap. Here is the gear list I keep taped to the inside of my studio door so I can re-run it anytime I rearrange.
A small flat mirror, around 8×10 inches or larger works well
Painter’s tape (not permanent tape, you don’t want to peel drywall)
A pen or pencil for marking
A helper for the classic method, optional for the solo method
A step stool or short ladder for ceiling points
Your studio monitors set up in their final position, properly toed in
Place your speakers exactly where they will live during mixing. Move your desk, swap stands, adjust toe-in, then leave everything alone. The mirror trick only works for the geometry you actually have, so repositioning after marking means starting over.
How to Find First Reflection Points With the Mirror Trick: Step-by-Step
The classic mirror trick uses a helper to slide the mirror along the wall while you sit at your listening position. Here is the full procedure I use in every studio setup I help with.
Sit in your primary listening position. Put your chair exactly where your head will be during mixing. Keep your posture natural.
Look at your left speaker. Your helper holds the mirror flat against the left side wall, starting at the corner behind the speaker.
Have your helper slowly move the mirror forward along the wall toward the listening position.
Watch the mirror. The instant you can see the reflection of your left speaker in it, stop and mark that spot with painter’s tape.
Continue moving the mirror until the speaker disappears from view, then stop. That second mark defines the reflection zone.
Repeat the process for the right speaker on the right wall.
Now check the front wall behind your speakers. Have your helper slide the mirror along the wall behind each monitor. Mark where you can see the tweeter.
Move to the back wall. Sit facing forward, and have your helper move the mirror along the back wall. Mark where you can see either speaker.
For ceiling points, lie back in your chair or stand a step stool at the listening position. Hold the mirror flat against the ceiling. Mark where each speaker reflects.
Each marked location is a first reflection point. The vertical range between your “I can see the speaker” mark and “I cannot see it” mark is the reflection zone. Acoustic panels should cover that whole zone, not just the single point.
How to Do the Mirror Test by Yourself (Solo Method + Laser Pointer)
Most guides assume you have a friend, but I have run this alone in nearly every room I’ve treated. Two solo methods work well.
The phone camera method is the easiest. Sit at the listening position and prop your phone up on a small tripod aimed at the side wall. Open the camera app, switch to the front-facing camera if needed, and slowly pan it along the wall while watching the live view on the screen. Anywhere the camera frames your speaker’s reflection, that is a reflection point. Use your painter’s tape to mark those spots, then move the phone and repeat for each surface. It is slower than having a helper but it is reliable and uses gear you already own.
The laser pointer method is faster for solo work. Tape a small laser pointer to your speaker, aimed at the wall at roughly the angle you want to mark. The dot shows you exactly where the sound would reflect. Move the laser along the speaker baffle to find the points that match your listening geometry, then mark those dots. A green or red pointer works, but a green beam is easier to see in a lit room.
If neither of those feels right, you can also use a large mirror propped against the wall and sit so you see your speaker without help. Just slide the mirror until you see the reflection, then walk over and mark the wall behind it.
Which Surfaces to Check: Side Walls, Ceiling, Floor, Back Wall
Not every reflection point matters equally. If you only treat two surfaces, make them the side walls and the ceiling. Here is the priority list I follow, and that acousticians agree on.
Side walls are first priority. They produce the strongest early reflections on both stereo channels, and they have the biggest impact on stereo imaging and phantom center. Mark and treat these before anything else.
The ceiling is second priority. The reflection from the ceiling between you and your speakers creates a strong slap-back echo that smears transients and dulls the high end. Treat the ceiling reflection point for each speaker and the central reflection zone above your head.
The front wall behind the speakers matters mostly for low-frequency behavior and for boundary reflections that color your midrange. Treat it after side walls and ceiling.
The back wall behind you is fourth priority. Many producers skip it at first, but it matters for late reflections and for sweet spot stability. A diffuser works well here if you want to keep some liveliness in the room.
The floor usually does not need acoustic panels because most studios already have a rug or carpet. If yours does not, lay down a thick rug between you and the speakers to kill the floor bounce.
Marking Reflection Points and Choosing the Right Panel Size
Once you have marked your points, the next question is panel size. The reflection zone is wider than a single dot, so aim for coverage that spans from the first mark to the second mark on each wall.
From my experience and from the forum users who have measured this carefully, panels at least 46×23 inches cover most reflection zones cleanly when stacked vertically. Smaller 12×12 inch foam squares are decorative at best and will not catch enough of the reflection to fix comb filtering. If you can only afford two or four panels, buy fewer large ones, not many small ones.
Mark each spot with painter’s tape and write a small label like “L-side high” or “ceiling-L.” Then leave the tape for a day or two and live with the room before installing anything. If you rearrange your setup, the tape comes off cleanly and you start fresh.
If you have pets or kids, this is the moment forum users keep complaining about tape markers getting pulled down. I switched to small Post-it notes with the date written on them, stuck high enough to be out of reach. The Post-it still peels off cleanly and survives curious hands better than tape.
Absorption vs Diffusion vs Reflection: Which Treatment to Use
Once you know where the points are, you need to decide what to put there. Acoustic treatment comes in three main flavors, and each behaves very differently.
Absorption panels soak up sound energy and convert it to a tiny amount of heat. Use them at the first reflection points on side walls and ceiling. They tighten the stereo image and reduce slap-back echo without over-deadening the room if you leave the back wall untreated.
Diffuser panels scatter sound in many directions instead of absorbing it. They keep a room lively and natural-sounding. Use diffusers on the back wall and occasionally on the ceiling behind the listening position.
Reflective surfaces, like bare drywall, glass, and hardwood, bounce sound. You want some reflective surfaces in a control room to maintain a sense of space, but never at the first reflection points where early reflections wreck your imaging.
A typical home studio layout puts absorption on side walls and ceiling first reflection points, a mix of absorption and diffusion on the front wall, and diffusion on the back wall. This balances clarity with a sense of room life.
Common Mirror Trick Mistakes to Avoid
After running the mirror trick dozens of times, I have seen the same handful of errors trip people up. Watch out for these before you start drilling holes or peeling adhesive.
Mistake one is moving the speakers after marking. Once your tape is on the wall, do not change toe-in or speaker height. Even a one-inch shift can move the reflection point by several inches on the wall.
Mistake two is treating only the single marked dot. The reflection zone is a region, not a point. Use panels large enough to cover from the first mark to where the reflection disappears.
Mistake three is forgetting the ceiling. Many beginners skip the ceiling reflection entirely and wonder why their mixes still sound boxy. The ceiling point is usually directly above the listening position and is one of the strongest reflections in the room.
Mistake four is buying foam squares instead of broadband panels. Decorative foam does almost nothing for comb filtering. Look for panels with a mineral fiber or fiberglass core covered in fabric. They actually absorb across the frequencies that matter.
Mistake five is treating every wall equally. Front wall, back wall, side walls, and ceiling all behave differently. Use the priority list in the section above rather than treating the room like a recording booth.
If your room has odd geometry, sloped ceilings, or built-ins, the mirror trick still works, you just need to check more spots. Run the test from multiple seating positions if more than one person mixes in the room. When seats are close together, the reflection points cluster, so one set of panels covers everyone.
FAQs
How to calculate first reflection points?
You don’t need to calculate them with math. The mirror trick does the work for you. Sit at your listening position, slide a mirror along the wall, and wherever you can see your speaker reflected in the mirror, mark that spot. That is your first reflection point.
How does the mirror trick work for finding reflection points?
Sound bounces off a wall at the same angle it arrives, so the path from the speaker to your ears acts like a light path. The mirror trick uses that physics by showing you the same geometric path. When the mirror reflects your speaker to your eyes, it also reflects the speaker’s sound to your ears. That spot is the reflection point.
Where are the first reflection points in a room?
First reflection points are on the side walls between you and each speaker, on the ceiling above your listening position, on the front wall behind the speakers, and on the back wall behind you. The side walls and ceiling are the highest priority because their reflections arrive earliest and loudest.
How to find mirror reflection points by yourself?
Use the phone camera method or the laser pointer method. Prop your phone on a tripod and pan it along the wall while watching the live view for your speaker’s reflection. Or tape a laser pointer to your speaker and mark where the dot lands on the wall. Both work without a helper.
Final Thoughts on the Mirror Trick
Learning how to find first reflection points with the mirror trick is one of the highest-value things you can do for your mixes. It takes 10 minutes, costs nothing, and pays back every time you sit down to work. Run the test, mark your points, treat the side walls and ceiling first with properly sized absorption panels, and leave the back wall slightly lively with diffusion.
Once you start working in a room where the early reflections are controlled, you will hear detail in your mixes that was always there but hidden by comb filtering. Your decisions on EQ, panning, and reverb will translate better to other systems, and you will stop fighting your room. Grab a mirror, set your speakers, and run the test this weekend.