
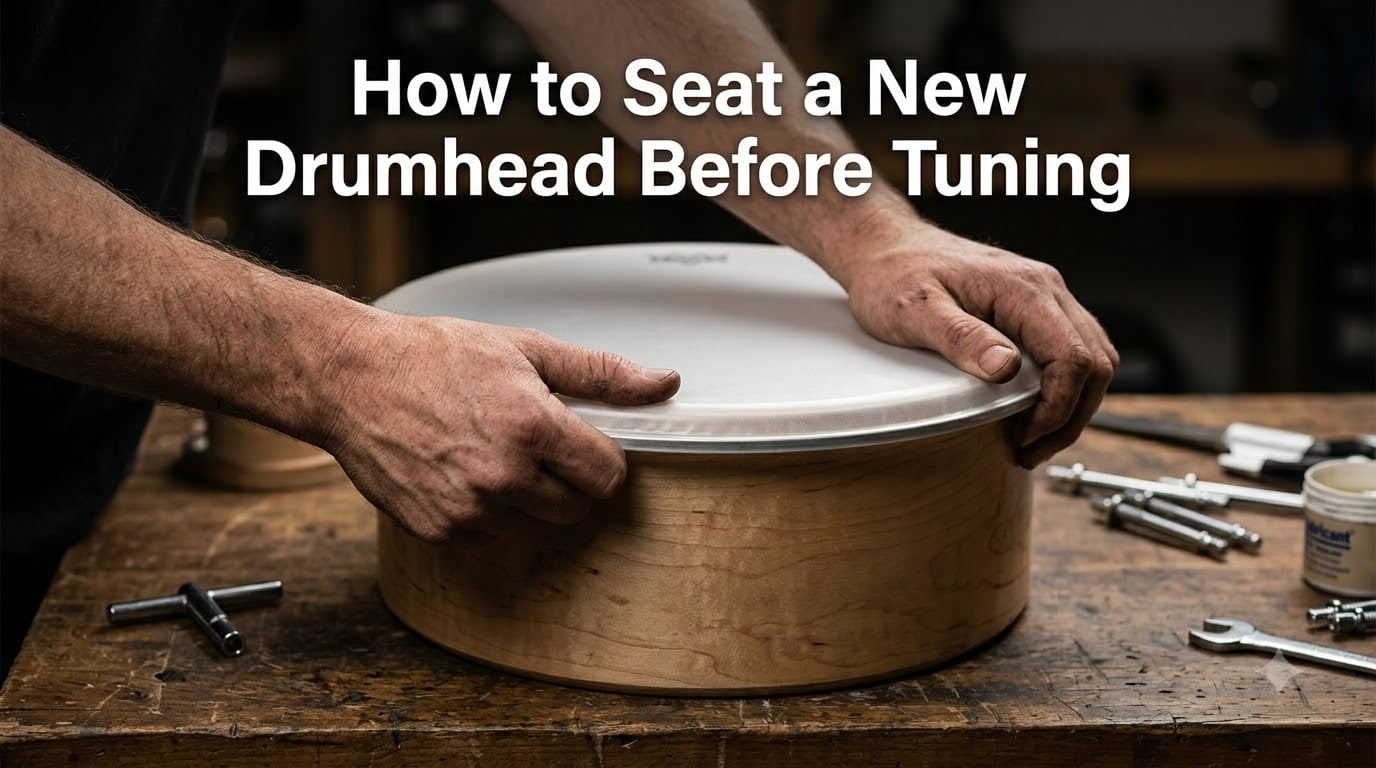
If your drum keeps drifting out of tune minutes after you set it, the problem almost always starts before you ever touch a drum key. Learning how to seat a new drumhead before tuning is the single step most drummers skip, and it is the reason so many kits sound dead, uneven, or unstable.
In this guide I will walk you through the exact seating process I use on every snare, tom, and bass drum I set up. We will cover finger-tightening, the crisscross star pattern, the press-down stretch, and the CPR method that experienced drummers swear by. By the end you will know how to seat a new drumhead before tuning so the head holds pitch and stays in tune for the entire set.
Table of Contents
Quick Answer: How to Seat a New Drumhead Before Tuning
Here is the short version for anyone who wants the core technique right now:
- Place the new head on the shell, seat the collar evenly under the counterhoop, and drop on all tension rods.
- Finger-tighten every rod until each one just touches the hoop.
- Work around the drum in a star (crisscross) pattern with a drum key, tightening each rod a half turn at a time.
- Press down firmly in the center of the head with the palm of your hand to stretch it.
- Repeat the star pattern until all wrinkles disappear and you feel even tension on every lug.
If you follow those five steps every single time, you will never have to fight a drum that will not stay in tune. The rest of this article explains the why behind each step.
What Is Drumhead Seating and Why It Matters
Seating a drumhead is the process of stretching a new drum head over the bearing edge so it conforms perfectly to the shell before final tuning. The head is pulled tight against the round edge of the shell, the collar is tucked evenly under the counterhoop, and every tension rod shares an equal load. When this is done right, the head sits flat, the pitch responds evenly to your tuning, and the drum stays in tune longer.
When it is done wrong, the head has wrinkles, the pitch wobbles across the surface, and the drum goes out of tune the moment you hit it hard. I learned this the hard way on a gig in 2026 when my snare started pitch-bending every fourth hit. The head was not seated, and no amount of tuning would save it.
Seating is not a myth, and it is not optional. Experienced drummers on Reddit’s r/drums and Drumforum.org consistently report that a properly seated head holds tuning longer, sounds more focused, and survives harder playing.
Tools You Need to Seat a New Drumhead
You do not need much, but having the right tools makes the seating process faster and more consistent. Here is what I keep within arm’s reach every time:
- Drum key — A standard 3-way drum key works on most modern tension rods. I prefer one with a knurled grip because you tighten a lot of rods during seating.
- Second drum key (optional but recommended) — Sweetwater’s guide recommends using two keys on opposite sides of the drum for even pressure on big toms and bass drums.
- Clean microfiber cloth — Used to wipe the bearing edge before you seat the new head. Dust and old drum residue stop the head from seating flat.
- Drum head — The matching batter or resonant head for your drum size. Always buy it a day early so it is at room temperature when you mount it.
- Flat workspace — Lay the drum flat on a towel or drum rug so the hoop sits level while you work.
If you only have one drum key, that is fine. You will just work in smaller increments.
How to Seat a New Drumhead Before Tuning: Step-by-Step
This is the heart of the article. Take your time with each step, especially the first three. The seating process is not about speed, it is about consistency.
Step 1: Remove the Old Head and Clean the Bearing Edge
Pop the tension rods off, lift the counterhoop, and pull the old head away. Before you even unwrap the new head, take your microfiber cloth and wipe the bearing edge. The bearing edge is the rounded rim of the shell where the head makes contact. Any dirt, oil, or old glue here will create a high spot and the head will never seat flat.
I also run my finger along the edge to check for dents or chips. A damaged bearing edge will keep the head from seating no matter how well you tighten the rods.
Step 2: Place the New Head and Seat the Collar Evenly
Set the new head on the shell with the logo facing the way you want it. Now look at the collar — the small aluminum ring that the head is mounted on at the factory. The collar needs to sit evenly under the counterhoop all the way around.
This is the step Reddit users on r/drums call out as the most common mistake. If you slam the head down without checking, you can crush the collar under the rim, and once it is crushed it will not ring true and you will need a new head.
Drop the counterhoop on top, line up each tension rod with its lug, and thread each one on with your fingers.
Step 3: Finger-Tighten the Tension Rods
Walk around the drum and tighten every rod by hand until each one just makes contact with the hoop. The entire drum should now feel lightly snug, but you should still be able to see wrinkles in the head.
Do not skip this step. Finger-tightening levels the playing field so the head is loose everywhere before you ever touch a drum key. If one lug is already tighter than the others, you will lock in uneven tension and the head will never seat.
Step 4: Crisscross Tightening Using the Star Pattern
Pick a starting lug, then skip to the lug directly across the drum. Tighten that one a half turn. You are working in a star pattern, which means you always tighten opposite lugs, never two next to each other.
Walk around the drum hitting every lug once in this pattern. Then go around a second time, then a third. Each pass adds a half turn to every lug. After three or four passes the wrinkles should start disappearing and the head should feel drum-tight.
The star pattern is what protects the head from going out of round. Tightening adjacent lugs pulls the head to one side and locks in wrinkles you will never get out.
Step 5: Press Down in the Center to Stretch the Head
Make a fist and place it firmly in the center of the head. Push down with steady weight. You will hear creaks and pops as the head stretches and slides into its final position over the bearing edge. This is the sound of seating happening.
Do not use a tool for this, and do not punch the head hard. You are stretching the plastic, not trying to break it. Several firm presses with your palm work better than one big shove.
Step 6: Repeat the Star Pattern Until Wrinkles Disappear
After the press-down, go back to the star pattern with your drum key and tighten each lug another half turn. Watch the head as you work. Wrinkles should slide out toward the edge and disappear under the counterhoop.
Stop when every wrinkle is gone and the head looks like a flat mirror. If you see one stubborn wrinkle, the head is not seated evenly. Back off the lug opposite the wrinkle a quarter turn, press the center again, then re-tighten.
Step 7: Use the CPR Method for Final Stretching
The CPR method is one of the most mentioned techniques on drum forums, and it is what I use to finish the seating process. CPR stands for Press, Cross, Release.
- Press — Press down firmly in the center of the head.
- Cross — Work through the star pattern one more time with your drum key.
- Release — Loosen every lug a half turn and let the head settle.
After the release, retighten in the star pattern until you reach your tuning tension. The CPR cycle lets the head find its resting position before you commit to final tuning.
How to Tell If Your Drumhead Is Seated Properly
A properly seated drumhead gives you three clear signals you can see, hear, and feel.
- No wrinkles anywhere — The playing surface should be flat and clean. Any wrinkle means the head is still shifting under tension.
- Even spacing under the counterhoop — Look at the gap between the counterhoop and the shell. Drummers on r/drums call this the spacing check, and it should be identical at every lug.
- Consistent pitch response — Tap the head 2 inches in from every tension rod. Each tap should produce the same pitch. If one tap is dead and the next is bright, that lug is loose.
- No crushed collar — Look under the counterhoop. The aluminum collar should be round and even. If it is bent or pinched, the head will sound choked and you will need a replacement.
If any of those signals fail, go back to Step 5 and repeat the press-down and star pattern cycle.
Common Mistakes That Ruin Drumhead Seating
These are the mistakes forum drummers complain about most often, and they are easy to avoid once you know what to look for.
Mistake 1: Crushing the Collar
The biggest single mistake beginners make is slamming the head and hoop onto the shell without checking the collar first. The aluminum collar of the head bends under the rim, and once it is bent the head will not vibrate properly.
Always place the head gently, line up the collar by hand, and drop the hoop on top before threading any rods.
Mistake 2: Skipping Finger-Tightening
It feels like a waste of time, but finger-tightening every rod before you use the drum key is what lets the head find its resting position. Skip this step and you will be chasing wrinkles forever.
Mistake 3: Tightening in Sequence Instead of Star Pattern
Walking around the drum and tightening lug 1, lug 2, lug 3 in a row pulls the head to one side and locks wrinkles in. Always work opposite lugs across the drum. The CPR method is useless without this.
Mistake 4: Pressing Too Hard on the Head
Pressing the center with your palm is what stretches the head evenly. Pressing with your elbow, your knee, or dropping weight on the drum can crack the head before you ever tune it. Firm and controlled beats hard and sudden.
Mistake 5: Skipping the Break-In Period
A newly seated head is not done settling just because the wrinkles are gone. The plastic keeps stretching for the first few playing sessions. Plan to retune the drum two or three times during the first week.
Batter Head vs Resonant Head: Seating Differences
The seating technique is the same for both heads, but the final tuning tension is different. Batter heads are the top heads you strike, and they take more tension than resonant heads.
The resonant head is the bottom head that gives the drum its voice. You seat it the same way, but you stop the star pattern about a half turn earlier than the batter. A resonant head that is too tight chokes the drum and kills the sustain. Seating too tightly is a common beginner mistake because the head feels more stable when it is over-tuned.
If you are seating a two-headed tom, do the resonant head first. Get it seated and tuned roughly. Then seat and tune the batter head to match. Seating both heads before either is tuned keeps everything balanced.
The Break-In Period: What Happens After Seating
Once a drumhead is seated, the plastic is not done moving. It will continue to stretch and settle for the first several playing sessions, which is why a freshly tuned drum often drifts out of tune within an hour.
Experienced drummers expect this and plan for it. Here is how to handle the break-in period without fighting your drum every day.
- Play the drum lightly for 10 minutes after the initial seat and tune.
- Retune in the star pattern after the first session.
- Retune again after the second and third session.
- By the fourth or fifth session the head should hold pitch through a full set.
This is one of those cases where the work you put in at the bench pays off on stage. A drum that has been through the full break-in cycle sounds fuller, holds tuning longer, and responds more evenly to your sticks.
Frequently Asked Questions
How to properly seat a drumhead?
Place the new head on the shell, seat the collar evenly under the counterhoop, drop on all tension rods, and finger-tighten every one until each rod just makes contact. Then use a drum key to tighten opposite lugs in a star pattern, half a turn at a time, until all wrinkles disappear. Press down firmly in the center of the head with your palm to stretch it, repeat the star pattern, and repeat the press-down until tension is even at every lug.
What is the 80 20 rule in drumming?
The 80 20 rule in drumming says that 80 percent of your drum sound comes from tuning and head seating, while only 20 percent comes from the drum shell and hardware. Getting the head seated, tensioned, and tuned correctly has a much bigger impact on how the kit sounds than any gear upgrade.
How to apply new drum heads?
Remove the old head, wipe the bearing edge clean, set the new head on the shell with the collar tucked evenly under the counterhoop, and thread on all tension rods. Finger-tighten each rod, then work around the drum in a star pattern with a drum key using half-turn increments. Finish by pressing the center of the head with your palm and redoing the star pattern until wrinkles disappear.
How to break in new drum heads?
Play the drums lightly for 10 minutes, then retune using the star pattern after the first, second, and third sessions. Most drumheads settle within three to five playing sessions, after which they hold pitch through an entire set. A small amount of stretch and retune during the first week is normal and expected.
Final Thoughts: Seating Is the Step Most Drummers Skip
If you remember nothing else from this guide, remember this: how to seat a new drumhead before tuning is the part of the setup that decides whether your drum sounds great or sounds like a wooden box. Finger-tighten, star pattern, press the center, repeat. That four-step loop is what every working drummer uses, and it is what the drummers on r/drums and Drumforum.org keep coming back to.
Next time you put a fresh head on a drum, slow down. Spend the extra five minutes on the seating process and your drum will sound better, hold tuning longer, and reward you with every hit. The technique costs nothing, takes almost no time, and it is the single biggest upgrade you can make to any kit you already own.