
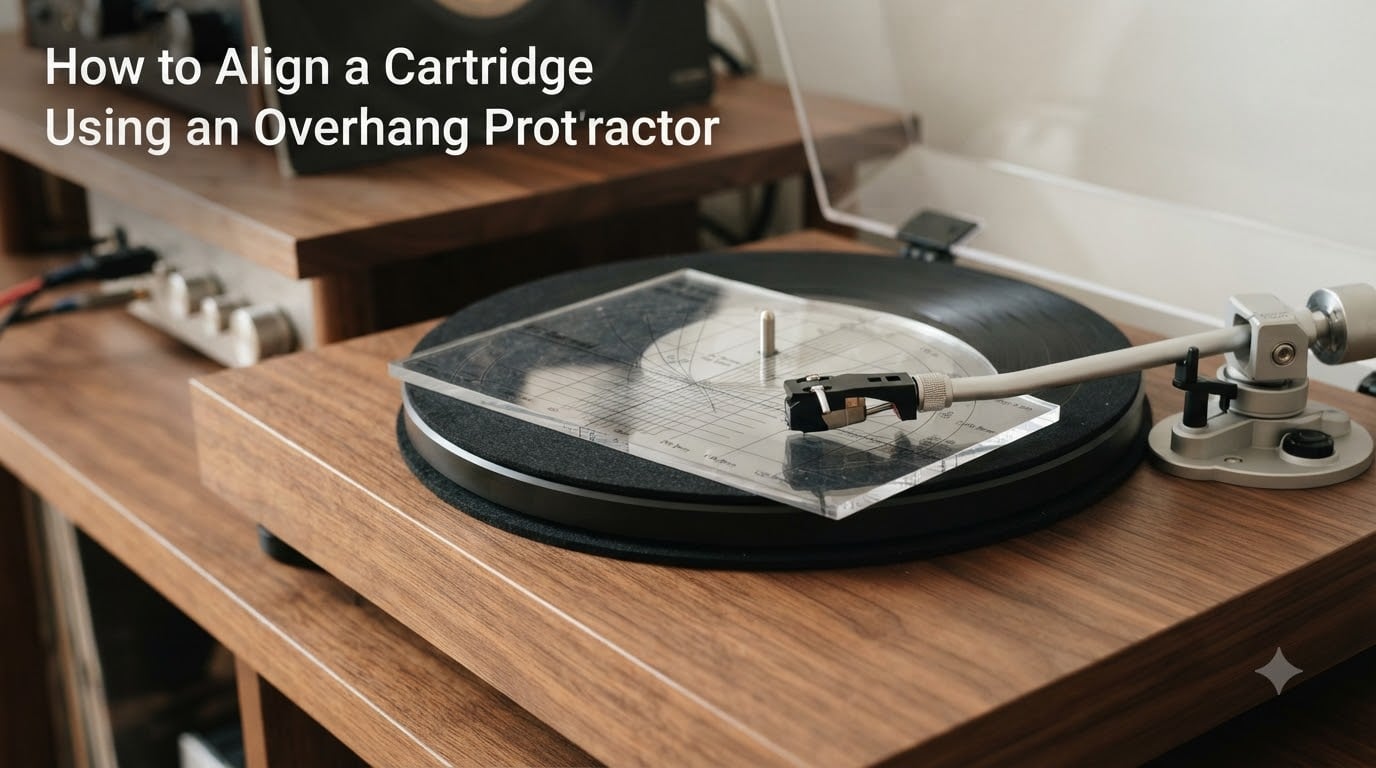
If you want to get the best sound from your turntable, learning how to align a cartridge using an overhang protractor is one of the most valuable skills you can develop. Proper cartridge alignment makes a real difference in audio quality, and it protects both your records and your stylus from unnecessary wear.
I’ve set up dozens of cartridges over the years, and I can tell you from experience that the overhang protractor is the single most useful tool in the process. In this guide, I’ll walk you through everything from the basics to troubleshooting the trickier parts. By the end, you’ll have a complete method you can apply to any tonearm.
Table of Contents
What Is Cartridge Overhang and Why Does It Matter?
Cartridge overhang is the small distance the stylus tip extends past the center of the spindle when the tonearm is positioned over the correct alignment point on a protractor. That overhang distance is determined by the geometry of your tonearm and is critical for accurate playback.
When the stylus sits in the groove of a vinyl record, it tracks at a slight angle. The geometry of that angle changes as the tonearm moves across the record. If overhang is set incorrectly, the tracking error at the inner and outer grooves becomes uneven, which causes distortion, especially toward the center of the record.
Three main alignment geometries are used in the vinyl community. Baerwald null points sit at 66mm and 120.9mm from the spindle and minimize the maximum tracking error across the entire LP. Lofgren A uses slightly different null points and is optimized for shorter tonearms. Stevenson is optimized for the inner groove region, reducing distortion where it matters most for classical music and inner-groove tracks.
I default to Baerwald for most installations because it gives the most balanced result across a full LP. If you have a shorter tonearm or play mostly inner-groove material, Lofgren or Stevenson might serve you better.
Tools You Need to Align Your Cartridge
Before you start, gather these essentials. None of them are expensive, but each plays a role.
- Cartridge alignment protractor (two-point or arc style works best for beginners)
- Tracking force gauge for verifying VTF after alignment
- Small Allen key or screwdriver that fits your headshell mounting bolts
- Magnifying glass or strong lamp to see the stylus tip clearly
- Stable surface and level plinth to keep the turntable still while you work
- Optional: paper strip and ruler for the precise overhang measurement method covered later
Step-by-Step Guide to Aligning a Cartridge Using an Overhang Protractor
Follow these steps in order. The whole process usually takes 20 to 30 minutes the first time and gets faster with practice.
Step 1: Prepare Your Turntable and Protractor
Place the turntable on a stable, level surface. Remove the mat so the protractor sits flat against the platter. Clean the platter with a soft cloth so the protractor doesn’t slide around. If your protractor is paper, make sure it is centered and won’t move during alignment.
Step 2: Position the Protractor on the Platter
Set the protractor on the platter with the spindle hole directly over the spindle. The grid lines should radiate outward evenly. For paper protractors, you may need to tape the outer edge to keep it in place while you move the tonearm.
Step 3: Set the Stylus at the Outer Null Point
Move the tonearm so the stylus tip rests exactly in the center of the outer null point circle on the protractor. Look straight down from above with good lighting. The tip should sit perfectly centered in the small target circle.
Step 4: Check Cartridge Squareness at the Outer Null
With the stylus at the outer null point, look at the sides of the cartridge body. The body should sit parallel to the grid lines on the protractor. If the cartridge is angled, loosen the headshell mounting screws slightly and rotate the cartridge in the headshell until it looks square.
Step 5: Move to the Inner Null Point and Recheck
Swing the tonearm over the inner null point on the protractor. Again, center the stylus tip exactly in the target. Now look at the cartridge body. If it is no longer parallel to the grid lines, the overhang is wrong.
Step 6: Adjust Overhang Until Both Null Points Align
If the cartridge body is angled at the inner null when it was square at the outer, slide the entire cartridge forward or backward in the headshell along the tonearm axis. Move it away from the pivot if it angles outward at the inner null, and toward the pivot if it angles inward.
After each adjustment, return to the outer null point and recheck. Then go back to the inner null. Repeat until the cartridge body sits parallel to the grid lines at both null points simultaneously. This back-and-forth is normal on the first attempt.
Step 7: Tighten the Mounting Screws and Verify
Once alignment is correct at both null points, hold the cartridge gently in place and tighten the headshell mounting screws evenly. Don’t over-tighten. Check both null points one more time to confirm nothing shifted during tightening.
Step 8: Set Tracking Force and Final Checks
With alignment complete, set your tracking force to the manufacturer’s recommended range. Double-check anti-skate, VTA, and azimuth if your setup allows. Play a familiar record and listen for clean, balanced sound across the entire side.
Understanding Cartridge Alignment Protractor Types
Different protractor designs serve different needs. Knowing which type you’re using makes the procedure easier.
Two-point protractors have two small target circles at specific radii corresponding to the null points of an alignment geometry. They are simple, accurate, and the most common choice for beginners. Arc protractors feature curved grid lines and work well for confirming alignment across the full playing surface. Mirrored protractors have a reflective surface so you can view the stylus tip and the cartridge body simultaneously.
If you only own one protractor, get a two-point Baerwald model printed on sturdy material. It covers 90 percent of installations and gives a reliable result for most tonearms.
Troubleshooting Common Cartridge Alignment Problems
Even with a good protractor, some situations trip people up. Here are the most common problems and how I handle them.
The Spindle Blocks the Overhang Markings
Many protractors have overhang measurement markings near the spindle, but the spindle itself covers them once the protractor is in place. The forum community has a simple workaround: stack two or three LPs under the protractor so it sits a few millimeters above the platter. The stylus can now reach the overhang markings without obstruction.
You Can’t Get Both Null Points Aligned at Once
This almost always means the overhang is off by a small amount. Make tiny adjustments, no more than 1mm at a time, and recheck both points after every move. Patience here saves frustration later. If you’ve made many attempts without success, double-check that you’re using the correct null points for your alignment geometry.
The Paper Strip Method for Precise Overhang
When protractor markings near the spindle are unusable, the paper strip method gives a precise measurement. Place a thin paper strip against the spindle so it extends outward toward where the stylus rests. Mark the position where the stylus tip lands when the tonearm is parked. Measure from the center of the spindle to the stylus tip and compare against the manufacturer’s specified overhang for your tonearm.
This is the method many vinyl enthusiasts trust when other approaches fail. It gives a precise numeric value rather than visual estimation.
Cartridge Looks Square but Sounds Off
If alignment looks right but distortion or channel imbalance persists, the issue may be azimuth, VTA, or tracking force rather than overhang. Check that the cartridge sits perfectly vertical when viewed from the front. Adjust VTA if sibilance or low-frequency loss is excessive. Confirm tracking force is within the cartridge’s specified range.
Frequently Asked Questions
How do I align a cartridge with a protractor?
Place the protractor on the platter over the spindle. Position the stylus tip at the outer null point and align the cartridge body parallel to the grid lines. Then check the inner null point and adjust overhang by sliding the cartridge forward or backward until it sits parallel at both points. Tighten the headshell screws when both points are square.
How do I adjust cartridge overhang?
Cartridge overhang is adjusted by sliding the cartridge body along the headshell mounting slots in the direction of the tonearm axis. Move it forward or backward until the cartridge body sits parallel to the protractor grid lines at both the inner and outer null points simultaneously.
Do I need a cartridge alignment protractor?
Yes, a protractor is the most reliable way to set overhang and alignment geometry correctly. While some tonearms have built-in adjustment marks, a protractor lets you verify alignment at the actual null points and works with any cartridge.
What is cartridge overhang?
Cartridge overhang is the distance the stylus tip extends past the center of the turntable spindle when the tonearm is positioned over the correct alignment point. It is set by the geometry of the tonearm and cartridge combination.
How important is cartridge overhang?
Correct overhang is essential for minimizing tracking error across the record. Incorrect overhang causes distortion, especially in the inner grooves, and leads to faster record and stylus wear. Setting it properly is one of the most impactful adjustments you can make to a turntable.
Final Thoughts
Learning to align a cartridge using an overhang protractor takes a little patience the first time, but it pays off every time you drop the needle on a record. Once you’ve done it a few times, the whole procedure becomes second nature.
Start with a two-point Baerwald protractor, follow the steps in order, and don’t be afraid to make small adjustments back and forth between the null points. With a little practice, you’ll get clean, accurate alignment that protects your records and brings out the best in your vinyl collection.