
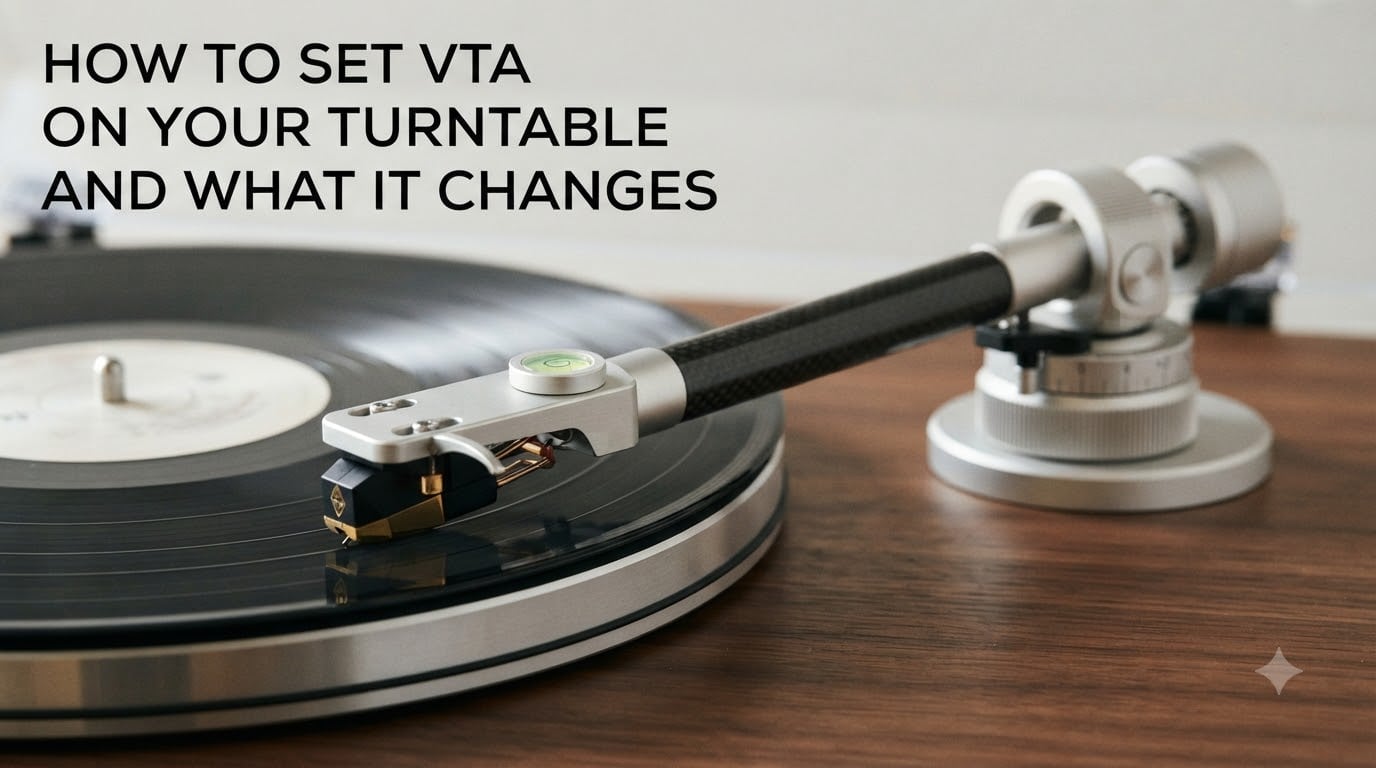
If you have ever wondered why your vinyl setup sounds a touch too bright or slightly muddy, the answer might be sitting right on top of your tonearm. Learning how to set VTA on your turntable is one of those tweaks that costs nothing but can change the way your records sound. I have spent years adjusting tonearms on everything from entry-level decks to high-end rigs, and the difference a small height change can make still surprises me.
VTA, or Vertical Tracking Angle, is the angle your stylus makes as it meets the record groove. When that angle matches the angle used to cut the record in the first place, your cartridge pulls out the most accurate sound possible. When it is off, you get frequency shifts that can rob your music of its life.
In this guide, I will walk you through exactly what VTA is, how to adjust it step by step, and what changes you will hear. I will also cover the biggest myths, the difference between VTA and SRA, and what to do if your turntable has no VTA adjustment at all. By the end, you will have a clear, practical process you can use with confidence.
Table of Contents
What Is VTA (Vertical Tracking Angle)?
VTA is the vertical angle formed between your stylus tip and the record surface as the tonearm rests in the groove. The industry standard cutting angle used by most record lathe cutter heads is around 20 degrees, which is why you will see that number referenced everywhere in VTA discussions. Your goal is simple: get your playback angle to match that cutting angle as closely as possible.
Think of it this way. When an engineer cuts a record, the cutter head sits at a specific angle relative to the disc. If your stylus reads the groove at a different angle, it cannot track the groove modulation exactly as intended. The result is a shift in frequency response that colors the sound.
Most turntable manufacturers set their tonearms to hit roughly the right VTA out of the box. But once you swap cartridges, change the platter mat thickness, or install a new tonearm, that factory alignment goes out the window. That is when knowing how to adjust VTA becomes essential.
The angle is adjusted by raising or lowering the pivot end of the tonearm. A higher pivot increases the VTA angle, while a lower pivot decreases it. It is a mechanical adjustment that takes seconds once you know where the dial or collar is on your turntable.
VTA vs SRA: What Is the Difference?
VTA and SRA are often used interchangeably, but they are not the same thing. SRA, or Stylus Rake Angle, is the forward-or-backward tilt of the stylus itself as it sits in the groove. VTA measures the whole tonearm assembly angle, while SRA measures the cantilever and stylus contact specifically.
For most listeners with conical or elliptical styli, VTA is a perfectly good proxy for getting things right. You set the tonearm level, listen, and make small tweaks. The differences between VTA and SRA are small enough that they fall below the threshold of what most people can hear.
However, if you use a line-contact stylus like a Shibata or MicroRidge, SRA becomes far more important. These stylus shapes have a very narrow contact area with the groove, which means even a tiny rake angle error can cause noticeable distortion. Line-contact stylus owners on forums like Vinyl Engine and AudioGon consistently report spending more time on SRA than on VTA.
The practical takeaway: if you have a budget cartridge with a conical or elliptical stylus, focus on getting the tonearm level and call it good. If you have invested in a high-end line-contact stylus, you may want to dig deeper into SRA measurement tools like a USB microscope.
Why VTA Matters for Sound Quality
Correct VTA ensures your stylus traces the groove walls at the same angle the cutter head used to engrave them. When that alignment is spot on, you get balanced frequency response, accurate stereo imaging, and clean tracking across the entire record surface.
When VTA is wrong, the audible effects fall into two categories. Set the tonearm too high and you increase the tracking angle beyond the cutting angle, which typically produces a sound that is lean, bright, and thin in the bass. Set it too low and you decrease the angle, resulting in a sound that is overly warm, bass-heavy, and sometimes muddy or dull in the highs.
I have tested this on my own system with a familiar reference record, and the shift is real. With the tonearm raised too far, the vocal sibilance became harsh and the low end practically disappeared. Lowering it back to level restored the bass weight and tamed the harshness within seconds.
Beyond frequency response, incorrect VTA can also affect channel separation. Stereo information is cut into the groove walls at an angle, so if your stylus is not reading at the right angle, the left-right separation can collapse slightly. This shows up as a narrower, less involving soundstage.
There is also the matter of record wear. A severely misaligned VTA means your stylus is grinding against the groove at the wrong angle, which can accelerate wear on both your records and your stylus tip over time. It is not catastrophic, but it is unnecessary if a simple adjustment can fix it.
Signs Your VTA Needs Adjustment
Forum users on Reddit and AudioKarma frequently ask how to tell if their VTA is wrong. The answer comes down to listening for specific symptoms that map directly to the angle being too steep or too shallow.
If your tonearm is set too high, you will likely notice these characteristics:
Sound is excessively bright or harsh, especially on vocals and cymbals
Bass response sounds thin, lean, or lacking punch
Sibilance on vocals becomes pronounced and fatiguing
The overall tonal balance tilts toward the treble
If your tonearm is set too low, the symptoms flip in the opposite direction:
Sound becomes overly warm, thick, or muddy
High frequencies sound rolled off, dull, or veiled
Bass becomes bloated or boomy
The music loses sparkle and air at the top end
You should also check your VTA whenever you make a change to your setup. Swapping cartridges is the biggest trigger, since different cartridges have different stylus heights and cantilever angles. Changing from a thin felt mat to a thick rubber mat also shifts the record height relative to the tonearm, which directly changes the VTA.
How to Set VTA on Your Turntable: Step-by-Step
Here is the complete process for how to set VTA on your turntable. I have broken it into five clear steps that work for any turntable with an adjustable tonearm height. Take your time with each step, and remember that patience produces better results than rushing.
Step 1: Get the Basics in Place First
Before touching VTA, make sure your turntable is fully set up with the correct tracking force and anti-skate. Tracking force matters because the stylus suspension compresses under downward pressure, which changes the cantilever angle. If you adjust VTA at one tracking force and then change it later, your VTA will shift.
Set your tracking force to the manufacturer’s recommended value using a digital scale. Balance the anti-skate to match. Only when these are locked in should you move on to VTA.
Step 2: Do a Visual Level Check
Place a record of average thickness on the platter, the kind you listen to most often. Lower the tonearm so the stylus rests in the groove of a flat, non-valuable record. Crouch down to eye level with the turntable and look at the tonearm tube from the side.
The goal is for the tonearm to be parallel to the record surface. If the cartridge end dips below the pivot end, your arm is too low. If the cartridge end sits above the pivot end, your arm is too high. A small bubble level placed on the headshell can help, but your eyes are usually sufficient.
Step 3: Adjust the Tonearm Height
Locate the height adjustment mechanism on your turntable. This is usually a rotating collar or dial at the base of the tonearm pivot. Turn it to raise or lower the arm in small increments. Some turntables use a set screw that you loosen, slide the arm tower, and re-tighten.
Make adjustments in small steps. A quarter-turn of the collar or a millimeter of height change is plenty for each iteration. After each adjustment, lower the stylus onto the record and re-check the level from the side.
Step 4: Listen With a Familiar Record
Once the arm looks level, play a record you know intimately. Choose something with clear highs, solid bass, and good stereo separation. Listen specifically for the balance between brightness and warmth.
Does it sound harsh or thin? Raise the arm slightly, which reduces the VTA angle and warms things up. Does it sound muddy or dull? Lower the arm slightly, which increases the angle and adds brightness. Trust what you hear over what the visual check tells you.
Step 5: Fine-Tune and Lock It In
Continue making tiny adjustments until the sound feels balanced and natural. When you reach the sweet spot, tighten the locking collar or set screw firmly. Double-check that the arm has not shifted during locking, then play a few more records to confirm the setting works across different pressings.
That is the complete process. Most people find the right setting within 15 to 20 minutes once they know what to listen for. The key is making one change at a time and giving each adjustment a fair listen before moving on.
Visual Tonearm Level Check Method
The visual level check is the foundation of VTA adjustment, and forums consistently agree it is sufficient for the vast majority of setups. You do not need expensive measurement tools to get close. Your eyes and ears are more capable than you might think.
Start by placing a record on the platter that represents the average thickness of your collection. A standard 120-gram pressing works well for most people. If most of your records are 180-gram pressings, use one of those instead. The point is to set VTA for the records you play most.
Lower the tonearm onto the lead-in groove and view the arm tube from the side at eye level. Look for the arm to be parallel to the record surface from pivot to headshell. Some turntable owners use a small line level or a mirror placed flat on the platter to get a more precise read.
One thing to keep in mind: record thickness matters here. A 180-gram pressing sits higher on the platter than a standard pressing, which changes the effective VTA. If you switch between thin and thick records frequently, you will never have perfect VTA for everything. Set it for your average record and accept small compromises on the extremes.
A VTA gauge or jig can provide more precision if you want it, but forum consensus is clear: for most listeners, the visual check plus a listening test gets you close enough that you will not hear the difference a gauge would reveal.
Fine-Tuning VTA by Ear
The listening test is where the real magic happens. No amount of visual leveling can tell you exactly how VTA affects your specific cartridge, tonearm, and record combination. Your ears are the final arbiter, and forums overwhelmingly recommend trusting them over any tool.
Pick a reference record you have heard dozens of times on different systems. Ideally it should have a wide frequency range, clear vocals, deep bass, and crisp cymbals. Jazz recordings and well-mastered rock albums work particularly well because they expose frequency balance issues quickly.
Start with the tonearm set level from your visual check. Play the opening track and listen for tonal balance. Then raise the tonearm slightly and play the same passage again. Compare the two. Then try lowering it below level and compare once more.
The differences are subtle but real. I have found that a change of one or two millimeters in arm height can shift the tonal balance noticeably. The trick is making one change at a time and letting your ears adjust for a full track before deciding.
If you cannot hear any difference, that is perfectly fine. Not every system or cartridge is equally sensitive to VTA changes. Conical styli in particular are very forgiving. If it sounds good level, leave it level. As one Vinyl Engine member put it: if you cannot hear a difference, stop worrying about it.
Turntables With and Without VTA Adjustment
Not every turntable has user-adjustable VTA, and this is a major source of frustration for budget turntable owners. Knowing what your deck can and cannot do saves you from chasing an adjustment that is not possible.
Here are some popular turntables that offer VTA adjustment:
Technics SL-1200 series – Features a height adjustment ring at the tonearm base. Users on forums consistently praise this as one of the easiest and most precise VTA mechanisms available. A simple twist raises or lowers the arm with detents for repeatable settings.
Audio-Technica AT-LP120X – Includes a similar height adjustment collar at the base of the tonearm. It works well for the price point and allows meaningful VTA tweaking.
Pro-Ject Debut Carbon (and up) – Higher Pro-Ject models offer adjustable tonearm height, often via set screws at the pivot base. The base Debut Carbon requires shimming the cartridge for VTA changes.
Music Hall, MOFI, and Rega (upper models) – These brands include VTA adjustment on their mid-range and high-end tables, with Rega using a distinctive three-point mounting system on some models.
Here are common turntables that lack user-adjustable VTA:
Audio-Technica AT-LP60X – No tonearm height adjustment. The arm is fixed at the factory.
Crosley, Victrola, and similar suitcase players – No adjustment possible. These are not designed for fine-tuning.
Entry-level Rega Planar 1 – Fixed tonearm height with no user adjustment mechanism.
If your turntable has no VTA adjustment, you still have options. You can use shims between the cartridge body and the headshell to change the stylus angle. Thin washers or custom shims made from brass or plastic can raise the back of the cartridge to steepen the angle or raise the front to flatten it. It is not as convenient as a built-in dial, but it works.
Another workaround is changing your platter mat thickness. A thicker mat raises the record, which effectively lowers the VTA. A thinner mat raises it. This is a crude method, but it can help if your cartridge sits at the wrong angle and you have no other option.
VTA Myths Debunked
The vinyl community has strong opinions about VTA, and not all of them are accurate. Let me address the most common myths I see repeated on forums and in comment sections.
Myth 1: VTA must be perfectly set or your records will sound terrible. The reality is that VTA changes produce subtle, not dramatic, effects. A slightly off VTA will not ruin your listening experience. Forum users who have spent hours tweaking often report that the difference between good and perfect is small. Get it close and enjoy your music.
Myth 2: Factory settings are always wrong and must be changed. Many turntable manufacturers do a good job of setting VTA at the factory, especially when the deck ships with a cartridge pre-mounted. If your turntable sounds balanced out of the box, there is no need to chase a better setting. Check it visually, and if it looks level, trust it.
Myth 3: You need expensive tools to set VTA correctly. A visual check and a listening test with a familiar record are all most people need. VTA gauges, USB microscopes for SRA, and precision jigs are useful for advanced users with line-contact styli, but they are overkill for the average vinyl listener.
Myth 4: You should adjust VTA for every single record. This would drive you crazy. Record thickness does affect VTA, but the variation between standard and 180-gram pressings produces a difference most people cannot hear. Set VTA for your average record and stop obsessing over individual pressings.
When You Should Adjust VTA
There are specific moments when checking your VTA is worth your time. Knowing these triggers helps you avoid unnecessary tweaking while catching real problems before they degrade your sound.
The most common trigger is a cartridge swap. Every cartridge has a different stylus height and cantilever angle, so swapping one for another almost always changes your VTA. After installing a new cartridge, always redo the visual level check and a listening test.
Changing your platter mat is another trigger. Going from a thin felt mat to a thick rubber or cork mat raises the record surface, which changes the angle between the stylus and the groove. Even a few millimeters of mat thickness difference can shift the VTA enough to notice.
Installing a new tonearm or changing the arm mounting height will obviously require a full VTA reset. And if you ever notice your sound has shifted toward brightness or warmth for no obvious reason, a quick VTA check is a smart first troubleshooting step before looking elsewhere.
FAQs
What is the correct VTA for a turntable?
The correct VTA for a turntable is approximately 20 degrees, matching the standard cutting angle used by most record lathe cutter heads. In practical terms, this means setting your tonearm parallel to the record surface when the stylus is resting in the groove. You fine-tune from that parallel starting point by ear.
How does VTA affect sound?
VTA affects the frequency balance of your playback. When the tonearm is too high, the sound becomes bright, thin, and bass-light. When it is too low, the sound becomes warm, muddy, and dull in the highs. Correct VTA produces balanced frequency response, accurate stereo imaging, and clean tracking.
What should my tonearm be set at?
Your tonearm should be set so the arm tube is parallel to the record surface when the stylus is playing a record of average thickness. This parallel position is the starting point for VTA. From there, you make small adjustments by ear to achieve the most balanced sound for your specific cartridge and records.
Is VTA adjustment really necessary?
VTA adjustment is not strictly necessary for every setup. Factory settings work well for most turntables with pre-mounted cartridges. You should check and adjust VTA when you swap cartridges, change platter mats, or notice your sound is too bright or too warm. For budget turntables without adjustable VTA, the factory setting is usually acceptable.
Can I adjust VTA on a budget turntable?
If your turntable has no built-in VTA adjustment, you can still change the angle by shimming the cartridge with thin washers between the cartridge body and the headshell. Changing platter mat thickness is another workaround. These methods are less convenient than a built-in adjustment dial but can improve sound if your VTA is significantly off.
Conclusion
Learning how to set VTA on your turntable does not have to be complicated. Set your tracking force first, get the tonearm visually level with the record surface, then fine-tune by ear with a record you know well. The whole process takes about 20 minutes and can meaningfully improve your sound.
Remember that VTA changes are subtle. If you cannot hear a difference, your factory setting is probably fine. If you can hear brightness or warmth shifts, small tonearm height adjustments will bring things back into balance. Trust your ears, make one change at a time, and enjoy the music once it sounds right.