
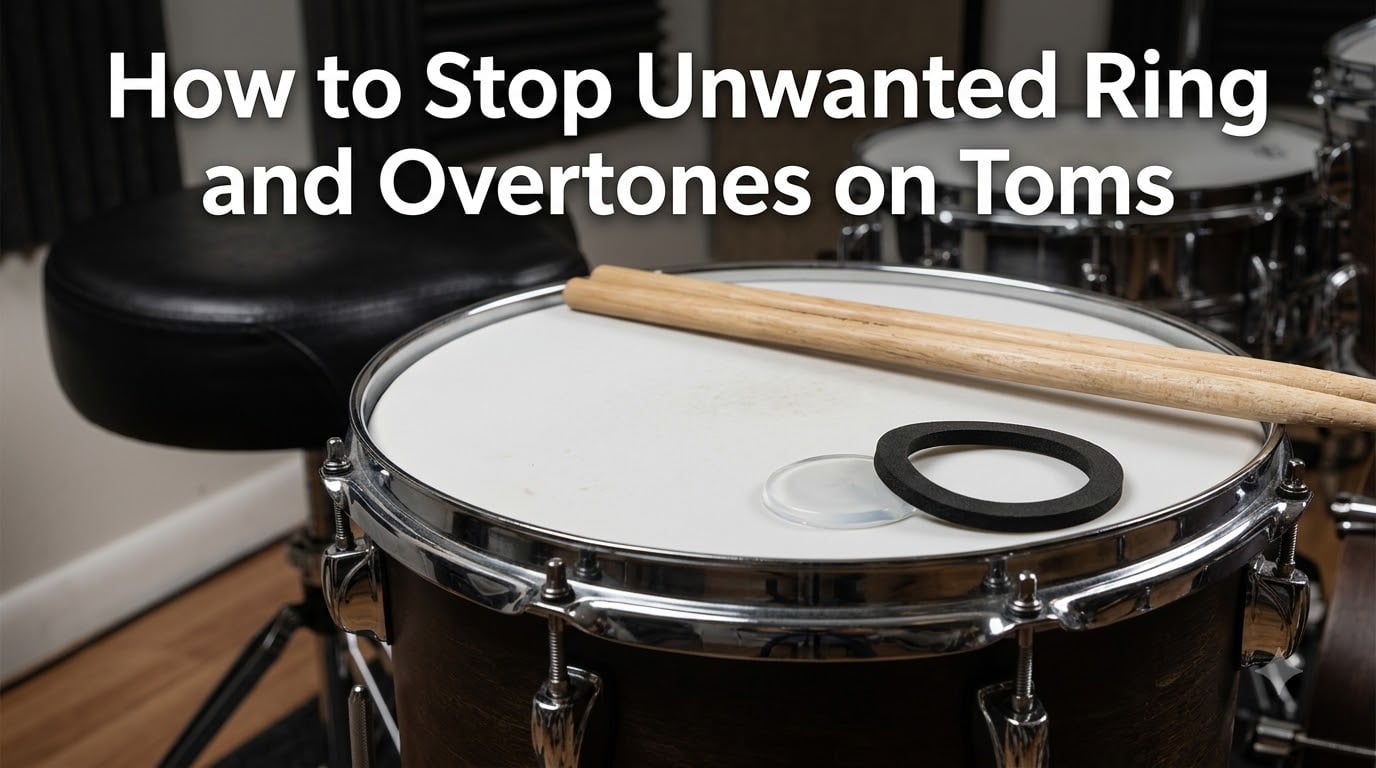
Nothing kills a great drum take faster than a tom that refuses to shut up. You hit it once, and the head keeps singing long after the actual note is gone. That lingering ring, the high-pitched squeal that creeps into your snare track, the tubby wash on your floor tom that turns every fill into mud — it all comes down to unwanted ring and overtones on toms.
Our team has been on both sides of the glass: tracking drums in home studios, playing live on small stages where you can hear every sympathetic buzz, and tuning kits for session work where the engineer demands a clean, controlled tone. Along the way we learned that most ringing problems are fixable without buying a new kit or stacking dampening on every drum.
This guide walks through how to stop unwanted ring and overtones on toms in a way that respects the instrument. We cover what overtones actually are, why tuning always comes before muffling, which dampening methods work for which problems, and the small community tricks (like the cotton ball method) that most mainstream articles skip entirely. By the end you will have a clear playbook for getting your toms under control without killing their character.
Table of Contents
What Causes Ring and Overtones on Toms
Unwanted ring and overtones on toms are sustained vibrations from the drum head that continue ringing after you hit it. Every drum head produces overtones — those are the higher frequencies layered on top of the fundamental pitch. The problem starts when those overtones become disorganized, uneven, or so loud that they drown out the actual note.
Most ringing comes down to three things. First, uneven lug tension across the batter head means the drum head pulls tighter on one side, which creates conflicting frequencies that fight each other. Second, a mismatch between your batter head and resonant head can produce a tubby, unfocused sound. Third, the drum head itself may be too thin or too old to control its own vibration.
Room acoustics also play a bigger role than most drummers expect. A hard, reflective practice space will bounce those overtones back and make the ringing sound ten times worse than it really is. Before you blame the drum, try hitting it in a different room or with a thick rug underneath the kit.
One more thing worth knowing: a small amount of ring is not the enemy. Dead, completely choked toms lose their character and cut through a mix worse than slightly ringy ones. The goal is controlled sustain, not silence.
Why You Should Always Tune Before You Muffle
The single biggest mistake we see from drummers fighting overtones is reaching for moon gel before they reach for a drum key. Dampening is a tool, not a fix. If your head tension is a mess, no amount of gel or tape will give you a clean tone — it will just muffle the chaos.
Tuning is where the real work happens. A properly tuned drum naturally controls its own overtones because the tension is balanced and the head vibrates evenly. Once you have that foundation, you can use dampening surgically rather than as a bandage.
Here is the step-by-step tuning process we use to get toms under control before adding any dampening at all.
Step 1: Seat the Head Properly
Take the drum head off and put it back on, finger-tightening each tension rod until the hoop just touches the head. Do not skip this. A head that is sitting crooked will never tune evenly.
Step 2: Use the Two-Key Crisscross Method
Work across the drum in a star pattern, tightening each lug a half-turn at a time. If you have two drum keys, place them opposite each other and work both sides simultaneously — this keeps tension balanced as you go. The goal at this stage is to bring the head up to roughly the pitch you want, not perfection yet.
Step 3: Clear the Head by Ear
Tap the head about an inch from each lug, lightly, with a stick. Listen to the pitch at each position. Adjust each tension rod until every tap produces the same note. This is called clearing the head, and it is the step most drummers skip — which is exactly why their toms ring.
Step 4: Match the Resonant Head
Flip the drum and repeat the process on the resonant (bottom) head. A general rule of thumb: tune the resonant head to the same pitch as the batter head for maximum sustain, or slightly higher for a pitch-bend effect that helps the note decay faster. Experiment to see what kills the ring on your specific drum.
Step 5: Test and Adjust
Put the drum back on the kit and hit it. If you still hear problem overtones after tuning, now you have earned the right to reach for dampening. But you will likely find the drum sounds 70 percent better already.
Dampening Methods Compared: Moon Gel, O-Rings, Tape, and More
Once your drum is tuned and you still have a stubborn ring, dampening is the next move. The trick is matching the method to the problem. Here is how each option stacks up.
Moon Gel
Moon gel is the modern standard for tom dampening. These small sticky pads sit on the batter head and absorb high-frequency overtones without killing the fundamental tone. The beauty of moon gel is control: you can place one piece, two pieces, move them around, and find the exact spot that tames the ring while keeping the drum alive.
The main downside is residue. Over time the gel can leave a sticky film on the head, and dust sticks to it fast. Clean them with mild soap and water occasionally and they last for months.
O-Rings and Dampening Rings
O-rings (commercially sold as RemO Rings or similar) sit on the outer edge of the batter head and dampen the head where it vibrates most. They are more aggressive than moon gel — they kill ring fast but also reduce sustain and sensitivity. They are a great choice for live situations where you need predictable, controlled tone and do not want to fuss with placement.
The classic community hack: cut an O-ring out of the plastic collar from a dress shirt. It costs nothing and works surprisingly well for a quick fix.
Gaff Tape and Duct Tape
Tape is the old-school dampening solution. Fold a small piece into a flap, stick it on the head, and it deadens the ring in that area. Gaff tape is the right choice here because it comes off clean. Duct tape leaves a sticky residue that builds up on the head and is a pain to remove.
Tape is permanent-feeling and less adjustable than moon gel, but it stays put during a gig and costs almost nothing. Many drummers combine a small piece of tape with a moon gel for layered control.
Hydraulic Drum Heads
If you want a hardware-level solution, hydraulic drum heads (like the Evans Hydraulic series) have oil sandwiched between two plies. The oil damps overtones internally, so the head controls its own ring without any external dampening needed. They sound thick, focused, and vintage — think 70s rock tones.
The trade-off is feel and flexibility. Hydraulics have a different response than single-ply heads and lock you into a more muffled sound. They are excellent if that is the tone you want, but they are not for every style.
The Cotton Ball Trick
This is the community-sourced method most articles ignore, and it works. Drop a few cotton balls inside the drum shell so they rest against the resonant (bottom) head. They gently dampen the bottom head from the inside, controlling sustain without touching the batter head at all. The result is a natural-sounding decay with no sticky residue and no visible dampening.
Multiple Reddit drummers swear by this for floor toms in particular. Use two to four cotton balls depending on how much ring you want to kill. It is invisible, free, and reversible.
Floor Tom Ringing: A Deeper Look
Floor toms are the worst offenders when it comes to unwanted ring. They have larger heads, deeper shells, and lower fundamental pitches that naturally sustain longer. A floor tom that rings for three seconds after you hit it is not broken — it is doing what physics says it should.
Start by tuning the floor tom the same way you would a rack tom, with extra attention to the resonant head. A common fix is to tune the resonant head slightly higher than the batter head. This creates a pitch bend that shortens the perceived sustain and helps the note decay faster.
If tuning is not enough, the cotton ball trick is where we go next for floor toms specifically. The larger shell gives the cotton balls room to settle against the bottom head without bouncing around. Start with two balls, hit the drum, and add one more until the ring is under control.
Avoid stacking heavy dampening on a floor tom. A floor tom that is too dead sounds like a bass drum with no low end. You want enough control that the note speaks clearly, but enough sustain that the drum still sounds big and round.
How to Stop Toms From Ringing Your Snare (Snare Buzz)
Snare buzz is the sympathetic ring you hear from your snare wires when you hit a tom. The tom produces a frequency that matches the snare drum’s resonance, and the snare wires vibrate in response. It is one of the most frustrating drum problems because the offending drum is not the one making the noise.
The first fix is tuning. Try shifting the pitch of the tom up or down a small amount. Even a quarter-turn on a few lugs can move the tom out of the frequency range that excites the snare. This is called a frequency shift, and it is the cleanest solution because it does not involve adding anything to either drum.
If a pitch shift does not work, detune the lugs on the snare closest to the offending tom. This subtle detune can break the resonance link between the two drums without changing the snare’s overall character.
Snare wire choice also matters. Wider snare wires (20 strands or more) vibrate more sympathetically than narrower ones (16 strands). If buzz is killing your recordings, switching to fewer strands can dramatically reduce the problem while keeping the snare sounding crisp.
Finally, a small amount of dampening on the tom that triggers the buzz can help. If one specific tom is the culprit, a single moon gel on that tom often reduces the frequencies that excite the snare — and the buzz disappears without you ever touching the snare itself.
Choosing the Right Drum Heads to Control Overtones
Your drum heads are the single biggest factor in how much overtone control you get for free. The wrong head will fight you no matter how carefully you tune or dampen.
Single-Ply Heads
Single-ply heads (like a standard Remo Ambassador or Evans G1) are the most resonant option. They sing, they have wide dynamic range, and they produce the most overtones. They are perfect for jazz, funk, and styles where you want an open, lively tone — but they require careful tuning and some dampening help.
Double-Ply Heads
Double-ply heads (two layers bonded together, like a Remo Emperor or Evans G2) are warmer, darker, and naturally more focused. The second ply damps high overtones, so they ring less and record cleaner. For most rock, pop, and studio work, double-ply heads are the default because they sound controlled out of the box.
Hydraulic and Pre-Damped Heads
Hydraulic heads, as we covered earlier, use oil between plies for built-in dampening. There are also pre-damped heads with built-in sound control rings or coating patterns that reduce ring without any external help. These are the most overtone-hostile heads you can buy, and they are worth trying if you have tried everything else and your toms still ring.
Recording and Live Performance Tips for Cleaner Toms
In the studio, less dampening is usually better. A microphone up close picks up the drum’s attack and fundamental pitch much more than the overtones you hear from the throne. Many engineers will tell you a tom that sounds ringy in the room sounds perfectly controlled on tape.
If you are still getting ring in a recording, try gating the tom mics or using a touch of EQ to notch out the specific problem frequency. Sweep a narrow boost across the tom track until you find the offending ring, then cut that frequency by a few decibels. This surgical approach beats piling dampening on the drum.
For live performance, the opposite is often true. Stage acoustics are unpredictable, monitor mixes change every night, and a slightly deader tom cuts through the mix more reliably. Moon gel is your friend here — it is fast to apply, easy to adjust between songs, and consistent from venue to venue.
FAQs
How to get rid of overtones on floor tom?
Tune the floor tom carefully using the crisscross method, then tune the resonant head slightly higher than the batter head to shorten sustain. If ringing continues, drop two to four cotton balls inside the shell to dampen the bottom head from the inside, or place a single moon gel on the batter head near the edge.
How to stop toms from ringing snares?
Shift the tom’s pitch up or down slightly to move it out of the snare’s sympathetic frequency range. If that does not work, detune the snare lugs closest to the offending tom, switch to narrower snare wires (16 strands instead of 20), or place a small piece of moon gel on the tom that triggers the buzz.
How to get rid of overtones?
Start with tuning. Clear the head by tapping near each lug and matching the pitch at every position. Only add dampening after the drum is properly tuned. Moon gel, O-rings, gaff tape, or hydraulic heads can all control overtones depending on how much ring you want to remove.
How to get rid of snare overtones?
Tune the snare batter head evenly, then add a small piece of moon gel or a dampening ring to the top head. If the snare still rings, check that the snare wires are not too wide and that the resonant head is tuned to a pitch that does not clash with the batter head.
Wrapping Up: How to Stop Unwanted Ring and Overtones on Toms
The short version: tune first, muffle second, and choose dampening that fits the problem. A properly cleared drum head solves most ringing on its own. From there, moon gel handles spot overtones, O-rings and tape offer more aggressive control, hydraulic heads handle the problem at the source, and the cotton ball trick works quietly inside the shell.
Floor toms need extra patience because of their size, and snare buzz is best fixed with a pitch shift or lug detune before you start dampening either drum. The goal is not a dead drum — it is a drum that speaks clearly and stops when you want it to.
Pick one tom on your kit, run through the tuning steps above, and see how far that gets you before adding anything. You will be surprised how much of the ring disappears the moment the head is actually balanced. Then come back and use the dampening section as a reference when you hit a problem tuning alone cannot solve.