
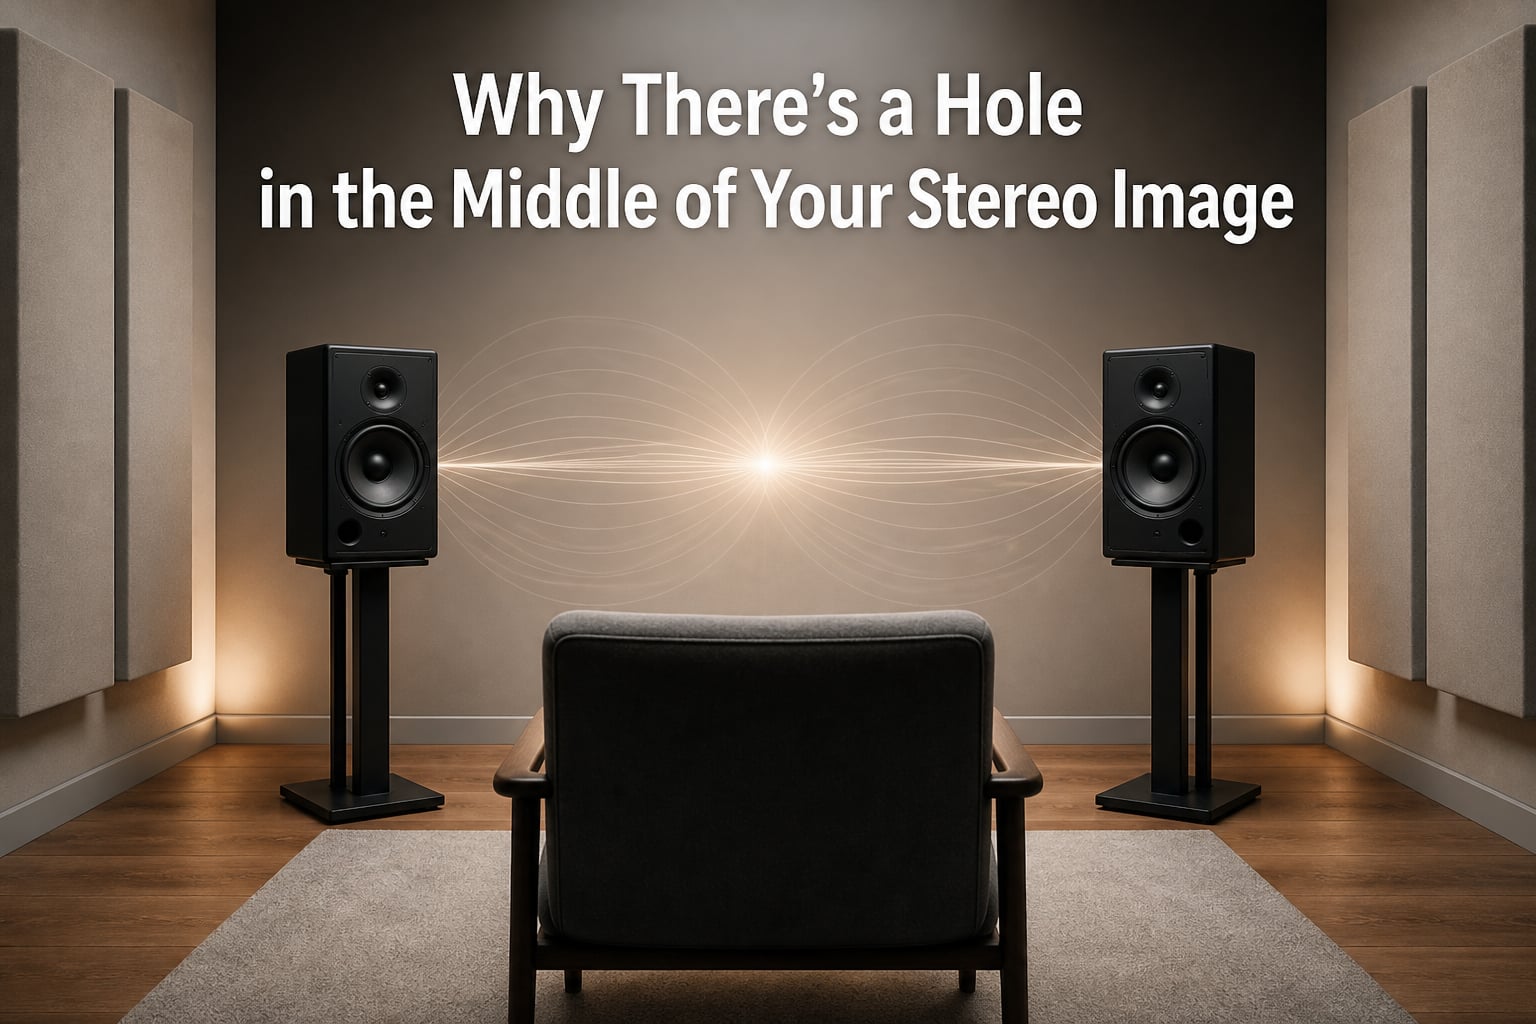
You sit down to listen to your favorite track, and something feels off. The vocals sound distant, the guitar seems to vanish from the center, and the music wraps around your head instead of sitting in front of you. That empty space between your speakers is what audio engineers call a hole in the middle of your stereo image.
I have spent years setting up listening rooms and mixing studios, and this problem shows up more often than any other. Beginners and experienced listeners alike run into it. The good news is that once you understand why it happens, fixing it is usually straightforward.
In this guide, I will walk you through what causes that missing center, how to diagnose it, and the exact steps to get a solid phantom center back. Whether you are an audiophile fine-tuning your listening room or a producer troubleshooting a mix, the principles are the same.
Table of Contents
What Is a Hole in Your Stereo Image?
A hole in your stereo image means the phantom center has weakened or disappeared. Instead of hearing lead vocals, bass, and snare drums firmly in the middle between your two speakers, those center-panned elements sound hollow, distant, or absent.
Here is how the phantom center works. When both speakers play the identical signal at the same volume, your brain perceives the sound as coming from a point directly between them. No physical speaker sits there. Your brain invents that center location by combining the two signals. This is one of the most remarkable tricks in stereo audio.
When the phantom center is working, instruments lock into place across the entire soundstage. You hear a vocalist dead center, guitars slightly left and right, and reverb spreading wide. When it breaks down, everything sounds like it is pulling hard left and hard right with nothing anchoring the middle.
The result is a thin, disconnected sound. Vocals lose their presence. The mix feels wide but empty. Many listeners describe it as a “donut” effect, with sound around the edges and nothing in the center.
The Science Behind Stereo Perception
To understand why the center disappears, it helps to know how your brain locates sound in the first place. Two mechanisms drive this process, and both matter for stereo imaging.
The first is interaural time difference. Sound from your left reaches your left ear slightly before your right ear. That tiny delay, often less than a millisecond, tells your brain where the sound originates. The second is interaural level difference. Your head creates an acoustic shadow that makes sounds from one side quieter at the opposite ear, especially at higher frequencies.
In a stereo setup, your brain uses both cues to place sounds across the soundstage. When both speakers carry the same signal at the same level, the brain receives identical information from both ears and places the sound dead center. This is the phantom image.
The phantom center is fragile by nature. It depends on both speakers arriving at your ears at the same time, at the same volume, with the same frequency response. Any disruption to that delicate balance weakens the illusion. This is why even small setup errors can punch a hole through the center of your stereo image.
Why There’s a Hole in the Middle of Your Stereo Image: Common Causes
Several factors can create that empty center, and often more than one is at play. Here are the five most common causes I see in practice.
1. Speakers Placed Too Far Apart
This is the number one cause, and it accounts for most complaints I see on forums like r/audiophile and AVS Forum. When speakers sit too wide, the overlap zone where the phantom center forms shrinks. The signals from each speaker no longer blend effectively at your listening position.
I have seen users place bookshelf speakers in the corners of a room, 12 feet apart, and wonder why vocals vanish. The fix is almost always pulling them closer together. As one Reddit user put it after correcting their setup: “Your speakers are way too far apart for proper soundstage and center imaging.”
2. Phase Cancellation Issues
Phase cancellation happens when one speaker’s signal is inverted relative to the other. The positive pressure wave from one speaker meets the negative pressure wave from the other, and they cancel each other out. Center-panned content, which plays through both speakers equally, takes the biggest hit.
The most common cause is reversed speaker wire polarity. If the positive and negative terminals are swapped on one speaker, that speaker plays out of phase. The result is a weak, hollow center and a diffuse, unfocused soundstage. Bass also tends to disappear.
Phase problems can also come from room reflections. Sound bouncing off a wall can arrive at your ears half a wavelength later, creating cancellation at specific frequencies. This is harder to diagnose but equally damaging to the center image.
3. Room Acoustics and Asymmetry
Your room plays a massive role in stereo imaging. If one speaker sits next to a window while the other is next to a bookshelf, the reflections reaching your ears from each side will be completely different. That asymmetry destroys the balanced delivery needed for a phantom center.
Forum users consistently report this issue. Room symmetry is critical. Asymmetry causes the image to pull to one side or collapse entirely. Even large furniture between the speakers can scatter sound waves and disrupt the center.
Early reflections from nearby walls, ceilings, and desks are especially harmful. They arrive at your ears within a few milliseconds of the direct sound and blur the precise timing cues your brain needs to lock in the center image.
4. Improper Toe-In Angle
Toe-in refers to angling your speakers inward so they point toward the listening position rather than straight ahead. Too little toe-in and the high frequencies, which are highly directional, miss your ears. Too much toe-in and the speakers cross in front of you, reducing the stereo width while potentially muddying the center.
Different speakers need different toe-in. Some models, like many from Genelec and Focal, image best aimed straight at your ears. Others, particularly those with wide dispersion tweeters, sound better with minimal toe-in. Experimentation is key.
5. Mixing and Mastering Errors
Sometimes the problem is not your speakers or room at all. It is the recording. If a producer overused stereo widening plugins, hard-panned too many elements, or misapplied mid-side processing, the center can be stripped from the mix itself.
This is common in amateur productions and remastered reissues where someone pushed a stereo widener too far. No amount of speaker repositioning will fix a hole baked into the recording. Testing with well-mixed reference tracks will quickly tell you whether the issue is your system or the source material.
How to Diagnose the Problem
Before you start moving speakers around, take a few minutes to diagnose what is actually wrong. This systematic approach will save you hours of trial and error.
Step 1: Test With a Mono Signal
Switch your system to mono. If your amplifier or audio interface has a mono switch, use it. If not, find a mono test track or use a plugin to sum your stereo signal to mono. In mono, everything should sound like it is coming from a single point between your speakers.
If the sound collapses, becomes thin, or shifts to one side in mono, you have a phase or polarity problem. If mono sounds fine but stereo has a hole, your issue is placement or room related.
Step 2: Check Speaker Polarity
Inspect the wire connections at both the amplifier and speaker ends. The positive terminal on the amp must connect to the positive terminal on the speaker, and the same for negative. A single reversed connection puts that speaker out of phase and kills the center image.
If you want to be thorough, use a battery test. Connect a 1.5V AA battery across the speaker terminals and watch the woofer. It should push outward when the positive battery terminal touches the positive speaker terminal. If it pulls inward, the polarity is reversed somewhere in the chain.
Step 3: Measure Speaker Distances
Use a tape measure to check the distance from each speaker to your listening position. They should be identical, within half an inch. Even an inch of difference introduces a timing error that smears the center image.
Then measure the distance between the speakers themselves. That distance should be roughly equal to the distance from each speaker to your head. If the speakers are significantly farther apart from each other than they are from you, the center will suffer.
Step 4: Assess Room Symmetry
Look at the space around each speaker. Is one near a wall while the other is in open space? Is there a large cabinet or window on one side? Take note of anything asymmetric. These differences cause uneven reflections that destabilize the phantom center.
If you have access to measurement software like REW (Room EQ Wizard), run a measurement from your listening position. The frequency response and impulse response graphs will reveal reflection problems and phase issues that are hard to hear directly.
Step 5: Try Reference Tracks
Play a well-recorded track that you know has a strong center vocal. “Money for Nothing” by Dire Straits, “Hotel California” by the Eagles, or any well-mixed jazz vocal recording works well. If the center sounds solid on these tracks but not on others, your system is fine and the recordings are the problem.
If even reference tracks have a weak center, your setup needs work. Move on to the fixes in the next section.
How to Fix Stereo Imaging Problems
Once you have diagnosed the issue, these solutions will address the most common causes. Work through them in order, testing after each change.
Fix 1: Form an Equilateral Triangle
This is the single most effective change you can make. Position your speakers and listening position so they form an equilateral triangle. Each speaker should be the same distance from the other speaker as it is from your ears. For most rooms, this means speakers 6 to 8 feet apart and the same distance from the listening chair.
Start here before trying anything else. Forum veterans recommend this approach universally. It solves the majority of center imaging problems because it ensures the signals from both speakers arrive at your ears with the right timing and level balance.
Fix 2: Apply the 38% Rule
The 38% rule comes from acoustic engineering. It states that the ideal listening position in a rectangular room is 38% of the room length from the front wall. This position minimizes the impact of room modes and standing waves that distort the frequency response.
Measure your room from the wall behind the speakers to the opposite wall. Multiply that distance by 0.38. Place your listening chair at that distance from the speaker wall. This often dramatically improves imaging and overall frequency balance.
Fix 3: Adjust Toe-In Gradually
Start with your speakers pointing straight ahead, parallel to each other. Listen to a familiar track. Then angle them inward slightly, aiming the tweeters just past your ears. Listen again. Continue adjusting in small increments until the center image locks in.
Most speakers sound best when the axes cross slightly behind the listener’s head. But some models prefer firing straight at the ears. Trust your ears over any rule of thumb here.
Fix 4: Correct Phase Issues
If your polarity check revealed a reversed connection, fix the wiring. Swap the cables so positive connects to positive and negative to negative at both ends. Re-test with the mono signal to confirm the center has returned.
If the phase issue comes from room reflections rather than wiring, you will need acoustic treatment. Absorption panels at the first reflection points on the side walls will reduce the reflected energy that causes cancellation at your listening position.
Fix 5: Add Basic Room Treatment
You do not need a fully treated studio to get good imaging. Start with absorption at the first reflection points on each side wall. These are the spots where sound from each speaker bounces directly to your ears. A simple trick to find them is the mirror method: have someone hold a mirror against the side wall while you sit at the listening position. Wherever you can see the speaker in the mirror, that is a first reflection point.
Place a 2-inch or thicker acoustic panel at each of these points. This single change often transforms a muddy, unfocused image into a tight, precise soundstage. Bass traps in the corners will further improve clarity by reducing low-frequency ringing that smears the overall sound.
The Equilateral Triangle: Speaker Placement Done Right
Let me break down the equilateral triangle setup step by step. This is the foundation of good stereo imaging, and getting it right solves most problems.
First, clear the space between your speakers. Remove any furniture, equipment racks, or objects that sit between them. Forum users consistently report that even a small table or rack between speakers disrupts the wave summation at the center.
Second, measure the distance between the two speakers. Let us say it is 7 feet. Now adjust your listening position so that each speaker is also 7 feet from your ears. Use a tape measure to confirm both distances match the inter-speaker distance.
Third, keep the speakers at least 2 feet from the front wall and 3 feet from the side walls. Closer placement to walls boosts bass but introduces early reflections that blur imaging. If your room is too small for those distances, do the best you can and rely more heavily on acoustic treatment.
Fourth, position the tweeters at ear level. If your speakers are too low, use stands. If they are too high, tilt them down slightly. High frequencies are the most directional part of the signal, and if the tweeters are firing over or under your head, the center image will suffer.
Finally, sit in your listening position and play a track with a strong center vocal. Have a friend slowly move one speaker inward by an inch at a time while you listen. You will hear the center snap into focus at the right distance. Mark that spot.
When Mixing Causes the Hole
If you are a producer or mixing engineer, the problem might originate in your session rather than your playback system. Several common mixing mistakes create a hole in the center.
The biggest offender is overusing stereo widening plugins. These tools work by manipulating the side channel, which contains the stereo difference information. Push them too hard and they strip energy from the mid channel, which carries all the center-panned content. Vocals, bass, kick drums, and snares can thin out or vanish.
Always check your mix in mono. If elements disappear when you sum to mono, your stereo widening is too aggressive. Dial it back until the mono check sounds balanced.
Hard panning every instrument left or right is another mistake. If you pan guitars hard left, keyboards hard right, and put nothing in the center, you create a deliberate hole. Lead vocals, bass, and kick drums should sit in the center to anchor the mix.
Mid-side processing can also cause problems if misapplied. Cutting frequencies from the mid channel while boosting them in the side channel will hollow out the center. Use mid-side EQ carefully, and always reference against the bypassed signal to make sure you are not removing what matters most.
I always recommend mixing at moderate width and testing on multiple systems. A mix that sounds great on wide-format monitors might fall apart on earbuds or a Bluetooth speaker where the center is everything. If your mix translates well to mono, it will translate well everywhere.
FAQs
How do you fix stereo imaging?
Fix stereo imaging by first forming an equilateral triangle with your speakers and listening position, ensuring both speakers are the same distance from your ears. Check speaker wire polarity for phase issues, adjust toe-in angle gradually, and add absorption at side-wall first reflection points. Always test with well-mixed reference tracks.
What is a phantom center in stereo?
A phantom center is the illusion of sound coming from directly between two speakers when both play the same signal at equal volume. Your brain combines the identical signals and perceives a center image even though no physical speaker exists there.
What does a stereo widener do?
A stereo widener increases the perceived width of a mix by boosting the side channel, which contains stereo difference information, relative to the mid channel. Used sparingly it enhances spaciousness, but overused it can strip energy from the center and create a hole in the stereo image.
How far apart should stereo speakers be?
Stereo speakers should form an equilateral triangle with your listening position, meaning the distance between the speakers equals the distance from each speaker to your ears. For most rooms this works out to 6 to 8 feet apart, with the listening chair the same distance back.
What is the 38% rule for speaker placement?
The 38% rule states that the ideal listening position in a rectangular room is 38% of the room length measured from the wall behind the speakers. This location minimizes the impact of room modes and standing waves, improving frequency response and stereo imaging.
Can room treatment fix a hole in the stereo image?
Yes, room treatment can help significantly. Absorption panels at the first reflection points on side walls reduce early reflections that blur the center image. Bass traps in corners reduce low-frequency smearing. However, treatment cannot fix a hole caused by speakers being too far apart or wired out of phase.
Conclusion
A hole in the middle of your stereo image is one of the most frustrating listening problems, but it is also one of the most fixable. In nearly every case, the cause comes down to speaker placement, phase polarity, room asymmetry, or over-aggressive mixing techniques.
Start with the equilateral triangle. Check your wiring. Test in mono. Then work through room treatment if needed. The phantom center is a delicate illusion, but when you get the geometry and acoustics right, it locks into place with a solidity that never fails to impress. Take it one step at a time, and your soundstage will fill in that empty middle for good.
1 thought on “Why There’s a Hole in the Middle of Your Stereo Image (2026)”