
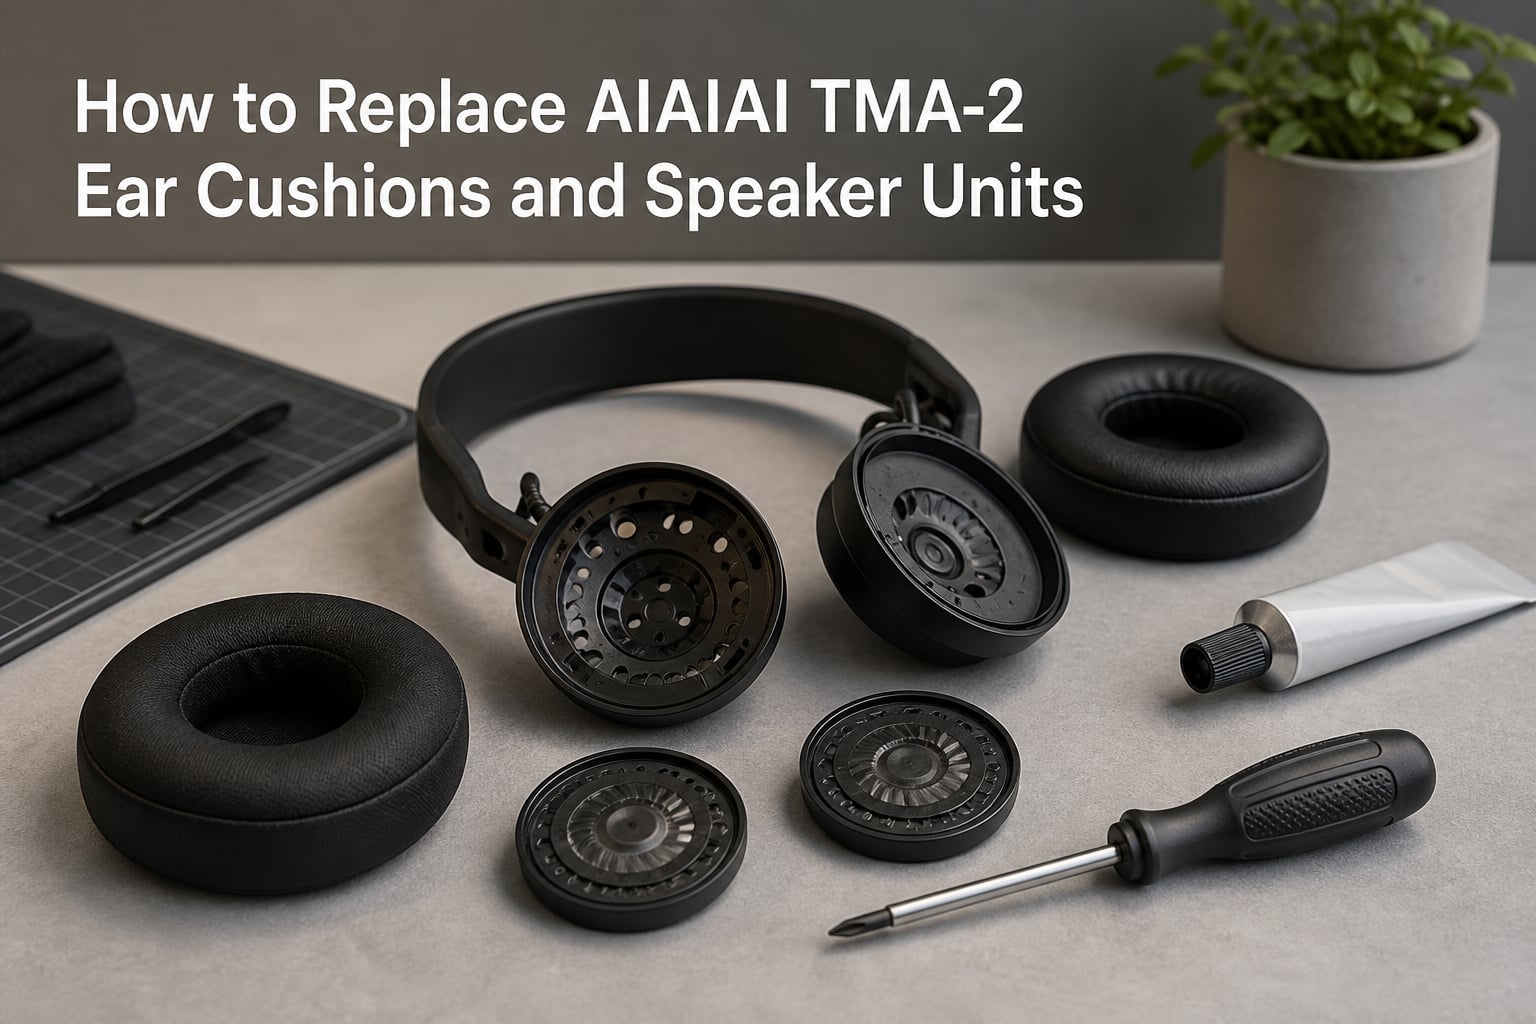
AIAIAI TMA-2 headphones are built around a modular design that lets you swap parts instead of buying a whole new set. That means when your ear cushions start peeling or a speaker unit cuts out, you can fix it yourself with the right guide. This is exactly why so many DJs and studio engineers pick the TMA-2 over closed-system alternatives.
Our team has been using and repairing TMA-2 headphones for years, and we have put together a complete AIAIAI TMA-2 replacement walkthrough covering both ear cushions and speaker units. Whether you own an MKI or MKII model, we cover the identification step, the exact tools you need, and every step of the process.
No featured snippet currently exists for this topic, so we built this guide with clear numbered steps and troubleshooting tips to be the most helpful resource on the web. Let us get your headphones sounding and feeling like new again.
Table of Contents
Why Replace Your TMA-2 Parts?
The AIAIAI TMA-2 modular headphone system was designed specifically so you would not have to throw away your headphones when something wears out. Ear cushions degrade over time from sweat, heat, and friction, and speaker units can develop faults after thousands of hours of use. Replacing these parts extends the life of your headphones by years.
Users on Reddit and professional DJ forums consistently praise the modular system for allowing upgrades and repairs. Many report their TMA-2 headphones hold up well over years of heavy use, and some prefer them over Sennheiser HD25 for durability.
There is also a sustainability angle. AIAIAI backs their parts with a 5-year warranty, and repairing instead of replacing keeps electronic waste out of landfills. If you care about sustainable audio equipment, this repair-first approach is a big part of what makes the TMA-2 special.
How to Identify Your TMA-2 Model: MKI vs MKII
Before you start any AIAIAI TMA-2 replacement work, you need to know which generation you own. The repair process differs between MKI and MKII models, and following the wrong guide can damage your headphones.
The easiest way to tell them apart is by looking at the speaker plate on the inside of the ear cup. If the speaker plate has three screws, you have the MKII model. MKI speaker units use a different internal layout without the three-screw plate pattern.
Here is a quick identification checklist:
MKII: Three visible screws on the speaker plate inside the ear cup
MKI: Different speaker plate design without the three-screw pattern
Both models: Ear cushions attach the same way using glue
This matters because the speaker unit disassembly steps below are written for the MKII, which is the current model. If you have an MKI, the ear cushion steps still apply, but you should check AIAIAI’s official support page for MKI-specific speaker instructions.
Tools and Parts You’ll Need
Having the right tools ready before you start makes the entire process smoother. You will need different tools depending on which part you are replacing.
For ear cushion replacement:
Epoxy glue (or super glue as an alternative)
A small applicator or toothpick for precise glue placement
Cleaning cloth and isopropyl alcohol to remove old adhesive
Replacement TMA-2 ear cushions (genuine AIAIAI parts recommended)
For speaker unit replacement:
Phillips 00 screwdriver
Replacement TMA-2 speaker unit
Small container to hold screws during disassembly
Good lighting and a clean workspace
That is it. You do not need a soldering iron for standard speaker unit swaps. The only time soldering comes into play is if you are troubleshooting a broken wire connection inside the unit, which we cover in the troubleshooting section.
How to Replace AIAIAI TMA-2 Ear Cushions
The TMA-2 earpads replacement process is straightforward but requires care with the glue application. Ear cushions on the over-ear TMA-2 models attach using adhesive, not clips or screws, so the job is mostly about removing old adhesive and applying new glue cleanly.
Step 1: Remove the old ear cushion. Gently peel the worn earpad away from the ear cup. Start at one edge and work your way around slowly. If the old glue is stubborn, apply gentle, steady pressure rather than yanking. You do not want to damage the plastic rim.
Step 2: Clean off all old adhesive. Use isopropyl alcohol and a cloth to remove every trace of the old epoxy or glue from the ear cup rim. This step is critical because leftover residue prevents the new glue from bonding properly. Take your time here.
Step 3: Test-fit the new cushion. Before applying any glue, place the new ear cushion onto the ear cup to make sure it sits flush. The memory foam and PU leather should align evenly with no gaps. If the fit looks right, remove it and get your glue ready.
Step 4: Apply the epoxy glue. Apply a thin, even bead of epoxy glue around the rim of the ear cup. You can use super glue if epoxy is unavailable, but epoxy provides a stronger, longer-lasting bond. Avoid excess glue because it can squeeze out and create a mess on the PU leather.
Step 5: Press the new cushion into place. Align the ear cushion carefully and press it down firmly around the entire circumference. Hold steady pressure for about 30 seconds to let the glue grab. Check for any detached sides where the glue may not have made contact.
Step 6: Let it cure. Leave the headphones undisturbed for the full curing time recommended on your glue packaging. Most epoxy glues need 24 hours to reach full strength. Resist the urge to test them early.
If you notice the earpad feels too tight after installation, this is normal for the first few hours. The memory foam needs time to compress and settle into its final shape.
How to Replace AIAIAI TMA-2 Speaker Units
Replacing TMA-2 speaker units is a slightly more involved process than ear cushions, but it is still completely doable at home. These instructions are for the MKII model, which uses three screws on the speaker plate.
Step 1: Remove the ear cushion. You need to take off the ear cushion first to access the speaker plate. Follow the removal steps from the ear cushion section above. You can reuse the cushion after the speaker swap is done.
Step 2: Locate the three screws. With the cushion removed, you will see the speaker plate. On the MKII model, there are three Phillips screws holding the speaker unit in place. Make sure your Phillips 00 screwdriver fits snugly to avoid stripping the screw heads.
Step 3: Remove the three screws. Unscrew each one carefully and place them in a small container. These screws are tiny and easy to lose, so keep them organized. Do not let them roll off your workspace.
Step 4: Separate the speaker unit. Gently lift the speaker unit out of the ear cup housing. The unit sits in a press fitted tunnel that holds it snugly. You may need to apply light, even pressure to ease it out without forcing anything.
Step 5: Disconnect the headband connector. The speaker unit connects to the headband through a pin plate mechanism on the headband-connector plate. Carefully separate the speaker unit from this connection. Take note of how it comes apart so you can reverse the process.
Step 6: Install the new speaker unit. Connect the new speaker unit to the headband pin plate, making sure the connection is secure. Slide the unit into the press fitted tunnel in the ear cup housing.
Step 7: Replace the three screws. Screw the speaker plate back down with the three screws you saved earlier. Tighten them snugly but do not overtighten. Over-torquing can crack the plastic plate.
Step 8: Reattach the ear cushion. Reapply glue if needed and press the ear cushion back into place following the same technique from the ear cushion replacement section.
Step 9: Test the audio. Plug your headphones in and play audio through both sides. Confirm that the new speaker unit produces clear sound and that the repaired side matches the volume and quality of the other side.
One important note: if you hear no audio from the new speaker unit, the issue is likely a pin mechanism connection, not the speaker itself. Check the troubleshooting section below for fixes.
Troubleshooting Common TMA-2 Repair Issues
Even with careful work, you might run into issues during or after your AIAIAI TMA-2 replacement. Here are the most common problems and how to fix them.
Earpad Glue Peeling Off After Installation
If the edges of your ear cushion start lifting after a few days, the glue bond failed. This usually happens because old adhesive was not fully removed before applying new glue. Remove the cushion, clean the rim thoroughly with isopropyl alcohol, and reapply epoxy glue with a fresh bead. Let it cure the full 24 hours this time.
No Audio After Speaker Unit Replacement
If your new speaker unit produces no sound, check the pin mechanism on the headband-connector plate. The connection between the speaker unit and the headband uses a pin plate system that must seat fully. Remove the speaker unit, inspect the pins for damage or debris, and reconnect with firm, even pressure until you feel it click into place.
Audio Cutting In and Out
Intermittent audio often points to a loose wire connection inside the speaker unit. If you are comfortable with a soldering iron, check the soldered wires where they connect to the speaker driver. A cold solder joint can cause dropouts. Resolder any questionable connections. If you are not experienced with soldering, contact AIAIAI support for warranty service.
Speaker Unit Will Not Sit Flush
If the speaker unit sits crooked or does not sit flat in the housing, check that all three screws are tightened evenly. Also inspect the press fitted tunnel for debris or a bent edge. Sometimes a small piece of old adhesive or debris gets stuck in the channel and prevents the unit from seating properly.
One Side Sounds Different After Repair
If the repaired side sounds different in tone or volume, double-check that you purchased the correct speaker unit preset. AIAIAI offers different speaker unit configurations (like the S05, H05, X05 drivers), and mixing presets between left and right creates an imbalanced sound. Always match the same preset on both sides.
Tips for Maintaining Your TMA-2 After Repair
Once your AIAIAI headphones maintenance is done, a few simple habits will keep your replacement parts lasting longer. These tips come from professional DJ community recommendations and our own long-term testing.
Wipe down ear cushions after every session. Sweat and skin oils break down PU leather faster than anything else. A quick wipe with a dry microfiber cloth after each use adds months to the life of your earpads.
Store headphones in a case. When not in use, keep your TMA-2 in a protective case. This prevents the ear cushions from being compressed and protects the headband connector pins from dust and impacts.
Avoid leaving headphones in hot cars or direct sunlight. Heat softens the adhesive holding ear cushions in place and degrades PU leather. High temperatures are one of the top causes of premature earpad failure.
Be gentle with the headband connectors. The pin plate mechanism is durable but not indestructible. When folding or adjusting the headphones, avoid putting lateral stress on the ear cup joints. Treat the modular connections with respect and they will last for years.
Keep spare ear cushions on hand. Since the modular system makes swapping easy, having a backup pair of cushions means you are never caught off guard. When one set wears out, you can swap immediately and re-glue at your convenience.
Where to Buy Genuine TMA-2 Replacement Parts
For the best results, buy genuine AIAIAI TMA-2 replacement parts directly from AIAIAI’s website or authorized retailers. The TMA-2 Parts page on AIAIAI’s site lists all available components including ear cushions, speaker units, headbands, and cables.
Some users ask about third-party earpads on forums. While third-party options exist, finding compatible replacements can be difficult, and fit and sound isolation vary. Genuine parts guarantee the correct fit, proper sound performance, and are covered by AIAIAI’s 5-year warranty.
If you are unsure which part you need, AIAIAI’s support pages include detailed product references. Match your speaker unit preset code (printed on the original packaging) to ensure you order the right replacement.
FAQs
Is it worth replacing headphone pads?
Yes, replacing worn headphone pads is absolutely worth it. Fresh ear cushions restore comfort, improve sound isolation, and extend the life of headphones you already own. With the AIAIAI TMA-2 modular system, swapping ear cushions takes about 30 minutes and costs a fraction of replacing the entire headphone set.
Are AIAIAI headphones good?
AIAIAI TMA-2 headphones are well regarded in the professional audio community. DJs and studio engineers praise their modular design, durability, and repairability. Many users report their TMA-2 units holding up well over years of heavy use, and some prefer them over other DJ headphone brands for build quality.
How to put headphone ear pads back on?
For AIAIAI TMA-2 headphones, clean the old adhesive off the ear cup rim with isopropyl alcohol, apply a thin bead of epoxy glue around the rim, align the new cushion, and press firmly around the entire edge. Hold pressure for 30 seconds and let the glue cure for 24 hours before use.
Can the padding on headphones be replaced?
Yes, the padding on AIAIAI TMA-2 headphones can be replaced. The modular system is designed for exactly this purpose. Replacement ear cushions are available from AIAIAI and attach using epoxy glue. The process is simple enough to do at home with basic tools.
Wrapping Up
Learning how to replace AIAIAI TMA-2 ear cushions and speaker units saves you money and keeps your headphones in rotation for years longer. The modular system that AIAIAI built makes these repairs accessible to anyone with basic tools and a little patience.
Remember the key steps: identify your model first, gather the right tools, follow the numbered steps carefully, and do not skip the curing time on your glue. If you run into trouble, the troubleshooting section covers the most common issues. Your TMA-2 headphones were designed to be repaired, so take advantage of it.
2 thoughts on “How to Replace AIAIAI TMA-2 Ear Cushions & Speaker Units (September 2026) Guide”