
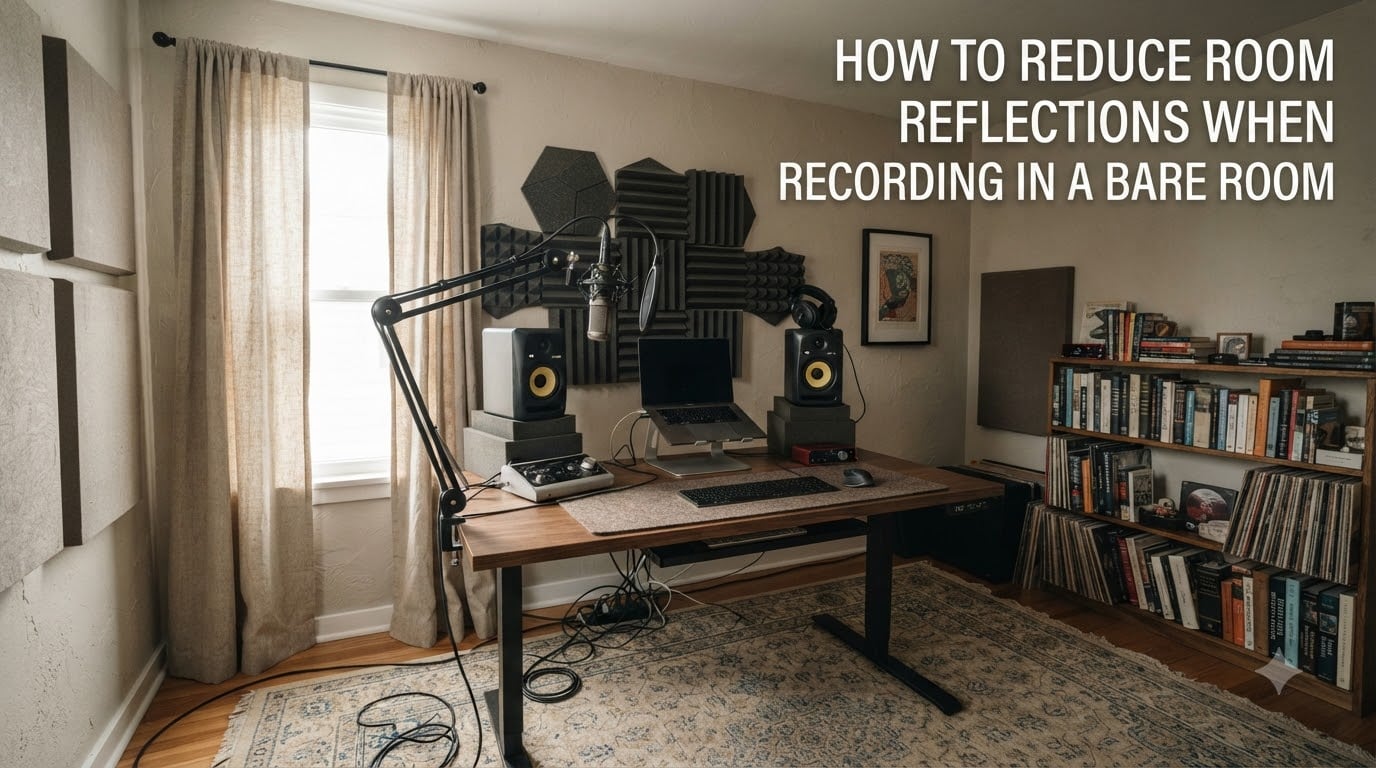
If you have ever recorded a vocal in a spare bedroom and cringed at the hollow, echoey playback, the problem was almost certainly your room. I spent my first year of recording in an empty square room with drywall on every surface, and every take sounded like it was captured inside a bathroom. The microphone was fine, the interface was fine, my performance was fine. The room was betraying me.
Bare rooms are honest. They tell you exactly what is wrong with your audio before any processing hides it. That is bad news for finished recordings and great news for learning. Once you understand how to reduce room reflections when recording, you can fix most of what makes a home recording sound amateur with the surfaces and objects you already own. This guide walks through the order I would treat any untreated room, starting with the loudest reflections first and ending with cheap DIY tricks that work in rentals.
Table of Contents
Why Bare Rooms Create So Many Recording Reflections
Sound behaves like light when it leaves your mouth. The direct sound travels straight to your microphone, but the rest of that energy hits walls, the ceiling, and the floor at the same angle it arrived. In a bare room, those surfaces are hard, flat, and parallel, so the reflections come back almost untouched.
Reflections arriving within roughly 30 milliseconds of the direct sound blend with your voice and create comb filtering. Reflections arriving after that threshold are perceived as echo and reverb. Together, they are what musicians call “room sound,” and a bare room has nothing to soak it up.
Three concepts matter for recording. Early reflections are the first bounces off the nearest surface and shape the tone of your voice. Flutter echo is the rapid ping-pong between two parallel hard walls that adds a metallic ringing. Standing waves and room modes pile up bass energy in corners and along walls. You treat each one with different materials placed in different spots, which is what the rest of this article covers.
Start With the Wall Directly in Front of the Microphone
The first surface your voice hits after the microphone is the wall you are facing. That wall sends the strongest early reflection straight back at you, and it is the single biggest reason untreated vocals sound boxy.
Hang your thickest absorption panel (or a thick moving blanket) centered on that wall, roughly at mouth height. Coverage of about 2 by 4 feet is enough for a single voice. If you can only afford one panel for now, put it here.
Step-by-step, here is how I would approach it:
- Sit where you normally record and have someone tap the wall in front of you to mark the spot.
- Mount a 4-inch acoustic panel or a folded moving blanket over that spot.
- Leave 1 to 2 inches of air gap behind it if you can; air gaps extend low-frequency absorption.
Once this panel is in place, do a quick A/B test by recording yourself clapping once. The hollow slap should drop noticeably.
Treat the Side Walls at the Mirror Points
The next loudest reflections come from the side walls. To find them, sit in your recording position and have an assistant slide a mirror along the side wall. Wherever you can see your microphone in the mirror is a reflection point.
Place a panel at each of those spots on both walls. For a small home studio, two panels per side wall usually does the job. You do not need to cover the entire wall; you only need to kill the first reflections.
If your budget is tight, treat only the side closest to the microphone first. Off-axis reflections drop in level, and most of the energy you hear is happening within the first few feet of each wall. Save the further panel for when you add more coverage.
Cover the Wall Behind You and the Ceiling Above
The wall behind the microphone is the rear wall from the source’s perspective. It bounces energy forward again, adding a delayed copy of your voice to the recording. A single 2 by 3 foot panel centered on that wall behind your head (or behind your monitors if you are tracking an instrument) cleans up a surprising amount of smearing.
The ceiling directly above you is the most overlooked reflection point. Voice energy rises as you speak, and a bare drywall ceiling throws that energy straight back into your mic. The fix is a ceiling cloud, which is just a panel suspended a few inches below the ceiling.
- Suspend a 2 by 4 panel above your head using ceiling hooks or a wire rig.
- Aim for 2 to 4 inches of air gap between the panel and the ceiling.
- If hanging is not an option, lean a foam panel up on a tall mic stand angled at the ceiling.
Doing the rear wall and the ceiling also kills flutter echo in rectangular rooms, because you break up the parallel bounce pattern that causes the metallic ring.
Use Furniture, Rugs, Curtains, and Bookshelves as Absorption
You do not need to buy anything to start. Heavy curtains, a thick rug, an upholstered chair, and a fully loaded bookshelf each absorb a useful slice of mid and high frequencies. Bare bookshelves are not absorbers; full bookshelves are, because the uneven book spines and the air gaps between books scatter and trap sound.
Place the largest soft items at first reflection points if you are out of panels. A rug on the floor between you and your microphone does more than any single foam square, because the floor is the closest reflective surface to most seated voices.
- Hang a thick curtain over any window within 6 feet of your mic.
- Add an area rug that reaches under your desk and chair.
- Fill the nearest bookshelf with books, vinyl, or fabric bins.
- Move an upholstered chair into the corner behind your recording position.
Together, soft furnishings can replace two or three mid-priced panels in a small room.
Tackle the Corners With Bass Traps
Bass loves corners. Low-frequency energy builds up where three or more surfaces meet, which is why small untreated rooms often sound boomy in the low end. Bass traps are dense absorbers placed vertically floor-to-ceiling in corners where wall meets wall, and ideally where wall meets ceiling.
You do not need a fancy product. Four 6-inch-thick rigid fiberglass or mineral wool panels in the four vertical corners will tame most low-end buildup in a bedroom-sized room. Stack them from floor to ceiling, leaving a triangular air gap behind each one for extra efficiency.
If you want to keep things cheap, wedge-shaped foam bass traps work for the upper bass range, though they underperform rigid fiberglass at the lowest frequencies. For most vocal work, even modest corner treatment is enough.
Improve Microphone Placement and Polar Pattern Choices
Room treatment and microphone technique work together. Even a fully treated room benefits from smart mic placement, and an untreated room can sound halfway decent with the right technique.
Move the microphone at least 6 to 8 inches away from any reflective surface. The closer your mic is to a wall, the louder that wall’s reflection will be in the recording. Pulling back changes the ratio of direct to reflected sound in your favor.
Choose a polar pattern that rejects the room. Cardioid is standard, but supercardioid or hypercardioid reject more side energy at the cost of a small rear pickup lobe. Dynamic microphones like the SM7B or RE20 also pick up less room sound than large-diaphragm condensers because they are less sensitive overall.
The classic closet trick is microphone technique in its purest form. A small closet packed with hanging clothes acts as a broadband absorber, which is why vocals recorded in closets often sound surprisingly dry. If you record in one, keep at least 6 inches of clearance around the mic so clothes do not brush against it.
Budget-Friendly DIY Alternatives to Acoustic Panels
Acoustic panels cost money, but absorption does not have to. The forum posts I have read across the audio engineering communities consistently highlight the same DIY options because they work.
Moving blankets hung with curtain rods or 3M Command hooks cover a lot of square footage for very little cost. Thick comforters and duvets work just as well. Towels are worse than nothing for bass, but they help tame early reflections in the mid and high range and cost zero if you already own them.
- Moving blankets hung at first reflection points (around $10 each at hardware stores).
- Thick hotel-style comforters draped from ceiling hooks.
- Packed bookshelves or stacked fabric storage bins in corners.
- A mattress leaned against the wall behind your mic as a temporary bass panel.
The community consensus from Reddit and GearSlutz threads is clear: a $40 closet full of clothes beats a $400 set of foam squares for actual absorption. Materials that are heavy and porous beat thin, decorative foam nearly every time.
Rental-Friendly Treatments That Leave No Damage
If you rent, you cannot drill into drywall or glue foam to the ceiling. The good news is that every fix above can be done without causing damage.
Freestanding panels on mic stands or A-frames give you full absorption with zero wall holes. Heavy moving blankets hung on a tension rod between two walls come down cleanly when you move out. 3M Command strips rated for the panel’s weight hold foam and thin panels on painted drywall and peel off without paint damage when removed properly.
For ceiling clouds, use a freestanding boom or a wire rig anchored to removable adhesive hooks. Bass traps in the corners can simply lean against the walls, held in place by friction and gravity. None of these methods require tools, holes, or permanent changes.
If your landlord is strict, lean everything into the room and avoid mounting anything at all. You will lose about 10 percent of the acoustic gain compared to wall-mounted panels, but the results are still a massive upgrade over bare walls.
Frequently Asked Questions
How do I reduce sound reflection in a room?
Hang thick absorbers or moving blankets at the first reflection points, which are the spots where sound from your voice first bounces off the walls. Treat the wall directly in front of you, the side walls at mirror points, and the ceiling above your head for the biggest improvement.
How do I reduce mic feedback in a small room?
Move the microphone at least 6 to 8 inches away from any wall and use a cardioid, supercardioid, or hypercardioid pattern aimed away from reflective surfaces. Add absorption at the closest first reflection points to cut the reflected energy that reaches the mic.
What is the 38 percent rule for speaker placement?
The 38 percent rule places your speakers at roughly 38 percent of the room’s length from the front wall, which often falls outside the strongest standing wave nodes in rectangular rooms. It is a starting point, not a guarantee, and the right spot still depends on your specific dimensions.
How do I sound dampen a room for recording?
Combine absorption panels at first reflection points, bass traps in the corners, soft furnishings like rugs and curtains, and careful microphone placement. Doing all four covers early reflections, low-frequency buildup, and lingering reverb at the source.
Bringing It All Together
If you only do one thing today, treat the wall directly in front of your microphone with the heaviest absorber you own. That single change does more for vocal clarity than anything else in this guide.
From there, work outward in the order I outlined. Hit the side wall mirror points, then the rear wall and ceiling to kill flutter echo, then the corners with bass traps. Add soft furnishings to fill the gaps, smarten up your microphone placement, and finish with rental-friendly mounting if you need it. You will go from a hollow, boomy room to a controlled recording space without ever buying anything you cannot fit through an apartment door.