
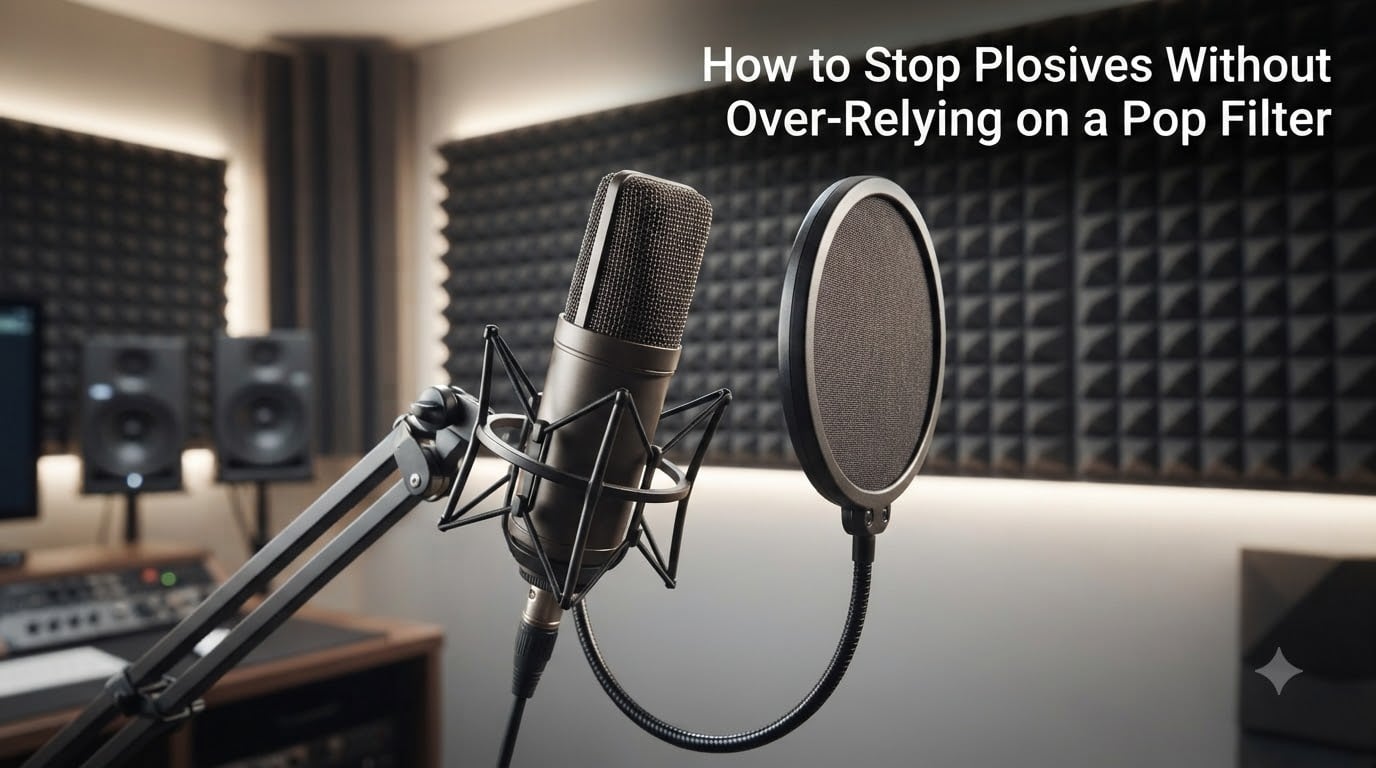
Anyone who has recorded vocals knows the frustration of those explosive bursts of air that turn a clean take into a muddy mess. You pop on a pop filter, hit record, and somehow the P and B sounds still punch through. Learning how to stop plosives without over-relying on a pop filter changed the way I approach every recording session.
The truth is, a pop filter helps, but it is one tool in a larger toolkit. Microphone placement, breath control, angle adjustments, and even the type of mic you use all play a role. In this guide, I will walk through every technique I have tested and refined over years of recording vocals, podcasts, and voice-over work. By the end, you will have a complete system for plosive-free audio that does not depend on a single piece of mesh and a gooseneck.
Table of Contents
What Are Plosives and Why Do They Happen
Plosives are sudden bursts of air pressure that hit a microphone’s diaphragm when you pronounce certain consonants, creating a distracting popping or booming sound in your recording. The most common culprits are P, B, T, D, K, and G sounds.
Here is the simple mechanism behind them. When you say a word like “pop,” your lips close, building air pressure behind them. The moment your lips part, that pressurized air rushes out as a burst. If your mouth is aimed at a sensitive microphone capsule, that burst slams into the diaphragm like a tiny air cannon.
The result is a low-frequency thud that can spike 20 decibels or more above your normal speaking level. On a waveform, plosives look like sharp downward spikes. They eat up headroom, muddy the low end, and are genuinely painful through headphones. Bass-heavy monitoring makes them even more noticeable, which is why podcast listeners and audiobook consumers catch them instantly.
Not all microphones handle plosives the same way. Large-diaphragm condenser microphones are the most susceptible because their capsules are highly sensitive to air pressure changes. Dynamic microphones, with their heavier diaphragms and tighter polar patterns, tend to shrug off plosives more naturally. I will get into that comparison in detail later.
Why Pop Filters Alone Are Not Enough
A pop filter works by dispersing the burst of air before it reaches the microphone capsule. The mesh screen breaks up the concentrated column of air into a gentler, more diffuse wave. This does reduce plosives, sometimes significantly. But it does not eliminate them.
I have seen too many people treat a pop filter as a magic shield. They clamp it on, position it two inches from the mic, and assume the problem is solved. Then they record a take and wonder why their P sounds still sound like someone dropping a book on a table.
Here is what a pop filter cannot do. It cannot compensate for being too close to the microphone. It cannot fix a mic aimed directly at your lips. It cannot stop plosives if you are a naturally breathy or loud speaker who pushes more air than average. And cheap nylon-mesh filters with loose fabric barely slow the air down at all.
Professional audio engineers on forums like r/audioengineering have echoed this for years. One sentiment comes up repeatedly: a pop shield will not prevent pops, it will just help reduce them. You still need solid technique behind it.
So yes, use a pop filter. But pair it with the strategies below, and you will get dramatically cleaner results than any filter can deliver on its own.
Microphone Placement Techniques to Stop Plosives
How you position your microphone matters more than any accessory you attach to it. These placement techniques form the backbone of any reliable approach to plosive control.
The Off-Axis Technique
The single most effective placement change you can make is angling the microphone off-axis. Instead of singing or speaking directly into the front of the capsule, angle the mic 15 to 45 degrees so your breath passes across the diaphragm rather than straight into it.
Think of it this way. Plosives are directional. That burst of air travels in a straight line from your mouth. When the mic faces you head-on, it catches the full force. Tilt the mic slightly, and the air stream passes by the capsule while the sound still reaches it. You lose almost nothing in audio quality, but the plosive energy drops dramatically.
I tested this with a side-address condenser mic and a vocal sample loaded with P and B sounds. At 0 degrees, the plosives were severe. At 20 degrees off-axis, they dropped by roughly half. At 45 degrees, they were nearly inaudible. The tone stayed full and clear throughout.
The 45-Degree Above-and-Tilted Method
A popular technique shared across recording forums involves placing the microphone above your mouth, roughly at forehead height, then angling it down toward your chin or nose. This positions the mic at roughly 45 degrees to your air stream.
Because the mic is above you, your breath travels forward and slightly downward, missing the capsule entirely. Meanwhile, the sound of your voice rises naturally into the pickup pattern. This method works exceptionally well for condenser microphones in home studio setups.
One Reddit user from r/audioengineering described it perfectly: put the mic 45 degrees to the side and above you, tilted down and aimed at your chin. That single placement change eliminated their plosive issues even on a sensitive large-diaphragm condenser.
Distance Is Your Friend
The simplest rule in plosive prevention is also the most overlooked: back away from the mic. The intensity of an air burst drops off rapidly with distance. At two inches, a P sound can overload a capsule. At six inches, that same P sound barely registers as a puff.
I recommend a minimum distance of four inches for speaking and six inches for singing. If you are working without a pop filter entirely, push that to eight or more inches. You can always increase your input gain to compensate for the lower signal.
The 3:1 Rule for Multiple Mics
If you are using more than one microphone, the 3:1 rule applies. Place the second microphone at least three times the distance from the first mic as the first mic is from the sound source. So if your vocal mic is six inches from your mouth, any second mic should be at least 18 inches away. This minimizes phase cancellation, but it also means the second mic is far enough back to avoid catching plosive bursts.
Recording Technique Adjustments That Prevent Plosives
Beyond microphone placement, how you physically deliver your vocals has a massive impact on plosive control. These are habits you can develop with a little practice.
Speak Past the Microphone, Not Into It
This is a technique professional broadcasters use constantly. Instead of aiming your mouth at the microphone, aim your mouth slightly to the side of it. The microphone picks up your voice off-axis while your breath sails harmlessly past the capsule.
This pairs naturally with the off-axis placement above. With the mic angled and your mouth directed past it, you have created two layers of protection without any hardware at all.
Breath Control and Soft Consonants
You can train yourself to reduce the air pressure behind problem consonants. This does not mean mumbling or changing your pronunciation. It means learning to release plosive sounds more gently.
Practice saying words like “paper,” “baby,” and “tape” while consciously softening the release of air. Think of easing the consonant rather than exploding it. Voice actors do this instinctively after years of mic work. It takes a few sessions to build the habit, but once you do, your plosive problems shrink noticeably.
Mind Your Head Movement
One mistake I see constantly is speakers who turn their head while talking. You set up the mic perfectly, then lean in or turn toward a script, and suddenly your mouth is dead-center on the capsule again. Use a music stand or tablet holder positioned at the same angle as your mic so your head stays put.
Use a Pop Filter and Windscreen Together
If you want maximum protection without changing mics, combine a nylon or metal mesh pop filter with a foam windscreen slipped over the mic itself. The filter handles the bulk of the air burst, and the windscreen catches whatever residual pressure gets through. This double-layer approach is what many broadcast studios use.
Pop Filter Alternatives and DIY Solutions
Maybe you are recording on the road, forgot your pop filter, or just want to experiment. Several alternatives work surprisingly well.
The Pencil Hack
This is one of the oldest tricks in recording. Place a pencil vertically in front of the microphone capsule, directly between your mouth and the mic. The pencil splits the air burst into two streams that pass around the capsule instead of hitting it dead-center.
Tape the pencil to a mic stand or clip it to the mic grille. Position it so it covers the center of the capsule from your perspective. It sounds silly, but I have A/B tested this against a commercial pop filter and the results were nearly identical on spoken word.
The Finger Technique
For a zero-equipment solution, hold your index finger vertically in front of your lips while you speak. Your finger acts like the pencil, deflecting the air burst. This is obviously impractical for singing or long sessions, but it works for quick voice notes or improvised recordings.
The Nylon Stocking Method
If you want a genuine DIY pop filter, stretch a piece of nylon stocking or pantyhose over an embroidery hoop or a bent wire coat hanger. The principle is identical to a commercial nylon-mesh filter. Bend a wire coat hanger into a circle, stretch the nylon tight, and position it between your mouth and the mic.
Foam Windscreens
A foam windscreen slipped over the microphone head costs a fraction of a pop filter and provides solid plosive reduction. It will not be as transparent sonically as a good mesh filter, adding a slight high-frequency rolloff, but for podcasting and voice-over work it does the job well.
Wire Mesh Alternatives
Metal mesh pop filters use a perforated metal screen instead of nylon. They are more durable, easier to clean, and some engineers prefer them because they preserve high-frequency detail better than nylon. If you are buying one filter, consider a metal mesh option.
Find Your Personal Plosive Range
This is an exercise I developed after years of coaching people through mic technique. Everyone’s plosive range is different. Some people barely push air when they speak. Others sound like a hurricane on every consonant. Finding your personal plosive range helps you calibrate every other technique in this guide.
Here is how to do it.
Step 1: Set up your microphone at a comfortable height with no pop filter attached. Position it facing you directly, at 0 degrees.
Step 2: Start with the mic two inches from your mouth. Say the sentence “Peter Piper picked a peck of pickled peppers” at your normal speaking volume. Record it.
Step 3: Move back one inch at a time and repeat the sentence each time. Continue until you reach 12 inches.
Step 4: Listen back to each recording on headphones. Note the distance where plosives go from severe to mild, and the distance where they disappear entirely.
Step 5: That distance where plosives vanish is your baseline plosive range. For most people it lands between five and eight inches. That is your minimum working distance without a pop filter.
Now repeat the exercise at a 20-degree off-axis angle. You will likely find your plosive-free distance shrinks by two to three inches. That is the power of angle combined with distance. Write down both numbers and use them as your default starting position for every session.
This exercise takes about 15 minutes, and it pays off every single time you record. Once you know your range, you never have to guess again.
Post-Production Fixes When Plosives Slip Through
Sometimes plosives make it into the recording despite your best efforts. Post-production can rescue the take, though prevention always sounds better than repair.
High-Pass Filter
The fastest fix is a high-pass filter, also called a low-cut filter. Plosive energy lives mostly below 100 Hz. Set a high-pass filter at around 80 to 100 Hz with a gentle slope, and you will cut a significant portion of the thud without affecting vocal clarity.
Most microphones and audio interfaces have a built-in high-pass filter switch. Engage it at the source if you know you are plosive-prone. In your DAW, any EQ plugin can do the same thing after recording.
Manual EQ Surgery
For severe plosives, a broad high-pass filter is not enough. You need to target individual hits. Find each plosive on your waveform, isolate a narrow region around it, and apply a steep low-frequency cut. Drop frequencies below 150 Hz by 10 to 15 decibels just on that specific section.
This takes patience, but it preserves the natural sound of the rest of the vocal. Automate the EQ so it only activates during the plosive, then returns to normal.
De-Plosive Plugins
Specialized plugins handle this automatically. iZotope RX De-plosive is the industry standard, using spectral repair to identify and reduce plosive energy intelligently. Waves DeEsser can be repurposed for plosives by targeting low frequencies instead of high sibilance. FabFilter Pro-DS works similarly.
These tools analyze the audio, detect plosive signatures, and apply dynamic reduction only where needed. They are fast and effective, though overuse can make vocals sound thin. Start with a low reduction amount, around 3 to 5 dB, and increase only if needed.
Manual Gain Reduction
If you have no plugins, you can redraw the plosive waveform manually. Zoom in on the spike, use a pencil tool in your DAW to smooth the sharp transient down to match the surrounding audio. This is tedious but works in a pinch.
Choosing the Right Microphone for Plosive-Prone Speakers
Your microphone choice has a bigger impact on plosive control than any other single factor. Some mics are practically immune to plosives, while others will pop no matter what you do.
Dynamic Microphones
Dynamic microphones like the Shure SM7B, SM58, or Electro-Voice RE20 are naturally resistant to plosives. Their heavier diaphragms require more energy to move, so a burst of air that would wreck a condenser recording barely registers. Broadcasters and podcasters gravitate toward dynamics for exactly this reason.
The trade-off is that dynamics need more gain, which means you need a decent preamp or a cloud lifter. They also capture less high-frequency detail than condensers, giving a warmer but less airy sound.
Large-Diaphragm Condenser Microphones
Large-diaphragm condensers like the Audio-Technica AT2020 or Neumann TLM 103 are highly sensitive and capture gorgeous detail. They are also plosive magnets. The large capsule area catches air bursts easily, and the extended low-frequency response amplifies the thud.
If you use a condenser, you must combine multiple techniques from this guide. An off-axis angle, generous distance, and a quality pop filter are all essential. Some condensers offer selectable polar patterns. Switching from cardioid to omnidirectional reduces plosive sensitivity because omni patterns do not exhibit the proximity-effect bass boost that makes cardioid mics so plosive-prone.
Small-Diaphragm and Ribbon Microphones
Small-diaphragm condensers handle plosives better than their large-diaphragm cousins because the smaller capsule presents less surface area to the air burst. Ribbon microphones are a different story. Their ultra-thin ribbon elements are extremely fragile and sensitive to air pressure. Never use a ribbon mic without a pop filter, and even then, keep your distance generous.
Which Should You Choose
For podcasting and spoken word: a dynamic microphone. The SM7B is practically the default choice for a reason. For singing and detailed voice-over work: a large-diaphragm condenser, but budget for a good pop filter and commit to proper technique. For live performance: a handheld dynamic like the SM58, which is designed to be sung into at close range without catastrophic plosives.
When a Pop Filter Still Makes Sense
I have spent this article explaining why you should not over-rely on pop filters. Let me be clear about when they are still the right answer.
Use a pop filter when you are working with a large-diaphragm condenser at close range. The filter provides a baseline level of protection that makes every other technique more effective. Use one when you are recording someone who has never developed mic technique and does not have time to learn before the session. Use one when you are singing at close range and cannot increase distance without losing intimacy.
Pop filters are also cheap insurance. Even if your technique is excellent, a filter catches the one plosive that slips through on your best take. It is a safety net, not a crutch. The problem is treating it as your only line of defense.
The goal is layering. Combine a pop filter with off-axis placement, proper distance, and breath control. Each technique compensates for the limitations of the others. That layered approach is what separates clean professional recordings from sessions full of retakes.
FAQs
Do pop filters reduce plosives?
Yes, pop filters reduce plosives by dispersing bursts of air before they reach the microphone capsule. However, they do not eliminate plosives entirely. You still need proper mic placement, distance, and recording technique for fully clean results.
What is the 3:1 rule for mics?
The 3:1 rule states that when using multiple microphones, the second mic should be placed at least three times farther from the first mic as the first mic is from the sound source. This minimizes phase cancellation and reduces bleed between microphones.
How do you prevent plosives?
To prevent plosives, combine these techniques: angle the microphone 15 to 45 degrees off-axis, maintain at least four to six inches of distance, speak past the mic rather than into it, soften your release of P and B consonants, and use a pop filter as a backup layer.
What can I use instead of a pop filter?
Effective pop filter alternatives include the pencil hack (placing a pencil vertically in front of the capsule to split the air burst), a foam windscreen, nylon stocking stretched over a wire frame, or simply using off-axis microphone placement with increased distance.
How to reduce plosives without a pop filter?
Reduce plosives without a pop filter by angling the microphone off-axis at 20 to 45 degrees, increasing your distance to six inches or more, speaking past the microphone instead of into it, softening consonant releases, and using a dynamic microphone which is naturally more plosive-resistant.
Wrapping Up: A Layered Approach to Plosive Control
Stopping plosives without over-relying on a pop filter comes down to layering multiple techniques. No single method is perfect on its own, but together they create a system that delivers clean, professional-sounding vocals every time.
Start with the fundamentals: angle your mic off-axis, keep your distance at six inches or more, and learn to speak past the capsule rather than into it. Run the plosive range exercise once to calibrate your personal numbers. Then add a pop filter as a backup layer, not your primary defense. For plosives that still slip through, a high-pass filter or de-plosive plugin in post-production catches the rest.
The biggest shift for me was realizing that mic technique is a skill, not an accessory problem. Once you develop the habits, you can walk into any studio, grab any microphone, and get clean results. That is far more valuable than depending on a single piece of gear.