
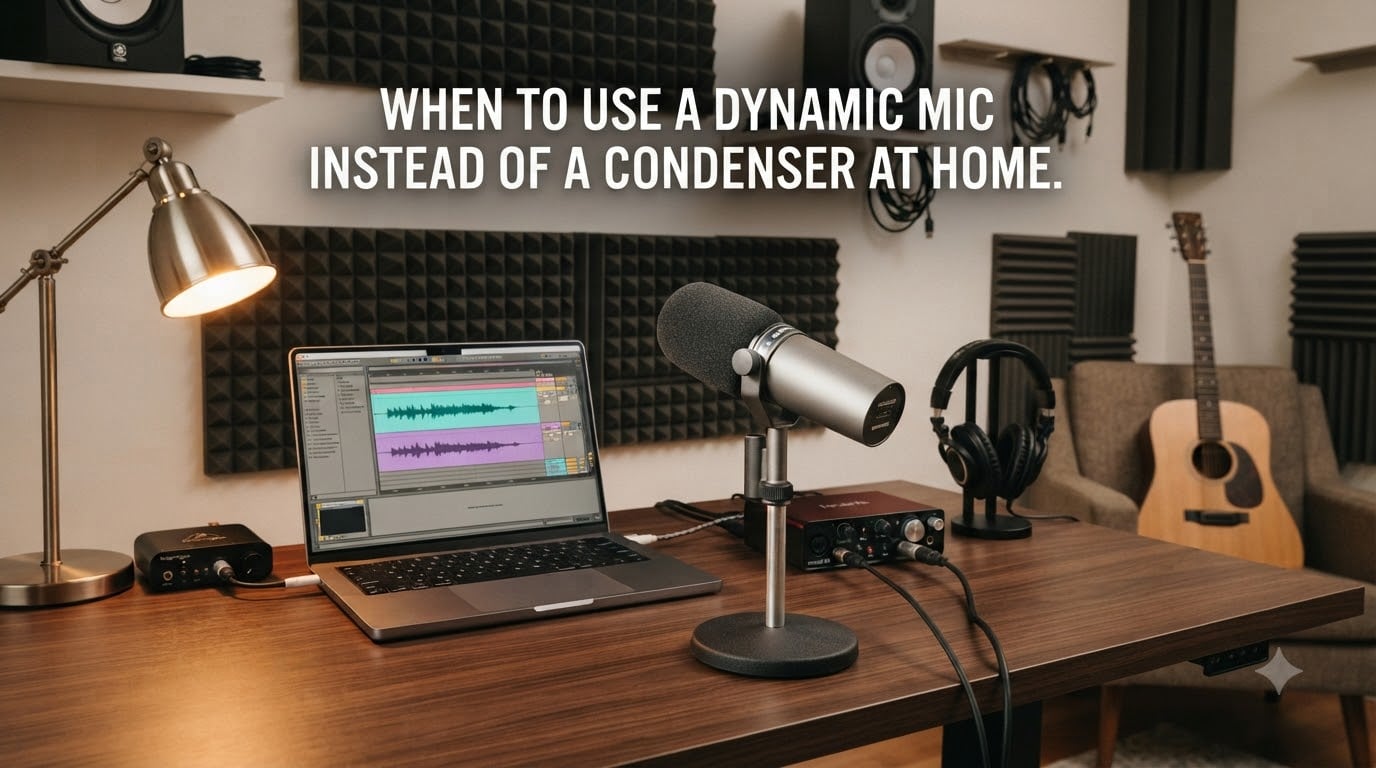
Pick a dynamic mic over a condenser at home when your room sounds bad. A dynamic microphone uses a moving coil to convert sound into an electrical signal, making it less sensitive and better at rejecting ambient noise than a condenser microphone. If you record in an untreated apartment, work near street or HVAC noise, or struggle with background noise leaking into your vocals, a dynamic mic will save your recordings long before acoustic treatment does.
I learned this the hard way. I spent weeks wiring up a condenser for podcasting in my home office and hated every take. The mic picked up my ceiling fan, the dog two floors down, and that thin bathroom-style echo bouncing off my closet door. Swapping to a dynamic cleaned all of that up without changing my room. This guide breaks down exactly when that tradeoff is worth making, so you don’t repeat my mistake.
Table of Contents
How Dynamic Microphones Actually Work
A dynamic microphone generates signal through electromagnetic induction. A thin diaphragm is attached to a coil of wire that sits inside a magnetic field. When sound waves push the diaphragm, the coil moves, and that movement creates a tiny electrical current matching the sound.
This moving coil transducer principle is the same tech used in loudspeakers, just reversed. Because the mass of the diaphragm and coil is relatively heavy, it doesn’t respond to tiny air vibrations the way a lighter membrane would. That physical limitation is the entire reason dynamic mics reject room noise so well.
Dynamic mics need no external power. There’s no phantom power requirement, no battery, no active electronics to fail. You plug them in, and they work. That simplicity makes them durable, consistent, and forgiving in ways condensers are not.
How Condenser Microphones Capture Sound
A condenser microphone uses a capacitor to convert sound into signal. The capsule is essentially two charged plates, one fixed (the backplate) and one movable (the diaphragm). Sound waves vibrate the diaphragm, changing the distance between the plates, which changes capacitance and produces a varying electrical signal.
Because the diaphragm is so light and the capsule operates on such tiny capacitance changes, condenser mics need external power to charge the plates. That power comes through phantom power 48V from your audio interface, preamp, or mixing console.
The trade for that active design is extreme sensitivity. A condenser picks up transient response details, subtle breaths, room reflections, the high frequency air that gives vocals presence. In a properly treated room, that detail is gold. In an untreated room, it pulls in everything you don’t want.
Key Differences: Sensitivity, SPL, and Power Requirements
The specs that actually matter at home come down to four things: sensitivity, max SPL handling, power requirements, and how each mic treats off-axis sound. Here’s the comparison that matters for home recording.
Quick Spec Comparison
| Spec | Dynamic Mic | Condenser Mic |
|---|---|---|
| Sensitivity | Low (typically 1-2 mV/Pa) | High (typically 10-30 mV/Pa) |
| Max SPL | High (often 130-150 dB+) | Moderate to High (often 120-140 dB) |
| Phantom Power | Not required | Required (48V) |
| Self-noise | Higher (relatively) | Very low (often under 20 dBA) |
| Background noise rejection | Strong | Weak (picks up more room) |
| Off-axis rejection | Generally better in cardioid pattern | Varies (often picks up more reflections) |
| Transient response | Slower, smoother | Fast, detailed |
| High frequency detail | Rounded | Extended and accurate |
Sensitivity is the biggest practical gap at home. A condenser mic registers air vibrations a dynamic mic ignores entirely. That includes the rattle of your air vent, the keyboard next to the mic, your neighbor’s TV through the wall, the slap-back echo from a flat wall behind you. None of those are loud. All of them ruin a condenser take in an untreated space.
Dynamic mics also handle loud sources without breaking a sweat. If you’ve ever pointed a condenser at a guitar cabinet or snare and watched your DAW clip, that’s max SPL handling failing. Dynamics absorb loud sources cleanly because their mechanism is mechanically damped.
Why Room Acoustics Decide the Winner
Your room matters more than your mic choice. I have to say that out front. A great condenser in a treated room will outperform a great dynamic in a cardboard box. But choosing the wrong mic for your actual room is the single fastest way to waste money.
Untreated rooms reflect sound. Hard surfaces like drywall, windows, hardwood floors, and bare walls bounce mid and high frequencies back to the mic after a short delay. Those early reflections create comb filtering, a hollow, phasey quality that flatters nothing. Condenser microphones pick up every reflection. Dynamic microphones mostly ignore them.
External noise is the second issue. HVAC systems, refrigerators, street traffic, computer fans, projectors, even office chatter through drywall, all of it lives in the same frequency range as quiet vocals. A condenser cannot tell those signals apart from your performance. A dynamic, with its lower sensitivity and often tighter cardioid pattern, hears less of them by design.
Acoustic treatment fixes this. Bass traps, absorption panels, and diffusion tame those reflections and quiet the noise floor. But treatment costs time and money. For most home recordists, picking the right mic for the room you have right now is the faster path to clean audio.
When to Choose a Dynamic Microphone at Home
If any of the following describe your situation, a dynamic microphone is the right call for your home setup. I check these for every recording I set up now.
1. Your room is untreated or only lightly treated
Bare walls, flat ceilings, hardwood floors, no panels anywhere. A dynamic mic is dramatically more forgiving. Yes, you’ll lose some high-frequency sparkle. You’ll also stop fighting the room on every take.
2. You can hear your HVAC or computer fan in the room
Run a quick test. Record 30 seconds of silence in your room with the mic you want to buy. Listen back at normal volume. If you can hear your air vent, your hard drive, or that CPU fan, a condenser will pick all of that up louder than your voice.
3. You record loud sources like guitar cabinets or drums
Sm57-style dynamics are industry standard on snares and guitar amps for a reason. They take the SPL without distorting. A condenser at 1-2 inches in front of a driven 4×12 is a recipe for clipping.
4. You podcast, stream, or voiceover from a noisy home office
Background noise rejection is the entire game for spoken-word at home. Keyboard clicks, chair squeaks, dog barks, family noise through thin walls. Dynamic mics capture your voice and a lot less of everything else.
5. You want a mic that just works without fiddling
No phantom power switches, no pad settings to remember, no high-pass filter decisions. Plug a dynamic into your interface, set your gain, record. That simplicity has real value when you’re just trying to ship a project.
When a Condenser Microphone Still Wins
Dynamics aren’t always the answer. There are clear scenarios where a condenser is the better tool, even at home.
1. You’ve properly treated your recording space
If your room has bass traps in the corners, broadband absorption on first-reflection points, and a rug or carpet on a hard floor, a condenser will reward you. The detail and high frequency extension that a condenser captures become musical instead of messy.
2. You record acoustic instruments or quiet vocals
Condensers capture the breath, the finger slides on a nylon string, the overtones of a hammer striking a piano string. If your source is delicate and dynamic range matters, condenser is the right call. Just pair it with a treated room.
3. You need broadcast-style vocal clarity and presence
For solo vocal tracks in music production where the voice is the whole show, condenser clarity gives you forward presence that dynamics smooth out. The trade is that you will hear every flaw in the room and on the source.
4. You record voiceover or ASMR that depends on subtle detail
Whispering, page turns, paper rustles, breathy vocal effects, all of that lives in the high frequencies and low volumes that condensers capture and dynamics miss. If your project depends on capturing quiet detail, you need a condenser and you need to handle the room.
Use-Case Recommendations for Common Home Recording Tasks
Here’s how this plays out in real recording situations. I run these scenarios past students all the time when they ask what to buy first.
Vocals (Music Production)
If your room is untreated, start with a dynamic. Your vocal will sound solid and focused. Once you treat the room, a condenser will outclass it. Don’t chase the condenser first if your space isn’t ready.
Vocals (Podcast or Voiceover)
Dynamic wins almost every time. Podcast vocals live in spoken-word clarity and noise rejection, not subtle musical detail. Dynamics deliver intelligibility without picking up the room.
Acoustic Guitar
Condenser wins in a treated space, because the transient response and high frequency detail of nylon or steel strings genuinely benefit from condenser capture. In an untreated room, a dynamic on the 12th fret of the neck is the more practical choice.
Electric Guitar Amps
Dynamic wins, full stop. Sm57s and similar dynamics are studio standard for guitar cabs. Condensers on loud amp sources routinely clip and tend to emphasize harsh high mids.
Drums
Dynamic wins for close micing individual drums. Dynamics handle the high SPL of a snare hit without distortion. Condensers come in as overheads or room mics, where their detail is useful, but they’re not the close-mic choice.
Streaming and Gaming
Dynamic wins in most gaming setups. Mechanical keyboard noise, mouse clicks, system fans, all of that wrecks a condenser stream. A dynamic like the SM7B or a USB dynamic option cuts it cleanly.
Common Mistakes When Choosing Between Dynamic and Condenser
These four mistakes show up in forum threads and beginner audio subreddits constantly. Avoid them.
Buying based on spec sheet only
Frequency response curves and self-noise numbers don’t tell you how a mic behaves in your actual room. A “flatter” response curve on a condenser doesn’t help if your room washes the recording in midrange reflections.
Skipping acoustic treatment
A $300 condenser in an untreated room sounds worse than a $150 dynamic in the same room. Treat the room first, then upgrade the mic. Treatment panels have a bigger impact than the mic itself.
Forgetting about preamp gain
Many dynamic mics, especially broadcast-style dynamics like the SM7B, output a quieter signal. Your interface’s built-in preamp may not have enough clean gain. If your gain knob is pinned at 80-90% and you still don’t hit the right level, you need a preamp or in-line booster like a Cloudlifter. This catches beginners off guard constantly.
Assuming one mic does everything
Many home studios eventually own both: a dynamic for spoken-word and loud sources, a condenser for vocals and acoustic instruments. Starting with one dynamic that solves your biggest problem is the practical move.
Practical Tips for Using Dynamic Mics at Home
A few setup tricks I lean on every time I set up a dynamic mic at home.
Get the gain staging right
Set your interface preamp gain so peaks sit around -12 to -6 dBFS. Too low and you’ll boost noise later. Too high and you’ll clip on louder phrases. Watch your meter, not the gain knob.
Mind the proximity effect
Cardioid dynamic mics boost bass when you get close. This is great for that “podcast voice” sound and rough on music vocals. Adjust your distance, or use a high-pass filter to clean up the low end if needed.
Use the 3:1 rule for any multi-mic setup
If you’re micing a source with two mics, place the second mic at least three times the distance from the source as the first mic. This minimizes phase cancellation between the two capsules.
Try a Cloudlifter or high-gain preamp
If your interface runs out of clean gain on a quiet dynamic, an in-line booster (like a Cloudlifter) or a dedicated preamp adds 25 dB of clean gain without noise. It solves a real problem that beginners hit every week.
Treat the room anyway
Even a few absorption panels make a dynamic mic sound noticeably better. You don’t need a full studio build-out. A couple of 2-inch panels at first reflection points, plus a rug under your workspace, goes a long way.
FAQs
When to use condenser vs dynamic mic?
Use a condenser mic in a treated room for vocals, acoustic instruments, or any source where you need high frequency detail and transient response. Use a dynamic mic in untreated rooms, noisy environments, loud sources like guitar amps or drums, and spoken-word applications like podcasting or streaming. The decision usually comes down to your room and your source.
When would you use a dynamic microphone?
Use a dynamic microphone when you need strong background noise rejection, when recording loud sources that would distort a condenser, when your room is untreated or only lightly treated, when you want a simple plug-and-play setup without phantom power requirements, or for spoken-word applications like podcasting and voiceover where clarity matters more than detail.
What are the disadvantages of using a dynamic mic?
Dynamic microphones have lower sensitivity, which means quieter sources and subtle high-frequency details get lost. Many popular dynamics output a quieter signal that requires a high-gain preamp or in-line booster like a Cloudlifter. Dynamics also have a slower transient response, so fast attacks like drum hits and breathy vocal details sound smoother rather than crisp. They need more gain from your preamp, and some cheaper interfaces cannot supply enough clean gain.
What is the 3:1 rule for mics?
The 3:1 rule states that when using two microphones to record the same source, the second mic should be placed at least three times the distance from the source as the first mic. For example, if your first mic is 6 inches from a guitar speaker, your second mic should be at least 18 inches away. This ratio minimizes phase cancellation between the two mic signals and preserves a clean, focused recording.
Final Thoughts on Choosing Between Dynamic and Condenser at Home
The right microphone for your home setup is the one that fits your actual room, not the one that looks best on a spec sheet. If your space is untreated or noisy, a dynamic microphone will outperform a condenser every time, no matter the price gap between them.
Start with the mic your room can support right now. Treat the room as you go. Add the second mic when your projects demand it. That sequence gets you cleaner audio faster than chasing the most detailed condenser you can afford.
1 thought on “When to Use a Dynamic Mic Instead of a Condenser at Home (September 2026)”