
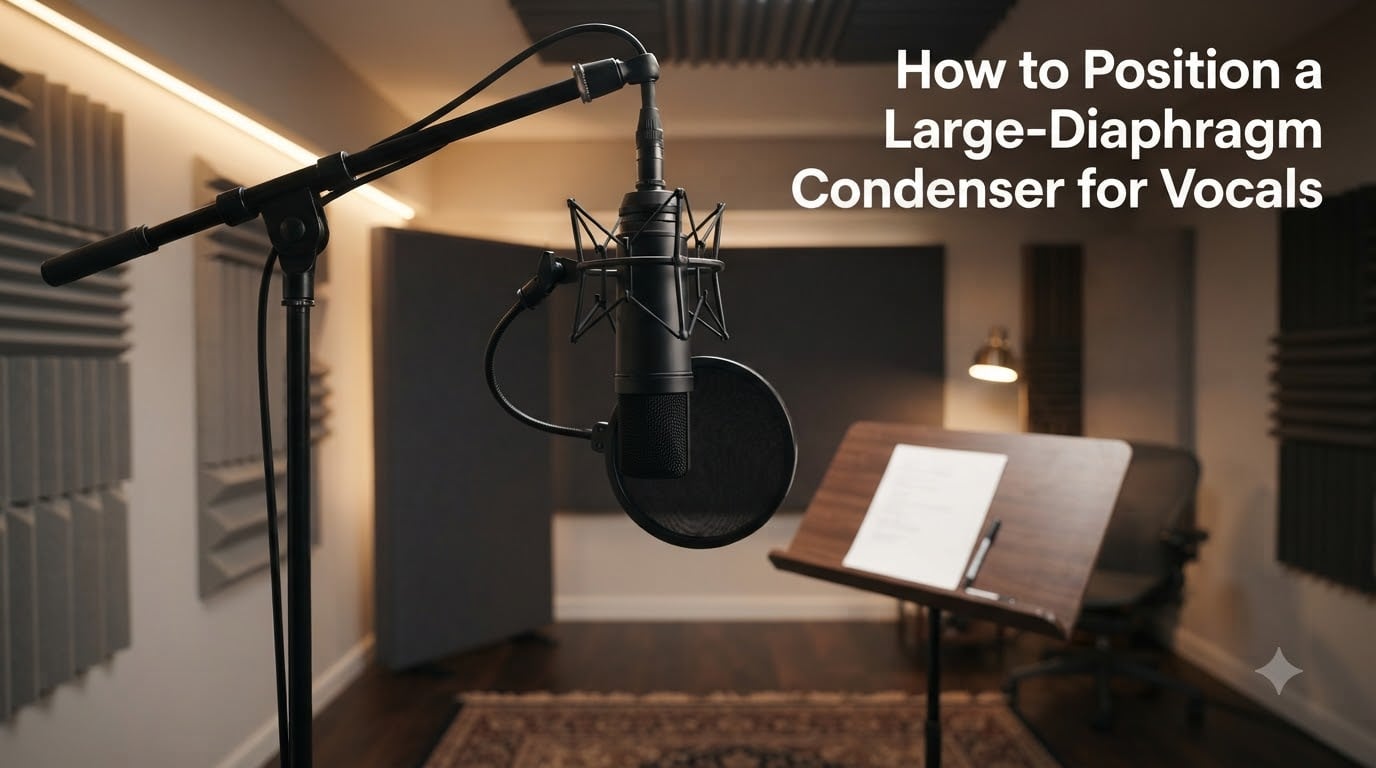
Recording vocals at home can feel like guesswork, and the mic never seems to sound the way it did in the demo video. Most of the time, the problem is not the microphone; it is where the microphone is sitting. In this guide, I will walk you through exactly how to position a large-diaphragm condenser for vocals so you can stop fighting plosives, muddy low end, and thin-sounding takes.
I have tracked vocals on everything from untreated bedrooms to professionally tuned booths over the past decade. The fundamentals stay the same. Get the distance, height, and angle right, and the recording will instantly sound more finished. Let us break it down step by step.
Table of Contents
What Is a Large-Diaphragm Condenser and Why Positioning Matters
A large-diaphragm condenser microphone (LDC) is a studio workhorse built around a thin capsule, usually one inch or larger, that vibrates in response to sound waves. It needs phantom power to run, and it rewards careful placement with a level of detail that smaller capsules simply cannot capture.
What Large-Diaphragm Condensers Are Good For
Large-diaphragm condensers shine on lead vocals, voiceover, and solo instruments where warmth and presence matter. Their larger capsules give you a fuller low end, a natural presence boost, and the kind of “finished” quality that mixes usually reward. They are also sensitive, which is exactly why positioning matters so much.
Why Positioning Changes Everything
Move an LDC even one inch closer or rotate it a few degrees, and the tonal balance changes. Position controls plosives, proximity effect, room reflections, and how the singer’s mouth interacts with the diaphragm. I think of positioning as half the mix, and the EQ comes second.
How to Position a Large-Diaphragm Condenser for Vocals: Step-by-Step
Here is the exact sequence I use every time I set up a vocal session. Follow these four steps in order, and you will get a clean, professional recording on the first take.
Step 1: Set the Right Distance (6-12 Inches)
Place the microphone between 6 and 12 inches from the singer’s mouth. This is the sweet spot for most lead vocals. At 6 inches, you get a fuller low end and more intimacy. At 12 inches, you capture more breath and headroom, which suits belted or breathy styles.
For voiceover work, I tighten this to 4 to 10 inches. Spoken word benefits from a closer, drier sound, and the extra distance gives you space to absorb plosives without a filter. Use a pop filter if you go closer than 6 inches, and always use one if you are tracking a singer who moves around.
Step 2: Align Height With the Singer’s Mouth
Position the capsule of the microphone directly in line with the singer’s mouth. The diaphragm is the part that actually “hears,” so aim for the diaphragm, not the body of the mic. If the mic is too low, you will end up with too much chest rumble and not enough clarity. If it is too high, the singer’s nose will dominate the tone.
A simple trick: have the singer stand in their normal performance posture and set the mic so the capsule is level with their lips. I do this every time before any tests, and it prevents 90 percent of the “muffled” complaints I hear from beginners.
Step 3: Adjust the Angle (Slight Off-Axis)
Aim the mic slightly off-axis, somewhere between 10 and 30 degrees away from directly facing the mouth. Singing straight on produces the strongest plosives and the most sibilance. Angling the mic just a few degrees disperses the air from “p” and “b” sounds away from the capsule, with almost no loss of detail.
A 45-degree angle is a common starting point you will see on forums, but I find that aggressive. A 15 to 20 degree tilt usually gives you the same plosive control with a more direct, present vocal. Test both and listen back.
Step 4: Apply the Inverted Mic Technique (Flip & Tip)
Here is the technique that separates decent home recordings from professional ones: hang the microphone upside down, with the grille at forehead height, and tip the grille away from the singer. This is the “flip and tip” method used by many top engineers.
Why it works: the weight of the mic body pulls the capsule down toward the mouth, which keeps the diaphragm at the optimal height even when the singer moves. It also reduces floor reflections bouncing into the back of the mic and allows the stand to sit lower and out of the singer’s sight line. I have used this on jazz, pop, and singer-songwriter sessions, and it almost always beats a traditional upright setup.
Manage Plosives and Proximity Effect
Even with great positioning, plosives and low-end buildup can ruin a take. Here is how to handle both without reaching for an EQ plugin.
Preventing Plosives With Pop Filters and Off-Axis Mics
A pop filter is a mesh screen placed 2 to 4 inches in front of the mic that breaks up the air blast from “p,” “b,” and “t” sounds. Combined with a slight off-axis angle, a good pop filter will eliminate almost all plosives. Position the filter so it does not block the singer’s direct line of sight to the mic, which keeps their performance consistent.
Washing the filter mesh once a month prevents buildup that can color your highs. A clean filter is a transparent filter.
Taming the Proximity Effect for Cleaner Vocals
The proximity effect is the boost in bass frequencies that happens as you move closer to a directional microphone. It is one of the LDC’s signature sounds, and it can be wonderful in moderation. At 2 inches it becomes muddy. At 6 inches it adds warmth. At 12 inches it is mostly neutral.
If you want that warm, intimate, “ASMR” sound, lean in. If you want a clean pop vocal, pull back. Knowing this lets you choose your distance based on the song, not just a rule.
Match the Setup to Your Room and Vocal Style
No mic placement works in every room. The environment shapes the recording as much as the mic itself.
Home Studio vs Professional Studio Adjustments
In a treated studio, you can place the mic closer because reflections are controlled. In an untreated bedroom, you need to keep the mic slightly farther from the singer (closer to 10 to 12 inches) and angle it slightly away from hard walls or windows. I also recommend adding some basic absorption, even a few moving blankets, behind the singer to kill early reflections.
Pro studios often use multiple layers of treatment and isolation. Your home studio does not need to compete. It just needs to be predictable. The same setup in the same room should give the same result every time.
Adapting Distance for Different Vocal Intensities
Quiet, intimate verses sound best at 6 to 8 inches. Big, belted choruses need 10 to 12 inches so the mic does not distort and the proximity effect does not get out of hand. Encourage your singer to step back slightly during louder sections, and pull in for the soft parts. It is a real performance technique that studio vocalists use constantly.
Polar Patterns, Shock Mounts, and the 3-to-1 Rule
Once your positioning is dialed in, a few extra details turn a good recording into a great one.
Choosing the Right Polar Pattern for Vocals
Most LDCs default to cardioid, which picks up sound from the front and rejects the rear. This is the right choice for solo vocals in most rooms. If you are recording a duet or a choir, switch to an omnidirectional or wide-cardioid pattern, but only in a well-treated room. Omnidirectional mics pick up everything, including your untreated walls.
Why the Shock Mount Is Non-Negotiable
A shock mount suspends the microphone on elastic bands, isolating it from vibrations traveling up the mic stand. Floor rumble, foot taps, and even keyboard typing show up as low-end thumps without one. Use the shock mount that came with your mic, and never tighten the stand knob so hard that the mic cannot float freely.
What Is the 3-to-1 Rule for Microphones?
The 3-to-1 rule says that when you use multiple microphones on the same source, the distance between any two mics should be at least three times the distance from each mic to the source. This prevents comb filtering, those hollow, phasey sounds caused by sound waves arriving at different mics at slightly different times.
For solo vocals recorded with a single LDC, the 3-to-1 rule is not directly relevant. But if you ever add a room mic or a second condenser, remember it. It is the difference between a wide, lush sound and a chaotic, phasey mess.
Common Mistakes to Avoid When Positioning Large-Diaphragm Condensers
These are the issues I see over and over in home studio recordings. Avoid them, and you will save hours of editing.
- Singing straight on into the mic, which captures harsh plosives and sibilance.
- Working too close, under 4 inches, which causes muddy low end and distorted sibilance.
- Working too far, over 16 inches, which lets room noise dominate the recording.
- Skipping the shock mount, which adds unwanted low-end thumps.
- Forgetting to listen back, because every mic, room, and voice is different.
- Setting the mic height to the singer’s chest instead of their mouth, which loses clarity and adds rumble.
- Moving the mic but not the pop filter, which makes the filter useless.
I learned most of these by making them myself. The fastest fix is to record five seconds, listen on headphones, and adjust one variable at a time. Trust your ears; the meter lying on the screen rarely tells the whole story.
Frequently Asked Questions
What are large-diaphragm condensers good for?
Large-diaphragm condensers are best for lead vocals, voiceover, and solo instruments where warmth, presence, and detail matter. They capture a fuller low end and a natural presence boost compared to small-diaphragm designs, which is why most professional vocal chains rely on them.
Where to position a condenser mic?
Position a condenser mic 6 to 12 inches from the singer’s mouth, with the diaphragm in line with the lips, slightly off-axis (10 to 30 degrees), and ideally inverted using the flip u0026amp; tip technique. This placement balances proximity effect, plosive control, and room rejection for a clean, professional vocal.
What is the 3 to 1 rule for microphones?
The 3-to-1 rule states that when using multiple microphones on the same source, the distance between any two mics should be at least three times the distance from each mic to the source. This minimizes comb filtering and phase cancellation, especially when layering room mics or tracking ensembles.
Are small or large diaphragm condensers for choir?
Small-diaphragm condensers are usually better for choir and ensemble recording because of their more accurate transient response and consistent off-axis behavior. Large-diaphragm condensers are preferred for solo vocals where warmth and presence are more important than pinpoint accuracy.
Final Thoughts on Positioning a Large-Diaphragm Condenser for Vocals
Knowing how to position a large-diaphragm condenser for vocals comes down to three numbers: 6 to 12 inches of distance, diaphragm at lip height, and a 10 to 30 degree off-axis angle. Layer in the flip & tip technique, a real shock mount, and a clean pop filter, and you will get a vocal that needs less EQ and fewer fixes in the mix. Start with these fundamentals today, and you will hear the difference on your very first take.