
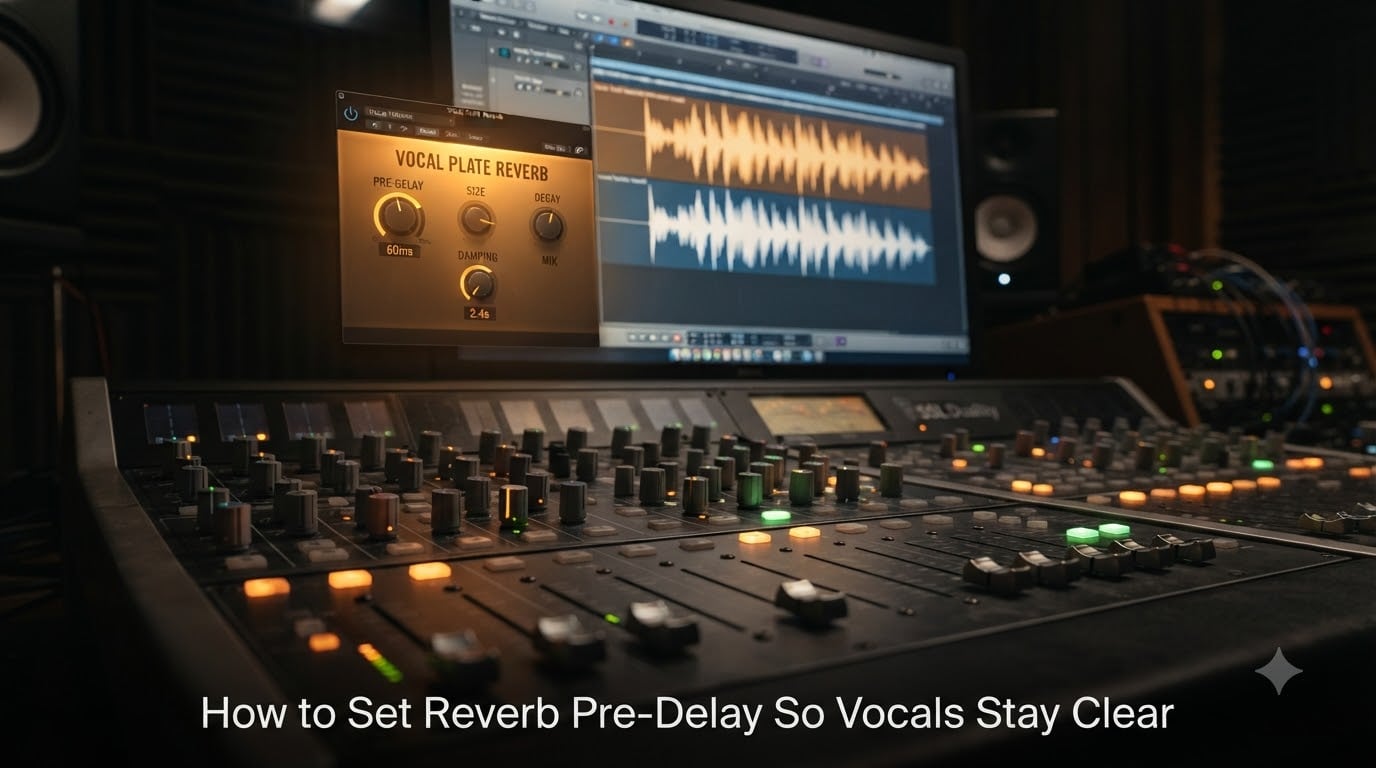
If your vocal tracks sound washed out or disappear into the mix every time you load a reverb plugin, the fix is almost always simpler than you think. Learning how to set reverb pre-delay so vocals stay clear is one of the highest leverage moves in vocal mixing, and it takes less than five minutes once you know what to listen for.
I spent years fighting muddy vocal reverbs before a mixing engineer friend pointed to a single knob and asked me a question that changed everything. That knob was pre-delay, and the question was simple: when do you actually want your reverb to begin? In this guide, I will walk you through exactly what pre-delay does, the millisecond ranges I use on real sessions in 2026, and a step-by-step workflow you can apply in any DAW today.
Table of Contents
What Is Reverb Pre-Delay
Reverb pre-delay is the time gap between the dry vocal signal and the start of its reverb tail, measured in milliseconds. When you set pre-delay to 40ms, your voice hits the speakers clean for 40 milliseconds before any reverberation begins, which lets the attack and consonants stay sharp.
Think of pre-delay as a head start for your dry vocal. Your voice gets a few milliseconds alone in the air before reflections, room sound, and the rest of the reverb tail enter the picture. That tiny gap is the difference between a vocal that cuts through a dense mix and one that sounds like it is swimming in a swimming pool.
Reverb pre-delay differs from regular delay in one important way. A delay effect repeats the original signal at a fixed interval. Pre-delay only delays the onset of the reverb, which then fades out naturally based on your decay time. They solve different problems, even though both use milliseconds as their unit.
Why Pre-Delay Matters for Vocal Clarity
Pre-delay matters because reverb masks transients, and vocals are built almost entirely from transients. Every consonant, every breathy attack, every sibilant “s” lives in the first 50 milliseconds of a sung phrase. When reverb kicks in immediately, it blurs those details.
How Pre-Delay Protects Attack Transients
I A/B tested lead vocals on a recent pop session with pre-delay at 0ms versus 60ms. At 0ms, the consonants sounded like they were wrapped in cotton. At 60ms, every word popped forward while the space around the voice stayed intact. That is the whole purpose of pre-delay.
The mechanism is simple: pre-delay creates a tiny pocket of silence where the dry vocal sits alone. Listeners hear “lead vocal first, space after,” instead of “lead vocal already buried in reverb.” Your ear reads the short delay as extra clarity rather than as a delay effect.
Pre-Delay Creates Perceived Depth
Here is something that surprised me when I first learned it: longer pre-delay makes a vocal sound closer, not farther. Counter-intuitive, but true. By separating the dry signal from its reverb tail, pre-delay creates the impression that the singer is right in front of the listener while the room extends behind them.
Shorter pre-delay ties the dry and wet signals together, which sounds like the singer is standing inside the room. Longer pre-delay separates them, which sounds like the singer is in front of the room. Most modern productions want the singer up front, which is why pre-delay ranges lean longer rather than shorter.
Recommended Pre-Delay Range for Vocals
For most lead vocals, start with 40 to 60 milliseconds of pre-delay. That range gives enough separation for the dry signal to register without sounding obviously delayed. Most professional mixing engineers land between 20 and 80ms depending on tempo, genre, and how dense the surrounding mix is.
20-40ms Pre-Delay (Intimate Vocals)
Use shorter pre-delay when the vocal needs to feel close and intimate. Singer-songwriter tracks, acoustic ballads, and whispered dialogue often work best in this range. The reverb still sits clearly behind the voice but does not call attention to itself as a separate space.
For backing vocals stacked tightly beneath a lead, 20 to 40ms keeps them glued to the harmony without becoming mushy. I reach for this range when I want the vocal to feel like part of a single performance rather than a singer standing in a cathedral.
40-80ms Pre-Delay (Spacious Lead Vocals)
Use longer pre-delay when you want the vocal to feel larger than life. Pop ballads, cinematic vocals, and any track where the singer needs to command a wide stereo image benefits from 50 to 80ms. The longer gap makes the reverberation feel like it is travelling through air around an up-front performer.
At 80ms and above, you will start hearing the pre-delay as a distinct echo on rhythmic passages. Be careful on faster lyrics because long gaps can make syllables sound double-tracked. I rarely push past 100ms on lead vocals in 2026 without very specific creative intent.
Quick Reference Settings
| Scenario | Pre-Delay Range | Why |
|---|---|---|
| Whispered vocals | 10-20ms | Keeps intimacy without smearing |
| Acoustic lead vocal | 20-40ms | Natural room feel |
| Pop lead vocal | 40-60ms | Up-front singer, distant room |
| Cinematic lead vocal | 60-80ms | Wide, dramatic space |
| Tight backing vocals | 15-30ms | Glued to lead, no wash |
| Lush backing vocals | 40-70ms | Tail sits behind lead |
| Hip-hop lead vocal | 30-50ms | Punch and presence |
How to Set Pre-Delay in Your DAW
Setting pre-delay in your DAW takes four steps: insert the reverb, find the parameter, start at 40ms, then A/B test against the dry signal. Most stock and third-party reverb plugins include this control labeled “Pre-Delay,” “Predelay,” or “Pre Delay.”
Step 1: Insert Your Reverb Plugin
Load a reverb plugin on a dedicated auxiliary track rather than as an insert on the vocal channel. Send the dry vocal to the reverb bus using a pre-fader send at unity gain, then bring up the reverb send to taste. This setup lets you automate reverb level independently of the dry vocal.
If you prefer using a reverb as an insert, that works too. The pre-delay control behaves the same way either way. The send approach gives more control during mixing, so I recommend it for anyone still building their vocal mixing template.
Step 2: Locate the Pre-Delay Parameter
Open the reverb plugin interface and look for a knob or slider labeled pre-delay, predelay, or pre delay. Some plugins hide it inside an “Advanced” or “Modulation” section. Hall and plate reverbs almost always expose it; spring emulations sometimes skip it.
If your chosen reverb does not have a pre-delay parameter, route a regular delay plugin in series before the reverb. Set the delay to your target milliseconds, set its feedback to zero, and you have just built a pre-delay manually. This trick saved me during a session last year when the only available plate reverb had no pre-delay knob.
Step 3: Start at 40ms and A/B Test
Set pre-delay to 40ms and bypass the reverb plugin. Solo your vocal, then un-bypass the reverb and listen for the gap between the dry syllable and the reverb onset. Bypass again. Notice how the difference feels: the un-bypassed version sounds like the singer is in front of more space.
Sweep slowly from 0ms to 100ms and stop where the consonants sound cleanest without the reverb sounding detached. Most of my sessions in 2026 land somewhere between 30 and 70ms for that exact sweet spot.
Step 4: Adjust Based on Tempo and Genre
Faster tempos benefit from shorter pre-delay so the gap does not compete with the rhythm. Slower tempos can absorb longer pre-delay because there is more silence between words. For very busy mixes, lean toward the higher end of your range to push the vocal above competing instruments.
After the initial setting, solo just the reverb return and listen for any obvious gaps in the reverberation. If the dry/wet separation is too obvious, reduce pre-delay by 5 to 10ms. If the vocal still sounds stuck to the reverb, increase pre-delay by the same amount.
Genre-Specific Pre-Delay Guidelines
Different musical styles favor different pre-delay ranges. Pop, hip-hop, and contemporary R&B usually land between 30 and 60ms because the production favors an in-your-face vocal. Rock and indie mix lower, around 20 to 40ms, to keep grit and consonants aggressive.
Jazz and acoustic singer-songwriter material often uses 10 to 30ms because the goal is to recreate the feeling of a small room. Cinematic, ambient, and ballad-style productions push higher, between 50 and 90ms, because dramatic space is part of the emotional point.
These ranges are starting points, not rules. On a recent indie rock session, I used 25ms pre-delay because the vocal was buried in distortion and needed to feel glued to the guitar. On a pop ballad the same week, I used 65ms because the sparse production needed the room to feel huge. Always trust your ears over a genre chart.
Tempo-Based Pre-Delay Calculation
You can time pre-delay to your track’s tempo using the formula: 60,000 divided by BPM, then divided by note length. For an eighth note at 120 BPM, the calculation is 60,000 / 120 / 2 = 250ms. That is far too long for most vocals, which is why many engineers ignore this formula.
For practical vocal work, the tempo formula matters most when you want rhythmic locking between dry syllables and reverb onset. Use a quarter note division as your upper bound (500ms at 120 BPM is still too long), or pull the calculation back to a sixteenth note value if you want any rhythmic effect at all.
In practice, most working engineers do not bother calculating pre-delay to tempo. They pick a value by ear in the 20 to 80ms range and move on. I keep the formula in my back pocket for the rare cases where I want reverb that pulses with the track rhythmically rather than sitting freely behind it.
Common Pre-Delay Mistakes to Avoid
The most common pre-delay mistake is leaving it at the default, which is usually 0ms. Plate reverbs in particular tend to ship with pre-delay disabled, which means reverb smothers your vocal from the very first millisecond. Always check this knob before you start tweaking decay or wet/dry levels.
Another mistake is matching pre-delay to BPM without listening. The math produces values that are almost always too long for natural vocal mixing. Treat the formula as a creative option for rhythmic effects, not as the default approach.
Many beginners also mistake pre-delay for the “fix everything” knob. If your reverb still sounds muddy at 80ms of pre-delay, the problem is decay time, reverb type, EQ of the reverb return, or the dry vocal itself. Pre-delay is one tool in a chain, not a magic eraser for muddy reverberation.
Troubleshooting Muddy Reverb
If your vocal still sounds muddy after setting pre-delay correctly, the next thing to check is decay time. Long decays overlap with following syllables and phrases, building up a wash of reverberation. Pull decay back to 1.2 to 2.0 seconds for most lead vocals and listen for clarity to return.
Next, EQ the reverb return. Roll off everything below 200Hz and above 8kHz on the wet signal. Vocals live in the midrange, and reverb muddiness usually comes from low-end build-up in the wet signal. A high-pass filter on the reverb bus alone often fixes problems that pre-delay cannot.
Finally, check the dry/wet balance. Too much wet signal relative to the dry vocal is the third common cause of muddy mixes. Keep the dry vocal loud enough that every consonant feels direct, and bring the reverb return down until it disappears from the listener’s attention. If you can consciously hear the reverb during a quiet vocal passage, your wet level is probably too high.
A/B Comparison Demo: Hear the Difference
To actually hear what pre-delay does, mute the dry vocal and leave only the reverb bus playing. Then mute the reverb send and listen to the dry vocal alone. Now bring both back and listen for the moment when the reverb kicks in after the dry syllable. That gap is pre-delay doing its work.
The most useful A/B test is between 0ms and 60ms on the same settings. The contrast is striking. At 0ms the vocal feels stuck inside the reverb. At 60ms the vocal feels like it stands in front of the reverb. That single comparison is what convinced me to never ship a mix without checking pre-delay first.
FAQs
What is the best reverb setting for vocals?
For most lead vocals, start with pre-delay between 40 and 60 milliseconds, decay time between 1.2 and 2.0 seconds, and a high-pass filter around 200Hz on the reverb return. These three settings together keep the vocal clear while adding space and depth.
How much pre-delay should I use on vocal reverb?
Start at 40ms and adjust by ear. Intimate vocals work between 20 and 40ms, pop and contemporary styles between 40 and 60ms, and cinematic or dramatic productions between 60 and 80ms.
Why does pre-delay make vocals clearer?
Pre-delay creates a small gap in milliseconds between the dry vocal signal and the start of the reverb tail. That gap lets consonants and attack transients hit the listener cleanly before any reverberation begins, so the words stay intelligible even when the mix is dense.
Should you use pre-delay on every vocal reverb?
Yes, with rare exceptions. Pre-delay helps almost every vocal by preserving clarity. Skip it only when you want the singer to sound buried inside the room deliberately, such as for creative lo-fi or ambient effects.
What is the difference between pre-delay and delay?
Delay repeats the original signal at a set interval and stays audible. Pre-delay only delays the onset of the reverb tail, which then fades naturally based on decay time. Pre-delay shapes perception; delay adds rhythm.
Can pre-delay fix muddy reverb on vocals?
Pre-delay helps a lot but cannot fix muddy reverb on its own. Combine it with shorter decay time, a high-pass filter around 200Hz on the wet signal, and a balanced wet/dry level. If the vocal is still muddy, the issue is usually decay time or reverb return EQ, not pre-delay.
Final Thoughts on Setting Reverb Pre-Delay
Knowing how to set reverb pre-delay so vocals stay clear comes down to one principle: give the dry vocal a few milliseconds of clear runway before any reverberation enters. Start at 40ms, sweep by ear, and stop where the consonants sound cleanest. Most pop, rock, and acoustic work lands between 20 and 80ms when done right.
Pull up a current session, set your reverb pre-delay to 0ms, then to 60ms, and A/B the difference. That single test will tell you more about this knob than any tutorial. Once you hear what pre-delay does, you will never go back to a default 0ms setting again.