
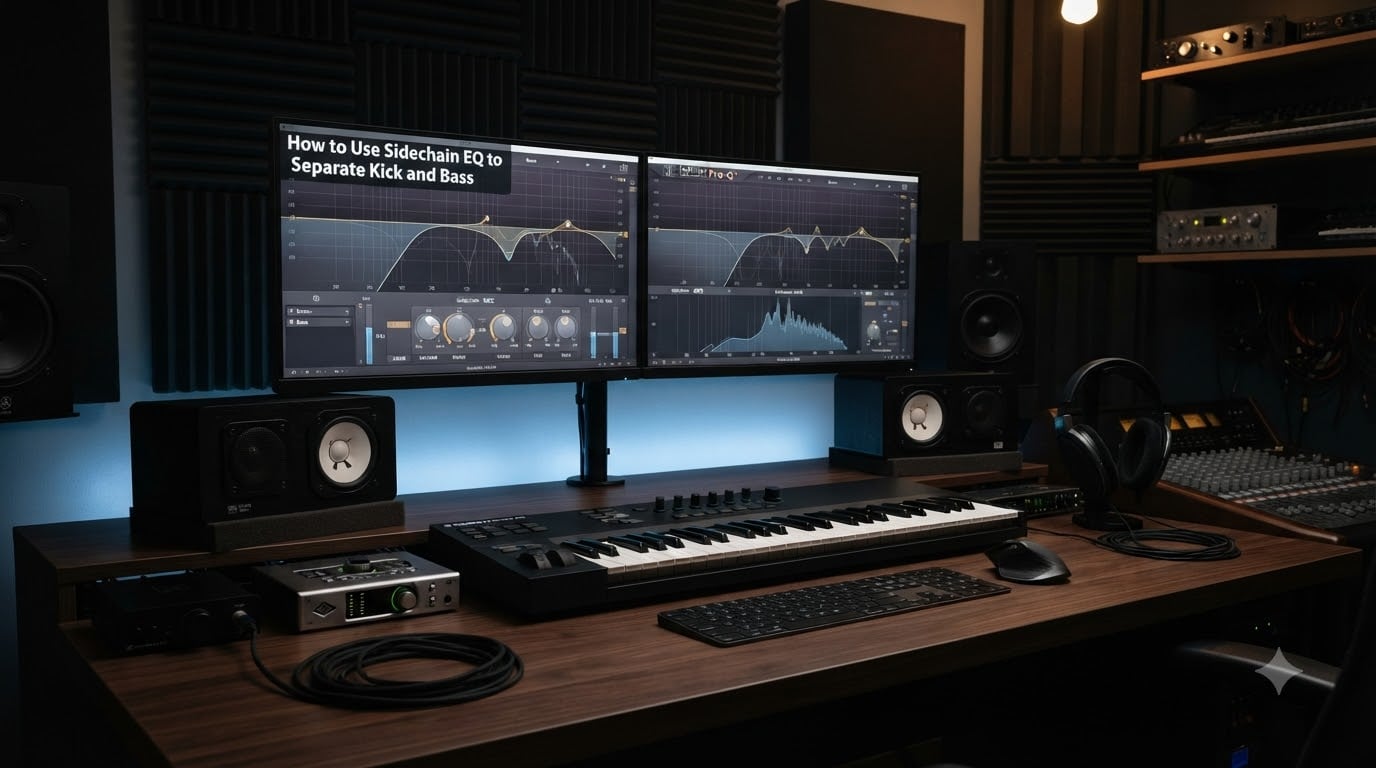
Nothing kills a mix faster than a muddy low end where the kick and bass fight for the same space. I have spent years wrestling with this exact problem in my own productions, and the single technique that made the biggest difference was learning how to use sidechain EQ to separate kick and bass properly.
Traditional sidechain compression works, but it ducks the entire bass signal and can create an obvious pumping effect that does not fit every genre. Sidechain EQ gives you surgical control over specific frequencies, carving out space for the kick only where it actually needs it.
In this guide, I will walk you through the entire process from finding your kick’s fundamental frequency to dialing in the perfect threshold and gain reduction settings. Whether you produce EDM, hip-hop, rock, or pop, these steps will help you achieve a clean, punchy low end that translates across any sound system.
Table of Contents
What Is Sidechain EQ and Why It Matters for Kick and Bass Separation
Sidechain EQ is a dynamic EQ technique where one audio signal triggers frequency-specific attenuation on another track. Instead of ducking the entire bass every time the kick hits, you tell a dynamic EQ to reduce a narrow band of bass frequencies only at the kick’s fundamental pitch, leaving the rest of the bass untouched.
The core problem this solves is frequency clashing. Kicks and bass lines typically occupy the same 40 to 100 Hz range. When both elements hit simultaneously, their waveforms combine and create a muddy, indistinct low end that lacks definition on both elements.
I first encountered this years ago when my mixes sounded great in the studio but fell apart on club speakers and earbuds. The kick disappeared into the bass on every system. Once I started using sidechain EQ, the kick suddenly cut through with punch and clarity without sacrificing the bass weight.
What makes sidechain EQ different from regular EQ is that the cut is dynamic. A static EQ cut on the bass would thin it out permanently. A sidechain-driven dynamic EQ only reduces that frequency when the kick plays, so the bass sounds full during the gaps between kick hits.
Sidechain EQ vs Sidechain Compression: Which to Use
Both techniques make room for the kick, but they work differently and produce noticeably different results. Understanding the distinction helps you choose the right tool for each mix.
Sidechain compression ducks the entire bass signal whenever the kick triggers it. This creates that classic pumping effect that defines EDM and house music. It works great when you want that rhythmic, energetic feel, but it also reduces bass frequencies above and below the kick’s range unnecessarily.
Sidechain EQ, on the other hand, only reduces a specific frequency band. If your kick’s fundamental sits at 65 Hz, you can duck just that narrow region on the bass and leave everything else intact. The result is a more transparent separation that works well for rock, pop, acoustic, and any genre where you do not want audible pumping.
Here is a quick comparison to help you decide:
Sidechain compression: Ducks the full bass signal, creates rhythmic pumping, great for EDM and electronic genres
Sidechain EQ: Ducks only a targeted frequency band, sounds transparent, great for rock, pop, hip-hop, and acoustic genres
You can use both: Layer a gentle sidechain compression for groove with a sidechain EQ for surgical separation
On forums like Reddit’s r/mixingmastering and r/audioengineering, many engineers report preferring dynamic EQ for its transparency. They reserve full sidechain compression for genres where the pumping effect is a creative choice rather than a necessity.
How to Use Sidechain EQ to Separate Kick and Bass: Step-by-Step Setup
This is the core of the process. Follow these five steps in order and you will have a clean, professional kick-bass relationship in any DAW.
Step 1: Find Your Kick’s Fundamental Frequency
Every kick drum has a dominant pitch called its fundamental frequency. This is the frequency where the kick has the most energy, and it is the exact spot where clashing with the bass is worst. You need to identify this frequency before doing anything else.
Insert a spectrum analyzer plugin on your kick track and play it in solo. Watch the analyzer as the kick hits and look for the tallest peak in the low-frequency region. For most kicks, this lands somewhere between 50 and 100 Hz, often around 60 to 70 Hz.
Here is a trick I use to pinpoint it faster. Boost a narrow bell filter on an EQ placed before the spectrum analyzer and sweep it slowly through the low end. When the boost hits the fundamental, the kick will sound noticeably louder and fuller. Note that exact frequency number.
Pro tip: Write this number down. You will need it in Step 2 when setting up the dynamic EQ on your bass track.
Step 2: Insert a Dynamic EQ on Your Bass Track
Now switch to your bass track. You need a dynamic EQ plugin that supports external sidechain input. Popular choices include FabFilter Pro-Q 3, Soothe2, TDR Nova, Waves F6, and the built-in dynamic EQ in most modern DAWs.
Place the dynamic EQ on the bass channel. If you already have compression on the bass, forum users generally recommend putting the dynamic EQ after the compressor. This way the signal hitting the dynamic EQ is already level-controlled, making the threshold behavior more consistent.
Create a new band on the dynamic EQ and set it to a narrow bell filter shape. Set the frequency to the kick’s fundamental that you identified in Step 1. A Q factor of 4 to 6 gives you a tight, surgical cut that affects only the problem area.
Make sure the band is set to dynamic mode, not static. In static mode, it would just be a regular EQ cut that thins the bass permanently. Dynamic mode is what allows it to react only when triggered.
Step 3: Route the Kick as the Sidechain Input
This is the step that turns a regular dynamic EQ into a sidechain EQ. You need to tell the plugin to listen to the kick instead of the bass itself when deciding when to activate.
In FabFilter Pro-Q 3, click on the band you created and enable the external sidechain option, then select your kick track as the sidechain source. In most DAWs, you will need to set up a sidechain bus or send from the kick track to the dynamic EQ plugin first.
The routing direction matters and confuses many beginners. You always sidechain the bass to the kick, meaning the kick triggers the ducking on the bass. Never the other way around. The kick needs to stay loud and punchy, and the bass makes the sacrifice by stepping aside momentarily.
Once the routing is set, test it by playing both tracks together. The gain reduction meter on the dynamic EQ band should jump every time the kick hits. If it does not respond, check your sidechain routing and make sure the band’s sidechain listening mode is enabled.
Step 4: Set Threshold and Gain Reduction Range
With the sidechain input working, you now control how much the bass dips at the kick’s frequency. Two parameters matter here: threshold and range.
The threshold determines how loud the kick needs to be before the dynamic EQ activates. Set it too low and the EQ reacts to everything, including quiet ghost notes. Set it too high and it never triggers. I usually start with the threshold around -20 to -15 dB and adjust by ear until the EQ only reacts on actual kick hits.
The range controls how many decibels of reduction the EQ applies when triggered. Start with 3 to 6 dB of reduction. This is enough to create space for the kick without making the bass sound like it is disappearing. You can push it to 8 to 10 dB for aggressive genres, but listen carefully for any thinning of the bass tone.
Bypass the plugin and compare with and without it engaged. The kick should sound noticeably punchier when the sidechain EQ is active, but the bass should not sound obviously weaker between kick hits.
Step 5: Tune Attack and Release Times
Attack and release settings determine how quickly the EQ grabs and lets go. These parameters shape the feel of the separation, and getting them right separates a clean mix from an obvious one.
For attack, use a fast setting of 1 to 5 milliseconds. The kick transient is very quick, so the EQ needs to react almost instantly to catch it. A slow attack would let the initial transient of the kick and bass collide before the EQ kicks in, defeating the purpose.
Release is where the musical decisions happen. A fast release of 30 to 60 milliseconds makes the bass snap back quickly, which works well for tight, punchy genres like rock and pop. A slower release of 100 to 200 milliseconds creates a smoother, more gradual return that suits EDM and house.
If the release is too fast, you may hear clicking or zipper noise as the EQ snaps open and closed. If it is too slow, the bass sounds ducked for too long and loses energy. Trust your ears and aim for a release that lets the bass fully return before the next kick hit.
DAW-Specific Setup Notes
While the concept is the same everywhere, the routing workflow differs between DAWs. Here are quick pointers for the most popular platforms.
Ableton Live
Use the built-in EQ Eight with its dynamic EQ mode. Enable the sidechain input by clicking the key icon on the band and selecting your kick track from the dropdown. Ableton makes this very straightforward with its internal routing system.
FL Studio
Route the kick to a mixer channel, then right-click the dynamic EQ plugin on the bass channel and select the kick channel as the sidechain source. Fruity Parametric EQ 2 does not support sidechain natively, so use Maximus or a third-party plugin like FabFilter Pro-Q 3.
Logic Pro
Use the built-in Channel EQ or the newer Linear Phase EQ with the sidechain dropdown at the top of the plugin window. Select your kick track from the sidechain menu, then set the band to dynamic mode. Logic also supports this routing through busses if you prefer that workflow.
Pro Tools
Create a bus from the kick track, then insert a sidechain-capable EQ like Waves F6 on the bass. Click the key icon and select the kick bus as the external key input. Pro Tools requires this bus-based approach for all sidechain routing.
Genre-Specific Settings and Tips
The ideal sidechain EQ settings depend heavily on what genre you are working in. Here is what I have found works best across different styles.
EDM and House: Many producers layer sidechain EQ on top of full sidechain compression for maximum clarity. Use 6 to 8 dB of reduction at the kick fundamental with a slower release for that groovy, pumping feel.
Hip-Hop and Trap: Focus on 808 territory. Target the 40 to 60 Hz range where 808s and kicks collide. Use 4 to 6 dB of reduction with a medium release to keep the 808 sounding full between kicks.
Rock and Metal: Use a light touch here. Two to four dB of reduction is usually enough, since rock bass guitars have more midrange content and less sub energy. A fast release keeps things tight and aggressive.
Pop and Acoustic: Transparency is everything. Use 2 to 3 dB of reduction with a fast attack and medium release. The listener should not notice the ducking at all, just that the kick sounds clear.
Common Mistakes to Avoid
I have made every one of these mistakes at some point, and so will you if you are not careful. Here are the pitfalls to watch for.
Over-processing the low end. Stacking too many plugins on your bass and kick can introduce phase issues that actually make the low end weaker. Check your phase by flipping the polarity on the kick and seeing if the low end gets louder or quieter.
Targeting the wrong frequency. If your sidechain EQ is not working, you probably guessed the kick fundamental instead of measuring it. Always use a spectrum analyzer to find the exact peak rather than assuming it is at 60 Hz.
Using too much gain reduction. More than 8 to 10 dB of reduction at the kick fundamental can make the bass sound like it has a hole punched in it. Start small and only increase if the kick still does not cut through.
Forgetting to bypass and compare. Always A/B test with the plugin on and off. If you cannot hear a clear difference when bypassing, either your settings are too subtle or the technique is not needed for that particular mix.
Ignoring the release time. A release that is too long keeps the bass ducked during musical gaps, draining energy from the track. A release that is too short creates audible artifacts. Take the time to dial it in by ear.
FAQs
How to separate bass and kick?
Separate bass and kick using sidechain EQ: place a dynamic EQ on the bass, set a narrow bell filter at the kick fundamental frequency (typically 50-100 Hz), route the kick as the sidechain input, and set 3-6 dB of gain reduction. This carves space for the kick only when it hits, leaving the bass full during gaps.
Do I sidechain the kick to the bass or bass to the kick?
Always sidechain the bass to the kick. The kick triggers the ducking on the bass track, not the other way around. This way the kick stays punchy and loud while the bass momentarily steps aside at the kick fundamental frequency.
How to stop kick and bass clashing?
Stop kick and bass clashing by identifying the kick fundamental frequency with a spectrum analyzer, then using sidechain EQ or sidechain compression to duck the bass at that frequency when the kick hits. Sidechain EQ is more transparent while sidechain compression adds rhythmic pumping.
Should I compress my kick and bass together?
You can group compress kick and bass together on a bus after individual processing to glue them, but they should not share a single compressor for separation. Process them individually first with sidechain EQ, then optionally apply gentle bus compression for cohesion.
Should bass compression go before or after EQ?
Place compression before dynamic EQ on the bass track. Compression evens out the signal first, which makes the sidechain EQ threshold behave more consistently. Static tonal EQ can go before compression, but dynamic sidechain EQ works best post-compression.
Should you sidechain everything to the kick?
No, only sidechain elements that actually clash with the kick in the low-frequency range. Typically this means the bass and possibly sub-bass synths. Sidechaining everything creates unnecessary pumping and drains energy from your mix.
Conclusion
Learning how to use sidechain EQ to separate kick and bass is one of the highest-impact skills you can develop as a producer or mix engineer. It solves the most common low-end problem in mixing without the heavy-handed pumping of traditional sidechain compression.
The process comes down to five steps: find the kick’s fundamental frequency, insert a dynamic EQ on the bass, route the kick as the sidechain input, set threshold and gain reduction, and tune attack and release times. Do those five things and your low end will immediately sound more defined and professional.
Remember that sidechain EQ is a tool, not a rule. Some mixes need it, some do not. Always trust your ears and compare with the plugin bypassed. If the kick cuts through clearly without it, leave it alone.
Start with subtle settings, 3 to 4 dB of reduction at the right frequency with musical attack and release times. Build from there based on what the mix tells you. With practice, this technique becomes second nature and takes just a few minutes to set up on any session.
For more mixing techniques and production tutorials, explore the other guides on Nabiha Music. Your low end is the foundation of your mix, and investing time in mastering these skills pays off on every track you make in 2026 and beyond.