
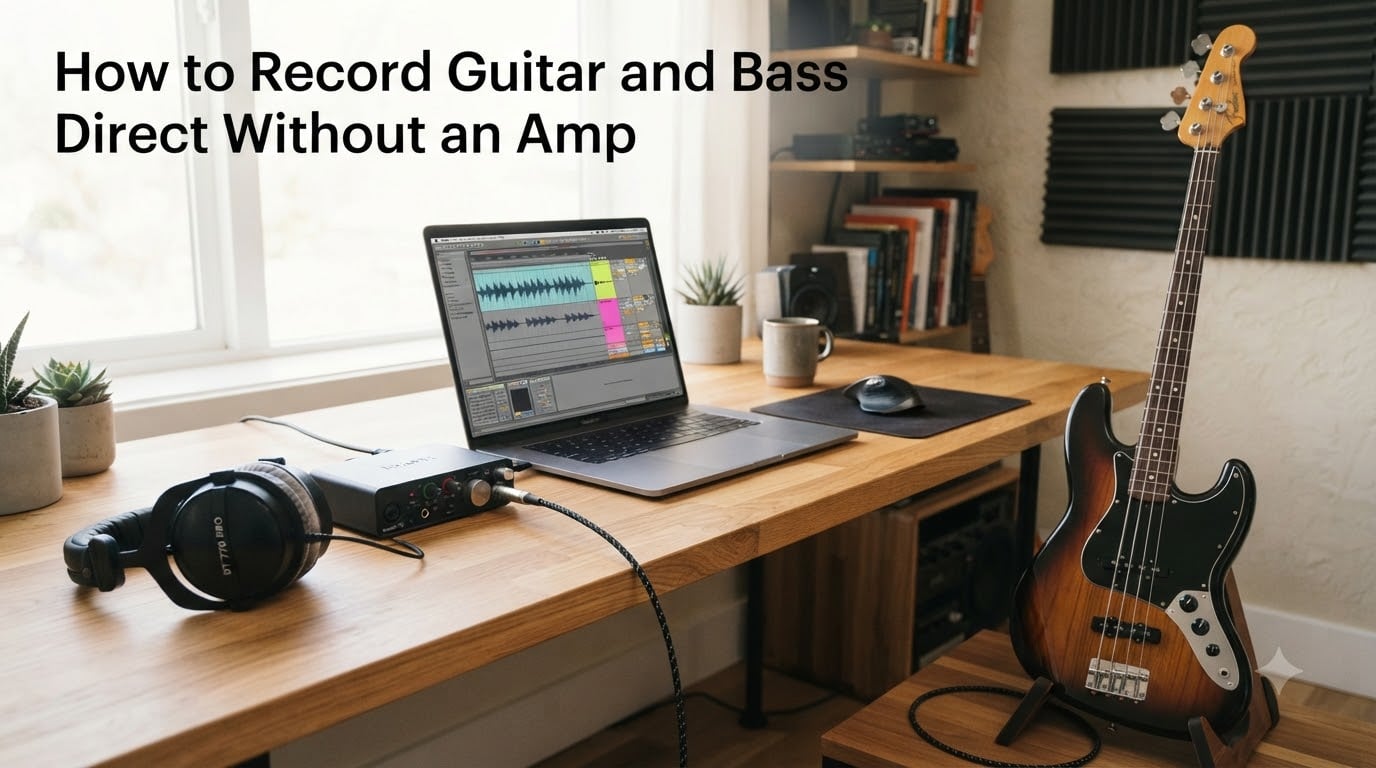
If you have ever wanted to record guitar and bass direct without an amp, you are not alone. Most bedroom producers and home studio musicians skip the amplifier entirely. They plug straight into an audio interface and capture a clean signal that can be shaped later. I have used this method for years on everything from quick demos to full album sessions. It is faster, quieter for the neighbors, and surprisingly flexible when you know a few simple tricks.
This guide walks you through the entire process. We will cover the gear you need, the exact connection steps, how to handle active versus passive pickups, and how to get a professional tone after you hit record. By the end, you will have a workflow you can use tonight.
Table of Contents
What Is Direct Injection (DI) Recording and Why It Works
Direct Injection (DI) recording means sending your guitar or bass signal straight into an audio interface or mixer, with no amplifier in the path. The audio interface converts your instrument’s analog signal into a digital one your computer can record. You capture a clean, untouched version of your instrument that you can process however you want.
The Core Idea Behind Direct Input
The signal chain is simple. Your pickups generate a small electrical current when you play a string. That current travels through your cable into a high-impedance input on your interface. The interface’s analog-to-digital converter turns it into data your DAW records. There is no speaker, no microphone, and no amp coloration in between.
This sounds limiting, but it is actually freeing. You keep the pure character of your instrument and your hands. Every decision about distortion, EQ, compression, and room sound becomes a choice you make later in the mix instead of a commitment you make during tracking. If you do not like the tone, you simply change a plugin setting. You do not have to re-record.
Equipment You Need to Record Guitar and Bass Direct Without an Amp
You only need three pieces of gear to start, plus a few basics you probably already own. I keep my setup minimal for travel sessions, and it works for everything from jazz bass to heavy rock rhythm guitar.
Audio Interface With Hi-Z Input
The single most important piece is an audio interface with a Hi-Z (high-impedance) instrument input. Most modern interfaces have at least one. Look for a front-panel button labeled “Inst” or “Hi-Z” next to a quarter-inch input. When you engage it, the input impedance jumps from the typical line-level value to roughly 1 megohm. That high impedance prevents your pickups from sounding dull and thin.
Popular choices include the Focusrite Scarlett series, the Universal Audio Volt series, the PreSonus AudioBox, and the MOTU M2. Any of these will give you clean, accurate conversion for direct recording.
DI Box vs Audio Interface Instrument Input
A DI box does the same job as your interface’s instrument input. It converts the high-impedance signal from your guitar into a low-impedance, balanced signal that travels well over long cables. If your interface lacks a Hi-Z input, a DI box solves the problem.
Passive DI boxes are simple transformers. They cost less and add a subtle warmth. Active DI boxes need phantom power and offer a more transparent sound. For most home studios, a quality passive DI like the Radial Engineering JDI or the Countryman Type 85 is a great investment. For bass, look for a DI with at least a 500k ohm input impedance to preserve low-end punch.
Cables and Adapters
You will need a standard quarter-inch instrument cable. Keep it under 20 feet if possible. Longer unbalanced cables can pick up noise. If you use a DI box, you will also need an XLR cable to run from the DI to your interface. That is it. No special cables, no adapters.
Active vs Passive Pickups: Why It Matters for DI
Pickup type affects how your instrument behaves when you record direct. Active pickups contain a built-in preamp powered by a battery. They put out a stronger, lower-impedance signal. Passive pickups are pure magnets and wire, with a weaker, higher-impedance output.
Active pickups plug straight into almost any input and sound great. The signal is hot and consistent. I use an active bass for most of my sessions because the tone is predictable and the level rarely clips.
Passive pickups are trickier. Their high-impedance output interacts with the input impedance of whatever you plug into. If the input impedance is too low, the highs roll off and the bass gets muddy. This is why a Hi-Z input or a quality DI box matters so much for passive instruments. The 1 megohm standard preserves the full frequency response.
If your passive guitar or bass sounds dull when recorded direct, the input impedance is the first thing to check. Switch to a proper Hi-Z input or add a DI box.
Step-by-Step: How to Record Guitar and Bass Direct Without an Amp
Here is the exact workflow I use every time. Follow these steps and you will have a clean, usable track in minutes.
Step 1: Connect Your Instrument
Plug your guitar or bass directly into the Hi-Z input on your audio interface. Press the Inst or Hi-Z button to engage the high-impedance circuit. If you are using a DI box, run your instrument cable into the DI box, then run an XLR cable from the DI’s output into a mic preamp input on your interface. Engage phantom power if you are using an active DI.
Step 2: Set Input Gain
Set your interface’s gain knob so that your loudest playing peaks around -12 dBFS on the meter. Play hard and soft to check. Slap bass, heavy chord strums, and aggressive picking all create peaks. Leave headroom so your DAW does not clip. I usually aim for peaks between -18 and -12 dBFS for safety.
Step 3: Configure Your DAW
Create a new mono audio track. Set the input to the interface channel your instrument is plugged into. Arm the track for recording. Set your sample rate to 44.1 or 48 kHz and your bit depth to 24-bit for the best balance of quality and file size. Disable any monitoring effects on the track itself. You want a clean capture.
Step 4: Monitor While Recording
Put on closed-back headphones. If your interface has direct monitoring, engage it. Direct monitoring sends the input signal straight to your headphones with zero latency. If you monitor through your DAW, you may hear a distracting delay between playing and hearing the sound. Low-latency buffer sizes (64 or 128 samples) help if your computer can handle them.
Hit record and play. That is really all there is to the capture process.
DI vs Miking an Amp: Which Should You Choose?
Both methods produce professional results. They just create different sounds and offer different workflows. Here is how they compare.
DI recording is fast, silent, and flexible. You capture a clean signal and shape it later. The tone can change completely with a different amp simulator plugin. You can re-amp the same performance into multiple virtual amps. The trade-off is that the sound depends entirely on how well your plugins and processing skills match the source.
Miking an amp adds the character of the speaker cabinet, the microphone, and the room. Many players find this sound more natural and three-dimensional. The trade-off is noise, room treatment requirements, and a less flexible workflow. Once you commit to a tone, you cannot easily change it later.
A hybrid approach gives you the best of both worlds. Record DI and amp simultaneously. Use the DI for clarity and low-end punch. Use the amp track for character and air. Many engineers blend the two. Phase alignment becomes critical here, so flip the polarity on one track if the combined signal sounds thin.
Shaping Your Tone After Recording: EQ and Compression Basics
A clean DI track sounds flat on its own. That is normal. The magic happens when you start processing. Two tools cover most needs: EQ and compression.
EQ for Direct Guitar and Bass
For bass, a high-pass filter around 30 to 40 Hz removes rumble and low-end mud that fights your kick drum. A gentle boost around 80 to 100 Hz adds warmth and weight. A cut around 300 to 500 Hz clears up muddiness. A boost around 2 to 4 kHz brings out string definition and attack.
For guitar, a high-pass filter around 80 Hz cleans up low-end rumble. A boost around 200 Hz adds thickness. A cut around 300 to 500 Hz removes boxiness. A boost around 2 to 5 kHz adds bite. A gentle boost above 8 kHz adds air and pick noise detail.
Compression for Control and Punch
Compression evens out the volume between your loud and soft playing. For bass, a 4:1 ratio with a medium attack and release helps control slap technique and fingerstyle dynamics. For guitar, a 3:1 or 4:1 ratio with a slower attack preserves transients and keeps things natural.
Slap bass especially benefits from compression because the dynamic range is huge. Users on forums consistently report that compressed DI bass sits better in the mix and locks tighter with the drums. That matches my experience from dozens of sessions.
Using Amp Simulators and Re-Amping for Better Results
Amp simulator plugins turn a clean DI signal into a convincing guitar or bass tone. Modern sims like Neural DSP, Amplitube, Guitar Rig, and Bias FX sound remarkably good. They model specific amplifiers, speaker cabinets, microphones, and even the room.
Load the plugin on your recorded DI track. Choose an amp model that fits your genre. Add a cabinet IR (impulse response) for realism. Apply EQ and compression after the amp sim, not before, for the most natural results.
Re-amping takes this further. Instead of processing in software, you send your DI signal back out of your interface into a real guitar amplifier. You can blend the real amp sound with your original clean DI. Re-amping requires a re-amp box to convert the line-level signal back to instrument level. It is a great way to add analog warmth without committing to a single tone at the tracking stage.
Common Mistakes to Avoid When Recording Direct
After years of teaching home recording, I have seen the same mistakes over and over. Avoid these and you will save yourself hours of frustration.
First, do not use a line-level input for your guitar. Line inputs have low impedance and will swallow your high end. Always use the Hi-Z instrument input or a DI box.
Second, do not record with effects pedals engaged. Pedals change the signal in ways you cannot undo. Record clean, add effects later in the DAW. The same goes for amp simulators on the way in.
Third, do not skip gain staging. Too hot a signal clips your converters and ruins the take. Too low a signal records noise. Aim for peaks around -12 dBFS.
Fourth, do not monitor through the DAW at high buffer sizes. Latency ruins your performance. Use direct monitoring or a low buffer setting.
Fifth, do not forget to re-engage phantom power when switching from passive to active DI. Active DIs need phantom power. Passive DIs do not.
Finally, do not assume the direct sound is the final sound. A flat DI track is a blank canvas, not a finished product. The processing you do later defines the tone.
Frequently Asked Questions
Can you use a bass guitar without an amp?
Yes. A bass guitar produces sound through its pickups, not its amplifier. You can plug directly into an audio interface, mixer, or even some headphones and hear the signal. The amplifier is only required when you want to drive a speaker at stage volume or shape your tone with analog circuitry.
How to record guitar directly?
Plug your guitar into the Hi-Z instrument input on an audio interface. Engage the Inst button, set your gain so peaks hit around -12 dBFS, create a mono audio track in your DAW, arm it for recording, and hit record. The clean signal can be processed later with amp simulators and EQ.
Do I need a bass amp to record bass?
No. You do not need a bass amp to record bass. A direct signal into an audio interface captures everything you need. Modern producers record bass direct almost exclusively because the clean signal gives more flexibility for mixing than a recorded amp cabinet.
What is the best way to record a bass guitar?
The most flexible method is to record a clean DI signal and shape the tone in your DAW with EQ, compression, and amp simulators. Many engineers also record both DI and a miked amp simultaneously, then blend the two for the perfect balance of clarity and character.
What is a DI box and do I need one?
A DI (Direct Injection) box converts your instrument’s high-impedance signal into a low-impedance, balanced signal. You need one if your audio interface does not have a Hi-Z instrument input, or if you want to preserve the tone of passive pickups over long cable runs to a mixer.
Final Thoughts on Recording Direct Without an Amp
Learning to record guitar and bass direct without an amp opens up your home studio in ways you might not expect. You can work at any hour without disturbing anyone. You can keep multiple tone options open until the mix stage. You can re-amp a single performance into a dozen different amps. The method is fast, the gear is affordable, and the results are professional.
Start with the basic setup: a quality audio interface, a Hi-Z input, and a clean gain stage. Add EQ, compression, and an amp simulator to shape the sound. Skip the mistakes that ruin most beginners’ sessions. Within a few takes, you will have a workflow that fits your style and your studio. That is the real goal.
1 thought on “How to Record Guitar and Bass Direct Without an Amp (September 2026)”