
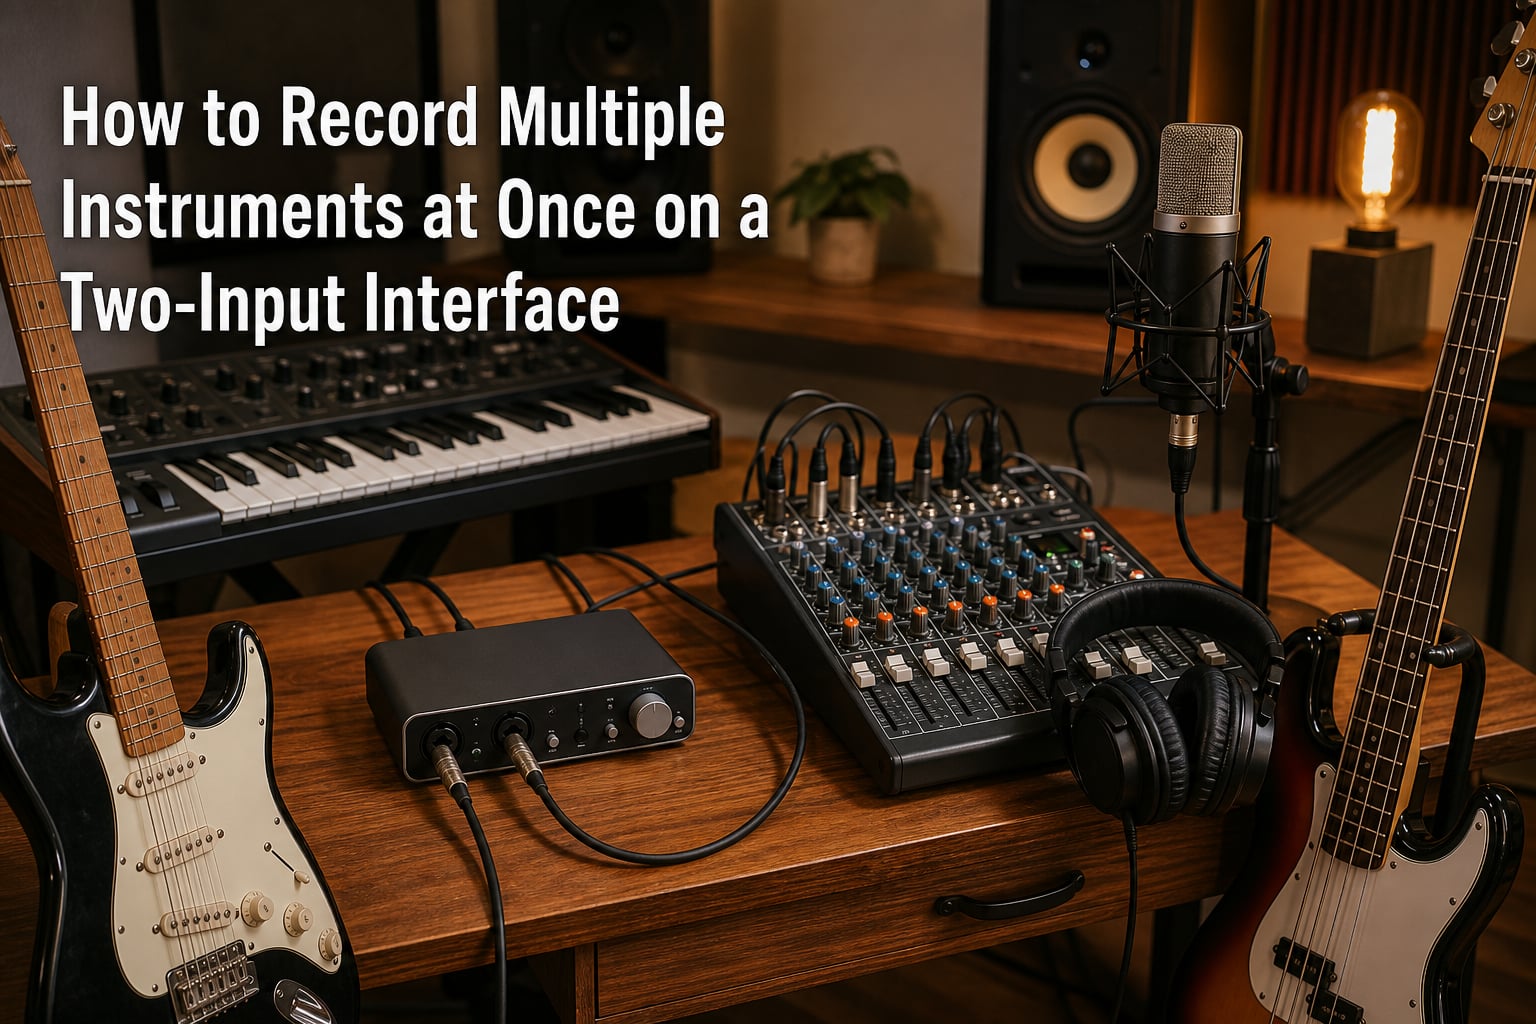
Recording multiple instruments at once on a two-input interface is one of the most common frustrations I hear from home studio owners. You have a Focusrite Scarlett 2i2 or a Universal Audio Volt 2 on your desk, you have a guitar, a bass, a synth, and a vocal mic ready to go, and you quickly realize you can only plug in two things at a time. I have been there, and I want to walk you through the exact workflow I use when I need to capture multiple instruments simultaneously on a budget interface without buying more hardware.
Once you understand how signal flow works between a mixer and your interface, the two-input limitation stops feeling like a wall and starts feeling like a starting point. In this guide, I will show you how to record multiple instruments at once on a two-input interface using a mixer, a direct injection box, and a few smart routing tricks that have saved my sessions countless times.
Table of Contents
What a Two-Input Interface Can and Cannot Do
A two-input interface gives you exactly two channels of simultaneous audio capture. That means you can record two microphones, two line-level sources, or two instruments at the same time, but no more than that directly. The two inputs are usually combo jacks that accept XLR for microphones and TRS or TS plugs for line and instrument level signals.
Understanding the signal levels is the foundation of routing multiple instruments through a two-input interface. Microphone level is the quietest signal, usually around -60 to -40 dBu, and it requires a preamp to bring it up to line level. Instrument level is what guitars and basses output directly, around -20 to -10 dBu, and it is hotter than mic level but still needs a high-impedance input. Line level is the standard signal strength for most professional gear, around +4 dBu for balanced equipment or -10 dBV for consumer gear, and it does not need additional amplification.
Your interface has preamps built into the XLR inputs that handle mic level and bring it up to line level for your DAW. The instrument inputs on most two-input interfaces are designed for high-impedance guitar and bass signals. Plugging a line-level signal into an instrument input, or vice versa, will either distort or sound weak and noisy. Knowing which input to use for which source is the first practical step in this whole process.
Choosing the Right Input for Each Source
Use the XLR input with a preamp for condenser and dynamic microphones. Use the instrument input for guitars and basses with passive pickups. Use the line inputs when connecting a synthesizer, a drum machine, or the output of a mixer. Most two-input interfaces label these clearly on the front or back panel. If yours does not, the manual will tell you in the first two pages.
How to Record Multiple Instruments Through a Mixer
The easiest way to record multiple instruments at once on a two-input interface is to add an analog mixer to your signal chain. A mixer lets you connect as many instruments, microphones, and line-level sources as you have channels for, then send the combined signal out through two main outputs into your interface inputs. This is the exact workflow a Reddit user described when they said they routed all their gear into a mixer and then out to their Volt 2.
Here is the core idea. You plug your guitar into channel 1, your bass into channel 2, your synth into channel 3, and your vocal mic into channel 4 of the mixer. You set the input gain on each channel so the signal is healthy but not clipping. The mixer sums all of these signals together and sends them out through its main left and right outputs. You then connect those two outputs to the two inputs of your audio interface. Your DAW records a stereo file with all instruments in the mix, and you keep the original mixer levels either by remembering them or, preferably, by capturing a multitrack bounce from the mixer.
The tradeoff is that you are recording a stereo mix, not true separate tracks. If you want individual control over each instrument in the mix, you either need to commit to the levels you set on the mixer or use a mixer with direct outputs that send each channel separately to a recorder. For a quick demo, a rehearsal capture, or a live recording, the mixer approach is fast and dependable.
What Kind of Mixer Do You Need
Any analog mixer with enough channels for your instruments will work. A small 6-channel or 8-channel mixer like the Yamaha MG06X or the Mackie Mix5 handles most home studio needs. If you want to expand later, a 12-channel or 16-channel mixer gives you room for a full band or drum recording without changing your interface. Look for mixers with balanced XLR or TRS main outputs, which keep noise low over long cable runs.
Step-by-Step: Connecting Your Gear for Multitrack Recording
Follow these steps in order to set up your two-input interface for recording multiple instruments at once. The process takes about 15 minutes from start to finish once you have done it a couple of times.
Power off your interface, mixer, and all instruments before making any connections.
Connect each instrument or microphone to its own channel on the mixer using the appropriate cable. XLR for microphones, quarter-inch TS for guitars, quarter-inch TRS for line-level gear.
Set the mixer gain for each channel with the source playing at its loudest volume. Aim for the meter to peak around 0 dB with the fader at unity gain (0 on the scale, usually labeled U).
Connect the mixer’s main left and right outputs to the two line inputs on your audio interface using balanced TRS cables if possible.
Power on the mixer first, then the instruments, then the interface. This order prevents pops that can damage your monitors or ears.
Open your DAW, create two new mono tracks or one stereo track, and assign them to the two interface inputs you just connected.
Arm the tracks for recording and check the input levels. Adjust the mixer faders if anything is too hot or too quiet.
Hit record and capture your performance. Use the mixer faders to shape the balance as you go.
This workflow captures a stereo mix of all your instruments simultaneously. If you want true multitrack recording with separate control over each instrument, you need either a mixer with USB or multitrack output, or a different approach altogether.
Getting True Separate Tracks from a Two-Input Interface
Recording truly separate tracks usually means upgrading to an interface with more inputs. However, there are two creative approaches that work with a two-input interface. The first is overdubbing, which means recording one or two instruments at a time, then bouncing them to a single track and recording the next layer on top. The second is using a mixer with a built-in audio interface that connects to your computer over USB and exposes each channel as a separate input in your DAW. Products like the Yamaha MG10XU or the Tascam Model 12 are designed for exactly this workflow.
Configuring Your DAW for Multi-Instrument Recording
Once your hardware is connected, your DAW needs to know which inputs to listen to. In most DAWs, you create a new track, set its input source to Input 1 or Input 2 on your interface, and arm the track for recording by clicking the record enable button. The track name should reflect what you are recording so you can keep them straight later.
Set your project to a sample rate of 48 kHz and a bit depth of 24 bits if you want studio-quality recording. 44.1 kHz and 16 bits is the CD standard and works fine for casual releases. Higher sample rates like 96 kHz give you more headroom for editing but use up storage and CPU faster. For most home studio work, 48 kHz at 24 bits is the sweet spot.
Buffer size is the most important setting for managing latency. A smaller buffer size gives you less delay between playing and hearing the sound, but it requires more CPU power. A larger buffer size is easier on your computer but adds audible delay. Start with 256 samples, and if you hear clicks or dropouts, increase it. If you hear too much delay when monitoring, decrease it.
Why Direct Monitoring Matters
Most two-input interfaces have a direct monitoring switch or knob that routes the input signal directly to your headphones or speakers, bypassing the computer. This is called zero latency monitoring, and it is the single best feature for tracking multiple instruments live. When you enable direct monitoring, you hear yourself in real time with no delay, even if your DAW buffer is set high. Use this feature whenever you record vocals or live instruments.
Direct Injection (DI) and Other Routing Techniques
A direct injection box, or DI box, converts an unbalanced high-impedance instrument signal to a balanced low-impedance microphone signal. This lets you plug a guitar or bass directly into a microphone preamp on your interface or mixer using a regular XLR cable. DI boxes are essential when you run long cable distances because balanced signals reject noise better than unbalanced ones.
For recording multiple instruments at once, a DI box lets you plug a guitar into a mixer channel that accepts XLR, freeing up the instrument inputs for other sources. Passive DI boxes are inexpensive and work well for most electric guitars and basses. Active DI boxes need a battery or phantom power and handle hotter signals like keyboards with active outputs.
Another routing technique is using the insert jack on a mixer channel. An insert jack is a single TRS socket that splits a channel into its send and return points. You can use a splitter cable to send the channel signal out to a separate recorder or interface input, capturing that one instrument on its own track while still mixing it through the mixer for monitoring. This is a more advanced technique, but it is the bridge between simple mixer workflows and true multitrack recording with limited inputs.
When Direct Outs Beat Mixer Outputs
Many larger mixers have direct outputs on each channel. These send the signal from that channel alone, pre-fader, to a separate output. If your mixer has direct outs, you can connect each instrument to your interface one at a time, record the track, then move to the next. This is slower than recording through the main outputs, but it gives you true separate tracks without buying a bigger interface. Older MOTU 828 mixers and many Tascam and Mackie mixers include direct outputs.
Managing Latency and Monitoring
Latency is the small delay between playing an instrument and hearing it back through your DAW. With a two-input interface, latency is your biggest enemy because you have limited processing power and only two inputs to capture every instrument at once. A buffer size of 128 samples gives you about 3 milliseconds of latency at 48 kHz, which most musicians cannot hear. A buffer size of 512 samples gives you 10 milliseconds, which is noticeable and makes performing difficult.
Switch your interface to direct monitoring to bypass latency entirely during recording. The trade-off is that you hear the raw input signal without any effects from your DAW. Most engineers record dry and add effects later during mixing, so this is rarely a problem. If you cannot disable monitoring in your DAW while using direct monitoring, mute the input track in your DAW or pull its fader down to prevent a doubled signal.
Use ASIO drivers on Windows or Core Audio on Mac for the lowest possible latency. Generic WDM drivers on Windows add several milliseconds of delay that make real-time monitoring difficult. Most interface manufacturers provide custom ASIO drivers that are optimized for their hardware. Install them as soon as you set up your interface.
Common Mistakes When Recording Multiple Instruments on a 2-Input Interface
The first mistake I see beginners make is recording a stereo mix and then trying to fix the balance during mixing. Once you commit to a stereo file, you cannot separate the instruments. Always save your DAW project file and capture more flexibility than you think you need. A bounced stereo mix is fine for distribution, but never delete the project file with the original levels.
The second mistake is ignoring signal levels. Pushing a line-level signal into a mic input causes distortion that you cannot fix in post. Boosting a mic-level signal through a line input adds noise that becomes obvious in quiet sections. Match the signal level to the input every time, and use the gain knob on your interface or mixer to set a healthy recording level.
The third mistake is forgetting phantom power for condenser microphones. Condenser mics need 48 volts of phantom power, which is usually switched on the front of your interface or mixer. If you hear nothing from your condenser mic, 90 percent of the time phantom power is off. Dynamic microphones and ribbons do not need phantom power, and sending it to a ribbon mic can damage it.
A fourth mistake is creating a new project for every take. Reuse the same project and create new tracks for each pass. This keeps your session organized, saves your gain settings, and lets you comp the best parts of multiple takes into a single performance.
Advanced Setup Options Worth Considering
If you really need to record more than two instruments at once and you want true multitrack separation, you can combine two audio interfaces on a Mac using a feature called Aggregate Devices. Open Audio MIDI Setup, click the plus button, and create a new aggregate device that includes both interfaces. Your DAW will see all four inputs as separate channels. This works in Logic Pro, Reaper, and most other professional DAWs. On Windows, you can use ASIO4ALL to combine multiple interfaces, though the setup is less stable.
The other long-term option is upgrading to an interface with more inputs. The Focusrite Scarlett 18i8 gives you 8 inputs, the MOTU UltraLite mk5 gives you 10, and the Tascam Model 12 is a hybrid mixer and interface with 12 inputs. If you find yourself constantly hitting the two-input wall, an upgraded interface pays for itself in time saved and frustration avoided.
Until you are ready to upgrade, the mixer-based workflow I outlined above will let you record multiple instruments at once on a two-input interface reliably. I have used this approach for live rehearsals, demo sessions, and even rough podcast recordings where I needed to capture multiple mics at once. It works, it sounds good, and it costs almost nothing if you already have a mixer lying around.
FAQs
Can you record with two interfaces at the same time?
Yes, you can record with two audio interfaces at the same time by creating an aggregate device in macOS Audio MIDI Setup or by using ASIO4ALL on Windows. Both interfaces will appear as one device with the combined number of inputs available in your DAW, letting you record more than two sources simultaneously.
How to record multiple mics at once?
Connect each microphone to a separate channel on an analog mixer, then route the mixer main outputs to the two inputs on your audio interface. In your DAW, arm two mono tracks and capture the stereo mix. For true separate tracks, use a mixer with direct outputs or upgrade to an interface with more preamps.
Can you use multiple audio interfaces at the same time?
You can use multiple audio interfaces at the same time on a Mac through the Audio MIDI Setup utility by creating an aggregate device. On Windows, ASIO4ALL allows combining multiple interfaces, though driver stability can vary. Once combined, your DAW sees all inputs as available recording channels.
Does music sound better through an audio interface?
Music recorded through an audio interface sounds better than direct computer recording because interfaces use high-quality analog-to-digital converters, dedicated preamps, and shielded connections that reduce noise. The result is cleaner recordings with more dynamic range and accurate stereo imaging compared to built-in computer sound cards.
Can I record a guitar directly into my audio interface?
Yes, you can record a guitar directly into your audio interface by using the dedicated instrument input if your interface has one. Plug a standard quarter-inch cable from your guitar into the instrument input, engage the instrument setting, and the high-impedance input will capture the signal without needing a separate DI box.
Final Thoughts on Recording Multiple Instruments with Limited Inputs
Learning how to record multiple instruments at once on a two-input interface comes down to understanding signal flow and using a mixer as your expansion tool. Once you grasp the difference between mic level, line level, and instrument level, and once you connect a mixer between your sources and your interface, the two-input limitation stops being a problem.
Start with the mixer workflow I described, capture a few rehearsal sessions, and pay attention to your levels. You will quickly find the limits of the stereo mix approach and decide whether to upgrade your interface or invest in a mixer with multitrack USB output. Either way, you will spend more time recording and less time fighting your gear, which is the whole point of building a home studio in 2026.