
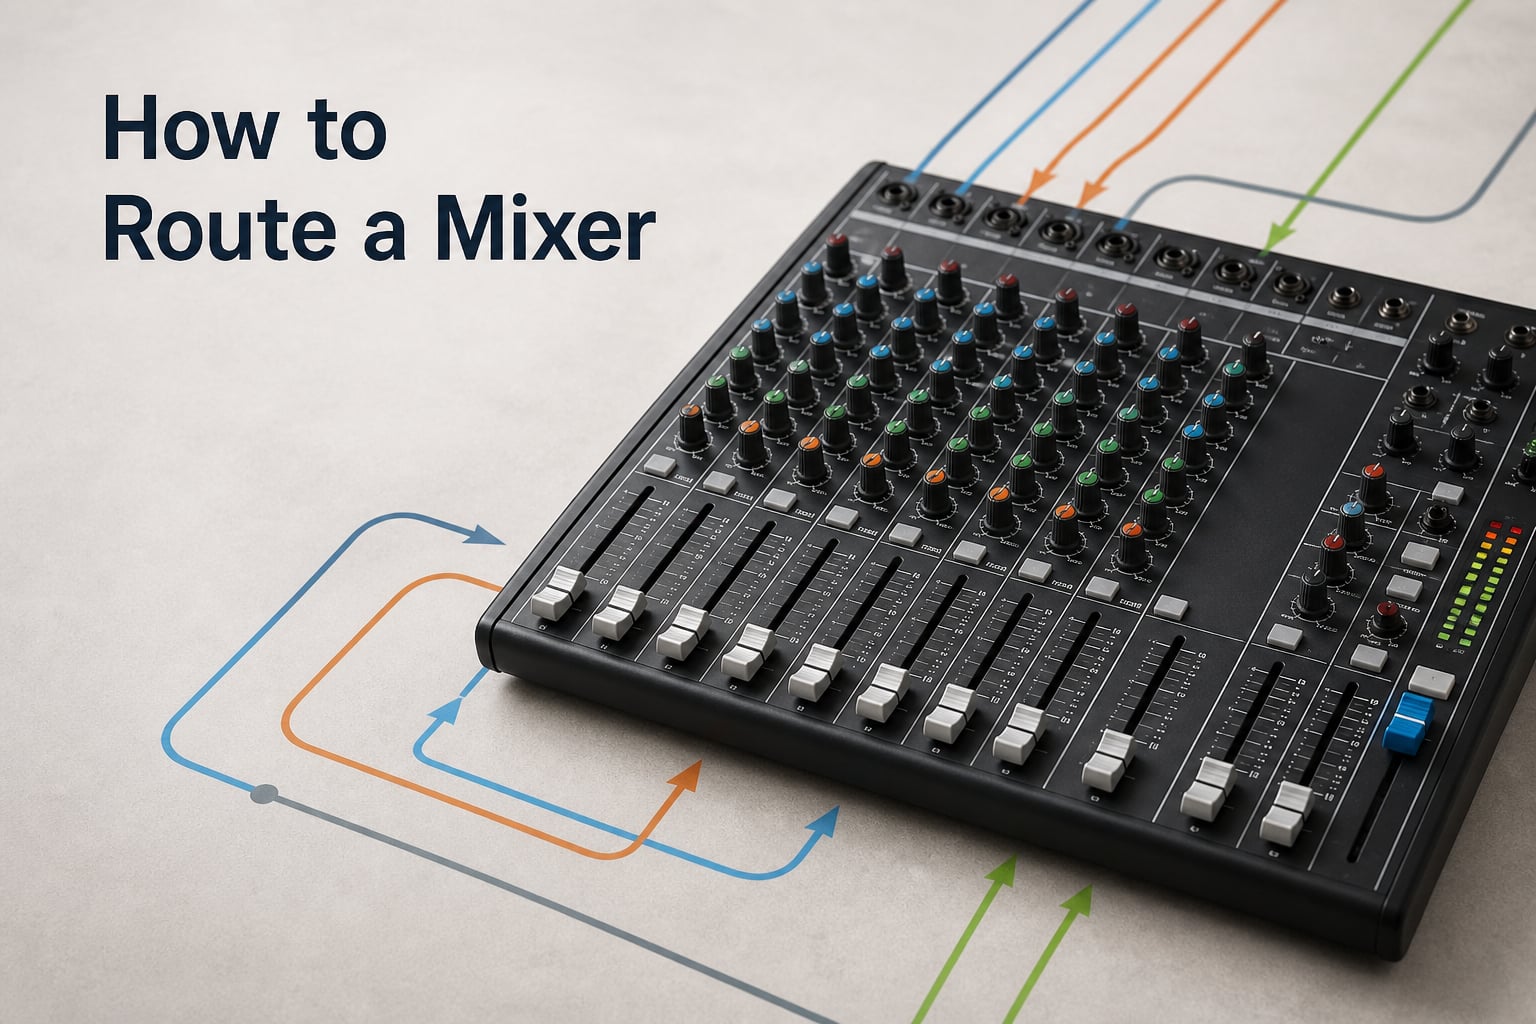
If you have ever stared at the back of a mixing console and wondered which cable goes where, you are not alone. Learning how to route a mixer is the foundation of every clean live show and every polished studio session. I have spent years dialing in routing setups for bands, churches, and home studios, and the same handful of core principles keep showing up. Once you understand those, every mixer on the market starts to feel familiar.
This guide walks you through mixer routing from the ground up. We will cover live sound consoles and digital audio workstations together, so you get one complete picture instead of two half-answers. By the end, you will know how to send audio anywhere you need it.
Table of Contents
What Is Mixer Routing and Why Does It Matter
Mixer routing is the process of directing audio signals from inputs to outputs along specific paths inside the mixer. Every knob, fader, and button on a console exists to control where sound travels and how loud it gets along the way. Without routing, your microphone signal has no way to reach your speakers, your speakers, or your recording software.
The core idea is signal flow. Audio enters a channel through an XLR or quarter-inch input, passes through gain, EQ, and effects processing, then exits through a fader to a bus. From that bus, the signal can go to the main mix, an aux send, a subgroup, or a direct output. Understanding this flow is what separates someone who guesses at a mixer from someone who can set one up confidently.
Routing matters because every venue, recording session, and rehearsal space has different needs. A singer needs to hear herself in a floor wedge. A guitarist needs reverb. An audience needs the main mix. All three of those needs come from the same console, using routing to send each signal to the right place at the right volume.
How to Route a Mixer to Main PA Speakers
The main output is the simplest and most important routing path on any mixer. Your main mix bus is what the audience hears through the PA speakers, so getting it right sets the stage for everything else. I run this connection first whenever I set up a new system.
Step 1: Locate the Main Output jacks on the back of your mixer. Most consoles have a pair of XLR outputs labeled Main L and Main R, or simply Main Out. On smaller mixers, these may be quarter-inch TRS outputs instead.
Step 2: Run balanced cables from these outputs to your PA speakers or amplifier. Use XLR cables whenever possible because balanced connections reject noise over long cable runs. For a stereo setup, run one cable per side.
Step 3: Assign each channel you want in the main mix to the Main bus. On analog mixers, every channel routes to Main by default. On digital consoles, you may need to press a Main assign button or select it in a routing menu.
Step 4: Bring up the master fader and your channel faders. Start with the master at zero, raise channel faders to unity gain, then push the master to your working level. This order prevents sudden surprises.
Aux Sends Explained and How to Use Them
Aux sends are separate outputs that pull audio from your channels independently of the main fader. Think of them as alternate paths the signal can take. Every live sound engineer relies on aux sends for monitor mixes and effects. When I train a new volunteer at our church, aux sends are usually the second concept I teach after the main mix.
Each aux send creates its own mono or stereo mix that you send to a destination. Common destinations include stage monitors, in-ear monitors, effects processors, and recording feeds. You control how much of each channel ends up in the aux send using the aux send knob on that channel.
Aux sends come in two flavors: pre-fader and post-fader. Pre-fader sends take their signal before the channel fader, so the monitor volume stays consistent even when you change the main mix. Post-fader sends take their signal after the channel fader, so they move with the main mix fader.
To use an aux send, route the aux output to your destination. For a stage monitor, connect the aux out to your monitor amplifier or powered wedge. For effects, route the aux out to your external effects processor and return the processed signal through a dedicated channel or stereo return.
How to Route Stage Monitors From a Mixer
Stage monitors, also called floor wedges, let performers hear themselves on stage. The monitor mix is almost always different from the front-of-house mix. The lead vocalist usually wants more vocals, the drummer wants more drums, and the bassist often wants less bass. Routing each of those preferences requires separate aux sends.
Step 1: Assign an aux send to a monitor output on your mixer. Most consoles have Aux 1, Aux 2, and so on labeled on the back panel. Each aux output is a separate physical jack.
Step 2: Connect a balanced cable from that aux output to your floor wedge or monitor amplifier. Use the same cable type you would for the main PA. Wedge placement matters: aim the wedge at the performer’s head, not at their knees.
Step 3: Build the monitor mix using the aux send knobs on each channel. Start with the channel that the performer needs most. For a lead singer, that is usually the lead vocal channel. Push the aux send knob up to taste, then add other channels gradually.
Step 4: Set the aux send to pre-fader when routing monitors. You want the monitor volume to stay steady even when you adjust the front-of-house mix. Most mixers have a Pre/Post button near each aux send. Engage Pre for monitors.
In-Ear Monitor Routing Essentials
In-ear monitors (IEMs) replace floor wedges with small earbuds that play a custom mix directly into the performer’s ears. The routing principle is identical to wedge monitors: build a separate mix using aux sends. The main difference is that you route the aux output to a wireless IEM transmitter rather than a wedge.
Run a balanced cable from your aux output to the IEM transmitter input. Each performer using IEMs gets their own transmitter, which means each performer gets their own aux send. Plan your aux send count carefully if you have multiple IEM users. A 12-channel mixer with 4 aux sends can support 4 separate IEM mixes.
I usually build each IEM mix with the artist’s own instrument louder than everything else. A singer’s IEM mix should be predominantly vocals, with just enough of the band to stay in time. Less is more with IEMs because the isolation lets you hear every detail.
External Effects Routing on a Mixer
External effects like reverbs, delays, and compressors add depth and polish to your sound. Most mixers have built-in effects, but external processors often sound better and offer more control. Routing external effects requires both a send path and a return path.
Step 1: Choose an aux send for effects and set it to post-fader. Post-fader ensures the effects level follows your channel fader, so when you lower a channel you also lower its effects.
Step 2: Connect the aux output to the input of your external effects unit. Use balanced cables for long runs. Most rackmount effects processors take balanced quarter-inch or XLR inputs.
Step 3: Connect the output of your effects unit back into the mixer. Use a stereo return channel if your mixer has one, or use two regular channels panned hard left and right.
Step 4: Set the return channel faders to unity gain and adjust to taste. The dry signal stays in the channel while the wet signal returns through the effect return, giving you independent control over the effect level.
Pre-Fader vs Post-Fader: The Key Difference
The pre-fader versus post-fader question trips up almost every beginner. Both aux sends behave identically except for one thing: where they tap the signal. Pre-fader sends take the signal before the channel fader. Post-fader sends take the signal after the fader.
Use pre-fader for monitor sends. When you change the front-of-house volume, the monitors stay at the same level the performer expects. A singer asked for a quieter vocal in their wedge does not want that volume to drop every time you raise the master fader.
Use post-fader for effects sends. If a singer stops singing and you pull their fader down, you want their reverb to dry up too. Post-fader sends make this automatic and keep your mix clean.
Some engineers prefer a pre-fader option on effects for creative reasons. A pre-fader reverb lets you turn a channel all the way down while keeping the reverb trail running. This trick is common in ambient and electronic music. Knowing both modes lets you choose intentionally.
How to Route a Mixer in a DAW Like FL Studio
Routing a mixer inside a digital audio workstation follows the same logical principles as a hardware mixer, but the routing happens in software. FL Studio, Ableton Live, Pro Tools, and Logic Pro all give you a virtual mixer with sends and returns. I bounced between FL Studio and Ableton for years, and the underlying routing concepts transferred cleanly.
In FL Studio, instruments loaded in the Channel Rack route to mixer insert tracks automatically. To route them manually, click and drag the instrument name from the Channel Rack down to a mixer track. You can also right-click the channel and choose the target mixer track.
To send audio from one mixer track to another, select the source track and click the up-arrow send at the bottom of the destination track. This creates a send relationship similar to an aux send on a hardware console. Use this for parallel compression, reverb sends, and sidechain routing.
For external routing in FL Studio, open the audio settings and configure your audio interface inputs and outputs. Each hardware input or output becomes available as a routing point inside the mixer. You can route a track to a physical output for outboard gear, or bring an external audio source into a mixer track for processing.
Common Mixer Routing Mistakes to Avoid
Most routing problems I have seen come from a handful of recurring mistakes. Catching them early saves hours of troubleshooting.
Mistake 1: Forgetting to assign channels to the main bus on a digital mixer. Analog mixers default to main, but digital consoles often require explicit routing. Always check your routing page before soundcheck.
Mistake 2: Using post-fader sends for monitors. The moment you pull a channel down in the main mix, the monitor level drops. Use pre-fader sends for any monitor application.
Mistake 3: Running unbalanced cables for long distances. Unbalanced cables pick up hum and buzz. Use balanced XLR or TRS cables for any run over 6 feet (about 2 meters).
Mistake 4: Building a monitor mix in the room instead of asking the performer. The wedge on stage sounds completely different from where you are standing at front of house. Trust the performer’s ears and adjust based on their feedback.
Mistake 5: Sending too much signal to an effects processor. Clipping the input of your reverb unit produces harsh, distorted tails. Keep your aux send levels moderate and use the effects unit’s input gain to set the right operating level.
Frequently Asked Questions About Mixer Routing
How do I route everything to the mixer?
Connect each audio source (microphones, instruments, playback devices) to an input on the mixer using the correct cable type. Assign each input channel to the Main bus. Bring up the master fader and the channel faders for each source. Start at zero, raise channels to unity gain, then adjust the master to your working level.
What is routing on a mixer?
Routing is the path audio takes through the mixer from input to output. It includes which channels feed the main mix, which channels feed aux sends for monitors or effects, and which outputs get used. Every fader, knob, and assignment button shapes that path.
How to join two mixers together?
Connect the output of the first mixer into an input channel on the second mixer. On the second console, treat that channel like any other input. You can also use the direct outputs of the first mixer to feed specific channels into the second console for more control over the combined mix.
How to route a sample to the mixer in FL Studio?
Load the sample into a sampler channel in the Channel Rack. Click and drag the channel name onto a mixer insert track to route it manually. Alternatively, right-click the channel and use the FX selector to choose a target mixer track. Adjust the channel’s volume knob to set its level in the mix.
Final Thoughts on Routing a Mixer
Learning how to route a mixer comes down to understanding signal flow, naming the destinations you need, and choosing pre-fader or post-fader sends based on the job. The main mix goes to the PA, aux sends feed monitors and effects, and external effects return through dedicated channels. Once that mental model clicks, every mixer on the market starts to look like the same console in a different box.
Practice on a small mixer first. Set up a couple of microphones, route them to the main outputs, then build a simple monitor mix on aux send 1. From there, add effects, expand to IEMs, and eventually tackle DAW routing. The skills stack on top of each other quickly once you start.