
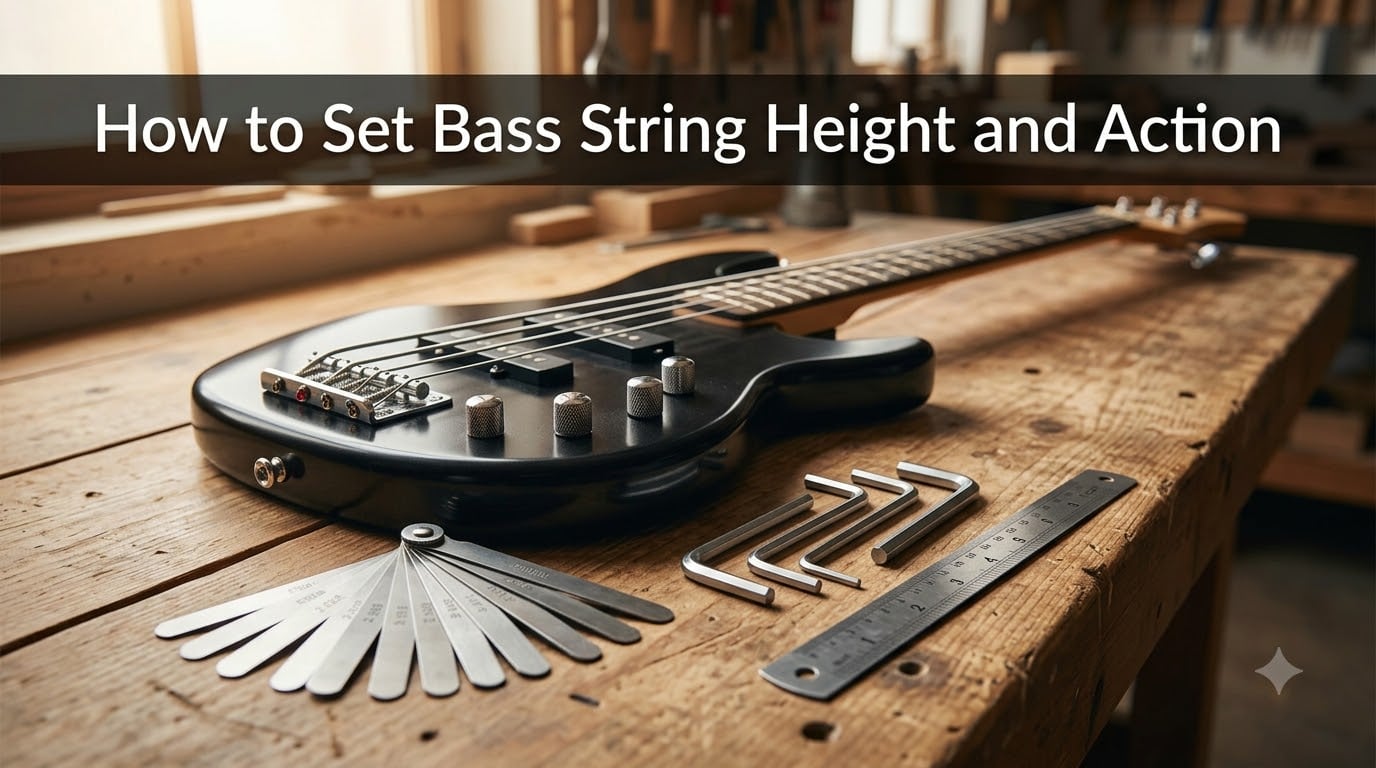
Learning how to set bass string height and action at home saves you money and gives you an instrument that feels custom-fit to your playing style. I have set up dozens of basses over the past decade, and the process is the same whether you own a Fender Precision, a Jazz Bass, or a 5-string like the Ibanez SR or Warwick Corvette. Our team walks through the entire bass guitar setup from tuning the truss rod to final intonation, with exact measurements in both millimeters and inches.
In this guide, you will learn the correct order of operations, the tools you need, and the specific action heights I recommend for fingerstyle, slap, and pick players. By the end, you will be able to set up your own bass with confidence.
Table of Contents
What Is String Action and Why It Matters
Bass string action is the distance between the bottom of your strings and the top of the frets, measured at the 12th fret. Lower action makes the bass easier to play because you do not have to press as hard to fret notes. Higher action gives you more volume and a chunkier tone, but it can cause finger fatigue during long sessions.
Three components work together to set your overall action:
- Truss rod — a metal rod inside the neck that controls the forward or backward curvature (called neck relief).
- Bridge saddles — the small pieces at the bridge that each string sits on, adjusted up or down to fine-tune string height.
- Nut slots — the grooves in the nut at the headstock end where the strings leave the tuners. Nut height mostly affects the open strings and the first few frets.
Along with those, intonation is the next layer of the setup. It is the tuning of each string at the 12th fret relative to the open note. Even with perfect action, your bass will sound out of tune up and down the neck if intonation is off.
Why does this matter? Because the right action reduces fret buzz, improves clarity, and makes your bass feel like an extension of your hands. I have had players tell me that a $300 bass with a proper setup outperforms a $2,000 bass with a factory setup, and that is not an exaggeration.
Tools You Need for a Bass Setup
You do not need a full luthier workshop to set up a bass. Our team uses these tools for every setup, and they are all available at a local hardware store or music shop.
- Allen wrenches (hex keys) — usually 4mm, 5mm, or 8mm for the truss rod nut, and 1.5mm or 2mm for the saddle height screws.
- Feeler gauges — a set of thin metal strips machined to specific thicknesses (0.005″ through 0.035″ or 0.1mm to 1mm). These are the most accurate way to measure neck relief.
- Steel ruler or string action gauge — for measuring string height at the 12th fret in 64ths of an inch or millimeters.
- Capo — to fret the low string at the 1st fret while you measure relief.
- Clip-on tuner — preferably one with a strobe mode for more precise intonation work.
- Clean cloth and small flashlight — to spot frets that need cleaning or leveling.
- New strings (optional but recommended) — always set up your bass with fresh strings, since old strings have uneven tension.
A dedicated bass setup tool kit like the Music Nomad MN235 or StewMac basic setup kit bundles most of these together. If you prefer to start with one tool, a feeler gauge set is the single most useful investment.
How to Set Bass String Height and Action: The Setup Order
Before touching any adjustment, lay out the correct order. Our team follows this sequence on every bass because skipping steps leaves small problems that compound into bigger ones.
- Tune the bass to pitch and install fresh strings if you can. Let them stretch for a few minutes.
- Adjust the truss rod to set neck relief.
- Set the string height at the 12th fret with the bridge saddles.
- Check intonation at the 12th fret and adjust the saddle position.
- Set pickup height last, since pickups only affect output, not playability.
One important rule: always adjust the truss rod before setting the action at the bridge. If you do it in reverse order, the neck will move slightly when you tighten the truss rod and your bridge setting will be off.
Step 1: Adjust the Truss Rod (Neck Relief)
The truss rod counteracts the tension of the strings, which pulls the neck forward over time. A perfectly straight neck has zero relief. A neck with a slight dip has positive relief. Our team targets a small amount of relief so the strings do not buzz on the middle frets when vibrating.
Here is the step-by-step process I use:
- Capo the low E string at the first fret.
- Press the same string down at the last fret (the fret where the neck joins the body, often the 21st or 22nd).
- Use a feeler gauge to measure the gap between the bottom of the string and the top of the 7th or 8th fret.
- The target gap is about 0.010″ (0.25mm) for most players. This is the classic “10 thou” relief.
This measuring technique is called the 3 fret rule on bass: you fret the string at the 1st and last frets, and any buzzing on the middle frets (3rd through 9th) tells you the relief is too low. If you can slip a 0.010″ feeler gauge just under the string at the 7th fret without binding, the relief is in the right zone.
To adjust:
- If the gap is too small (neck is too straight or backbowed), loosen the truss rod by turning the nut counterclockwise.
- If the gap is too large (neck is too curved), tighten the truss rod nut clockwise to remove relief.
- Most truss rods are at the headstock (Fender-style) or at the body end where the neck joins (Gibson-style, Music Man). Check your owner’s manual for the right location.
Make small adjustments — a quarter turn at a time — then retune and recheck. The neck needs a minute to settle after each adjustment. If you feel strong resistance, stop and take the bass to a tech. Forcing a truss rod can snap it, and that is an expensive repair.
Step 2: Measure and Set String Height at the 12th Fret
With the neck properly relieved, you can now set the bass string action — the measurement at the 12th fret. This is where most of the “feel” of your bass comes from.
To measure string height on bass, fret the string at the 1st fret with your fretting hand or a capo, then measure from the top of the 12th fret to the bottom of the string. Use a steel ruler that reads in 64ths of an inch, since most bass spec sheets use that unit.
Common starting points for 4-string bass action at the 12th fret:
- Low E string: 5/64″ (about 2.0mm) for fingerstyle, 4/64″ (1.6mm) for low action.
- A string: 4.5/64″ (about 1.8mm).
- D string: 4/64″ (about 1.6mm).
- G string: 3.5/64″ (about 1.4mm).
The higher strings sit slightly lower because the lower strings vibrate in a wider arc and need more room to clear the frets. This stepped pattern is typical on Fender-style basses and gives an even feel across the strings.
For most players, an action between 1.5mm and 2.5mm at the 12th fret works well. Reddit users in r/Bass commonly report action heights ranging from 1.75mm to 3mm depending on playing style, which matches what our team has measured on professionally set up basses.
Step 3: Adjust Bridge Saddle Height
Now that you know where you want each string to sit, it is time to lift or lower the saddles. Most modern bass bridges have two small screws per saddle — one for height, one for intonation. The height screws are usually the ones closest to the front edge of the bridge.
To adjust:
- Locate the saddle height screws on each bridge piece.
- Turn the screw clockwise to raise the saddle, counterclockwise to lower it.
- Re-measure at the 12th fret after each small adjustment.
- Match the curve of the bridge to the fretboard radius (usually 7.25″, 9.5″, or 12″ on Fender basses). The G string saddle should be slightly lower than the E string saddle to follow the curve.
If your bass has individual bridges like a Fender Precision or a vintage-style Jazz, you can move each saddle up or down independently. On a string-through-body or modern bridge like a Hipshot or Gotoh, the adjustment screws are usually on the sides of each saddle.
After each adjustment, play every fret on every string and listen for unwanted buzz. A small amount of fret buzz on the lowest frets during aggressive slap is normal, but buzz on all strings during light fingerstyle means the action is too low.
Step 4: Check and Set Intonation
Intonation is the final step in the setup. Even with perfect action, your bass will sound out of tune above the 12th fret if the strings are not the right length from the nut to the saddle.
To set intonation:
- Play the open string and compare it to the 12th fret harmonic (lightly touch the string over the 12th fret without pressing down).
- Then play the 12th fret fretted note and compare it to the harmonic.
- If the fretted 12th fret note is sharp compared to the harmonic, move the saddle back (away from the neck).
- If the fretted 12th fret note is flat, move the saddle forward (toward the neck).
- Use the intonation screw on each saddle to shift its position.
Re-tune after each adjustment since the string length changes the tuning. Some players check the 12th, 5th, and 17th frets to make sure the bass plays in tune across the whole neck. Our team has found that if the 12th fret is correct, the rest is usually close enough for playing live and in the studio.
Bass Action Measurement Specifications
Here is the exact measurement table I use when setting up a bass. These are starting points — adjust to your playing style. The 4-string specs are standard Fender-style; the 5-string specs account for the wider low B string.
4-String Bass Action at 12th Fret
- Low E: 2.0mm (5/64″) — fingerstyle, 1.6mm (4/64″) — light touch
- A: 1.8mm (4.5/64″) — fingerstyle, 1.4mm (3.5/64″) — light touch
- D: 1.6mm (4/64″) — fingerstyle, 1.2mm (3/64″) — light touch
- G: 1.4mm (3.5/64″) — fingerstyle, 1.0mm (2.5/64″) — light touch
5-String Bass Action at 12th Fret
- Low B: 2.4mm (6/64″) — fingerstyle, 2.0mm (5/64″) — light touch
- Low E: 2.0mm (5/64″) — fingerstyle, 1.6mm (4/64″) — light touch
- A: 1.8mm (4.5/64″) — fingerstyle, 1.4mm (3.5/64″) — light touch
- D: 1.6mm (4/64″) — fingerstyle, 1.2mm (3/64″) — light touch
- G: 1.4mm (3.5/64″) — fingerstyle, 1.0mm (2.5/64″) — light touch
Recommended Neck Relief
- Fingerstyle / jazz: 0.010″ (0.25mm) at the 7th fret, capo at 1st, fret at last.
- Slap bass / hard pick: 0.007″ (0.18mm) — slightly less relief to prevent slap back.
- Light touch / beginner: 0.012″ (0.30mm) — a bit more relief for clear note definition.
These numbers are guidelines, not laws. The best bass action height is the one that lets you play every note cleanly without feeling like you are fighting the strings. I have had players who swear by 3mm action and others who play at 1.5mm. Personal preference matters more than any spec sheet.
Troubleshooting Common Bass Setup Problems
Even after careful setup, you will run into issues. Our team has run into each of these problems during the past ten years of bass repairs. Here is how to fix the most common ones.
Fret buzz on every string. Your action is too low. Raise each saddle by a quarter turn and recheck. If buzz is on just the lowest frets, the truss rod may be too loose — add a small amount of relief.
Buzz only on the middle frets. Most likely the neck has too much relief. Tighten the truss rod a quarter turn clockwise, then re-measure at the 7th fret.
Buzz on just one or two strings. That string’s saddle is too low. Raise that saddle specifically until the buzz stops.
Strings feel stiff and hard to play. Action is too high. Lower the bridge saddles in small steps and check the result at the 12th fret.
Bass is in tune open but out of tune up the neck. Intonation is off. Adjust the saddle position using the intonation screws and your tuner.
Dead spots on certain frets. Often a setup issue, but can also signal that the neck needs light fret leveling. If the dead spot persists after a proper setup, take the bass to a luthier.
Humidity is changing your action daily. Wood expands and contracts with moisture. Store the bass in a room with 40-50% humidity and use a dehumidifier in winter. A solid body bass is less affected than an acoustic, but the neck still moves.
When to Seek Professional Help
Most setup steps are safe for a beginner, but there are cases where a professional luthier is the right call. Our team recommends taking your bass to a tech if the truss rod feels seized, if the nut slots are too high or too low, or if there are dead spots after a full setup. Also, if your bass needs a fret level or crown, that requires special tools and a steady hand you cannot replicate at home. A professional setup typically costs between $60 and $150, which is well worth it for a quality instrument.
Frequently Asked Questions
How high should bass string action be?
A common bass action height at the 12th fret is between 1.5mm and 2.5mm for the lower strings. For most players, 2.0mm on the low E and 1.4mm on the G string works well. Slap players often prefer slightly lower action around 1.5mm, while fingerstyle players tend to use 2.0mm to 2.5mm.
Is 2mm action too high for bass?
No, 2mm of action at the 12th fret is a popular middle-ground setting for most players. It is not too high for fingerstyle or pick playing. If chords feel hard to press or notes feel stiff, you can lower it slightly. If you hear fret buzz on every fret, your action is too low, not too high.
What is the 3 fret rule on bass?
The 3 fret rule on bass is a method for checking neck relief. You capo the string at the 1st fret and fret the same string at the last fret. The string should not buzz on any of the middle frets (3rd through 9th). If it buzzes, the neck has too little relief. You should be able to fit a 0.010 inch feeler gauge under the string at the 7th fret without binding.
How do I know if my bass action is too low?
Your bass action is too low if you hear fret buzz on multiple strings when playing open notes or the first few frets. You may also notice the strings feel like they are touching the frets when you press them. To fix it, raise the bridge saddles a quarter turn at a time and re-measure the action at the 12th fret until the buzz stops.
Conclusion
That is everything you need to know about how to set bass string height and action at home. Our team recommends starting with the truss rod, then setting the bridge saddle height, and finishing with intonation. Use the measurement specs in this guide as a starting point, then adjust to match your playing style. With a basic tool kit and 30 minutes of patience, you can dial in your bass for a fraction of what a professional setup costs. Pick up your feeler gauge, give your bass a fresh set of strings, and try this process today.