
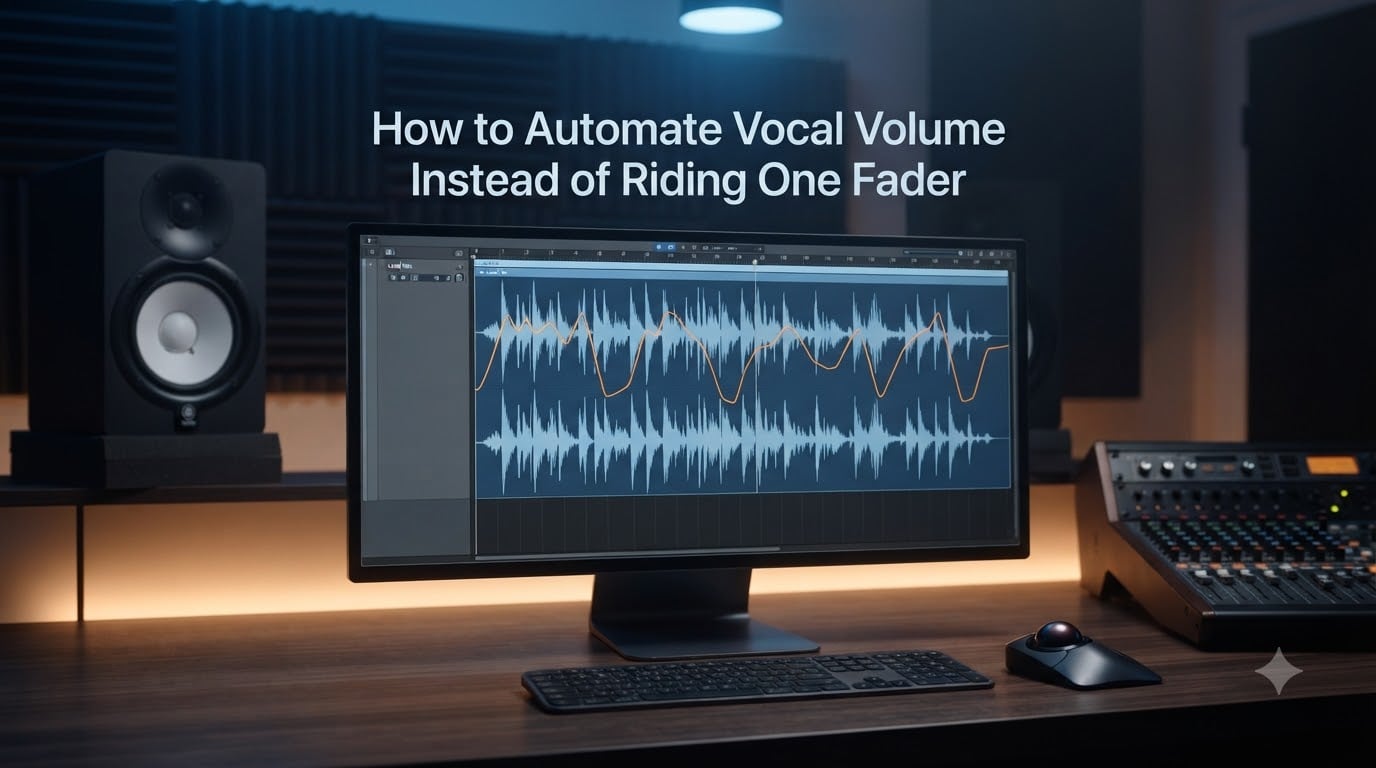
I used to spend 45 minutes per song manually riding a single fader, chasing every breath and syllable the singer threw at me. My hand cramped, the take drifted, and the result still sounded uneven. The day I learned to automate vocal volume, I cut my vocal mixing time in half and got a more consistent sound. If you are still riding one fader, this guide will show you a better way.
In this article, I will walk you through how to automate vocal volume in any DAW, why it works better than manual fader riding, and the exact workflow I use on every mix. You will learn clip gain, breakpoint automation, automation modes, and a pro trick that can eliminate most of the work entirely.
Table of Contents
What Is Volume Automation and How Does It Differ From Fader Riding
Volume automation is a recorded curve inside your DAW that tells the software exactly how loud a track should be at every moment of the song. Fader riding is the old-school alternative: you grab a physical or virtual fader during playback and push it up or down in real time to control volume.
When you automate vocal volume, the DAW plays back your volume changes with sample-accurate precision. When you ride a fader, your hand decides where the level goes, and there is no recording of the move. Automation wins on three counts: precision, repeatability, and your sanity.
Think of automation as drawing a volume roadmap. You place points along the timeline, drag them up or down, and the software follows that curve exactly every time you hit play. Fader riding is more like driving blind with one hand on the wheel.
Under the hood, automation data is stored as a list of time-stamped values. The DAW reads those values on every pass and applies them in real time. That is why an automation curve sounds identical on playback 1, playback 50, and final bounce.
Why Automate Vocal Volume Instead of Riding One Fader
Manual fader riding worked in the analog tape era because engineers had no other option. Today, every modern DAW can record, edit, and refine volume changes down to the millisecond. Once you automate vocal volume, you unlock several real benefits.
First, precision. Your ears hear a wide dynamic performance, but your hand can only react so fast. Automation lets you tame a 12 dB spike in a single syllable. Second, consistency. The volume stays exactly where you set it, take after take. Third, you free up your hands and your ears to focus on the rest of the mix.
Forum threads on Reddit and Gearspace confirm this. Engineers who automate vocal volume report finishing mixes faster and getting cleaner results than when they relied on a single fader. The consensus is clear: automation is faster, more accurate, and less fatiguing.
Another overlooked benefit is revision. When a client asks for the vocal to sit a little louder in the second chorus, you drag one breakpoint, and the entire section updates. Try doing that with a recorded fader performance, and you are replaying the whole song.
According to a thread on Reddit’s r/audioengineering with more than 200 replies, most working mix engineers automate at least 70 percent of their vocal moves and only ride faders for live tracking or performance feel.
Basic Volume Automation Techniques in Your DAW
Here is the step-by-step workflow I teach every artist I work with. It works in Logic Pro, Pro Tools, Ableton Live, FL Studio, Cubase, Studio One, and Reaper.
Step 1: Open the automation lane. Look for a small button on your vocal track that says “Show Automation” or has a tiny curve icon. Click it to reveal the volume automation lane below the waveform.
Step 2: Set the parameter. Make sure the lane is set to Volume (sometimes called Track Volume, Channel Volume, or Fader Level). In Logic it is the Volume slider; in Pro Tools it is Volume under the clip menu.
Step 3: Add your first point. Click on the automation lane at the start of a quiet phrase. Drag the point up to add gain or down to reduce it.
Step 4: Add more points along the timeline. For every spot where the vocal jumps or drops, add a new automation point. Aim for one point per change in dynamic range, not per word.
Step 5: Smooth the curve. Right-click or option-click the points to change the curve type. Linear works for sharp changes, and smooth curves are great for slow swells.
Step 6: Play back and refine. Hit play, listen critically, and nudge your points until the vocal sits exactly where you want it.
That is the core loop. Set point, listen, adjust, repeat. It sounds simple because it is. Most engineers who automate vocal volume spend about 10 to 20 minutes per song on this step.
A few DAW-specific shortcuts worth knowing. In Logic, press A to toggle automation lanes. In Pro Tools, use Cmd+4 on Mac or Ctrl+4 on Windows to open the automation panel. In FL Studio, right-click any knob and choose “Create automation clip.” In Ableton, click the automation mode selector on the track header.
Compression First, Automation Second: A Pro Workflow
One of the most common questions I see in forums is whether to compress or automate first. After years of trial and error, I land firmly on compression first, then automation.
Compression reduces the wide dynamic swings in a vocal. Once the compressor has done its job, automation only needs to handle the smaller, more musical tweaks. Trying to automate vocal volume first means you are chasing the compressor, which fights you the whole way.
Here is the pro order. First, set up your vocal chain: subtractive EQ, then compression, then additive EQ. Second, ride the compressor to control peaks. Third, automate vocal volume on the channel to handle phrasing and energy. Fourth, do final clip gain passes if anything still feels off.
This is the workflow nearly every pro mix engineer I have read about uses. It also lines up with what users on the Logic Pro Help forum recommend when discussing Vocal Rider and similar tools.
A good rule of thumb: aim for 4 to 6 dB of gain reduction on the loudest peaks, not 10 or 12. Heavy compression forces the automation curve to fight the compressor on every level change. Light compression lets automation do the fine work without distortion or pumping.
Clip Gain vs Volume Automation: Key Differences
Clip gain is a different animal from volume automation, and confusing the two will cost you time. Clip gain changes the audio level before any plugin in your chain. Volume automation happens after your plugins and changes the output level of the track.
Use clip gain during the editing phase. It is perfect for balancing verses and choruses, removing breaths, and evening out rough takes. Because it happens before plugins, it does not change how your compression or EQ reacts.
Use volume automation during the mixing phase. It is perfect for ride-ins, ride-outs, smoothing transitions between sections, and tweaking the level against the instrumental.
The pro move is to do clip gain first, then compression, then volume automation. This is the exact workflow that mixing engineers describe on Reddit and is the foundation of how I automate vocal volume on every project.
For a 3-minute song with 40 vocal clips, I usually spend 15 to 20 minutes on clip gain passes and another 10 to 15 minutes on volume automation. The clip gain handles the heavy lifting. The volume automation handles the polish.
Breakpoint Automation for Precise Vocal Control
Breakpoint automation is what most engineers mean when they say they “automate vocal volume.” A breakpoint is a single point on your volume curve. Drop a breakpoint at the start of a loud word, another at the end, and the DAW draws the line between them.
The magic is in how many breakpoints you place. Too few and the curve is choppy. Too many and the vocal sounds unnatural, like it is being yanked around. Aim for one breakpoint per major dynamic shift: a held note, a quiet whisper, a sudden belt.
Most DAWs let you adjust the slope between breakpoints. Linear slopes jump from one level to the next in a straight line. S-curves and exponential curves blend more naturally and are great for ride-ins and fade-outs.
When I automate vocal volume, I usually end up with 8 to 15 breakpoints per verse. Less than that and I miss moments. More than that and I am over-engineering the take.
Pro tip: zoom in close when setting breakpoints on fast passages. A difference of 50 milliseconds can change whether the move sounds natural or robotic. A difference of 200 milliseconds almost always sounds wrong.
Automation Modes Explained: Read, Write, Touch, and Latch
Every DAW gives you a choice of automation modes. Knowing which mode to use is the difference between fighting your DAW and working with it.
Read Mode: The DAW plays back your existing automation curve without letting you write new moves. Use this during mixing playback so you do not accidentally overwrite your work.
Write Mode: Every fader movement is recorded as automation as the song plays. Use this when you want to ride the fader live and have the DAW capture every move.
Touch Mode: Similar to Write, but automation stops being recorded the moment you let go of the fader. The existing curve snaps back where you left it. This is the safest live-riding mode.
Latch Mode: Like Touch, but automation continues at the last fader position even after you let go. Useful when you want to set a new level and keep it there for the rest of the section.
When I automate vocal volume, I default to Read for listening and Touch or Latch for any live moves I want to capture. Beginners often leave the mode on Write and accidentally destroy hours of work.
Logic Pro and Cubase also offer a fifth option called Trim. Trim mode lets you ride the fader to add offsets to the existing curve without overwriting it. It is perfect for making small moves on top of a written curve without redoing the whole thing.
Pre-Fader vs Post-Fader Automation: What to Use
Pre-fader automation happens before the channel fader in your signal flow. Post-fader automation happens after it. The choice matters more than most beginners realize.
Pre-fader automation stays the same even if you raise or lower the channel fader. Use it for tonal moves, like riding an EQ or compressor. Post-fader automation moves with the channel fader, so it is the right pick for vocal level changes that need to track the overall mix balance.
For volume automation on a vocal, you almost always want post-fader. That is the default in Logic Pro, Pro Tools, and Ableton, and it is the mode I keep when I automate vocal volume.
Quick tip: if your automation seems to undo itself when you move the channel fader, you have accidentally set it to pre-fader. Switch it back and your changes will stick.
Advanced Trick: Splitting Vocals Across Multiple Tracks
Here is a trick that the pros use to reduce the amount of automation they need to write. Instead of putting one full performance on one track, split the vocal across multiple tracks.
Route verses to track A, choruses to track B, and the bridge to track C. Each track gets its own compression and EQ settings. Because each track only handles one section, you can set its level once and forget about it.
This works because verses and choruses often want different processing. With separate tracks, you avoid fighting one compressor to do two jobs. You also cut your automation work in half, since each track only covers one section of the song.
When I automate vocal volume on busy pop or rock mixes, this is usually where I start. It is also the workflow Logic Pro Help forum users describe when they need clean vocal rides on dense productions.
You can take this even further. Split doubles, harmonies, and ad-libs onto their own tracks. Set the level of each one once, and the only automation you need is for the lead. Doubles and harmonies rarely need automation at all.
Plugin Solutions: Vocal Riders and Gain Tools
If you want a faster route, plugin-based vocal riders can automate vocal volume for you in real time. Waves Vocal Rider is the most popular, and similar tools exist from Auto-Tune, iZotope, and even some free developers.
These plugins listen to the incoming vocal and adjust a fader to keep the level within a target range. You set the target, hit play, and the plugin does the riding.
The catch: plugin riders often need cleanup afterward. Forum users report that Vocal Rider does about 80 percent of the work, and you still need to automate vocal volume manually for the final 20 percent. Think of these plugins as a starting point, not a one-click solution.
If you go this route, place the vocal rider before your compressor in the chain. That way, the compressor sees a more even signal and works less hard, which keeps the vocal sounding natural.
Free alternatives worth trying include the TDR Nova GE by Tokyo Dawn Records and the MFreeformEqualizer by MeldaProduction. Both can be set to follow the input level and ride the output automatically, with a bit of setup.
Common Mistakes to Avoid When Automating Vocals
Over-automation is the most common mistake. If you automate every single syllable, the vocal sounds robotic and lifeless. The goal is to fix the obvious problems, not to flatten the performance into a wall.
Another mistake is writing automation with a MIDI controller fader in Write mode and accidentally creating dozens of tiny automation points. Use Touch or Latch to avoid this, or filter your controller before recording.
Skipping clip gain is the third big one. If you skip the editing step and try to fix everything with volume automation, you end up fighting your compressor and your EQs. Edit first, then automate vocal volume for the final pass.
Finally, do not automate in solo. Soloing a vocal strips away context. Always automate against the full mix so your moves actually serve the song, not just the isolated track.
One more mistake I see all the time: forgetting to print or commit the automation before sending the session to a mix engineer. If your DAW stores automation in a separate lane, bounce the vocal with the automation applied. Otherwise, the engineer gets a flat vocal and has to redo your work.
Frequently Asked Questions
How do I do volume automation in my DAW?
Open the automation lane on your vocal track, set it to Volume, add breakpoints at the start and end of each level change, then adjust the curve between them. Hit play and refine the points until the vocal sits where you want it.
Should I compress or automate vocals first?
Compress first. Let your compressor reduce the wide dynamic swings, then use volume automation to handle the smaller musical tweaks. Automating before compression means you spend the whole time chasing the compressor.
What is the difference between clip gain and volume automation?
Clip gain changes the audio level before any plugin in your chain and is best for editing. Volume automation changes the output level after plugins and is best for mixing moves like ride-ins and section transitions.
How do I make all my vocals the same volume?
Use clip gain during editing to balance sections, then apply gentle compression, then automate vocal volume for the final tweaks. This three-step approach keeps the performance natural while evening out the levels.
How do I automate master volume in FL Studio?
Right-click the master channel volume knob, choose Create automation clip, then draw your volume curve in the playlist. Use breakpoints to set level changes for each section of the song.
Final Thoughts on Automating Vocal Volume
If you take one thing from this guide, take this: stop riding one fader. Automate vocal volume instead. The workflow is faster, the result is more consistent, and your hands will thank you. Start with clip gain during editing, layer in compression, then automate vocal volume for the final mix moves. Once you build the habit, you will never go back to the manual ride.