
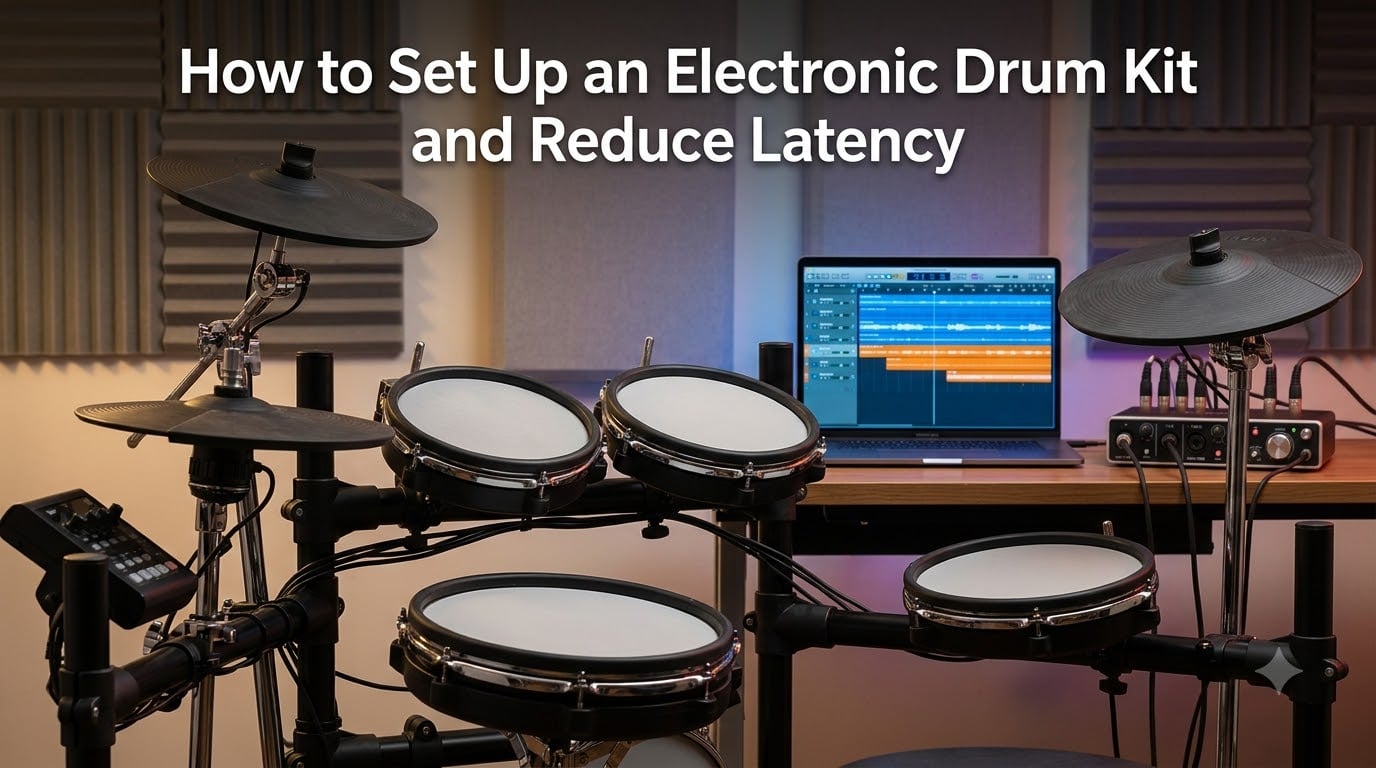
When I first plugged my electronic drum kit into my laptop, I thought something was broken. I would hit a snare and the sound would arrive a fraction of a second late, throwing off my timing entirely. After weeks of frustration, I learned that what I was fighting was electronic drum kit latency, and that fixing it is mostly about understanding a handful of settings rather than buying expensive gear.
This guide is the resource I wish I had back then. I will walk you through what electronic drum latency actually is, why it matters, how the signal chain works, and the exact steps to reduce it on both standalone modules and computer-based setups. By the end, you should be able to dial in a setup that feels tight and responsive, whether you are practicing at home, recording in a DAW, or playing live.
Table of Contents
What Is Electronic Drum Latency?
Electronic drum latency is the time delay, measured in milliseconds (ms), between striking a drum pad and hearing the resulting sound through your headphones or monitors. For most players, anything below 10 ms feels instantaneous, 10 to 15 ms starts to feel sluggish, and anything above 20 ms becomes hard to ignore during fast playing or recording.
Latency is not a single thing. It is the sum of small delays introduced at every stage of your signal path, from the moment the pad sensor fires to the moment the sound reaches your ears. Each component, including the module, USB or MIDI cable, audio interface, computer, DAW, VST plugin, and headphones, adds a few milliseconds. Stack them up and you can easily reach 30 to 50 ms without realizing it.
Why Latency Matters for Drummers
Drummers rely on tight timing more than almost any other musician. When there is a delay between your strike and the sound, your brain unconsciously tries to compensate by playing ahead of the beat, which makes you rush fills and grooves. I noticed this immediately when I tried to record a simple beat in Logic Pro: every take sounded pushed and uneven.
Beyond feel, latency also affects recording quality. If you can hear your drums in real time but the recorded track is delayed, quantizing and editing become a nightmare. For live performance, latency above 15 ms makes it hard to lock in with a click track or a backing band. That is why reducing electronic drum latency is one of the first things any serious e-drummer should tackle.
Understanding the Electronic Drum Signal Chain
Before you can fix latency, you need to understand where it comes from. Here is the typical path a drum hit takes from pad to ear in a computer-based setup:
- Pad trigger: The piezo sensor in the pad converts your strike into an analog signal (about 1 to 2 ms).
- Drum module: The module scans the trigger, assigns a sound, and routes it via USB or MIDI (about 3 to 6 ms on modern modules, up to 10 ms on older ones).
- Audio interface: The interface converts the digital signal back to analog for monitoring, or passes it to the computer (1 to 5 ms depending on buffer size).
- Computer and DAW: The audio buffer introduces the biggest variable, anywhere from 3 ms at 64 samples to 12 ms at 256 samples at 44.1 kHz.
- VST plugin processing: Each plugin in your chain adds a small amount of latency (under 1 ms for most, but heavy reverbs or amp sims can add more).
- Headphones or monitors: Wired headphones add negligible delay. Bluetooth headphones can add 40 to 100 ms, which is why they are a poor choice for drumming.
Standalone setups skip the computer and DAW steps, which is why they tend to feel more responsive out of the box. The trade-off is less flexibility in sound design and editing.
Buffer Size and Sample Rate Settings for Low Latency
Buffer size is the single biggest contributor to electronic drum kit latency. It is the amount of audio your interface processes before sending it to the output. Smaller buffers mean lower latency but more CPU strain, which can cause clicks, pops, or dropouts.
Here are the buffer sizes I recommend and what they mean in milliseconds at a 44.1 kHz sample rate:
- 64 samples: About 3 ms round-trip latency. Best for recording with VST processing. Requires a fast computer.
- 128 samples: About 6 ms. A safe middle ground for most home studios and live use.
- 256 samples: About 12 ms. Acceptable for practice and mixing, but recording will feel sluggish.
- 512 samples or higher: Above 23 ms. Avoid for any real-time playing.
If you are using a 48 kHz sample rate, divide the buffer size by 48 instead of 44.1 to get the latency in milliseconds. Most modern interfaces and modules handle 48 kHz cleanly, and it can shave a fraction of a millisecond off your round-trip time.
Start at 128 samples. If your system runs cleanly without dropouts, drop to 64. If you hear clicks or pops, step back up. There is no single correct setting; the right buffer size depends on your computer, interface, and plugin load.
Setting Up ASIO Drivers on Windows
Windows users have a built-in audio path called WASAPI, but it adds noticeable latency because it routes through the operating system mixer. ASIO drivers bypass that layer and talk directly to your audio hardware, which is why every serious Windows drummer uses them.
If you own a dedicated audio interface, install the manufacturer’s ASIO driver (Focusrite, Behringer, MOTU, and PreSonus all provide them). If you do not own an interface yet, ASIO4ALL is a free, community-developed driver that works with most onboard sound cards. I have used it on a budget laptop for years and it cut my latency in half compared to WASAPI.
To configure ASIO4ALL for electronic drums:
- Download ASIO4ALL from the official site and install it.
- Open your DAW and select ASIO4ALL as your audio driver.
- Click the ASIO4ALL control panel button in your DAW settings.
- Enable only your interface’s output (usually marked “WDM Device” or your interface name). Disable everything else to free up CPU.
- Set the buffer size to 128 samples to start.
- Close other audio-heavy applications (Spotify, Discord, browsers) to reduce background load.
Mac users do not need ASIO because Core Audio is already a low-latency audio path. Just set your buffer size in your DAW’s audio preferences and you are good to go.
How to Set Up an Electronic Drum Kit: Step-by-Step
Now that you understand the theory, here is the practical walk-through. These steps assume a typical home studio setup with a module, USB or MIDI cable, audio interface, and DAW.
Step 1: Assemble the Rack and Pads
Set up the rack according to the manufacturer’s instructions. Make sure each pad sits firmly on its mount without wobbling. A loose pad can cause misfires and double triggers, which feel like latency but are actually mechanical issues.
Step 2: Connect the Module
Plug the cable harness into the module’s trigger inputs, then connect the module to your computer via USB. Most modern modules are USB class-compliant, meaning no extra drivers are needed. If yours is older, install the manufacturer’s USB-MIDI driver.
Step 3: Update Firmware
Before you go further, check the manufacturer’s website for a firmware update. Manufacturers often release updates that reduce module latency and improve trigger response. I once shaved about 2 ms off my kit just by updating the firmware.
Step 4: Configure Your DAW
Open your DAW and create a new project. Set the audio driver to ASIO (Windows) or Core Audio (Mac). Set the sample rate to 48 kHz and the buffer size to 128 samples. Confirm you can see incoming MIDI from the module.
Step 5: Calibrate Trigger Sensitivity
This step is missed by most beginners and it directly affects how your kit feels. In your module’s settings, adjust the sensitivity, threshold, scan time, and mask time for each pad. Lower sensitivity can add perceived delay because the pad has to work harder to register a hit. Aim for a setting where a soft tap still triggers the sound without false triggering from rebound.
Step 6: Set Up Direct Monitoring
If your module or interface has a direct monitoring option, enable it. Direct monitoring routes the input signal straight to the headphones with zero computer latency. You will hear your playing in real time, even if your DAW buffer is high.
Step 7: Test and Adjust
Play a simple groove at a moderate tempo and listen for any sense of delay. If it feels sluggish, drop the buffer size by one step. If you hear clicks or pops, raise it back up. This is a balancing act, and every system is different.
How to Reduce Electronic Drum Latency: Practical Tips
Beyond buffer size and drivers, here are the practical tips that have made the biggest difference in my own setups and in setups I have helped troubleshoot for other drummers.
- Use wired headphones, always. Bluetooth adds 40 to 100 ms of latency. Even the best wireless headphones are not suitable for drumming. Plug in a cable.
- Close background applications. Browsers, Discord, and video editors all consume CPU and audio resources. Free them up before recording.
- Disable Wi-Fi and Bluetooth adapters in Device Manager. On Windows, these can interfere with USB audio devices and cause dropouts.
- Use a dedicated USB port. Plug your module and interface into separate USB buses if possible. USB hubs can introduce timing jitter.
- Freeze or bounce tracks. Once you have recorded a take, freeze the track or print the audio to free up CPU. You do not need 64-sample latency while mixing.
- Choose lightweight plugins. Heavy reverbs and amp sims add latency. Use them as sends rather than inserts, or freeze the track once you have the sound you want.
- Update your interface’s firmware and drivers. Manufacturers regularly release updates that improve USB stability and reduce jitter.
- Disable unnecessary module features. Some modules have built-in effects, EQ, or compression that add processing delay. Turn them off when tracking and add them later in the DAW.
Module Latency Comparison: Standalone vs VST
If you have the option to choose between playing through your module’s own sounds or through a VST plugin in your DAW, here is what to expect. The numbers below come from latency measurements published by Digital Drummer Magazine and corroborated by forum users on Reddit’s r/edrums community.
- Modern flagship modules (Roland TD-50X, V-Drums Acoustic Design): About 3 to 4 ms internal latency. Excellent feel.
- Mid-range modules (Roland TD-17, Yamaha DTX6): About 4 to 6 ms. Very good for live play and recording.
- Older modules (Roland TD-6, Alesis DM10): 6 to 10 ms. Noticeable but workable with a 64-sample buffer.
- VST-based setups (Addictive Drums, Superior Drummer, EZdrummer): Total round-trip of 8 to 12 ms with a 64-sample buffer. Feels good if your computer can handle it.
- Budget modules (Alesis Nitro Mesh older firmware): 10 to 15 ms internal latency. Many users on Reddit report frustration with these for recording.
The takeaway is that a modern standalone module will almost always feel snappier than a VST setup with the same buffer size, because the module does its processing in dedicated hardware. If feel is your top priority, a good standalone module plus direct monitoring is hard to beat.
Troubleshooting Checklist: Common Latency Issues
If your kit still feels laggy after following the steps above, run through this checklist. Most electronic drum latency problems come down to one of these causes.
- Buffer size too high: Drop it by one increment and test again.
- Wrong audio driver selected: Make sure ASIO (Windows) or Core Audio (Mac) is active, not MME or DirectSound.
- Bluetooth headphones in use: Switch to wired.
- Background apps consuming CPU: Close browsers, Discord, video calls.
- Outdated module firmware: Check the manufacturer’s site.
- USB hub interference: Plug directly into the computer.
- Pad sensitivity miscalibrated: Re-adjust threshold and mask time per pad.
- Heavy plugin chain on the live input: Insert a dry signal first, add effects later.
If none of these solve the problem, your audio interface may simply be too slow for your needs. Interfaces under $100 often struggle below 128 samples. Upgrading to a model with better drivers and lower round-trip latency is sometimes the only fix.
Frequently Asked Questions About Electronic Drum Latency
What is the latency of an electronic drum kit?
Most modern electronic drum modules have internal latency between 3 and 6 milliseconds. Older or budget modules can reach 10 to 15 ms. When you add a computer, audio interface, and DAW into the chain, total round-trip latency typically lands between 8 and 20 ms depending on your buffer size.
How to fix latency delay?
To fix electronic drum latency, lower your audio interface buffer size to 64 or 128 samples, install ASIO drivers on Windows, use wired headphones instead of Bluetooth, close background apps, and make sure your module firmware is up to date. For most players, these four changes alone will drop total latency below 10 ms.
How do I lower my audio latency?
Lower your audio buffer size to the smallest value your system can handle without dropouts. Disable any plugins or effects you do not need on the live monitoring path. Use ASIO drivers on Windows or Core Audio on Mac. Plug your interface directly into a USB port, not a hub.
How do I make my latency go down?
Reduce the buffer size in your DAW audio settings, close CPU-heavy applications, update your audio interface drivers, and switch from wireless to wired headphones. If you are on Windows, switch from WASAPI to ASIO4ALL or your interface’s native ASIO driver.
Do I need an audio interface to reduce latency with e-drums?
A dedicated audio interface is the single biggest upgrade you can make for low-latency drumming, because it provides dedicated ASIO drivers and stable timing. However, ASIO4ALL lets budget users get acceptable results from their onboard sound card, especially with a 128-sample buffer.
Final Thoughts on Reducing Electronic Drum Latency
Reducing electronic drum kit latency is less about buying new gear and more about understanding your signal chain and dialing in the right settings. Start with a 128-sample buffer, install ASIO drivers on Windows, use wired headphones, and close background apps. From there, fine-tune your module’s trigger settings and keep your firmware updated.
If you follow the steps in this guide, you should land comfortably below 10 ms of round-trip latency, which is the threshold where most drummers stop noticing any delay. That is the goal: a kit that responds the instant you hit it, so you can focus on your playing instead of fighting your gear.
1 thought on “How to Set Up an Electronic Drum Kit and Reduce Latency (September 2026)”