
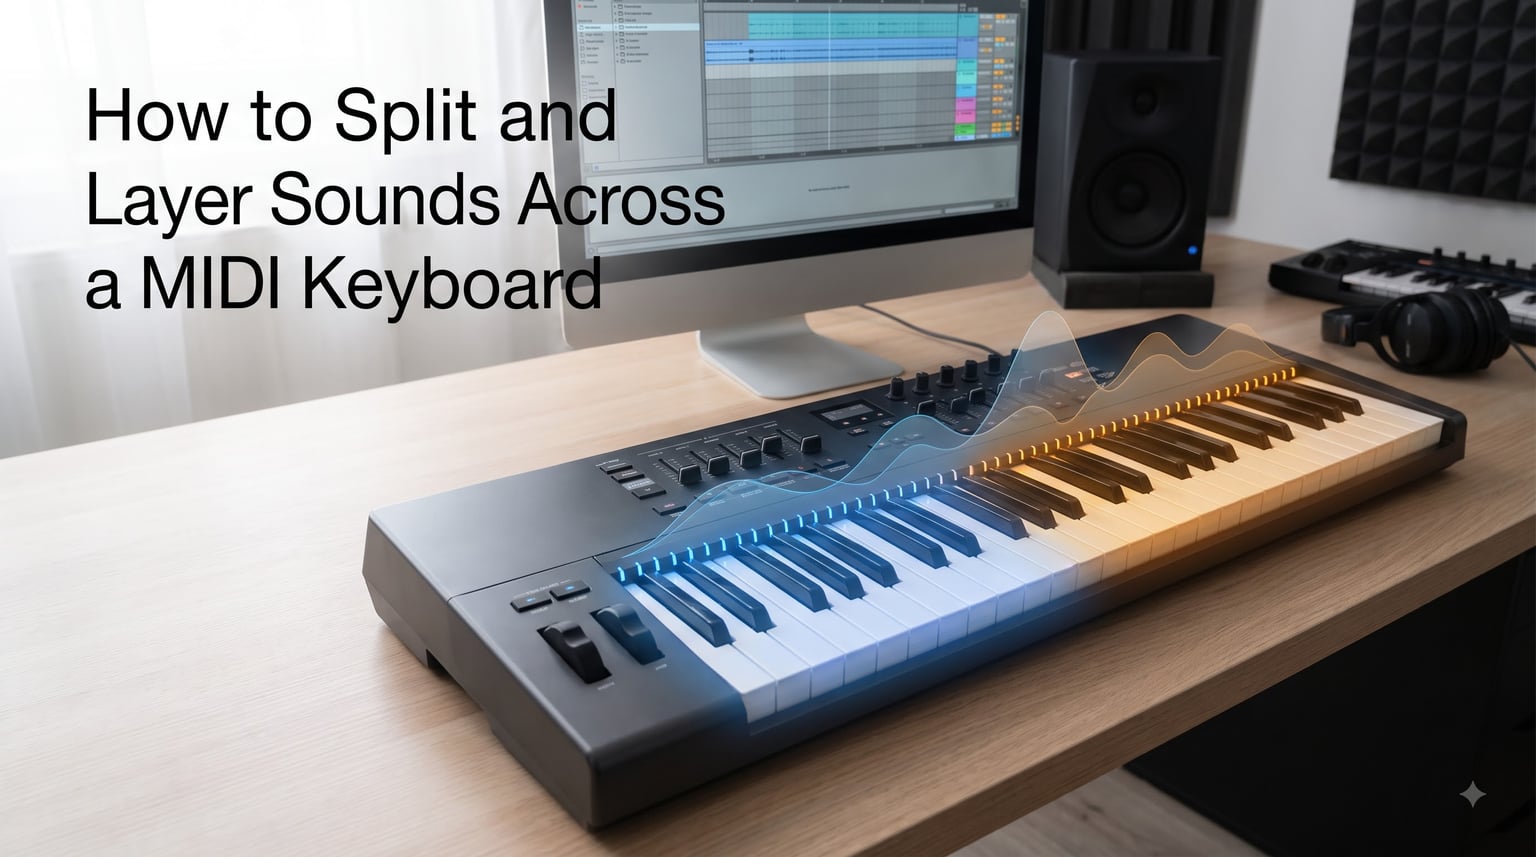
If you’ve ever watched a one-person band live and wondered how they trigger bass, piano, and pads from a single keyboard, the answer is splitting and layering. Our team has spent years performing and producing with MIDI keyboards, and we’re going to walk you through exactly how to split and layer sounds across a MIDI keyboard so you can do the same thing at home or on stage.
This guide works whether you use Ableton, Logic, MainStage, FL Studio, Bitwig, or a standalone arranger keyboard. We focus on concepts first, then show you how to apply them in your specific setup.
Table of Contents
What Are Layers and Splits on a MIDI Keyboard?
A split divides your keyboard into two or more zones, where each zone triggers a different instrument. A layer stacks two or more instruments so they play at the same time on every key you press.
Think of a split like assigning bass to the left side of your keyboard and piano to the right. Press a low key, you hear bass. Press a high key, you hear piano. That’s a split.
A layer is different. Press any key and you hear both a piano and a string pad sounding together. Nothing is divided by region, every key triggers the same stack of sounds. Layers add richness. Splits add versatility.
You can also combine the two. A common setup is a layered piano-and-pad across the entire keyboard, plus a bass sound that only triggers when you cross below a certain key. That combination is called a split with a layer.
Why Split and Layer Sounds on Your MIDI Keyboard?
I started splitting keyboards when I got tired of lugging three synthesizers to gigs. A 61-key controller with smart splits replaced my entire rig.
Live performers use splits to switch between bass on the left hand and lead sounds on the right without taking their hands off the keys. Home studio owners layer strings and piano to fatten a track without recording multiple passes. Worship teams use song-specific patches so one keyboardist can cover every part of a song.
If you only play one sound at a time, you’re leaving capability on the table. Most MIDI controllers with 49 keys or more already have the hardware to do this. You just need to configure it.
Understanding Keyboard Zones, Split Points, and Note Ranges
A zone is a defined range of keys on your keyboard. Each zone can be routed to a different instrument, a different MIDI channel, or both.
A split point is the key that divides two zones. If you set the split point at C3 (middle C), everything below C3 belongs to one zone, and everything at C3 and above belongs to another. Some keyboards let you set split points at any key, while others limit you to fixed points.
The note range is the actual span of MIDI notes in a zone. MIDI keyboards typically send note numbers from 0 to 127. A 49-key controller usually covers notes 36 to 84. A 61-key covers 36 to 96. A full 88-key covers 21 to 108.
Each virtual instrument in your DAW can be told to ignore notes outside its assigned zone. This is how the split is enforced in software. Hardware-based splits work the same way, but the keyboard itself handles the routing before the signal reaches your computer.
MIDI Channel Basics You Need to Know First
MIDI has 16 channels, numbered 1 through 16. Every MIDI message includes a channel number. Your software uses this channel to decide which instrument should respond.
If your keyboard sends everything on Channel 1 by default, every virtual instrument in your DAW will receive every note. That’s how you trigger only one instrument. To split, you need to either change the channel each zone uses, or filter notes by pitch in your DAW.
Most modern DAWs default to listening on all channels. You can restrict an instrument to listen only on Channel 1, Channel 2, or a specific subset. This is the foundation of multi-zone setups.
Some keyboards have multiple MIDI ports or USB outputs that act like independent channels. More commonly, your DAW does the heavy lifting through note filtering, which we cover in the step-by-step section below.
Step-by-Step Guide to Splitting Sounds on a MIDI Keyboard
Here’s our DAW-agnostic process that works in any software. We’re using a bass-and-piano split at C3 as the example, but you can substitute any two sounds.
Step 1: Load two virtual instruments. Add a synth bass to one track and a piano to another track in your DAW.
Step 2: Confirm your MIDI input. Set both tracks to receive MIDI from the same keyboard controller. Route your controller’s USB or MIDI output to your DAW’s input.
Step 3: Set the split point. Decide which key divides your zones. C3 is a popular choice because it sits near the middle of most controllers and matches how traditional pianos feel.
Step 4: Add a note filter or key range to each track. On the bass track, set the lowest and highest keys it accepts. For a bass-only zone below C3, set the range from your keyboard’s lowest key up to B2. On the piano track, set the range from C3 to your keyboard’s highest key.
Step 5: Test and adjust. Play keys across your keyboard. The bass should only sound on the left side and piano only on the right. If you hear overlap, tighten the key ranges until the boundary feels clean.
Step 6: Save the setup as a template. Once it works, save the project as a template so you don’t rebuild it every session.
If your DAW uses Pitch MIDI effects (Ableton), Instrument Layers (Bitwig), or Note Filter devices (Bitwig, Cubase), the steps look slightly different but the logic is identical. You’re just routing different key ranges to different instruments.
How to Layer Sounds on Your MIDI Keyboard
Layering is even simpler than splitting because there’s no boundary to set. Every key triggers every instrument in the layer.
Load two or more instruments on separate tracks. Set all of them to receive MIDI from your keyboard on the same channel. Now press any key and you’ll hear all the sounds together.
The trick is balancing volume and panning between layers. A common mistake is letting one layer dominate and hiding the character of the others. I usually solo each layer first, set its volume, then bring the others in one at a time.
For a wide, cinematic sound, try layering a piano with a string pad and a soft synth lead. For a punchy rock organ, layer a Hammond with a clean electric piano on the lower manual.
You can also add a velocity range filter. Some layers only trigger when you play softly, others only when you play hard. That gives you dynamic control over which sounds appear based on how hard you hit the keys.
DAW-Specific Setup: Ableton, Logic, MainStage, and Standalone
The core concepts stay the same, but each DAW gives you slightly different tools.
Ableton Live uses the Pitch MIDI effect inside an Instrument Rack. Drop two instruments into a rack, add a Pitch device on each chain, and set the key range. Ableton also lets you save the whole rack as a song-specific patch for live performance.
Logic Pro uses the Multi-Instrument object or Scripter. Drag a Multi-Instrument into your project, load the instruments you want, then set the low key and high key on each slot. Logic makes this especially clean for Mac users.
MainStage is Apple’s live-performance software and is built around splits and layers. Add channel strips, pick a sound for each, then open the Layer Editor to drag split points and assign key ranges. The Learn button lets you tap a key on your controller to set the split instantly.
Bitwig uses the Instrument Layer device combined with Note Filter modules. Reddit users in r/Bitwig frequently recommend this approach because it’s modular and easy to rearrange.
FL Studio supports splits through the Channel Rack and the Patcher plugin. Each channel can be assigned a key range.
Standalone hardware keyboards like the Yamaha MODX, Korg Kronos, and Roland Fantom have built-in split and layer functions. Access them through the menu, choose your sounds, and set the split point using on-screen controls or a knob. No computer required.
Common Use Cases and Practical Combinations
The bass-and-piano combo is the most popular split. It’s the default configuration in many worship team presets and covers most pop and rock songs.
Pad-and-lead setups work well for cinematic music. Put a slow-attack pad on the lower keys and a bright lead on the upper keys. This lets you comp chords with your left hand and solo with your right.
Drum samples are great for layering. Add a percussion kit as one layer over a piano, and every keypress triggers both the melodic note and a complementary drum hit. This is a common technique for solo performers who want a fuller sound.
Splits also work well for teaching. Assign a metronome click to one key or zone so students can trigger it without breaking their playing position.
Troubleshooting Common Split and Layer Issues
If notes overlap or sound on the wrong zone, double-check the key ranges. Off-by-one errors are common when the split point key is included in both zones.
If only one instrument plays no matter what key you press, your MIDI routing is probably sending all notes to a single track. Check that each instrument is receiving from the same keyboard and that no instrument is muted.
If your computer stutters when using many zones, freeze or bounce the tracks you aren’t actively editing. Each running instrument uses CPU, and stacking five or more sounds can max out a modest laptop.
If split points don’t stick when you reopen your project, save your DAW template explicitly with the routing in place. Some DAWs reset track routing on new projects.
For users on iPhone or iPad with class-compliant MIDI controllers, GarageBand supports splits through the Sounds tab. Set up two sounds, then use the Split button to assign them to different key ranges.
FAQs
Can you split two sounds in your MIDI keyboard in Ableton?
Yes. In Ableton, create an Instrument Rack, drop both instruments onto separate chains, add a Pitch MIDI effect to each chain, and set the key range. The Pitch device lets you define the lowest and highest key each chain responds to, giving you a clean split.
What are Layers and Splits?
A split divides your MIDI keyboard into zones, so different keys trigger different instruments. A layer stacks multiple instruments so every key triggers them all at once. Splits add versatility, layers add richness, and you can combine them for both at the same time.
How to split sound on piano?
To split a piano sound, decide which side of the keyboard gets which instrument, set a split point (often middle C), then assign a key range to each track in your DAW or keyboard. Anything below the split triggers one sound, anything above triggers the other.
Can you split keyboard sounds in Logic?
Yes. Logic Pro has a Multi-Instrument object designed for exactly this. Drag it into your project, load the sounds you want, then set the low key and high key on each slot to define your zones.
How can I play two overlapping parts with different sounds on keyboard?
Use a layer. Load both sounds on separate tracks, route them both to your keyboard, and every keypress triggers both instruments at once. For more control, layer only on certain velocities using a velocity range filter in your DAW.
Can you daisy chain MIDI?
Yes. MIDI supports daisy chaining through the MIDI Thru port. Connect the MIDI Out of your first device to the MIDI In of your second, and the signal passes through. This lets you control multiple instruments from one controller without a computer.
Final Thoughts on Splitting and Layering Sounds
Now you know how to split and layer sounds across a MIDI keyboard, from the core concepts of zones and split points all the way to DAW-specific setups in Ableton, Logic, MainStage, and beyond.
Start with one simple split, get comfortable with the workflow, then expand into more ambitious layers and multi-zone configurations. Save your setups as templates and you’ll build a library of song-specific patches over time. If you found this useful, explore our other guides on MIDI routing and home studio workflows.