
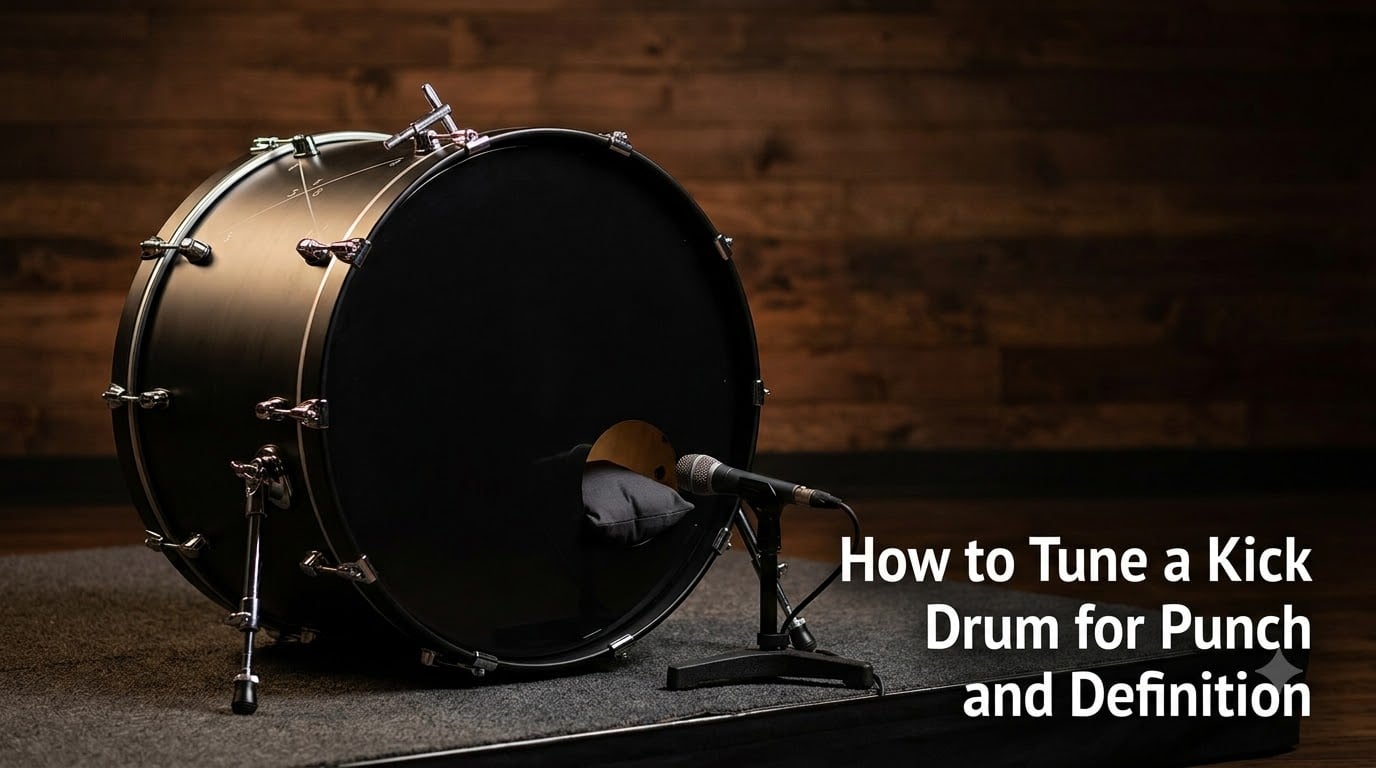
If your kick drum feels weak, boomy, or vanishes the moment the bass guitar joins in, the problem is almost always tuning. I learned this the hard way after years of blaming my pedal, my beater, and even my engineer before I realized the drum itself just wasn’t seated or tensioned correctly. After you read this guide, you’ll know exactly how to tune a kick drum for punch and definition using a star pattern, the right tension ratios between your batter and resonant heads, and the dampening tricks that keep your low end focused instead of washed out.
In our studio, we test kick drum tuning against the rest of the drum kit every session. The techniques below come from that daily work and from session drummers who have spent decades dialing in big rock, metal, and jazz kick sounds. By the end, you will have a repeatable method that works on any kit, in any room, for any genre.
Table of Contents
Why Kick Drum Tuning Matters for Punch and Definition
Kick drum tuning is what separates a drum that thumps from one that just rumbles. When your bass drum is in tune with itself, every stroke has the same attack, the same pitch, and the same decay. That consistency is what gives a kick its punch and definition in a mix.
The kick shares low frequency space with bass guitar, synths, and even floor toms. A poorly tuned kick fights those instruments for room in the mix, which usually results in an EQ battle that nobody wins. A properly tuned kick cuts through naturally because each head is vibrating at a controlled pitch. I have seen drummers spend thousands on triggers, samples, and outboard EQ to fix problems that a 15-minute re-head and re-tune would have solved.
Punch comes from a sharp, focused attack on the batter head. Definition comes from controlling the resonant head so the drum’s sustain stays musical instead of floppy. Both come from tension balance, head choice, and dampening, which is exactly what we will cover next.
Understanding the Batter Head vs Resonant Head
Every bass drum has two heads working together, and each one does a different job. Understanding the roles of the batter head and the resonant head is the foundation of learning how to tune a kick drum for punch and definition.
What the Batter Head Controls
The batter head is the side you strike with the beater. It controls attack, feel under the pedal, and the initial transient that gives a kick its punch. A tighter batter head produces more click and definition. A looser batter head gives more low-end thump but can feel sluggish. Most of the tonal character of your kick lives in how you tune this head.
What the Resonant Head Controls
The resonant head (sometimes called the front head) sits opposite the batter and shapes sustain, projection, and the overall pitch of the drum. A tighter resonant head shortens sustain and tightens the low end. A looser resonant head lets the drum breathe and adds resonance, but it can also make the kick sound floppy or undefined.
The Tension Relationship
The two heads need to work together, not against each other. A common starting point is to tune the resonant head slightly higher than the batter head, which tightens the overall sound and increases attack. Tuning the resonant head to the same pitch as the batter maximizes sustain. Tuning it slightly lower gives a deeper, rounder thump but can rob you of definition. There is no single right answer, which is why we always recommend experimenting with small 1/8 to 1/4 turn adjustments.
Tools You Need to Tune a Kick Drum
You do not need a lot of gear to get a great kick sound, but a few tools make the job faster and more consistent.
- Drum key – The basic tool for turning tension rods. Get one with a built-in socket for different hardware types.
- Tune-Bot or drum dial – A tension gauge that reads in Hz or note values. Removes the guesswork from even tension.
- Fresh heads – A new batter and resonant head before tuning sessions makes a huge difference in tone.
- Bearing edge inspection light – A small flashlight helps you check for dents or unevenness on the bearing edge.
- Drum tuning app or reference tones – Useful for checking pitches if you do not own a Tune-Bot.
If you are starting out, just a quality drum key and a fresh pair of heads will get you 80 percent of the way there. The other tools are quality-of-life upgrades once you know what you are hearing.
Step-by-Step Kick Drum Tuning Process (Star Pattern Method)
This is the exact process I use on every kick drum that comes through our studio. Follow the steps in order, do not skip the seating step, and resist the urge to jump straight to your target pitch.
Step 1: Remove Both Heads and Inspect the Bearing Edge
Pop off the batter and resonant heads. Run your finger along the bearing edge where the head contacts the shell. Any dents, flats, or rough spots will stop the head from seating evenly. Wipe the edge clean with a dry cloth. This step alone fixes more tuning headaches than any other.
Step 2: Mount the Heads and Tension All Rods Finger-Tight
Place each head on the drum and finger-tighten every tension rod in a star pattern (opposite lugs first). Finger-tight means snug enough to hold the head in place but not pressing into the hoop. The head should still flop loosely at this stage.
Step 3: Seat the Head Using Body Pressure
Press straight down on the center of the head with the heel of your hand or your forearm. You will hear small creaks as the head settles into the bearing edge. Repeat a few times on each side. This step pre-stretches the head so it does not drift out of tune five minutes after you finish.
Step 4: Bring Heads Up to Tuning Tension Using the Star Pattern
Tighten each rod using the star pattern: 1, 6, 3, 8, 2, 7, 4, 5 on an 8-lug drum, or 1, 5, 3, 7, 2, 6, 4, 8 if your drum has a different lug count. Make small half-turn adjustments. After each full pass, the wrinkles in the head should disappear. Keep going until the head is just past the point where wrinkles are gone.
Step 5: Tune the Batter Head First
Strike the drum at each lug and listen for even pitch around the head. Adjust any rods that sound different. Tap near each rod and compare pitches the way you would tune a floor tom. If you are using a Tune-Bot, target the batter head to your chosen fundamental frequency (see the frequency guide below). On a 22-inch kick, 70 Hz is a solid all-purpose starting point.
Step 6: Tune the Resonant Head
Move to the resonant head. Most engineers and pro drummers tune the resonant head slightly higher than the batter, often a half-step to a whole-step above. Use the same star pattern and tap-test method. The drum should now have a clear pitch when you press the pedal.
Step 7: Test Strike and Refine
Play the kick with your actual pedal and beater at performance volume. Listen from across the room. Refine any rods that sound weak or sharp. I usually go back for one final 1/8 turn pass after a few minutes of playing because the heads settle slightly under real impact.
Step 8: Mark Your Tuning Rods
Use a small piece of tape or a grease pencil to mark each tension rod at its final position. The next time you set up, you can return to a known good starting point in seconds.
Kick Drum Frequency Range by Music Style
Different genres call for different kick drum pitches. Here is a quick-reference chart we use in our studio. These ranges assume a standard 22-inch bass drum, which is the most common size for rock and metal kits.
| Music Style | Batter Head Frequency | Resonant Head | Character |
|---|---|---|---|
| Metal | 75 to 90 Hz | Slightly higher | Tight click, fast decay |
| Rock | 65 to 75 Hz | Half-step above batter | Balanced punch and body |
| Punk | 80 to 100 Hz | Equal or slightly higher | Aggressive attack, short sustain |
| Jazz | 55 to 65 Hz | Looser than batter | Warm, resonant, full |
| Funk | 70 to 85 Hz | Slightly higher | Punchy, controlled |
| Fusion | 60 to 75 Hz | Tuned to batter | Defined with sustain |
Bigger drums (24 inches and up) usually sound better tuned slightly higher than smaller drums. A 24-inch kick at 50 Hz will sound loose and flabby. The same drum at 60 Hz sounds huge but tight.
If you don’t own a Tune-Bot, an app like DrumTune Pro or even a free tuner can give you a reference pitch to aim for. Tap the head a few inches from each lug, and the app will show you the dominant pitch. Aim for consistency, not a perfect number.
Style-Specific Tuning for Rock, Metal, and Jazz
The frequencies above are a starting point. How you get there depends on the genre and the sound you want.
Rock Kick Drum Tuning
Rock kick drums live in the 65 to 75 Hz range on a 22-inch drum. The batter head should be tuned medium-tight with the resonant head about a half-step higher. You want enough attack to cut through distorted guitars, but enough body to fill the low end of the mix. A single-ply coated batter head with a small port hole in the resonant is the classic combo for a reason: it works.
Metal Kick Drum Tuning
Metal requires the tightest kick setup. Target 75 to 90 Hz and tune the resonant head equal to or slightly above the batter. The goal is maximum attack with minimum sustain so every stroke is a defined thump. A 2-ply batter head (or even a single-ply with a Falam pad or EQ pad inside) controls overtones. Many metal drummers run the resonant head very tight, almost a note higher than the batter, which gives that tight click on the front of the note.
Jazz Kick Drum Tuning
Jazz kick drums are tuned lower, around 55 to 65 Hz on a 22-inch drum, with the resonant head often looser than the batter. You want warmth, resonance, and a soft attack that does not poke out of a brush-heavy mix. Felt beaters and minimal dampening help. Leave the front head unported if you want maximum resonance, or use a small port at 4 o’clock to focus the tone without killing sustain.
Dampening Techniques for Controlled Sustain
Dampening is what stops your kick drum from sounding like a giant pillow. The trick is to control sustain without killing tone.
Batter Head Dampening
Place a small pillow, Falam pad, or folded towel inside the drum against the batter head. This is the classic studio trick. Less is more – a single thin pillow pressed against the head absorbs overtones and shortens sustain without making the drum sound dead. Too much muffling is the most common mistake we see in home recordings.
Resonant Head Dampening
Many players leave the resonant head alone or use moongel patches on the outside to tame high-frequency ring. If your kick has a port hole, you can also tape a small piece of felt over part of the opening to focus the sound and reduce wash.
External Dampening
For live use, a thin EQ pad or kick drum pillow placed inside before you close up the drum is the fastest dampening solution. In the studio, we reach for Falam patches on the batter head and adjust from there.
As a starting point, start with zero dampening, get the drum tuned to your target pitch, and only add dampening if the sustain is longer than you want. You can always muffle more. You can never unmuffle.
Beater Selection and Head Choice
Tuning is only half the equation. Your beater and head choice have as much impact on punch and definition as the tension rods do.
Beater Selection
Felt beaters produce a warmer, rounder attack that works well for jazz, blues, and softer rock. Hard plastic or wood beaters add click and cut, which is ideal for metal, punk, and aggressive rock. Felt-on-felt (felt beater on coated head) gives the warmest sound. Plastic-on-clear adds the brightest click. Match your beater to your tuning goal. A loose, low-tuned drum with a hard plastic beater will sound clicky and thin. The same drum with a felt beater will sound full and warm.
Head Selection
Single-ply heads (1-ply, 7 to 10 mil) give the most resonance and warmth. 2-ply heads (7 to 10 mil with a 7 mil underlay) add durability and tighten the attack with less sustain. Coated heads add warmth and a bit of brush-friendly texture. Clear heads are brighter and louder. For punch and definition, a 2-ply coated batter head with a 1-ply clear resonant is a versatile combo that works across most rock and metal styles.
Ported vs Solid Front Head
Ported front heads give you a place to mount a mic inside the drum, which produces the classic beater-click sound that engineers love. Solid front heads produce a rounder, more traditional tone. If you record live or play live with in-ear monitors, a ported head is almost always the right call because it lets the mic capture the beater impact directly.
Room Acoustics and Microphone Placement Tips
Few things affect how a kick drum sounds as much as the room it sits in. Even a perfectly tuned kick can sound terrible in a bad room, and a mediocre kick can sound great in a well-treated space.
Room Positioning
Kick drums radiate low frequency energy in all directions. Putting your kick in a corner or against a wall will reinforce the bass and make the drum sound bigger, but also boomier and harder to control. Pulling the kick out into the room, even by a foot or two, tightens up the low end and gives you more definition. If you have the space, try the drum at least three feet from any wall and listen to the difference.
Microphone Placement at the Port Hole
For studio recording, place your kick mic so the capsule is just inside the port hole, angled toward the beater. Many engineers prefer the port at the 4 o’clock or 5 o’clock position rather than directly centered because it picks up more beater attack and less pure shell resonance. Aim the mic about 2 to 4 inches inside the drum for a tight click. Pulling back 6 to 8 inches gives more room and shell tone. A second mic inside the drum aimed at the batter head can capture low-end thump and blend with the front mic for a fuller result.
Live Sound Considerations
For live use, position your kick so the port faces the audience or the front-of-house mic. A common mistake is to angle the kick sideways because it looks better visually, but you lose projection. Keep the port hole pointed at the audience and your kick will carry further with less effort from the sound engineer.
Common Kick Drum Tuning Mistakes to Avoid
I have made all of these mistakes myself. Save yourself the frustration and watch out for these pitfalls when learning how to tune a kick drum for punch and definition.
- Over-muffling the drum – Stuffing a kick full of pillows kills the resonance that gives the drum its character. Start with nothing and add dampening only as needed.
- Uneven lug tension – If one rod is tighter than the others, the drum will wobble or sound off-balance. Always use the star pattern and tap-test each rod individually.
- Tuning too low – Going for the lowest possible pitch robs the drum of definition. A 22-inch kick at 50 Hz rarely sounds good. Tune slightly higher and the drum will sound bigger, not smaller.
- Ignoring the resonant head – The resonant head is half the drum. Tuning only the batter and leaving the front head floppy is a recipe for a washy, undefined sound.
- Skipping the seating step – Body pressure during seating is what prevents drift. Skip it and your drum will go out of tune within minutes.
- Using old, dented heads – Heads stretch and dent over time. A drum with old heads will never sound in tune no matter how much you adjust the rods. Replace them.
If you fix just one of these mistakes, your kick will improve. Fix all of them and you will have a professional-grade kick sound.
Frequently Asked Questions
How to make kick drum sound punchier?
To make a kick drum sound punchier, tune the batter head slightly higher than you would for a deep thump, use a 2-ply coated head, and add minimal dampening inside the drum. A small pillow or Falam pad placed against the batter head shortens sustain and tightens the attack. Pair this with a felt or hard plastic beater matched to your tuning and the kick will cut through a mix without extra EQ.
What should a kick drum be tuned to?
A standard 22-inch kick drum should be tuned between 60 Hz and 90 Hz depending on the genre. Metal typically uses 75 to 90 Hz for tight click, rock sits around 65 to 75 Hz for balanced punch, and jazz runs 55 to 65 Hz for warmth and resonance. Bigger drums (24 inch and up) usually sound best tuned slightly higher within those ranges.
What frequency range should I use for a punchy kick drum?
For a punchy kick drum on a 22-inch bass drum, target 70 to 80 Hz on the batter head with the resonant head a half-step higher. This range delivers strong attack with enough low-end body to fill a mix. Tune higher (75 to 90 Hz) for metal and punk, lower (60 to 70 Hz) for rock and fusion, and lowest (55 to 65 Hz) for jazz and blues.
What is the typical tuning frequency for kick drums?
The typical tuning frequency for a 22-inch kick drum is 60 to 80 Hz on the batter head, with the resonant head tuned slightly higher for tight punch or equal for maximum sustain. Smaller drums (18 to 20 inch) often work in the 80 to 100 Hz range, while larger drums (24 inch and up) sit around 50 to 65 Hz. These are starting points; always tune by ear to fit the song and the room.
Final Thoughts on Tuning a Punchy Kick Drum
Learning how to tune a kick drum for punch and definition is a skill that pays off every time you sit behind the kit. The star pattern method, the right batter-to-resonant tension ratio, and minimal dampening will get you 90 percent of the way to a professional sound. The last 10 percent comes from listening, adjusting, and matching the drum to the music you are playing.
Pull out your drum key, put on a fresh pair of heads, and give this process a try on your next kit. Start with the frequency chart for your genre, get the lugs even with the star pattern, and resist the urge to over-muffle. Within an hour, you will have a kick that sounds bigger, tighter, and more defined than anything you have played before.