
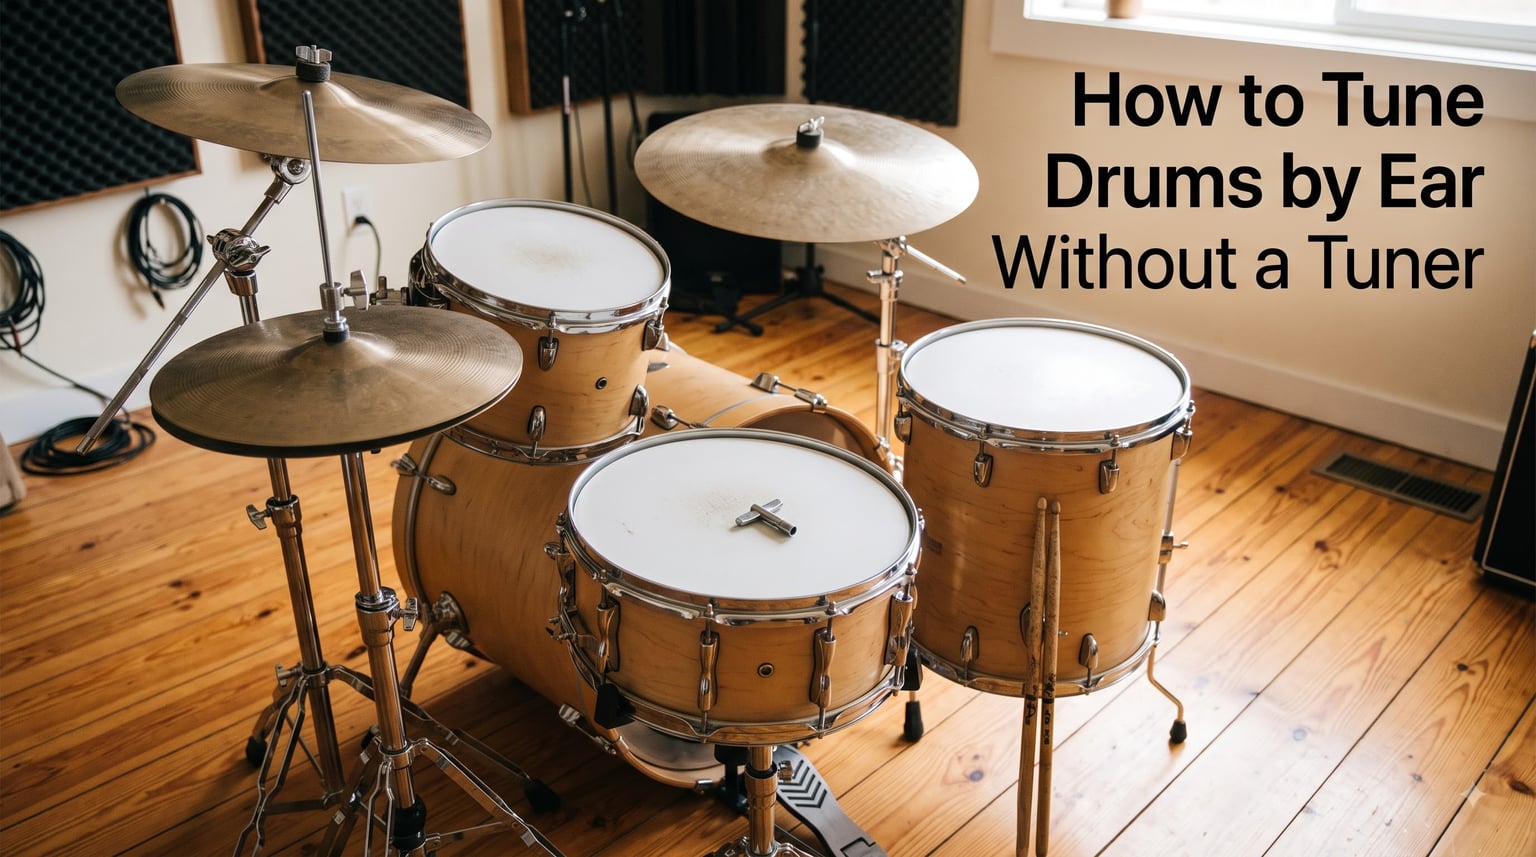
Picking up a drum kit for the first time is exciting. Then you hit the snare, and it sounds like a tin can. This is the moment every drummer faces: tuning. The good news is that you absolutely can learn how to tune drums by ear without a tuner, and the skill will serve you for life. I have been tuning by ear for over a decade, and I still learn new things every time I sit behind a kit.
In this guide, I will walk you through everything I wish someone had told me when I started. You will learn what ear tuning actually means, how to hear pitch differences clearly, how to tune each drum in your kit step by step, and how to adjust for different genres. There are no apps, no drum dials, and no expensive tools required. Just your ears, a drum key, and a little patience.
Whether you are a beginner who has never tuned a drum before or an intermediate player wanting to trust your ears more, this is for you. By the end, you will have a clear roadmap to develop one of the most important skills a drummer can have.
Table of Contents
What Does It Mean to Tune Drums by Ear?
Tuning drums by ear means adjusting drumhead tension using only your hearing to identify pitch differences, without relying on electronic tuners or drum dials. You listen to the sound coming from the head, identify whether each lug produces a similar pitch, and adjust the tension rods until the drum sounds even and musical.
Every drumhead has a fundamental pitch. When you tap a drum close to one of the lugs, that lug’s tension rod is what controls the pitch in that section of the head. If all the lugs are at the same tension, the drum will sound balanced. If one lug is tighter or looser than the rest, you will hear a wobble or pitch bend as the sound travels around the head. This wobble is the signal your ear is listening for.
Tool-based tuning uses a device to measure the pitch in hertz. Ear tuning uses your brain’s natural ability to compare sounds. Both approaches aim for the same result: a drum that sounds clean, balanced, and in tune with itself. The difference is that ear tuning trains your musical hearing as a side benefit, which makes you a better drummer overall.
Understanding Drum Pitch and Tone Basics
Before you start turning rods, you need to understand what you are actually listening to. A drum is not a piano. It does not produce a single clean note. Instead, it produces a fundamental pitch plus a series of overtones, which are higher frequencies layered on top of the main tone. Your ear is mostly listening for the fundamental pitch and the way those overtones behave.
Two key terms worth knowing: the batter head is the top head you hit with your stick. The resonant head (or reso head) is the bottom head that vibrates in response. Both heads need to be tuned relative to each other. A common rule among professional drummers is to tune the reso head slightly higher than the batter head. This produces a fuller sound with more sustain and a cleaner attack.
A drum also has a bearing edge, which is the rim where the head sits on the shell. If the bearing edge is damaged or dirty, the head will not vibrate evenly, and no amount of tuning will fix it. This is why seasoned drummers always check the bearing edge before tuning.
When a drum is in tune, the pitch at each lug will be the same. When it is out of tune, the pitch will rise and fall as the sound travels around the head. This rise and fall is called pitch bend. Tapping near each lug and listening for pitch bend is the foundation of ear tuning.
Ear Training Fundamentals for Drummers
Before you touch a tension rod, you need to train your ear to hear pitch differences. This is the part most guides skip, and it is why most beginners struggle. You cannot tune what you cannot hear. Here are three exercises that have worked for me and the drummers I have taught.
Exercise 1: The Matching Game. Pick a single drum you are not currently tuning. Tap once near each lug in a clockwise pattern, going all the way around. Do this ten times without adjusting anything. Your job is to listen and notice whether some taps sound higher or lower than others. At first, everything will sound the same. After a few rounds, you will start hearing small differences. Those differences are your starting point.
Exercise 2: Pitch Bending. Press your finger firmly in the center of the head while tapping near a lug. Then release the pressure and tap again. Notice how the pitch shifts when you release. This is the same effect that happens when one lug is tighter than the others. Practicing this helps your brain recognize the wobble that an out-of-tune drum produces.
Exercise 3: The Two-Drum Comparison. Tune one drum so it sounds even. Then play a second drum of the same size and listen for differences. Are they the same pitch? Is one higher or lower? This trains your ear to compare drums, which is what you will do when tuning a full kit.
Do these exercises for ten minutes a day for a week. By the end of the week, you will be able to hear pitch differences you could not hear before. This is the single biggest unlock in ear tuning. Most drummers I know skipped this step and regretted it later.
How to Tune a Snare Drum by Ear: Step-by-Step
The snare is the most important drum in your kit. It is also the easiest to tune by ear because it is small and reactive. Start here. Once you can tune a snare, the rest of the kit will feel easier.
Step 1: Remove the snare wires and the batter head. Wipe the bearing edges clean with a soft cloth. Any debris here will cause the head to vibrate unevenly.
Step 2: Place the new batter head on the drum. Put the hoop on top and finger-tighten each tension rod in a star pattern. The star pattern means tightening opposite rods first, then moving to the next pair. For a 10-lug snare, you tighten lug 1, then lug 6, then lug 3, then lug 8, and so on. This keeps the head seated evenly.
Step 3: Press firmly in the center of the head with the palm of your hand. This is called head seating. It stretches the head and helps it settle into the bearing edge. You will often hear a creak or pop as the head settles. That is normal.
Step 4: Use the drum key to tighten each rod a quarter turn, still in the star pattern. Then tap the head about an inch from each lug and listen. The pitch should be roughly the same at every lug. If one lug is louder or higher than the others, tighten that lug a small amount and recheck its neighbors.
Step 5: Once the batter head sounds even, repeat the process with the resonant head. Tune the reso head slightly higher than the batter head. You will know it is right when the snare has a clean crack and a pleasant sustain.
Step 6: Reattach the snare wires and play a few strokes. The drum should sound crisp and even. If you hear a buzz, check that the snare wires are seated properly against the reso head.
The whole process takes about ten minutes once you have done it a few times. Snare tuning is the most important skill to master, so do not rush it.
How to Tune Toms by Ear: Step-by-Step
Toms come in different sizes, but the tuning process is the same. The goal is to make each lug produce the same pitch and to make each tom sound slightly different from the others. A typical four-piece kit has a high tom, a mid tom, and a floor tom. Each one should have its own voice.
Step 1: Start with the smallest tom. Replace the batter head and finger-tighten the rods in a star pattern. Press the center of the head to seat it.
Step 2: Tighten each rod a quarter turn in the star pattern, then tap near each lug. Listen for even pitch around the head. Adjust individual rods as needed.
Step 3: Tune the resonant head slightly higher than the batter head. The exception is the floor tom, where many drummers prefer the reso head tuned slightly lower for a deeper sound.
Step 4: Once the smallest tom is in tune, move to the next size up. Repeat the process. For a balanced kit, each tom should be tuned slightly lower than the one above it. This creates a melodic feel when you play fills across the toms.
Step 5: Tap each lug on every tom and compare. The high tom should be the brightest, the mid tom should sit in the middle, and the floor tom should be the deepest. If any of them sound alike, adjust one slightly to create separation.
Tracking pitch across toms is one of the trickiest parts of ear tuning. If you are struggling, get a single drum tuned to a pitch you like, then tune the next drum to match or sit slightly below it. This gives your ear a reference.
How to Tune a Bass Drum by Ear
The bass drum is different from the other drums. It is not about even pitch around the head. It is about finding a single, satisfying thump that supports the rest of the kit. Bass drum tuning is more about feel than pitch matching.
Step 1: Place the batter head and finger-tighten the rods in a star pattern. There are usually 6 or 8 lugs on a bass drum, so the star pattern is shorter.
Step 2: Tighten each rod a quarter turn in the star pattern. Then tap the head near each lug. Listen for even pitch, but do not obsess over it. The bass drum does not need to be perfectly even like a snare. It needs to sound solid.
Step 3: Tune the resonant head higher than the batter head. Many drummers prefer a medium tension where the head bounces slightly when you press it. This gives the beater a lively response.
Step 4: Place a pillow or blanket inside the bass drum, touching both heads. This is called muffling and it controls the sustain. Without muffling, the bass drum will ring out and blur the kit’s sound. With too much muffling, you get a dead thud. Find the middle ground that suits your style.
Step 5: Play a few strokes with the pedal. The bass drum should produce a clear, focused thump with a short sustain. If you hear a long boom, add more muffling. If the sound is dead, remove some.
Bass drum tuning is more about feel than exact pitch. Once you find the right tension, mark the rods with a small piece of tape so you can return to the same tuning next time.
Genre-Specific Tuning by Ear
Different styles of music call for different drum sounds. The same snare tuned for a jazz gig will sound wrong for a metal show. Here is how to adjust your ear tuning for common genres.
Rock needs a medium-tension snare with a medium batter head and a slightly higher reso head. The classic rock sound is a cracking snare with a balanced sustain. Toms should be tuned medium-low, and the bass drum should have a moderate amount of muffling.
Jazz prefers a higher, more resonant tuning. The snare is loose and sensitive, the toms have a lot of sustain, and the bass drum is often lightly muffled or unmuffled. The goal is a sound that breathes and responds to light playing.
Metal requires high tension on both heads. The snare is tight and sharp, the toms are pitched high with minimal sustain, and the bass drum is heavily muffled for a focused attack. Pitch matching around each drum must be perfect because there is no muffling to hide inconsistencies.
Reggae and funk use a different philosophy. The snare is tuned low and dry, the bass drum is loose and round, and the toms have a deep, woody tone. The sound is more about feel than pitch accuracy.
Fusion mixes jazz and rock ideas. High-pitched snare, medium toms, and a punchy bass drum. This is a versatile tuning that works for many modern styles.
Once you understand the basic principles, you can tune for any genre by ear. The trick is to know what sound you are aiming for before you start tuning.
Common Mistakes to Avoid When Tuning by Ear
Beginner drummers make the same handful of mistakes over and over. Here are the ones I see most often, and how to avoid them.
Mistake 1: Tuning too tight. Beginners often over-tighten the rods because they want the drum to sound loud. Loud is not the same as in tune. A drum that is too tight loses sustain and sounds choked. Aim for a balance between pitch and resonance.
Mistake 2: Tuning in a circle instead of a star pattern. Going around the drum in a clockwise pattern causes uneven tension. Always use the star pattern, tightening opposite rods first. This is the single most important rule in drum tuning.
Mistake 3: Ignoring the bearing edge. If the bearing edge is dirty or dented, the head will not vibrate evenly. Clean the bearing edge before every tuning, and inspect it for damage every few months.
Mistake 4: Not seating the head. Pressing the center of the head firmly before tuning helps it settle into the bearing edge. Skipping this step leaves the head loose, and your tuning will drift as the head settles during play.
Mistake 5: Tuning the reso head the same as the batter head. The reso head should usually be tuned higher than the batter head. Same tension on both heads produces a flat, lifeless sound.
Mistake 6: Comparing tension rods instead of pitch. New drummers often try to tune by counting turns of the key. This does not work because threads can vary. Always tune by what you hear, not by what you have turned.
Mistake 7: Tuning when the kit is cold. Drum heads change pitch with temperature. Tune in the environment where you will play, and give the kit time to acclimate before tuning.
Mistake 8: Expecting instant results. Ear tuning is a skill that takes time to develop. Be patient with yourself. The first few attempts will be imperfect, and that is normal.
Practice Tips to Develop Your Ear Faster
Ear tuning is a skill, and like any skill, it improves with practice. Here are some tips to speed up your progress.
Tip 1: Practice on a single drum first. Take one tom or snare and tune it, then detune it, then tune it again. Repeat this exercise ten times. Each repetition will train your ear to recognize the in-tune sound faster.
Tip 2: Use a piano or guitar as a reference. If you have access to a piano or a guitar, tune your drums to a specific musical note. This is more advanced ear tuning, but it helps you develop a sense of absolute pitch over time.
Tip 3: Record yourself tuning. Set up your phone and record the process. Listen back and notice where the pitch is uneven. Your ear will catch mistakes in a recording that you missed in the moment.
Tip 4: Tune before every practice session. Make ear tuning a habit. The more often you tune, the faster and more accurate you will become. Beginners who tune daily improve much faster than those who tune once a week.
Tip 5: Listen to recordings of your favorite drummers. Pay attention to how their kits sound. This trains your ear to recognize good drum sounds, which makes it easier to identify when your own kit is out of tune.
Tip 6: Be patient. Ear tuning takes weeks to months to develop, not days. Do not get discouraged by early failures. Every drummer has been through this stage.
Tip 7: Trust your ear over your eyes. Many beginners focus on whether the rod looks tight instead of whether the drum sounds right. Always trust your ears. If a rod looks loose but the drum sounds good, leave it alone.
Frequently Asked Questions About Ear Tuning Drums
Can you actually tune drums by ear without a tuner?
Yes. Professional drummers have tuned by ear for decades, long before electronic tuners existed. Your ear can detect pitch differences between lugs, and with practice, you can match those pitches consistently. Most recorded music in history was created with ear-tuned drums.
How long does it take to learn ear tuning?
Most beginners can tune a snare drum acceptably after two to four weeks of daily practice. Tuning a full kit confidently takes two to three months. Pitch matching between lugs becomes second nature after about six months of regular tuning.
What is the 80 20 rule in drumming?
The 80 20 rule in drumming means that 80 percent of your sound comes from 20 percent of your technique. For tuning, this means head seating and the star pattern account for most of your drum’s sound quality. Focus on these two fundamentals first.
How do I know if my drums are in tune?
Tap near each lug and listen. If the pitch stays the same around the head, the drum is in tune. If the pitch rises and falls as you move from lug to lug, the drum needs adjustment. The wobble is called pitch bend, and it is the signal your ear is listening for.
Can I tune drums with my phone instead?
Phone apps can help, but they are not a substitute for ear training. Apps give you a number, but they cannot tell you whether that number is the right pitch for your style of music. Use apps as a learning tool, but always trust your ears in the end.
What can I use to tune my drums if I do not have a drum key?
A standard drum key is inexpensive and the only tool you really need. In a pinch, you can use small pliers or a metal lever that fits the lugs, but these are not recommended. Most drum keys cost less than a meal and last for years.
Final Thoughts: The Lifelong Skill of Ear Tuning
Learning how to tune drums by ear without a tuner is one of the most valuable skills you can develop as a drummer. It will save you time at gigs, save you money on tools, and make you a more musical player. The first few weeks will be frustrating, but stick with it. Once your ear learns to hear pitch differences, you will never go back.
Start with the snare drum this week. Practice the ear training exercises for ten minutes a day. Tune the snare by ear using the star pattern, and check your work by tapping each lug. Within a month, you will be tuning the whole kit with confidence. The journey to mastering how to tune drums by ear without a tuner starts with that first snare stroke. Grab your drum key, and start listening.