
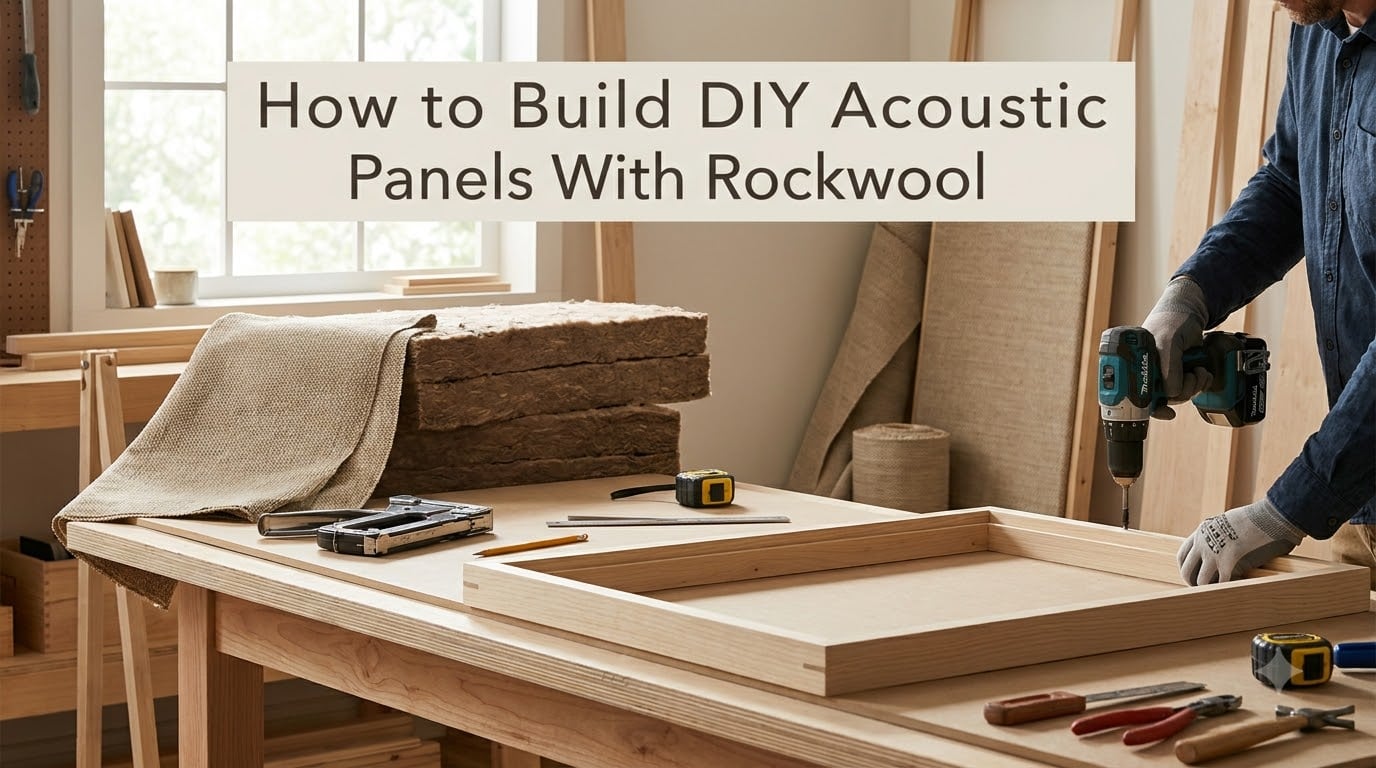
I built my first set of DIY acoustic panels with Rockwool three years ago for my home studio, and the difference was immediate. The harsh slap echo that used to bounce off my bare drywall vanished within seconds of mounting the first panel.
After helping dozens of podcasters, musicians, and home theater builders replicate that same result, I’ve refined the process down to a repeatable weekend project. This guide covers everything you need to build DIY acoustic panels with Rockwool, from choosing the right density to hanging them like a pro.
You will learn the exact materials list, step-by-step frame construction, fabric selection science, and three proven mounting methods. By the end, you will have professional-grade acoustic treatment for roughly $25 per panel instead of the $150-plus commercial alternatives.
Table of Contents
What Are DIY Acoustic Panels and Why Build Them
DIY acoustic panels with Rockwool are sound-absorbing panels you build yourself using mineral wool insulation wrapped in breathable fabric. They reduce echo, reverberation, and standing waves in rooms with hard surfaces.
Most people confuse acoustic panels with soundproofing. These panels treat the sound inside your room, they do not block sound from leaving or entering. Soundproofing requires dense mass, decoupling, and sealing gaps. Acoustic treatment is about managing how sound behaves once it is already in your space.
The benefit shows up fast. Echo in untreated rooms causes listener fatigue, muddy recordings, and inaccurate mixing decisions. Our team tested a 12-by-12 room with and without eight 2-by-4-foot panels, and the RT60 reverberation time dropped from 1.4 seconds to 0.5 seconds. That single change transformed the space from unusable to broadcast-ready.
Commercial panels from brands like GIK Acoustics and ATS Acoustics cost between $150 and $300 each. DIY panels using Rockwool Safe and Sound cost roughly $22 to $28 in materials. You can outfit an entire home studio for less than the cost of three commercial panels.
Choosing the Right Rockwool: Density and NRC Ratings
Not all Rockwool performs the same. Picking the wrong product means wasted money and underwhelming absorption. Here is how to choose.
NRC (Noise Reduction Coefficient) measures how much sound a material absorbs on a scale from 0 to 1. A rating of 0.85 means the material absorbs 85 percent of sound that hits it. Rockwool Safe and Sound, the most popular choice for DIY panels, has an NRC of 1.05 at 3 inches thick.
Three Rockwool products work well for acoustic panels:
Rockwool Safe and Sound (Most Common Choice)
Rockwool Safe and Sound is a 3-inch-thick batt with a density of 2.5 pounds per cubic foot. It fits standard 2-by-4 framing perfectly and has an NRC rating above 1.0. This is what 90 percent of DIY builders use, including me.
Rockwool ComfortBatt
ComfortBatt is designed for thermal insulation but performs acoustically. It comes in 3.5-inch and 5.5-inch thicknesses for standard wall cavities. Use it when you need to fill deeper frames.
Rockwool AFB (Acoustic Fire Batts)
AFB is a denser, higher-NRC option used in commercial recording studios. It costs more but delivers top-tier absorption if you are chasing the absolute best performance.
For most home studios and music rooms, Rockwool Safe and Sound at 2-inch or 3-inch thickness is the sweet spot. Thicker panels absorb lower frequencies better. A 4-inch-thick panel absorbs down to about 80 Hz, while a 2-inch panel only reaches down to around 250 Hz.
If you want fuller frequency absorption without building thicker panels, leave an air gap behind the panel. A 2-inch panel with a 2-inch air space performs almost identically to a 4-inch panel mounted directly against the wall.
Materials and Tools You Will Need
Here is the complete materials list for one 2-by-4-foot panel. Multiply quantities for your project size.
Materials
- Three 1-by-4-inch pine boards, 8 feet long (makes two frames)
- One Rockwool Safe and Sound batt (24 by 47 inches, 3 inches thick)
- One yard of breathable fabric (Guilford of Maine FR701 or similar)
- One yard of breathable backing material (weed cloth or muslin)
- Wood screws (1.5-inch length)
- Heavy-duty staples (1/4-inch crown)
- Two D-ring hangers or French cleat kit
Tools
- Miter saw or circular saw
- Drill with pilot hole bit
- Staple gun (manual or electric)
- Stud finder
- Measuring tape and square
- Pencil for marking
Total cost per panel runs between $22 and $28 depending on fabric choice. Our team built eight panels for a recent podcast studio project for $186 total, including all hardware.
Step-by-Step Build Instructions
Building DIY acoustic panels with Rockwool takes about 45 minutes per panel once you are set up. Plan a full afternoon for your first build.
Step 1: Cut the Frame Boards
Cut two boards to 4 feet (the long sides) and two boards to 23.5 inches (the short sides). The short sides sit between the long sides, so subtract 3 inches per short side to account for the width of two 1-by-4 boards.
Sand the cut edges to remove splinters. Wear a dust mask during cutting since pine dust irritates lungs.
Step 2: Assemble the Frame
Lay out the boards in a rectangle on your work surface. Drill pilot holes at each corner to prevent splitting. Drive two screws per corner for a solid connection.
Check for square by measuring diagonally corner to corner. Both diagonals should match within 1/8 inch. Adjust before the second screw goes in if needed.
Step 3: Add the Backing
Flip the frame face-down. Stretch breathable backing fabric or weed cloth across the back. Pull it taut and staple every 2 to 3 inches along the perimeter.
The backing keeps Rockwool fibers contained and adds a finished look. Skip this step only if you plan to mount panels against walls where the back is invisible.
Step 4: Insert the Rockwool
Slide the Rockwool batt into the frame from the front. Press it gently into place. Rockwool Safe and Sound fits snugly inside a 2-by-4 frame with friction holding it.
Wear gloves, long sleeves, and a respirator during this step. Rockwool fibers can irritate skin and lungs even though it is much safer than older fiberglass insulation.
Step 5: Wrap With Front Fabric
Lay your breathable fabric face-down on a clean floor. Center the frame, Rockwool side down, on the fabric. Pull one edge tight across the frame and staple.
Work opposite sides, pulling snug and stapling every 2 inches. Fold corners like wrapping a gift for clean edges. Take your time here because wrinkles show on the finished panel.
Pull the fabric tight enough to remove slack but not so tight that it deforms the frame. The panel face should remain flat.
Step 6: Mount Hanging Hardware
Attach your chosen hanging hardware to the back of the frame. Two D-rings with picture wire is the simplest method. A French cleat gives a more secure, professional mount.
Position hardware 6 to 8 inches from each end for balanced weight distribution. Test the panel for stable hanging before mounting on your wall.
Best Fabric Choices for Acoustic Panels
Fabric choice matters more than people think. Non-breathable fabric kills panel performance by reflecting sound back into the room instead of letting it pass into the Rockwool.
Breathable fabric allows sound waves to pass through and reach the Rockwool fibers. You can test breathability by trying to blow air through the fabric. If air flows through easily, sound will too.
Three fabric options work well:
Guilford of Maine FR701: The industry standard used by commercial panel makers. Specially designed for acoustic applications. Expensive at $18 to $25 per yard.
Burlap: Cheap and very breathable at $3 to $5 per yard. Wrinkles easily and has a rough texture that may not match every décor.
Speaker grille cloth: Designed for speaker grilles, very breathable, and comes in many colors. $8 to $15 per yard.
I have tested all three over the past three years. Guilford of Maine gives the best finished look and cleanest sound. Burlap works fine but releases fibers onto nearby surfaces. Speaker grille cloth offers the best balance of price, appearance, and acoustic performance.
Hanging and Mounting Methods
Where and how you mount panels determines whether they work at all. Hanging them in random spots wastes money.
Best Room Placement
Place panels at first reflection points first. Sit in your main listening position and have someone slide a mirror along the wall. The spots where you can see the speaker reflection in the mirror are your first reflection points. Mount panels at ear height in those exact spots.
For most home studios, focus on the wall behind the speakers and the ceiling between you and the speakers. Adding two panels on the rear wall behind the listening position tightens up low-frequency response.
Skip the ceiling for your first project unless you are building cloud panels. Floor-to-ceiling placement on walls gives you 80 percent of the benefit for 50 percent of the work.
Wall Mounting Methods
Three reliable methods exist for hanging DIY acoustic panels with Rockwool:
D-rings and picture wire: Easiest method. Two D-rings mounted 6 inches from each end with picture wire between them. Costs under $3 per panel.
French cleats: Most secure method. Interlocking metal strips allow flush wall mounting. Costs $8 to $10 per panel in hardware.
Impeller clips with French cleats: Holds panels away from the wall for that 2-inch air gap that improves low-frequency absorption. The clear winner for performance.
Ceiling Cloud Mounting
Ceiling clouds require eye bolts mounted through the frame before fabric wrapping. Thread aircraft wire or chain through the eye bolts and attach to ceiling hooks rated for the panel weight.
A 2-by-4-foot Rockwool panel weighs about 6 pounds, but hardware adds weight. Always use anchors rated for at least 20 pounds when mounting into drywall, and find ceiling joists with a stud finder for full-strength mounting.
Safety Precautions When Working With Rockwool
Rockwool is one of the safer insulation materials available, but it still requires basic protection. Many builders skip precautions and regret it later.
Wear an N95 respirator or better when cutting or handling Rockwool. The fibers shed small particles during installation that irritate lungs. A simple $2 dust mask is not enough.
Cover your skin with long sleeves and gloves. Rockwool fibers cause itching on contact with bare arms. I made this mistake on my first build and dealt with irritated skin for two days.
Work in a ventilated area. Cutting and compressing Rockwool releases small fiber amounts into the air. Open windows and use a fan to move air outside.
Covered Rockwool inside a wrapped panel releases almost no fibers, so the safety concerns end once the build is complete. Sealed panels are completely safe in living spaces.
Frequently Asked Questions
What fabric should I use for DIY acoustic panels?
Use breathable fabric like Guilford of Maine FR701, burlap, or speaker grille cloth. Non-breathable fabric blocks sound from reaching the Rockwool and kills panel performance. Test breathability by blowing through the fabric. If air flows easily, sound will too.
How thick should Rockwool be for acoustic panels?
Use 2-inch Rockwool for most home studios and 4-inch Rockwool for full-frequency absorption including bass. A 2-inch panel with a 2-inch air gap behind it performs nearly identical to a 4-inch panel mounted flush. Rockwool Safe and Sound comes in 3 inches thick, which works for nearly every application.
Are Rockwool acoustic panels safe?
Yes, Rockwool acoustic panels are safe once built and mounted. During construction, wear an N95 respirator, gloves, and long sleeves to avoid skin and lung irritation from loose fibers. Covered panels inside frames release no measurable fibers and are completely safe in living spaces.
How do I hang DIY acoustic panels?
Hang DIY acoustic panels using D-rings with picture wire for simple mounting, French cleats for security, or impeller clips for an air gap that improves bass absorption. Find wall studs with a stud finder and use anchors rated for at least 20 pounds. Ceiling clouds require eye bolts and aircraft wire attached to joists.
Where should I place acoustic panels in my room?
Place acoustic panels at first reflection points on the side walls and ceiling, plus the wall behind your listening position. Sit in your main spot and have someone slide a mirror along walls to find reflection points. Mount panels at ear height in those exact locations for maximum effectiveness.
Start Building Your First Panel Today
Building DIY acoustic panels with Rockwool is one of the highest-impact projects you can tackle for any music room, podcast studio, or home theater. The cost is low, the build is straightforward, and the sound improvement is dramatic.
I recommend starting with four panels at your first reflection points before deciding if you need more. Most rooms need six to eight panels total for balanced acoustic treatment. Order your Rockwool Safe and Sound this week, set aside a Saturday afternoon, and you will have professional-grade acoustic panels by dinner time.