
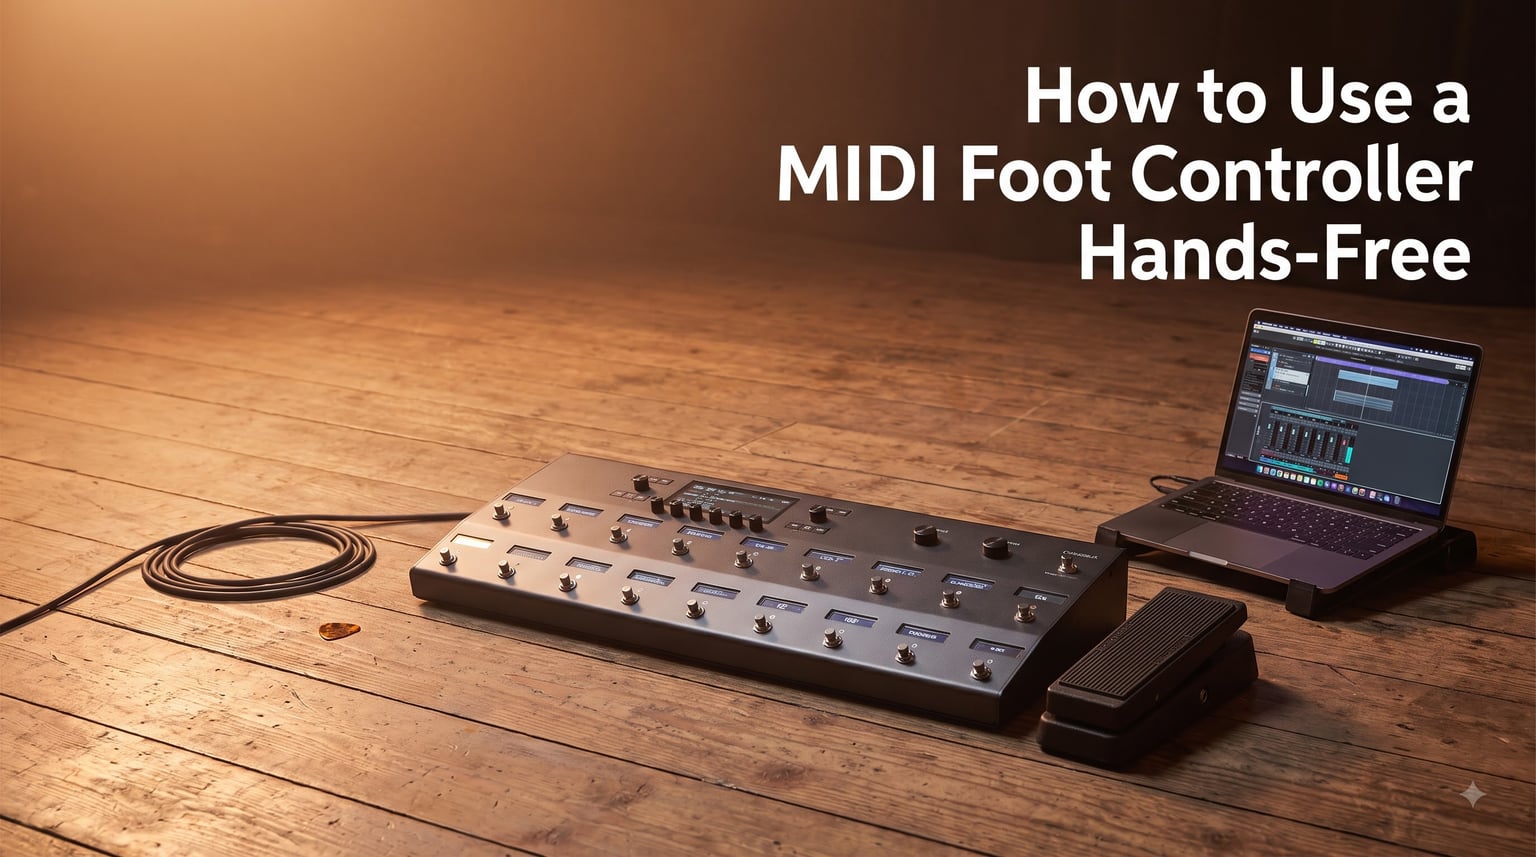
If you have ever tried to switch guitar presets mid-song while keeping both hands on your instrument, you already know why so many musicians turn to foot-controlled gear. Learning how to use a MIDI foot controller hands-free changed the way I perform, and it can do the same for you whether you play guitar, keys, or run backing tracks at a worship service.
This guide walks you through everything from basic connections to advanced CC message programming. By the end, you will be able to trigger presets, control your DAW, and tweak effects parameters without ever touching your hands to a laptop or amp.
Our team spent weeks comparing setup guides, forum threads, and real-world performance notes from communities like r/guitarpedals, r/ableton, and the Gear Forum. What follows is a practical, no-fluff walkthrough that addresses the pain points musicians actually face.
Table of Contents
What Is a MIDI Foot Controller?
A MIDI foot controller is a floor-based device that sends MIDI messages when you press its footswitches or rock its expression pedals. Think of it as a remote control for any MIDI-enabled gear you own, operated entirely with your feet.
Instead of reaching for a mouse or turning a knob, you stomp a switch. That switch sends a digital instruction to your amp modeler, software plugin, loop station, keyboard, or DAW. The receiving gear interprets the message and makes the change instantly.
Controllers come in many shapes and sizes. Some have two switches and a single expression pedal jack. Others, like the Morningstar MC-series or Disaster Area designs, pack a dozen programmable switches with OLED displays and RGB LEDs for dark stages. The budget-friendly Behringer FCB1010 remains a popular starting point for musicians who want ten switches and two expression pedals without spending much.
Understanding MIDI Message Types
To use a foot controller effectively, you need to understand three message types that cover almost every hands-free task:
Program Change (PC) messages tell connected gear to switch to a specific preset, patch, or slot. Stomp switch 1 might send PC 001 to load your clean tone. Switch 2 sends PC 002 for your lead patch. This is the backbone of preset switching.
Control Change (CC) messages handle continuous or toggle-style parameters. CC messages carry a controller number (0 to 127) and a value (0 to 127). You use them to turn effects on and off, adjust mix levels, change delay feedback, or control any parameter your software or hardware exposes.
MIDI Machine Control (MMC) commands handle transport functions like play, stop, record, and fast-forward on DAWs and hardware recorders. If you want to start and stop a looper or backing track with your foot, MMC is often the tool for the job.
Why Go Hands-Free? The Benefits
The biggest advantage of a MIDI foot controller hands-free setup is simple: you keep playing. No dropping your pick to click a mouse. No signaling the sound engineer. No awkward pause between songs while you load the next preset manually.
Guitarists using amp simulators like AmpliTube, Neural DSP, or Guitar Rig gain instant preset and effect switching without breaking their playing flow. Keyboardists can page through patches across multiple synths from one floor unit. Worship bands use foot controllers to trigger sections of multitrack players so their hands stay on their instruments.
Forum users we studied consistently report that once they go hands-free, they never go back. Real-world reliability matters more than feature count. Build quality is a recurring concern for stage use, which is why metal-housing controllers with replaceable switches earn the strongest recommendations in communities like r/midi and Fractal Audio’s forum.
How to Set Up a MIDI Foot Controller: Step-by-Step
Setting up a MIDI foot controller hands-free system is straightforward once you break it into stages. Follow these steps and you will be stomping through your setlist with confidence.
Step 1: Identify your connections. Check what ports your foot controller and target gear have. Modern controllers often use USB MIDI, which connects directly to a computer. Traditional setups use 5-pin MIDI DIN cables. Some gear offers both. If your controller outputs DIN MIDI but your interface only accepts USB, you need a USB-to-MIDI interface cable.
Step 2: Connect the physical cables. For DIN MIDI, run a cable from the controller’s MIDI OUT to the target device’s MIDI IN. For USB, plug the controller into your computer or USB hub. Power the controller if it requires external power rather than bus power.
Step 3: Set the MIDI channel. MIDI uses 16 channels. Your controller and receiving gear must be on the same channel to communicate. Most gear defaults to Channel 1, so if everything is factory-fresh this may already be aligned. If not, assign both devices to the same channel number in their settings menus.
Step 4: Configure your DAW or plugin to listen. In Ableton, open Preferences, then the MIDI tab, and enable Track and Remote for your controller’s input. In Logic Pro, use the Controller Assignments window. In Pro Tools, check the Peripherals dialog. For standalone plugins like AmpliTube, open the MIDI settings page and select your controller as the input device.
Step 5: Map your switches. Decide what each footswitch should do. Enter MIDI Learn mode in your software (most plugins and DAWs have this), then press a footswitch. The software detects the incoming message and binds it to the parameter you clicked. Repeat for each switch.
Step 6: Test every switch. Before you rely on the setup live, press each switch and confirm the correct action triggers. Watch for lag, double-triggers, or no response at all. Fix issues now, not on stage.
How to Use a MIDI Foot Controller Hands-Free During Performance
Once your controller is wired, channeled, and mapped, the actual hands-free workflow becomes second nature. Here is how to get the most out of it in real performance situations.
Organize your presets in setlist order before the gig. If your controller supports banks or pages, load each song’s needed switches into a sequential bank. This way you move forward through switches song by song instead of jumping around.
Use toggle behavior for effects you turn on and off within a song, like a boost or modulation. Assign momentary behavior for actions that should only fire once per press, such as starting a looper recording or triggering a backing track section.
If your controller supports it, assign a dedicated tap tempo switch. Tap tempo lets you sync delay times and modulation rates to the live tempo of the room without bending down. Many forum users call this their single most-used foot function.
Programming CC Messages and Presets
Programming is where your MIDI foot controller hands-free setup goes from functional to powerful. The depth you invest here pays off every time you perform.
Mapping CC Messages
Each CC number corresponds to a controllable parameter. CC 1 often controls modulation wheel values, CC 7 handles master volume, and CC 11 manages expression. But in practice, you can assign almost any CC number to any parameter your software allows.
To map a CC message, open your controller’s editor software or onboard programming menu. Select a footswitch, set its message type to CC, choose the CC number your target parameter uses, and assign a value. For toggles, set one press to send value 127 (on) and the next to send value 0 (off).
If you want a single switch to run a parameter sweep, like rolling off a delay mix over several seconds, look for controllers that support multiple messages per switch or incremental value changes per press.
Expression Pedal Configuration
An expression pedal connected to your foot controller sends a continuous CC value as you rock it back and forth. This is perfect for volume swells, wah effects, pitch bends, or real-time parameter sweeps.
To configure one, plug the expression pedal into your controller’s dedicated expression jack. Then assign that jack’s CC number to your target parameter using the same MIDI Learn or manual mapping process described above. Calibrate the pedal in your controller’s settings so the minimum and maximum toe-down and heel-down positions correspond to values 0 and 127.
A common mistake is using a passive volume pedal instead of an expression pedal. Volume pedals control audio signal. Expression pedals control MIDI data. Make sure your pedal has a TRS cable connection compatible with your controller’s specifications.
Building a Setlist Workflow
Advanced controllers let you program entire song layouts. Each song can contain a sequence of messages: load a preset, set an expression pedal range, configure toggle states, and assign tap tempo. You stomp one switch to load the song, and the rest of your switches are pre-configured for that specific tune.
This approach eliminates on-the-fly confusion. Our team has found that musicians who invest an afternoon in programming song layouts report dramatically less stress during performances.
Common Use Cases for MIDI Foot Controllers
Different musicians use foot controllers for different things. Here are the most common scenarios and how they work in practice.
Guitar effects and amp modeling: Switch between clean, crunch, and lead presets. Toggle individual effects like delay, reverb, and modulation. Use an expression pedal for wah or volume control. This is the most popular use case, especially with software like AmpliTube and Neural DSP plugins.
DAW transport and looping: Start and stop recording, punch in and out, and control loop stations without leaving your instrument. Ableton Live users frequently map footswitches to scene launching, clip recording, and global quantize toggle. MMC messages handle play, stop, and record on most DAWs.
Backing track control: Worship bands and solo performers trigger song sections, start playback, and advance setlists using program change messages. Multitrack players like Loop Community and Worship Backing Band accept MIDI input to advance through song arrangements.
Keyboard and synth control: Page through patches across multiple keyboards, transpose on the fly, and trigger sustain or modulation without reaching for each instrument’s front panel.
Troubleshooting Common MIDI Foot Controller Problems
Even a well-planned MIDI foot controller hands-free setup can hit snags. Here are the problems musicians report most often, along with practical fixes.
No response when pressing switches: Check your MIDI channel first. If the controller sends on Channel 5 but your gear listens on Channel 1, nothing happens. Next, verify physical connections. Reseat DIN cables and confirm USB devices appear in your computer’s device list.
Double triggers or erratic switching: Your footswitch may be sending bounce signals. Many controllers offer debounce settings in their firmware menus. Increasing the debounce time filters out rapid duplicate triggers caused by mechanical switch bounce.
Lag between stomping and hearing the change: Latency usually comes from buffer settings in your DAW or audio interface, not from MIDI itself. Lower your audio buffer size to 128 or 256 samples. If you are using a USB hub, connect the controller directly to the computer to rule out hub latency.
Expression pedal not sweeping correctly: Recalibrate the pedal in your controller settings. Check that you are using a TRS cable and that the pedal type (active or passive) matches what your controller expects. Verify the CC number assigned to the expression jack matches the parameter you want to control.
MIDI messages reaching some gear but not others: If you are daisy-chaining devices through MIDI THRU ports, signal degradation can cause dropped messages after three or four devices in the chain. Use a dedicated MIDI thru box or splitter to keep signal integrity strong across multiple receivers.
Software not recognizing the controller: On Windows, install the manufacturer’s driver if one is required. On Mac, most class-compliant USB MIDI devices work without drivers, but check for firmware updates. Restart your DAW after connecting the controller so it can detect the new input.
Frequently Asked Questions
How does a MIDI footswitch work?
A MIDI footswitch works by sending a MIDI message, such as a program change or control change, to connected gear each time you press it. The receiving device interprets that message and performs the assigned action, like switching a preset or toggling an effect, allowing hands-free control during performance.
How do I use a MIDI controller?
To use a MIDI controller, connect it to your gear or computer via USB or DIN MIDI, set both devices to the same MIDI channel, enable the controller in your DAW or plugin settings, and use MIDI Learn to assign each switch or pedal to a specific parameter. Test every switch before relying on the setup live.
Is a MIDI foot controller worth it?
Yes, for most performing musicians a MIDI foot controller is worth it. It enables hands-free preset switching, DAW transport control, backing track triggering, and expression pedal sweeps, all without interrupting your playing. Guitarists, worship teams, keyboardists, and looping artists benefit the most from going hands-free.
What are common problems with MIDI controllers?
Common problems include mismatched MIDI channels causing no response, switch bounce producing double triggers, audio buffer latency causing perceived lag, expression pedal calibration issues, and signal degradation when daisy-chaining multiple devices through MIDI THRU ports. Most issues are fixable through channel settings, debounce adjustments, and proper cabling.
Conclusion
Learning how to use a MIDI foot controller hands-free is one of the highest-impact upgrades you can make to your live and studio rig. From preset switching and CC message mapping to expression pedal sweeps and DAW transport control, the tools are all within reach once you understand the basics.
Start with a solid physical connection, match your MIDI channels, program your switches thoughtfully, and test everything before you take it on stage. Your hands stay where they belong, on your instrument, and your feet handle the rest.
Take an afternoon to map out your first setlist workflow. Once you feel the difference of true hands-free control, you will wonder how you ever performed without it.