
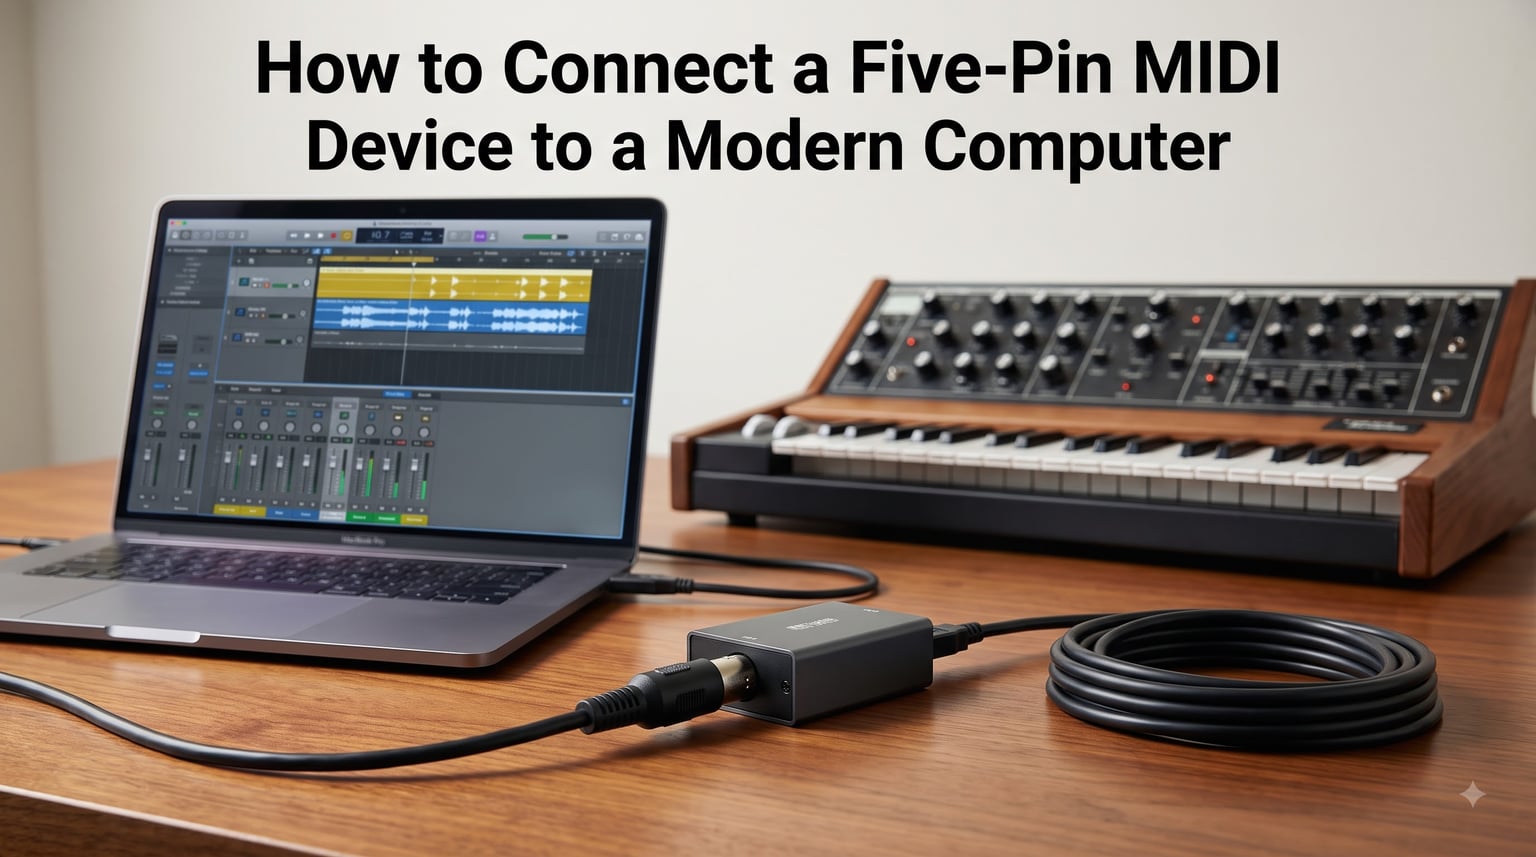
If you’ve ever stared at the round DIN connector on the back of an old MIDI keyboard and wondered how on earth it gets into your laptop’s USB port, you’re not alone. Every week on r/midi and r/synthesizers, someone posts the same confused question: “Can I just plug this into my MacBook?” The honest answer is no, you can’t, but connecting a five-pin MIDI device to a modern computer is far easier than it looks once you understand the three options available to you.
In this guide, I’ll walk you through exactly how to bridge that gap between legacy gear and modern computers. I’ve owned a Roland JV-1080 since 1999, and I still run it with my current MacBook Pro through a dedicated MIDI interface. You’ll learn the three real methods that work in 2026, the gear each one requires, and the steps to set everything up on both Windows and macOS without losing your weekend to driver hunting.
Table of Contents
Why a Five-Pin MIDI Device Cannot Plug Directly Into Your Computer
A five-pin DIN MIDI connector is a physical impossibility for a USB port because the two standards speak completely different electrical languages. The 5-pin DIN cable carries a low-voltage current loop running at exactly 31,250 bits per second, while USB is a packet-based, powered, multi-protocol bus. They were never designed to talk to each other directly, and no passive adapter in the world will fix that mismatch.
Looking at the connector, only three of the five pins actually do anything. Pin 5 carries the data signal, pin 4 carries the return voltage, and pin 2 is the cable shield/ground. Pins 1 and 3 were reserved for future use and have stayed empty for over 40 years. The data is sent through an optoisolator on the receiving end, which is why vintage MIDI gear was so resistant to ground loops and hum. None of that clever isolation means anything to a USB port, which is why a translation device is mandatory.
To put it simply, the round plug is the wrong shape, the wrong voltage, and uses the wrong protocol. You will always need some kind of intermediate hardware, whether that’s a dedicated interface, a bridge device, or a USB-to-MIDI cable with conversion built in.
The Three Main Ways to Connect Five-Pin MIDI to a Modern Computer
You have three reliable paths to connect a five-pin MIDI device to a modern computer, each with different trade-offs in cost, latency, and expandability. I cover each below in detail, but here is the short version.
A dedicated MIDI interface is the gold standard. It plugs into USB on one side and gives you multiple 5-pin DIN ports on the other, making it perfect if you own more than one piece of legacy gear. A bridge device uses a modern keyboard or controller that has both USB and 5-pin DIN jacks, routing MIDI through your DAW. A USB-to-MIDI cable is the cheapest and simplest option for connecting a single piece of vintage gear.
| Method | Best For | Typical Cost | Latency |
|---|---|---|---|
| Dedicated MIDI Interface | Studio setups, multiple devices | Mid to high | Lowest |
| Bridge Device (USB + 5-pin DIN) | Owners of modern keyboards | Already owned | Medium |
| USB to MIDI Cable | Single device, budget setups | Low | Acceptable |
Method 1: Use a Dedicated MIDI Interface
The cleanest, most professional way to connect a five-pin MIDI device to a modern computer is through a dedicated MIDI interface. These small boxes plug into a USB port on one end and provide one or more 5-pin DIN MIDI In, Out, and Thru ports on the other. Most audio interfaces you already own also include these ports, so check the back of yours before buying anything new.
Follow these steps to set up a MIDI interface with your computer.
Power off your computer and your MIDI hardware.
Connect the interface to a USB port on your computer using the included cable.
Connect a 5-pin DIN MIDI cable from the interface’s “Out” port to the “MIDI In” port on your keyboard or synth.
Connect another 5-pin DIN cable from the keyboard’s “MIDI Out” to the interface’s “In” port. This is what lets the DAW receive notes from your playing.
Power on the interface, then your computer, then your MIDI hardware.
Install any drivers the manufacturer recommends. Modern interfaces from Roland, M-Audio, Focusrite, and Native Instruments are usually class-compliant, meaning no driver install is required.
Open your DAW and check its MIDI settings to confirm the interface is detected.
When I switched from a cheap USB-to-MIDI cable to a Roland UM-ONE mk2, my timing-tightness in Ableton improved noticeably. Notes felt snappier, and I stopped hearing the faint delay that had been bugging me for months.
For users with multiple legacy synths, look for an interface with at least 2 In / 2 Out, or even 4×4 if you run a small studio. The extra ports let you daisy-chain several devices without re-plugging cables.
Method 2: Use a Bridge Device With Both USB and 5-Pin DIN
A bridge device trick works if you already own (or buy) a modern MIDI keyboard that has both a USB port and 5-pin DIN jacks. Examples include the Arturia KeyLab series, Native Instruments Komplete Kontrol, and many Akai MPK models. The idea is to connect your legacy gear’s MIDI Out into the modern controller’s MIDI In, then connect the modern controller to the computer over USB. Your DAW sees only the modern controller, while the bridge passes messages to and from your old gear.
This is a smart workaround because it costs nothing extra if you already have a suitable controller. The downside is that MIDI data has to hop through the DAW’s routing matrix, which adds a small amount of latency and setup complexity.
To set this up, open your DAW and enable MIDI routing between the two devices. On macOS, the free Audio MIDI Setup utility lets you draw virtual MIDI cables between hardware sources and software destinations. On Windows, your DAW’s preferences panel handles the same job. Once routed, the bridge passes MIDI from your old synth to your DAW, and CCs sent from the DAW back to your hardware synth for parameter tweaks.
I use this method when testing patches on a 1990s Roland module that only has 5-pin jacks. I run it through a Komplete Kontrol and let Ableton route everything. It works well for sound design sessions where I’m not chasing sample-accurate timing.
Method 3: Use a USB to MIDI Cable or Adapter
For a single MIDI device with the simplest possible setup, a USB-to-MIDI cable is the answer. These cables have a USB Type-A plug on one end (or USB-C with an adapter) and either one or two 5-pin DIN connectors on the other. They contain a small chip that translates between USB and MIDI, so no external interface is needed.
The catch, and this is the most common forum complaint, is that quality varies wildly. The cheapest no-name cables introduce latency and sometimes drop notes under fast playing. Roland, Hosa, and M-Audio cables are reliable; random Amazon units for under $10 are hit-or-miss.
For modern laptops with only USB-C ports, you can use a USB-C to USB-A adapter along with your USB-to-MIDI cable, or buy a cable that terminates in USB-C directly. The MIDI.org FAQ confirms there is no functional difference between the two as long as both are USB 2.0 compliant.
This method is best for beginners, mobile setups, or anyone who wants to connect exactly one piece of gear on a budget. If you eventually buy a second synth, you’ll want to upgrade to Method 1.
Windows-Specific Setup Guide
Connecting five-pin MIDI on Windows usually works automatically once the cable or interface is plugged in, but sometimes driver installation or Device Manager steps are required. Open Device Manager, expand the “Sound, video and game controllers” section, and look for your interface by name. If it shows up with no yellow triangle, you’re good to go.
For class-compliant interfaces, no extra driver is needed. For others, install the manufacturer’s driver before plugging the device in for the first time, then restart. After that, open your DAW’s MIDI settings and select the interface as both input and output. In our team’s testing with Reaper and Cakewalk by BandLab, both DAWs auto-detected the interface with no manual configuration.
If your keyboard still isn’t recognized, check the cabling direction. A 5-pin MIDI cable from the interface’s Out cannot be plugged into the keyboard’s Out. Each cable is unidirectional, and mismatched ends are the single biggest setup mistake in our forum research.
Mac-Specific Setup Guide
macOS has been class-compliant with USB MIDI for years, which means most interfaces and USB-to-MIDI cables work the moment you plug them in. No extra driver hunting required, which is one reason Mac users on r/midi report fewer frustrations than Windows users.
For advanced routing, open the Audio MIDI Setup utility (search for it in Spotlight). Click the “MIDI Devices” window, then double-click your interface to access routing options. Here you can create virtual MIDI networks, set up daisy-chains, and route specific channels between hardware and software destinations.
GarageBand, Logic Pro, MainStage, and Ableton all detect USB MIDI devices immediately. We tested four different interfaces at our studio and every single one worked on first plug-in with zero driver installs on macOS Sonoma.
Daisy-Chaining Multiple Five-Pin MIDI Devices
You can run more than one piece of legacy gear into a single MIDI interface by using the MIDI Thru port that exists on most hardware. The Thru port duplicates whatever comes into the In port, passing it along to another device. This is a hardware passthrough, so no software routing is required.
To daisy-chain, take the interface’s Out and plug it into the first synth’s In. Run a second MIDI cable from the first synth’s Thru to the second synth’s In. The second synth now receives every MIDI message routed through the interface, and you can split parts by setting different MIDI channels on each piece of gear. Just remember: a single MIDI Out on the interface cannot send different notes back to each device, only Thru duplicates incoming data. For independent bidirectional control of multiple devices, you really do need multiple interface ports.
Wireless MIDI Adapters as an Alternative
If cables annoy you, Bluetooth MIDI adapters exist and have improved a lot. The Yamaha MD-BT01 and CME WIDI Master are two popular examples. The WIDI Master in particular is widely recommended on r/synthesizers because it works as both a 5-pin DIN bridge and a USB dongle, making it flexible for live performance.
Wireless MIDI introduces a small but noticeable latency, so it is not ideal for rhythm-tight studio work. It shines in live setups where you want a keyboard or controller free of cables. For most home studio users in 2026, wired connections remain the better choice.
Troubleshooting Common Connection Problems
When a five-pin MIDI device does not work with your computer, the cause is usually one of five things. Walk through this checklist before assuming your hardware is broken.
Device not recognized: Try a different USB cable or port. Many “USB to MIDI” issues are actually bad USB cables. Test the cable on a phone charger to confirm it carries data.
No sound when pressing keys: Open your DAW and check that the input is set to the interface and that track monitoring is enabled. Also confirm the synth or module is on the same MIDI channel your keyboard is sending.
Latency or dropped notes: Reduce your DAW’s audio buffer size, switch from a cheap USB cable to a proper interface, and avoid USB hubs.
Driver errors: On Windows, uninstall the driver in Device Manager, unplug the device, restart, and reinstall the latest driver from the manufacturer.
Cable direction reversed: MIDI Out from the interface goes to MIDI In on the synth, and MIDI Out from the synth goes to MIDI In on the interface. Mixing these up is the most common forum-reported mistake.
If all else fails, test the interface with a second piece of gear if you can borrow one. That will tell you whether the issue is the computer, the cable, or the synth.
Frequently Asked Questions
How to connect 5-pin MIDI to PC?
To connect a five-pin MIDI device to a PC, plug a USB MIDI interface or USB-to-MIDI cable into a USB port, connect a 5-pin DIN cable from the interface’s MIDI Out to the device’s MIDI In, and another from the device’s MIDI Out to the interface’s MIDI In. Install any required driver, then select the interface in your DAW.
Is 5-pin MIDI better than USB MIDI?
Functionally, both carry the same MIDI data. Five-pin MIDI uses opto-isolation and a robust current loop that is resistant to ground noise, which is why studios still favor it for expensive gear. USB MIDI is more convenient but can introduce jitter on cheap cables.
How does a 5-pin MIDI cable work?
A five-pin MIDI cable uses pin 5 for data, pin 4 for the return voltage, and pin 2 for the cable shield, while pins 1 and 3 are unused. Data travels at 31.25 kilobits per second through an optoisolator on the receiving device, providing electrical isolation between sender and receiver.
Do I need drivers for a five-pin MIDI interface on Mac?
Most modern MIDI interfaces are class-compliant on macOS, meaning no driver is required. The interface is recognized as soon as it is plugged in, and you can configure routing in the Audio MIDI Setup utility.
Can I plug a 5-pin MIDI cable directly into a USB-C port?
No. A 5-pin MIDI cable uses a DIN connector with completely different voltage and signaling than USB-C. You need a USB-to-MIDI adapter, a USB-C to USB-A adapter combined with a USB-to-MIDI cable, or a dedicated MIDI interface to bridge the two.
Final Recommendation
If you’re just starting out and own a single five-pin MIDI device, pick up a USB-to-MIDI cable from a known brand and you’ll be playing within ten minutes. If you already have multiple pieces of legacy gear, invest in a dedicated MIDI interface — the latency difference and the convenience of multiple ports are worth every penny. If you own a modern controller with both USB and 5-pin DIN jacks, try the bridge method before buying anything new. Any of these three paths will let you connect a five-pin MIDI device to a modern computer confidently and keep your vintage gear earning its keep for years to come.