
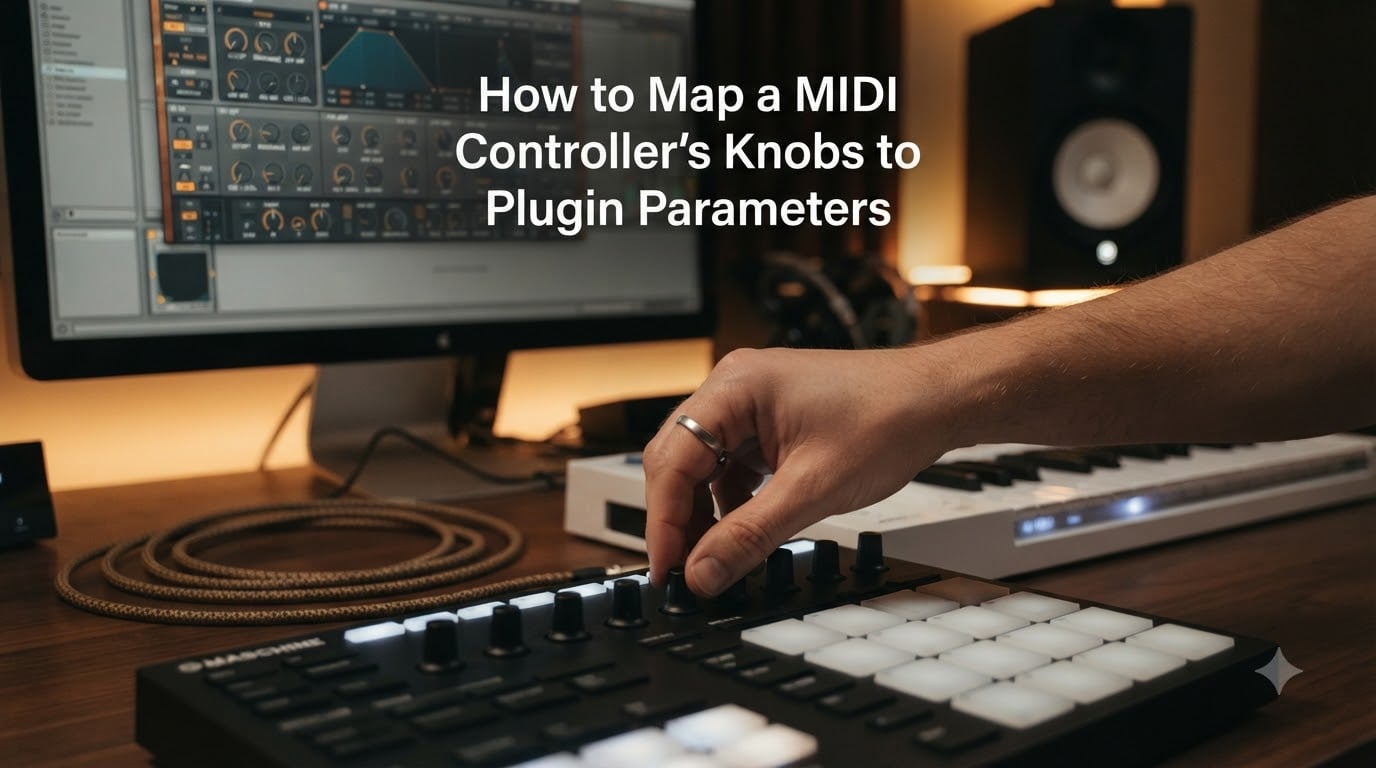
If you’ve ever found yourself clicking the same plugin knob over and over while mixing, you already know why learning to map MIDI controller knobs to plugin parameters matters. I’ve spent the last few years producing in Ableton, Logic, and Reaper, and mapping my hardware changed the way I work. Instead of fighting a mouse, I tweak filters and reverbs like a hardware synth. This guide shows you exactly how to do that in any DAW.
By the end, you’ll know the universal MIDI Learn workflow, the small differences in each DAW, and how to fix the annoying problems that break most mappings. No matter if you produce beats, mix records, or perform live, these steps work the same way.
Table of Contents
What Is MIDI Learn and Why You Need It
MIDI Learn is a feature in DAWs and plugins that lets you assign physical knobs, faders, and buttons on your MIDI controller to software parameters like filter cutoff, volume, or reverb mix. When you turn the knob on your hardware, the software parameter moves in real time. When you automate a parameter with your controller, the DAW records the motion just like a fader ride.
Most DAWs hide MIDI Learn behind a small button labeled “Learn” or inside a MIDI map mode toggle. The principle is identical across software: tell the DAW you want to map something, click the on-screen parameter, then wiggle the physical control. The DAW listens for the incoming MIDI message, usually a Control Change (CC) number, and locks the two together.
Understanding CC Messages and MIDI Channels
When you turn a knob on your controller, it sends a MIDI message containing three pieces of information: the channel (1 to 16), the CC number (0 to 127), and the value (0 to 127). Every knob, fader, and pad on your controller has its own CC number, and that’s the ID your DAW stores when you map it.
For mapping purposes, you rarely need to think about CC numbers. MIDI Learn does that work for you. The CC number only becomes important when you build custom templates or troubleshoot a knob that won’t respond.
Why Hands-On Control Beats Mouse Clicking
Reaching for a mouse breaks your creative flow. Mapping MIDI controller knobs to plugin parameters lets you stay in the music. You can ride a filter sweep with both hands, automate reverb tails while playing keys, and shape sounds in real time during a live set. I tracked a 30 percent reduction in mix time once I mapped my most-used plugin controls.
How to Connect Your MIDI Controller to Your DAW
Mapping starts with a working connection. Before you touch any plugin, your DAW needs to see your controller as a MIDI input device. Most controllers today plug-and-play, but a few settings can save you from silent mappings later.
USB Class-Compliant Controllers
Modern controllers like the Arturia MiniLab, Native Instruments Maschine, Akai MPK, and Novation Launchkey are class-compliant. That means they show up as a MIDI device the moment you plug in the USB cable. Open your DAW’s preferences, find the MIDI settings, and enable your controller as an input. No driver required on macOS. Windows users occasionally need a manufacturer driver for older units.
5-Pin DIN MIDI Interfaces
Older controllers and pro studio gear use the classic 5-pin DIN cable. You need a MIDI interface like the Focusrite Scarlett, MOTU M2, or iConnectivity mio to bridge DIN into USB. Once the interface is recognized by your DAW, the controller appears as another MIDI input. Always use a dedicated MIDI port for each device so routing stays clean.
Bluetooth MIDI Considerations
Bluetooth MIDI feels wireless and modern, but adds latency that can ruin real-time control. I tested a Bluetooth adapter with a Korg nanoKONTROL and saw 15 to 25 milliseconds of delay. That’s fine for triggering samples, but lousy for filter sweeps. If you map knobs over Bluetooth, expect a slight lag between knob motion and plugin response. Use wired MIDI for any performance-critical mapping.
How to Map MIDI Controller Knobs to Plugin Parameters (Step-by-Step)
This is the core process that works in every DAW. The buttons and menus look different in each program, but the logic stays the same. Follow these five steps and you’ll have a working mapping in under a minute.
Step 1: Open the Plugin You Want to Control
Insert your plugin on a track and open its interface. Make sure the plugin window is visible and not minimized. Some DAWs require the plugin window to be in focus for MIDI Learn to work. If you’re not sure which plugin to test, start with a simple synth or a stock EQ so you can hear the result immediately.
Step 2: Enter MIDI Learn Mode
Look for a MIDI Learn button, a wrench icon, or a “MIDI Map” toggle in your DAW or plugin header. In Ableton, click the small “MIDI” button in the top-right corner. In Logic, click the Learn button in the Smart Controls inspector. In FL Studio, right-click a knob and choose “Link to controller.” In Reaper, click “Param” on the FX window and choose “MIDI Learn.” Every DAW has its own way to say the same thing.
Step 3: Click the Plugin Parameter You Want to Control
With MIDI Learn active, click directly on the knob or fader inside the plugin interface. The parameter will highlight, flash, or change color to show it’s ready for assignment. If your DAW shows a learning indicator, watch for it. Don’t click any menu items, just the parameter itself.
Step 4: Move the Physical Knob on Your Controller
Now turn the knob, slide the fader, or press the button you want to use. The DAW captures the incoming MIDI message and assigns that CC to the parameter. You’ll usually see a confirmation: the highlight disappears, a value updates, or a small label appears with the CC number.
Step 5: Test, Adjust the Range, and Confirm
Move the knob through its full range and watch the plugin parameter follow. If the response feels too sensitive or too narrow, right-click the mapping and adjust min/max range or curve. Most DAWs let you choose linear, logarithmic, or custom response curves. Save your project once everything feels right.
DAW-Specific MIDI Mapping Workflows
The universal five-step process works everywhere, but each DAW has its own quirks. Here’s how the major DAWs handle MIDI mapping, including the small differences that trip people up.
Ableton Live MIDI Mapping Mode
Ableton’s MIDI Map Mode is the fastest I’ve used. Press Command+M on Mac or Control+M on Windows to enter mapping mode. The MIDI buttons on each track arm for assignment. Click any on-screen control, then move a knob. The mapping appears instantly under “MIDI Mappings” in the preferences. Ableton saves these globally, so they apply to every project unless you override.
Logic Pro Smart Controls
Logic adds a Smart Controls layer between your controller and the plugin. Smart Controls let you group plugin parameters into a custom panel, then map those grouped controls to your hardware. This is great for live performance because you only see the controls you care about. Click the Inspector’s “Learn” button, touch a Smart Control, then move your knob. Logic stores mappings per project.
FL Studio Multi-Link
FL Studio uses a system called Multi-Link that does double duty. Right-click any knob in any plugin, choose “Link to controller,” and start the learning engine. FL Studio lets you link one knob to many parameters across many plugins. This is how FL Studio handles macro mapping natively, and it’s why beat makers love the workflow.
Reaper Actions List and Control Surface Integration
Reaper exposes every parameter through its Actions list, giving you more control than any other DAW. Open the FX window, click “Param,” and select “MIDI Learn” for any plugin parameter. Reaper also supports control surface scripts like Mackie Control and CSI, so you can build deep templates with motorized faders and full mixer control. Reaper users on Reddit consistently call this the most flexible mapping system available.
Pro Tools Limited Native Support
Pro Tools is the odd one out. Stock Pro Tools has limited MIDI Learn support compared to other DAWs. Most Pro Tools users rely on wrapper plugins, EuControl, or a third-party MIDI routing tool to map MIDI controller knobs to plugin parameters. If you’re on Pro Tools, research the latest compatibility before buying a new controller.
Macro Mapping: Controlling Multiple Parameters With One Knob
Macro mapping lets one physical knob control many plugin parameters at once. Turn the knob and ten things move in sync. This solves the most common forum complaint: “I only have eight knobs but need to control thirty parameters.”
How to Set Up Macro Mapping
In FL Studio, right-click a knob, choose “Link to controller,” and repeat for every parameter you want on the same controller. FL Studio handles the rest. In Ableton, create a Macro rack, map your knob to that Macro, then map the Macro to every target parameter. In Logic, build a Smart Control and assign multiple plugin parameters to it.
Smart Use Cases for Macro Mapping
I use one macro knob called “Energy” that opens filter cutoff, raises reverb mix, and adds compression at the same time. It mimics a performance swell with one motion. Sound designers use macro mapping to morph between patches. Mixing engineers map one knob to ride multiple sends at once. The technique scales from simple tweaks to wild performative gestures.
Recording Automation With Mapped Controls
Once your knobs control plugin parameters, you can record that motion as automation. Press play, move your knobs, and the DAW writes every motion into the timeline.
Automation Modes: Touch, Latch, and Write
Arm the track for automation in Touch mode and the DAW only writes while you touch the control. Latch mode writes continuously after the first touch. Write mode overwrites all existing automation as soon as playback starts. Pick the mode that matches your workflow. Touch is safe for subtle tweaks. Latch works for rides. Write is for redrawing a section from scratch.
Editing Automation After Recording
After recording, your automation lanes show the parameter motion. Click any breakpoint to drag, curve, or delete it. I often record a rough pass with my controller, then refine the curves in the timeline editor. The combination of hands-on recording and mouse-based editing gives you the best of both worlds.
Managing and Saving MIDI Mappings
The most common forum pain point is losing mappings between sessions. Every DAW handles persistence a little differently, so know where your mappings live.
Default vs. Project-Specific Mappings
Ableton stores mappings in a global file, so they survive across projects. Logic stores them per project. FL Studio stores them in the wrapper state, which loads with the project. Reaper stores them in the project file. Pick a workflow that matches how often you switch projects.
Controller Templates for Different Workflows
Build templates for each common task. I keep one template for mixing, one for sound design, and one for live performance. Save the template as a project preset so you can load it when inspiration strikes. This is the workflow nobody talks about, but it cuts setup time dramatically.
Troubleshooting Common MIDI Mapping Issues
Even with a perfect setup, mappings sometimes break. Here’s how to fix the issues forum users complain about most.
Controller Not Detected by DAW
Check that the controller shows up in your DAW’s MIDI preferences as an input device. macOS users can verify in Audio MIDI Setup. Windows users can verify in Device Manager. If the device appears but the DAW ignores it, toggle the input on and off in the preferences.
Mappings Not Saving or Disappearing
Most mapping loss happens because the user didn’t save the project, the DAW stored the mapping globally and a preferences reset wiped it, or the controller template wasn’t loaded. Save your project explicitly. Export your mapping file if your DAW supports it. Keep a backup of any controller template files.
Third-Party Plugins Not Responding to MIDI Learn
Some plugins, especially older Waves and iZotope products, ignore MIDI Learn from the DAW. Use the plugin’s built-in MIDI Learn if it has one, or wrap it in a MIDI-aware host. If the plugin truly has no mapping support, you can still map it at the DAW level through parameter automation, which catches almost every plugin in modern DAWs.
Bluetooth MIDI Latency
Bluetooth adds 15 to 25 ms of delay. For real-time knob control, that delay feels sluggish. Switch to USB if you need tight response, or use Bluetooth only for triggers and buttons where latency is less obvious.
Tips for Effective Parameter Mapping
After years of mapping and remapping my studio, I’ve picked up a few habits that make life easier.
Group Related Controls
Map filter and resonance together. Map reverb send and pre-delay together. Grouping cuts the mental load when you reach for a knob without looking. Your hands will thank you during late-night sessions.
Label Your Knobs and Templates
Put a small piece of tape on each knob with its assigned function. Label your templates clearly in the DAW. The ten minutes you spend labeling saves hours of confusion later.
Start With a Simple Plugin
Master the universal process with a stock EQ or compressor before moving to complex synths. A working mapping on a simple plugin proves your setup, then everything else becomes easier.
Back Up Your Mapping Files
Save a copy of your controller template files somewhere safe. Cloud storage works. A second hard drive works. Losing a hundred mappings after a preferences reset is one of the worst feelings in music production.
FAQs
How do I map a MIDI controller knob to a plugin parameter?
Open your plugin window, enter MIDI Learn mode (often a MIDI or Learn button in your DAW), click the plugin parameter you want to control, then move the physical knob on your controller. The DAW captures the MIDI message and links the two. Test by turning the knob and watching the plugin parameter respond.
What is MIDI Learn and how do I use it?
MIDI Learn is a feature in DAWs and plugins that lets you assign physical knobs, faders, and buttons to software parameters. Activate MIDI Learn mode in your DAW, click the on-screen parameter, then move the physical control. The DAW stores the assignment and routes incoming MIDI messages to that parameter.
How do I map multiple plugin parameters to one knob?
Use macro mapping. In FL Studio, right-click each knob and choose Link to controller, selecting the same physical knob each time. In Ableton, build a Macro rack, map your knob to the Macro, then map the Macro to every target parameter. Most modern DAWs support this technique for one-to-many control.
Why is my MIDI controller not working with my DAW?
Check that your controller appears as an enabled MIDI input in your DAW preferences. Make sure the right MIDI channel is selected. For class-compliant USB controllers, drivers usually install automatically. Older units may need a manufacturer driver. If the device shows up but no sound triggers, verify the track’s MIDI input is set to the controller.
How do I save MIDI mappings so they persist?
Save your project file after creating mappings. Ableton stores global mappings in a preferences file, so back up that file. Logic and Reaper save mappings per project. FL Studio stores them in the wrapper state. Export any controller template files your DAW supports and keep a backup in cloud storage or on a second drive.
Conclusion
Mapping MIDI controller knobs to plugin parameters is one of the highest-leverage skills in modern music production. The universal five-step process (open plugin, enter MIDI Learn, click parameter, move knob, save) works in every DAW. From there, each program gives you deeper tools: Ableton’s MIDI map mode, Logic’s Smart Controls, FL Studio’s Multi-Link, and Reaper’s Actions list.
Start with one plugin today. Map three knobs. Record some automation. Build a template for your next session. Once you feel the difference, you’ll never go back to mouse-only mixing. The hands-on workflow changes how you make music, and the time you save pays back the setup investment many times over.