
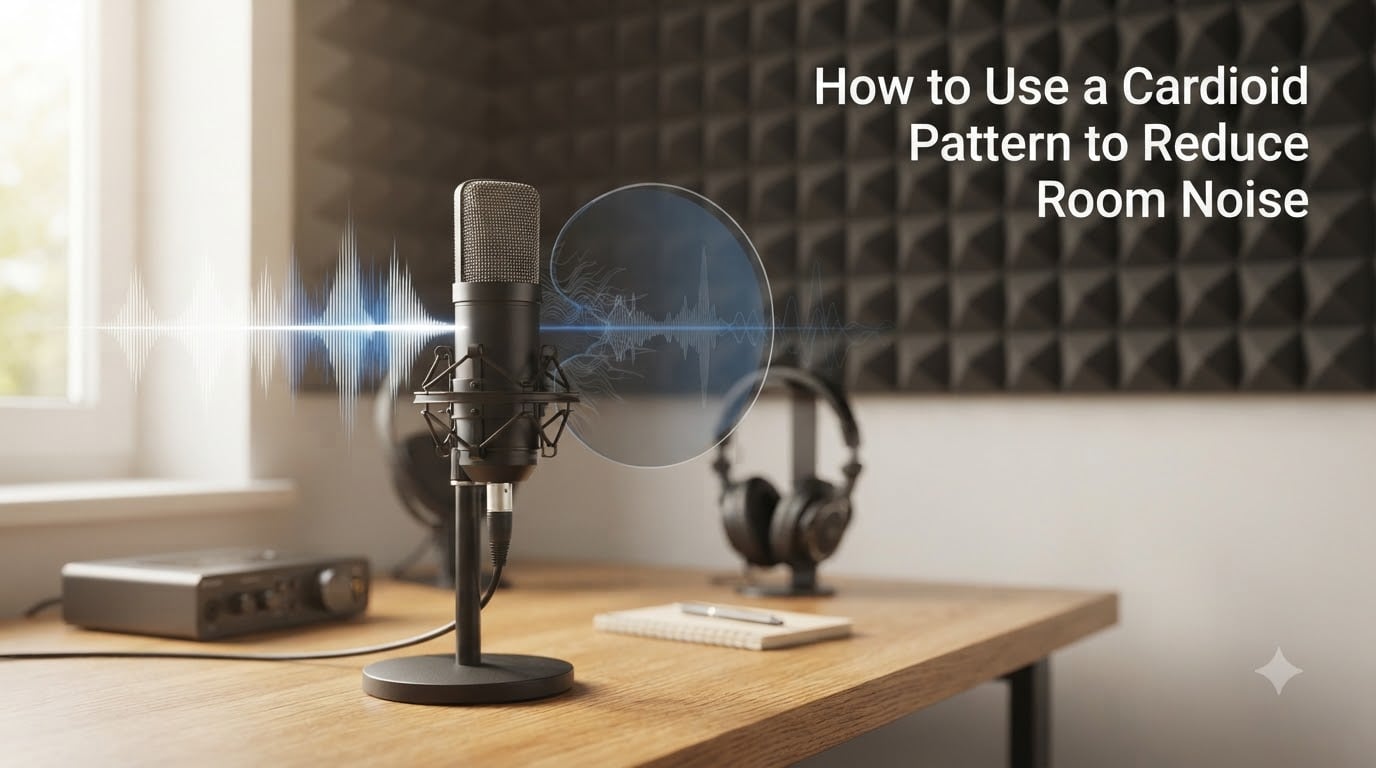
If you have ever recorded a podcast, voiceover, or vocal track in a regular bedroom or home office, you already know the struggle. The HVAC kicks on mid-sentence, your computer fan hums in the background, and every car passing outside sneaks into your take. I have been there too, and after years of wrestling with noisy rooms, I keep coming back to one simple tool: the cardioid polar pattern.
A cardioid pattern is a heart-shaped pickup pattern that captures sound mainly from the front of the microphone while rejecting noise from the sides and rear. In this guide, I will walk you through exactly how to use a cardioid pattern to reduce room noise, from choosing the right microphone distance to positioning your body and treating your space. You will also learn the 3:1 rule, why dynamic and condenser cardioids behave differently, and which mistakes to avoid when chasing a clean signal.
Table of Contents
What Is a Cardioid Pattern and How Does It Work?
A cardioid pattern is a directional pickup pattern shaped like a heart (the word “cardioid” comes from the Greek word for heart). Microphones with this pattern are most sensitive to sounds arriving directly in front of the capsule and progressively less sensitive as the sound source moves around to the sides and back.
Technically, a true cardioid microphone has a null point at 180 degrees, meaning it almost completely rejects sound coming from directly behind it. Sounds arriving at 90 degrees (the sides) are picked up at reduced level, typically around 6 dB lower than the front. This directional behavior is what makes cardioid microphones so popular for vocal recording, podcasting, streaming, and dialog work in untreated rooms.
Behind the scenes, cardioid microphones achieve this pattern through a combination of acoustic design and, in condenser mics, dual diaphragms with specific porting. The capsule is engineered so that sound from the rear reaches the back of the diaphragm out of phase with the front, canceling itself out. The result is a microphone that hears what you point it at and ignores most of what you do not.
Why a Cardioid Pattern Reduces Room Noise
Room noise is what your microphone hears when it is not pointed at your voice. Computers, air conditioners, refrigerators, dog walkers, and reflections from hard walls all contribute to a layer of unwanted sound that smears your recording. A cardioid pattern reduces room noise because it is designed to ignore the directions where most of that noise lives.
In a typical home studio, the loudest competing noise sources are usually behind or to the side of the mic. Spinning the cardioid null toward those sources can cut perceived room noise by 10 dB or more without touching any software. That is the difference between a muddy, amateur recording and a clean, professional one.
The trick is to remember that cardioid rejection is not absolute. Off-axis sounds are attenuated, not vanished. Low frequencies especially can wrap around the capsule and still leak in. That is why placement, room treatment, and microphone choice all work together, rather than relying on the polar pattern alone.
Cardioid vs Other Polar Patterns Compared
Choosing the right polar pattern is the first step in reducing room noise. Below is a quick comparison of the four most common patterns you will encounter on consumer and prosumer microphones.
| Polar Pattern | Front Pickup | Side Pickup | Rear Pickup | Best For |
|---|---|---|---|---|
| Cardioid | Strong | -6 dB | Null (rejected) | Solo vocals, podcasts, streaming |
| Supercardioid | Stronger | More rejected | Small rear lobe | Noisy stages, focused dialog |
| Hypercardioid | Tightest front | More rejected | Larger rear lobe | Long-throw vocal capture |
| Omnidirectional | Equal all directions | Equal | Equal | Room ambience, group recording |
| Figure-8 (Bidirectional) | Equal front and rear | Null at sides | Equal to front | Interviews, dual-source capture |
For most home recording situations, a standard cardioid pattern hits the best balance between focused capture and usable off-axis sound. Supercardioid and hypercardioid are tighter on the sides but introduce a small rear lobe that can pull noise from behind if you are not careful. Omnidirectional is the worst choice for noisy rooms because it hears everything equally, including your neighbor’s TV.
How to Use a Cardioid Pattern to Reduce Room Noise: Step-by-Step
Here is the practical workflow I follow when setting up a cardioid microphone in a noisy space. These steps work for the microphone guides on our site and apply whether you are using a USB condenser or an XLR dynamic.
Step 1: Position the Front of the Mic Toward Your Mouth
The front of the microphone is the side with the logo or the side marked with a cardioid symbol. Point this side directly at your mouth. The sides of the mic pick up about half as much, and the rear hears almost nothing. Getting this direction right is the single biggest factor in cardioid noise reduction.
Step 2: Set the Right Distance (6 to 12 Inches)
For most vocal work, place the microphone 6 to 12 inches from your mouth. Closer (4 to 6 inches) gives an intimate, broadcast-style sound and maximizes the level of your voice relative to room noise. Farther (12 to 18 inches) sounds more natural but lets more room tone in. I usually start at 8 inches and adjust from there.
Step 3: Angle the Mic Slightly Off-Axis
Pointing the mic dead-on at your mouth can produce plosives and harsh sibilance. Tilt the capsule 10 to 20 degrees so your voice grazes across the diaphragm rather than slamming into it. This small adjustment also helps the null point away from your loudest noise source.
Step 4: Aim the Null at the Noisiest Source
Identify the loudest competing sound in your room (usually a computer, window, or HVAC vent) and rotate your body or mic so that the rear null of the cardioid points directly at it. This is one of the most overlooked cardioid tricks, and it can drop background noise by 6 to 10 dB with zero processing.
Step 5: Use a Pop Filter and Shock Mount
A pop filter stops plosives (“p” and “b” sounds) that can overwhelm the front of the capsule. A shock mount isolates the mic from vibrations traveling through your desk or boom arm. Both accessories keep your cardioid focused on your voice and not on handling noise or breath blasts.
Step 6: Engage a High-Pass Filter
Most cardioid microphones and audio interfaces have a high-pass filter (often labeled HPF or 80 Hz roll-off). Turn it on. Low-frequency rumble from HVAC, traffic, and computer fans lives below 80 to 100 Hz. Cutting it at the source keeps your recording clean and gives your voice more room in the mix.
The 3 to 1 Rule for Microphone Placement
The 3 to 1 rule is one of the simplest and most effective guidelines for reducing room noise and comb filtering. It states that when you have two or more microphones capturing the same source, the distance between each microphone should be at least three times the distance from each microphone to its source.
For a single-mic podcast setup, the 3:1 rule still applies to room noise. If your mouth is 8 inches from the cardioid mic, the nearest reflective surface (your computer monitor, a wall, or a hard desk) should be at least 24 inches away from the mic. This keeps reflected room noise from arriving at the capsule at the same level as your direct voice.
I tested this rule in my own studio. With a monitor 12 inches from the mic, I could hear a clear, hollow ring in the recording. Moving the monitor to 30 inches away eliminated the ring entirely. The 3:1 rule is not just theory. It works every time.
Setting Up Your Room for Better Recordings
Even the best cardioid microphone cannot save a recording in a hard, reflective room. You do not need a professionally treated studio, but a few small changes make a huge difference.
Choose a Quiet Corner
Set up your recording space in the quietest corner of your home, away from windows, shared walls, and busy streets. Closets full of clothes are surprisingly effective vocal booths because soft fabric absorbs reflections.
Add Soft Materials
Hang moving blankets, thick curtains, or rugs on the nearest hard walls to reduce reflections. A few well-placed acoustic foam panels behind the microphone and at the first reflection points will dramatically clean up your sound. DIY options like bookshelves filled with books and packed clothing racks work almost as well as commercial treatment.
Manage Mechanical Noise
Turn off or move away from noisy electronics. Place your computer as far from the microphone as your cable allows. Put your audio interface on a separate surface from your computer. Close the door to reduce hallway noise. Switch your HVAC to a lower fan setting during recording sessions.
Mind the Walls
Position the front of your cardioid microphone facing away from bare walls. Point the rear null toward the wall if you cannot treat it. A wall 3 feet behind a mic is far less noticeable than a wall 6 inches behind it.
Dynamic vs Condenser Microphones for Noisy Rooms
Both dynamic and condenser microphones can use a cardioid pattern, but they behave very differently in noisy environments. The difference is not the polar pattern. It is how much gain the mic requires.
Dynamic microphones, like the classic SM58 and most broadcast handhelds, have a lower output level. They need more gain from your interface, but they also have a tighter internal construction that naturally rejects more off-axis ambient noise. For very loud untreated rooms, a dynamic cardioid is often the safest choice.
Condenser microphones are more sensitive and capture more detail, but they also pick up more room noise at the same gain setting. If you use a condenser cardioid, set it close (4 to 8 inches), lower your preamp gain, and pair it with a quiet interface. A well-placed cardioid condenser in a treated room outperforms a dynamic in an untreated one.
On Reddit, recording professionals often note that a cardioid condenser can match a dynamic mic for noise rejection if you reduce the gain and bring the mic closer to your mouth. The trade-off is less headroom and a more “in your face” vocal tone.
Common Mistakes to Avoid When Using a Cardioid Pattern
Most cardioid noise problems come from a few predictable mistakes. Watch out for these before you hit record.
- Pointing the wrong end at your mouth. The logo or cardioid symbol marks the front. The rear is the null.
- Too much distance. Beyond 18 inches, your voice level drops and room noise becomes dominant.
- Too much gain. Cranking the preamp to compensate for a quiet mic brings up background hiss and room tone.
- Ignoring the null direction. Failing to aim the rear rejection at your loudest noise source wastes the cardioid’s biggest advantage.
- Recording in a hard, empty room. Reflections from bare walls and windows act like extra sound sources that the cardioid cannot reject.
- Skipping the high-pass filter. Low-end rumble muddies your voice and uses up headroom you need for clarity.
Step-by-Step Checklist for Reducing Room Noise
Use this quick checklist the next time you sit down to record. It bundles everything we covered into a fast, repeatable setup.
- Choose the quietest corner of your home, away from windows and busy walls.
- Place a cardioid microphone 6 to 12 inches from your mouth.
- Angle the mic 10 to 20 degrees off-axis to reduce plosives.
- Rotate so the rear null points at your loudest noise source.
- Mount the mic in a shock mount and add a pop filter.
- Engage the high-pass filter on your mic or interface.
- Keep the nearest hard surface at least 3 times the mic-to-mouth distance.
- Set your preamp gain low enough that room noise stays below the voice.
- Hang soft material on the closest reflective wall.
- Record a 10-second test and listen back on headphones before the real take.
Frequently Asked Questions
What is the 3 to 1 rule for microphones?
The 3 to 1 rule states that when using multiple microphones, the distance between any two mics should be at least three times the distance from each mic to its source. For single-mic setups, it means keeping reflective surfaces at least three times the mic-to-mouth distance away to prevent room reflections from masking your direct voice.
How do I stop room noise on my microphone?
Use a cardioid microphone pointed at your mouth with the rear null aimed at the loudest noise source. Place the mic 6 to 12 inches from your mouth, engage the high-pass filter, reduce preamp gain, and add soft absorption like blankets or foam to nearby walls. Combining cardioid placement with simple room treatment is the fastest way to drop room noise.
Is a cardioid mic noise cancelling?
A cardioid mic is not noise cancelling in the active sense (it does not use electronic cancellation), but it is noise rejecting in a passive sense. It naturally rejects sound from the sides and rear, so background noise from behind the mic drops by 15 to 25 dB compared to the front pickup.
How do I block out noise coming from another room?
Close the door between rooms, seal gaps with weather stripping or a draft stopper, and aim the rear null of your cardioid mic at the shared wall. Add a heavy blanket or moving pad to the door if possible. For persistent noise, switch to a dynamic cardioid and keep the mic close to your mouth.
What are the pros and cons of cardioid microphones?
Pros: focused on-axis pickup, strong rear rejection, ideal for untreated rooms, widely available, and works well for solo vocals. Cons: proximity effect can boost low frequencies, rear lobe can pick up noise if mis-aimed, less natural room sound than omnidirectional, and you must be careful about mic direction or sound quality drops.
Final Thoughts on Using a Cardioid Pattern to Reduce Room Noise
Learning how to use a cardioid pattern to reduce room noise is one of the highest-leverage skills a home recordist can develop. The microphone’s directional design is doing half the work for you, but only if you place it correctly. Keep the front aimed at your mouth, the null pointed at the loudest noise source, and the mic within 6 to 12 inches of your voice. Add a high-pass filter, soft materials on nearby walls, and the 3:1 rule for spacing, and you will be surprised how quiet your recordings can sound.
Start with one change at a time and listen to the difference. Once you hear how much cleaner a cardioid mic can sound in a noisy room, you will never go back to setting up however feels easiest. Your voice, your listeners, and your future editing self will all thank you.