
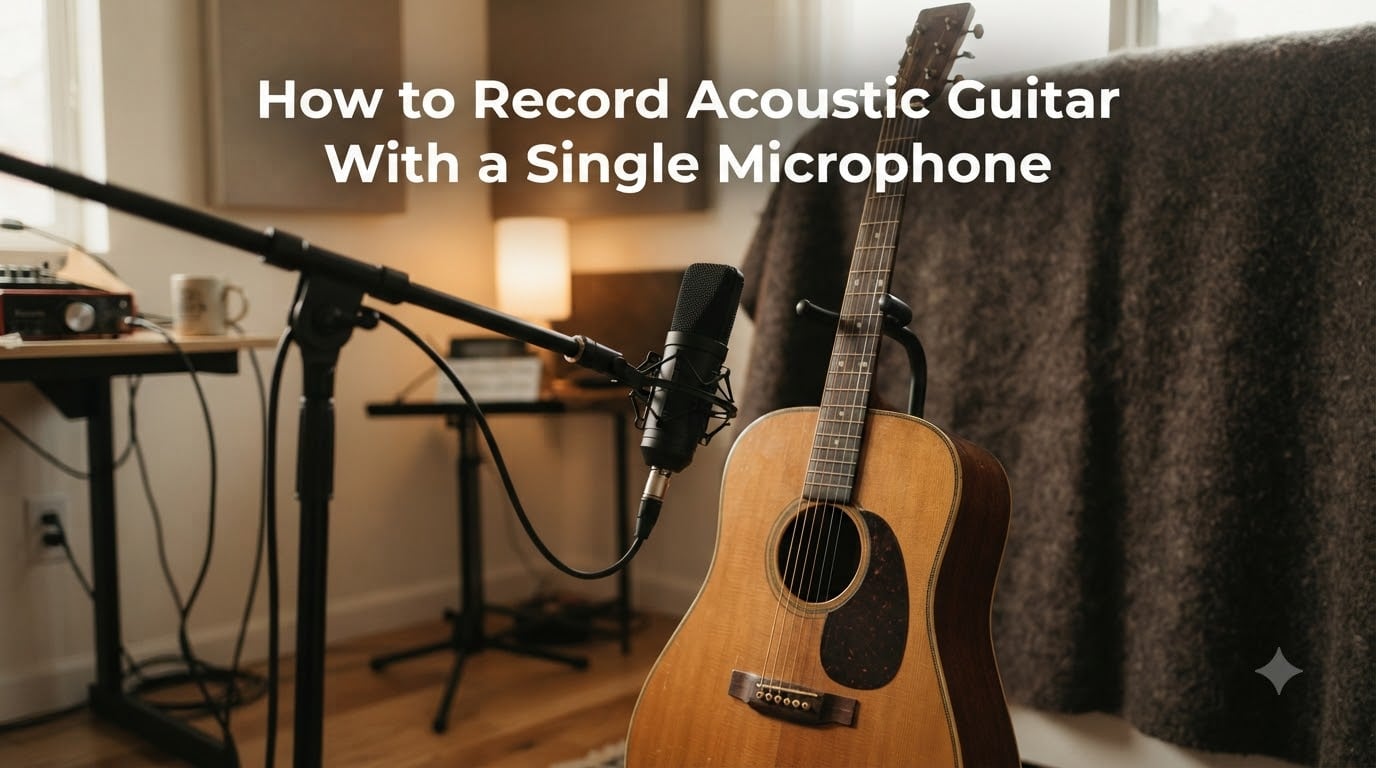
You can absolutely record a professional-sounding acoustic guitar with just one microphone. The trick is choosing the right mic type, placing it at the right spot on the guitar, and treating your room well enough to let the instrument breathe.
I learned this the hard way. My first dozen recordings sounded thin or boomy, and I blamed my gear for years. Once I focused on microphone placement, distance, and room acoustics, everything changed. Today, my single-mic tracks sit happily next to multi-mic productions in mixes.
In this guide, I’ll walk you through the exact steps I use in my home studio to record acoustic guitar with one microphone. You’ll learn about mic choice, the three placement positions that work for everything, distance guidelines, and a lesser-known technique called corner loading that adds warmth fast.
Whether you record in a bedroom, a closet, or a treated room, these principles apply. Let’s get your acoustic guitar sounding like it deserves to.
Table of Contents
How to Record Acoustic Guitar With a Single Microphone: The Direct Answer
To record acoustic guitar with a single microphone, point a cardioid condenser microphone at the 12th fret from about 6 to 12 inches away. Angle the mic slightly toward the soundhole if you want more body, or toward the neck if you want more sparkle. Always record in the quietest, least reflective room you can find, and use closed-back headphones while you find your sweet spot.
That single paragraph covers 80% of what most people need. But the details matter, so let’s go deeper into why each of those choices works, and how to adjust for different rooms, guitars, and styles.
Best Microphone Types for Single-Mic Acoustic Recording
A condenser microphone is the go-to choice for recording acoustic guitar with a single mic. Condensers capture the fast transients of a plucked string and the subtle harmonic detail that defines a great acoustic tone.
There are two main condenser types worth knowing about:
- Small-diaphragm condensers are precise and articulate. They handle fast picking and fingerstyle beautifully. If your playing is bright and rhythmic, this is a strong choice.
- Large-diaphragm condensers add warmth and body. They are forgiving on strumming and ballads. They bring a slightly larger, more colored sound to the recording.
Many engineers I work with keep both on hand and pick based on the song.
If you only have a dynamic microphone like the classic SM57, you can still get a usable acoustic recording. Dynamics need more gain and respond less to subtle string detail, but they reject room noise better, which matters in untreated spaces.
One quick note on polar pattern: cardioid is your friend for solo acoustic recording. It focuses on what is in front of the mic and rejects the room behind it. Omnidirectional patterns pick up too much room reflection unless you record in a very well-treated space.
Microphone Placement Techniques: Three Positions That Work
Microphone placement is the single biggest factor in your recorded tone. Most engineers settle on one of three classic positions, and each gives a distinctly different sound.
Position 1: The 12th Fret (Balanced and Natural)
Point the mic at the 12th fret, where the neck meets the body. This is the most popular single-mic position because it blends the warmth of the soundhole with the brightness of the higher strings.
Aim the capsule at the fret from about 8 to 12 inches away. Angle it slightly toward the soundhole if your guitar sounds too bright, or toward the headstock if it sounds too boomy. This is the position I reach for 90% of the time on solo acoustic recordings.
Position 2: The Bridge (Bright and Articulate)
Point the mic directly at the bridge, about 6 to 8 inches away. This position captures string attack and percussive detail. It works well for fingerstyle, lead lines, and songs with a rhythmic strumming pattern that needs to cut through a mix.
The downside is that the bridge position can sound thin or harsh on some guitars. If that happens, pull the mic back another 2 to 4 inches to soften the high end.
Position 3: The Soundhole (Warm and Full)
Point the mic at the soundhole from about 8 to 12 inches away, slightly off-axis to avoid the harsh air blast from the lowest strings.
This position is the warmest. It captures the full body resonance of the guitar, which is perfect for ballads and slower songs. The risk is that it can become boomy if your room has too much low-end reflection. Pulling the mic back to 12 to 14 inches tightens up the bass response.
How Far Should the Microphone Be From the Guitar?
Distance controls the balance between direct sound and room sound. Closer equals more direct, focused, and intimate. Further equals more room, more natural, and more blended.
Here are practical numbers I use as starting points:
- 6 to 8 inches: Close, detailed, intimate. Best for fingerstyle and articulate playing.
- 8 to 12 inches: The sweet spot for most single-mic acoustic work. Balanced tone with a hint of room.
- 12 to 18 inches: More room, more natural reverb, less proximity effect. Good for lush ballads and big-bodied guitars.
The closer you get, the more proximity effect you will hear. Proximity effect is the bass boost that happens when a directional mic gets close to a sound source. It can add warmth, but it can also make a small guitar sound muddy fast. Use it as a tone control rather than something to fear.
Room Acoustics: Finding Your Recording Sweet Spot
Room acoustics matter as much as mic placement. A great mic in a bad room gives you a muddy or echoey recording, no matter how well you place it.
When I record at home, I close doors and windows, turn off fans and HVAC, and listen to the room before I touch a microphone. Clap your hands once. If you hear a long ring or flutter echo, the room needs work.
Here are my favorite cheap fixes:
- Record in a closet full of clothes, which acts as a natural absorption chamber.
- Hang thick blankets on the wall behind the player and behind the microphone.
- Put a rug on a hard floor between you and the mic.
- Sit on a bed or couch to absorb reflections from below.
You don’t need a fully treated studio. You need to kill the early reflections that smear the sound. Any soft, dense material in the right spot does the job.
One trick our team tested in three different rooms: walk around the room while you strum a chord and listen through closed-back headphones. The spot where the guitar sounds clearest and most balanced is usually the spot directly in front of your listening position. Place the mic and player there.
Corner Loading: A Pro Technique for Warmth
Corner loading is one of the simplest ways to add low-end weight and natural compression to an acoustic recording. Place the player in the corner of a room, as close to both walls as possible, with the mic about 12 inches from the guitar.
The corner acts like a low-frequency amplifier. The two walls and the floor reinforce the bass response of the guitar, giving you a fuller tone without any EQ. Many engineers use corner loading on vocals for the same reason.
I tried this on a dreadnought and a smaller parlor guitar. The dreadnought got richer, almost too much bass. The parlor guitar went from thin to beautifully balanced with one mic move.
Watch out in very small or very reflective corners. The boost can turn into a boomy mess if the room has hard surfaces. If that happens, drape a blanket over one of the walls to tame the low end.
Recording Guitar and Vocals With a Single Microphone
Recording acoustic guitar and vocals at the same time with one mic is a classic singer-songwriter setup. You can absolutely get a usable result.
The trick is balance. The mic should sit slightly closer to the singer’s mouth than to the guitar, because vocals project less energy than a strummed guitar. A good starting point: place the mic about 8 to 10 inches from the singer’s mouth and let the guitar be 14 to 18 inches away. Angle the mic between the two, aimed at the singer’s mouth.
Two practical tips from real sessions:
- Use a pop filter on the mic to reduce plosives from the singer’s P and B sounds.
- Ask the singer to play slightly softer than they would on a solo take. The mic will lift the volume in the mix later.
If the vocals drown out the guitar or vice versa, reposition the player so the weaker source is closer to the mic. A few inches can change the balance dramatically.
Common Mistakes and Troubleshooting
Most acoustic guitar problems come down to a few recurring issues. Here are the fixes that solve 90% of what I see in beginner recordings.
- Boomy or muddy sound: The mic is too close to the soundhole, or the room has too much low-end reflection. Pull the mic back to 12 inches or move off-axis from the soundhole.
- Thin or harsh sound: The mic is aimed at the bridge too directly. Aim it at the 12th fret or the neck joint instead.
- Too much room sound: Switch to a cardioid pattern, close doors and windows, and add absorption behind the player.
- Plosives and breath sounds: Add a pop filter and angle the mic slightly off-axis from the singer’s mouth.
- Phase issues when overdubbing: Wear headphones while tracking. If you monitor on speakers, you can record your speakers into the mic and create timing problems later.
Quick-Reference Checklist
Before you press record, walk through this list. It takes 30 seconds and saves hours of re-recording.
- Phone silenced, HVAC off, fans off
- Doors and windows closed
- Cardioid condenser mic in working order, fresh batteries if needed
- Mic aimed at 12th fret from 8 to 12 inches away
- Pop filter in front if recording vocals
- Closed-back headphones on the player and engineer
- Audio levels peaking at -12 dB on the loudest strum
- 5-second count-in to confirm the take is clean
Frequently Asked Questions
Do you need two mics to record an acoustic guitar?
No. A single cardioid condenser microphone, pointed at the 12th fret from 8 to 12 inches away, captures the natural tone of an acoustic guitar in most rooms. Two mics give you more stereo width, but they also introduce phase challenges that a beginner may not want to deal with.
What is the 3 to 1 mic rule?
The 3 to 1 rule applies when you use multiple microphones on the same source. It means the second mic should be at least three times farther from the source than the first mic. This spacing reduces phase cancellation between the mics. For single-mic recording, the rule does not apply directly, but it is good background if you ever add a room mic later.
How to mic an acoustic guitar for recording?
Start with a cardioid condenser microphone. Aim it at the 12th fret from 8 to 12 inches away. Listen through closed-back headphones and adjust the angle. Aim toward the soundhole for more bass, toward the neck for more brightness, and pull back the mic for more room sound.
What is the best mic for recording acoustic guitars?
Small-diaphragm condensers are widely considered the most accurate choice for acoustic guitar. Large-diaphragm condensers add warmth and color. The exact best mic depends on your guitar, your room, and your taste, so try a few positions before committing to a take.
Conclusion
Recording acoustic guitar with a single microphone is not a compromise. It is a deliberate, professional choice used on countless records. With one cardioid condenser mic, a good room, and a few careful placement choices, you can capture the full natural tone of your instrument.
Start at the 12th fret from 8 to 12 inches away. Adjust for taste. Move the player if the room sounds off. Trust your ears over rules. The more you experiment with one mic, the more you will learn what your guitar actually sounds like, and that knowledge transfers to every setup you ever touch.
7 thoughts on “Record Acoustic Guitar With One Microphone (2026) Guide”