
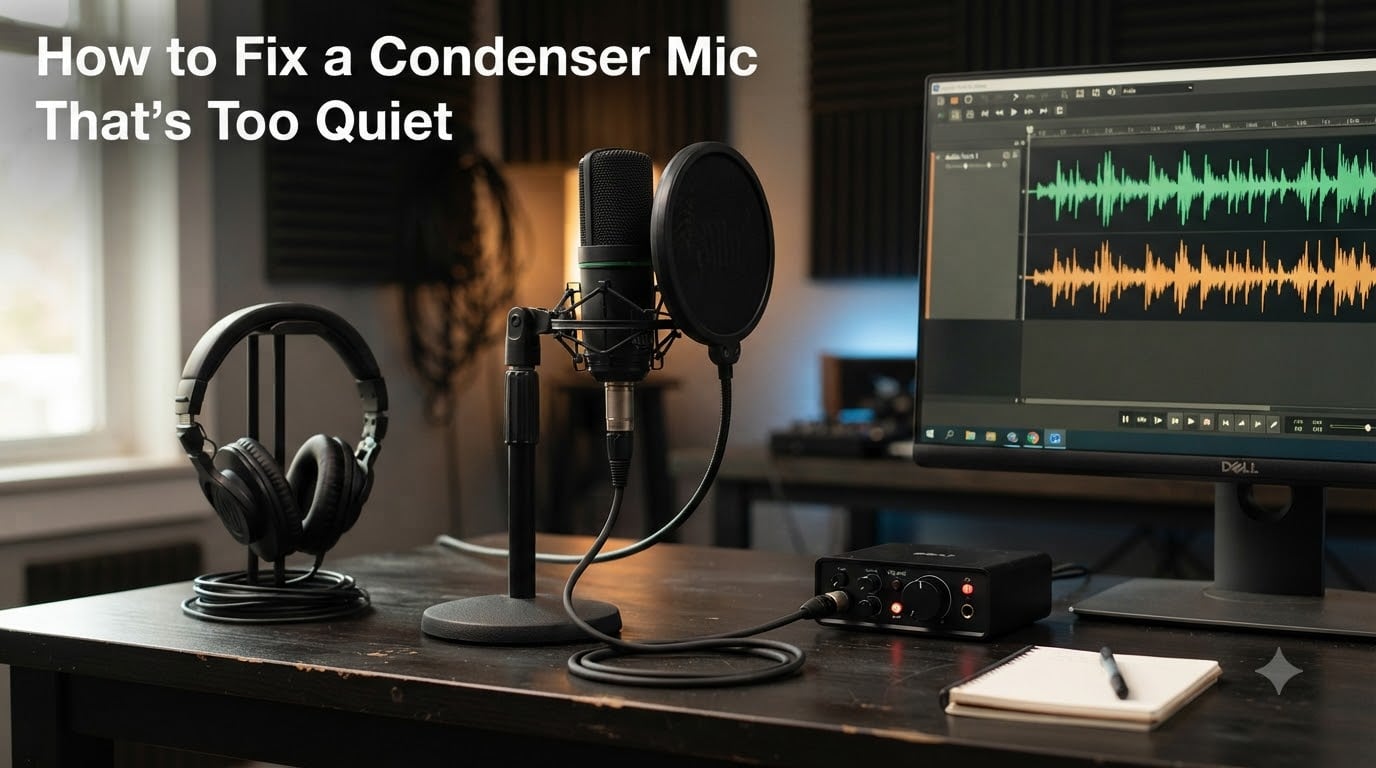
Learning how to fix a condenser mic that’s too quiet starts with one fact: condenser microphones need external power and sufficient gain to produce audible signal. If yours is barely picking up sound, the problem almost always traces back to missing phantom power, low gain settings, a faulty cable, or software muting your input.
I have helped dozens of podcasters, streamers, and home studio owners diagnose this exact issue. The fix is usually simple once you understand the signal chain. In this guide, I will walk you through eight troubleshooting steps, starting with the most common culprits and ending with equipment upgrades.
Most people fix their quiet condenser mic within the first three steps. Work through them in order, and you will likely find the culprit before you reach the end.
Table of Contents
Understanding the Signal Chain
Your audio travels through a series of components before it reaches your recording software. Each link in this chain can reduce volume if it is set incorrectly. Understanding this path is the key to diagnosing any mic problem.
The signal chain for a condenser microphone looks like this: your voice hits the microphone capsule, travels through the XLR cable, receives power from the interface or preamp, gets amplified by the gain stage, converts to digital at the interface, and finally arrives in your software.
If any single component fails or is misconfigured, the result is a weak, quiet signal. That is why a systematic approach matters. You test each link, moving from the mic outward to the software.
Competitors often skip this explanation, jumping straight into settings tweaks. But knowing the signal chain helps you understand why each fix works, which makes you faster at troubleshooting future audio problems.
Condenser vs Dynamic Microphones
Condenser microphones and dynamic microphones operate on different principles, and this directly affects volume. Condenser mics use a charged capacitor plate that is extremely sensitive to sound pressure. This design makes them highly detailed but requires external power to function.
Dynamic microphones use a moving coil and magnet. They generate their own signal without needing phantom power. However, they produce a much lower output level, which is why a Shure SM58 can sound quieter than a condenser mic through the same interface.
Here is the key difference for troubleshooting: if your condenser mic is quiet, it usually means it is not receiving power or gain. If your dynamic mic is quiet, it usually means your interface lacks sufficient gain to drive it. The fixes overlap but the root causes differ.
Forum users on Reddit’s r/audioengineering frequently confuse these two scenarios. One common post describes an SM58 sounding quieter than expected compared to a condenser mic. That is normal behavior, not a defect.
How to Fix a Condenser Mic That’s Too Quiet: Quick Troubleshooting Steps
Follow these eight steps in order. Each one targets a specific link in your signal chain.
Verify phantom power (48V) is turned on
Check your gain knob on the audio interface
Inspect and replace XLR cables
Avoid XLR to 3.5mm adapters
Adjust Windows or macOS input levels
Check Discord, OBS, and streaming app settings
Fix your microphone placement
Upgrade your interface or add an inline preamp
The first three steps solve the problem for roughly 80% of users. Let me walk you through each one in detail.
Step 1: Check Phantom Power (48V)
This is the single most common reason a condenser mic is too quiet, and it is the first thing you should verify. Condenser microphones require 48V phantom power to operate their internal circuitry. Without it, the mic either produces no sound at all or an extremely faint, distorted signal.
Phantom power is delivered through the XLR cable by your audio interface or external phantom power supply. Look for a button labeled “48V” or “Phantom” on your interface. On a Focusrite Scarlett, it is a clearly marked button on the front panel. On a Behringer U-Phoria, it sits near the gain knob.
Here is the correct sequence for enabling phantom power safely:
Turn the gain knob all the way down
Connect your microphone with the XLR cable
Press the 48V button
Wait two seconds for the power to stabilize
Slowly raise the gain while speaking into the mic
Many users skip this step because their interface does not automatically enable phantom power. I have seen cases where someone plugs in a condenser mic, turns up the gain, and hears almost nothing. The fix is as simple as pressing one button.
A common mistake is turning phantom power on and off rapidly. This can produce a loud pop that damages speakers or headphones. Always lower the gain and volume before toggling 48V.
One Reddit user reported their AT2020 was nearly silent despite everything being connected. The issue? They had connected through an XLR to 3.5mm adapter into a USB sound card that did not supply phantom power. The mic was effectively unpowered. Switching to a proper audio interface solved it instantly.
If you are using a USB condenser microphone (like a Blue Yeti or Audio-Technica AT2020 USB+), phantom power is handled internally. You do not need to enable it manually. This step applies only to XLR condenser microphones connected to an interface or mixer.
Step 2: Verify Your Gain Settings
Gain controls how much your interface amplifies the microphone signal. If gain is set too low, your recording will be quiet even when phantom power is working correctly. Gain staging, the process of setting levels at each point in the chain, is what separates clean audio from noisy, quiet audio.
Start with the physical gain knob on your audio interface. Turn it up gradually while speaking at your normal volume. On a Focusrite Scarlett, the gain halo around the knob turns green when the level is good, amber when it is approaching clipping, and red when it is too loud.
You want the halo to flicker green consistently while you speak. If it barely lights up, your gain is too low. If it stays amber or red constantly, your gain is too high and you will get distortion.
Many budget interfaces, including some Behringer models, simply do not provide enough clean gain for low-output microphones. Forum users on Linus Tech Tips frequently report needing to max out the gain knob on entry-level interfaces. This produces a usable but noisy signal, with audible hiss in the background.
After setting hardware gain, check your software input level. On Windows, go to Sound Settings, find your microphone under Input, and set the level to 80-100%. On macOS, open System Settings, select Sound, and drag the input volume slider to maximum.
Do not confuse gain with volume. Gain amplifies the incoming signal from your microphone. Volume controls how loud the output sounds to your ears. Boosting volume after the fact cannot fix a signal that was recorded too quietly, because you also amplify all the background noise.
If you find yourself maxing out the gain knob and still getting a weak signal, your interface may lack sufficient preamp power for your microphone. This is common with ribbon mics and some dynamic mics, but it can also affect low-output condensers. An inline preamp like a Cloudlifter can solve this by adding 25dB of clean gain before the signal reaches the interface.
Step 3: Inspect Cables and Connections
A damaged or low-quality XLR cable can reduce your signal to a whisper. XLR cables carry balanced audio and phantom power, so a fault in the cable affects both signal strength and power delivery. This makes cable issues surprisingly common and easy to overlook.
Start by checking both ends of your XLR cable. Make sure the connectors click firmly into place. A partially inserted cable can pass a weak, intermittent signal that sounds like a mic problem but is actually a connection problem.
Test with a known working spare cable if you have one. If the volume improves dramatically, your original cable was the issue. Internal wire breaks are invisible from the outside but cause significant signal loss.
Cheap cables are a frequent culprit. The shielding on budget XLR cables is often thin, which lets interference degrade your signal. I recommend using cables from reputable brands like Mogami, Hosa, or Planet Waves for any recording setup.
Watch for bent pins on XLR connectors. If the three pins inside the male end are bent or damaged, the connection will be unreliable. Straighten bent pins gently with needle-nose pliers, or replace the cable entirely.
Step 4: Avoid XLR to 3.5mm Adapters
This is a trap that catches many first-time condenser mic owners. XLR to 3.5mm adapters seem like a convenient way to connect a professional microphone to a computer’s microphone jack. In practice, they cause severe signal loss and usually make the problem worse.
The reason is impedance mismatch and the lack of phantom power. A computer’s 3.5mm mic input expects an unbalanced, powered electret microphone signal. A condenser mic outputs a balanced signal that requires 48V phantom power. The adapter physically connects the two, but electrically they are incompatible.
Multiple forum users describe this exact scenario. One person connected an AT2020 through a phantom power box, an XLR to 3.5mm adapter, and a USB sound card. The result was barely audible audio. The solution was replacing the entire chain with a proper audio interface like a Focusrite Scarlett or Behringer UMC22.
If you are using any adapter in your signal chain, remove it. Connect your microphone directly to an audio interface using a standard XLR cable. This single change resolves a large percentage of “my condenser mic is too quiet” complaints.
Step 5: Check Windows and macOS Software Settings
Operating system settings can override your hardware configuration and silently reduce your microphone volume. Even with phantom power and gain set correctly, a software limitation will keep your signal quiet.
On Windows 11, open Settings, go to System, then Sound, and click your microphone under Input. Drag the input level slider to 100. Then open the old-school Sound Control Panel by clicking “More sound settings.” Find your microphone under the Recording tab, right-click it, select Properties, and check the Levels tab. Some interfaces expose a “Microphone Boost” slider here. Increase it in small increments.
Windows also has app-level microphone permissions. Go to Settings, Privacy and security, and then Microphone. Make sure your recording apps have permission to access the microphone. If access is denied, the app receives a near-zero signal regardless of your hardware settings.
On macOS, open System Settings, select Sound, and set the input volume to maximum. Note that macOS does not offer per-app microphone boost like Windows does. If you need more gain on a Mac, it must come from your interface or an inline preamp.
One frequently overlooked setting is the sample rate. Right-click your microphone in the Windows Sound Control Panel, open Properties, and go to the Advanced tab. If the sample rate is set incorrectly, it can cause low volume or distorted audio. Most interfaces default to 44.1kHz or 48kHz at 24-bit. Switching between these options has resolved mic volume issues for several users on r/techsupport.
Exclusive mode on Windows can also cause problems. In the same Advanced tab, uncheck “Allow applications to take exclusive control of this device.” This prevents one app from locking your microphone at a low level while another tries to use it.
Step 6: Check Discord, OBS, and Streaming App Settings
Many users discover their mic sounds fine in a recording but is too quiet on Discord, OBS, or Zoom. This happens because each application manages its own input gain independently of your system settings.
In Discord, go to Settings, then Voice and Video. Scroll to Input Sensitivity and turn off “Automatically determine input sensitivity.” Set the sensitivity slider manually so your voice registers reliably. Then check the input volume slider below it and set it to 100%.
Discord also has a noise suppression feature called Krisp. If it is set too aggressively, it can attenuate your voice and make you sound quiet. Try disabling noise suppression temporarily to see if your volume improves.
In OBS Studio, click the gear icon next to your microphone source and select Advanced Audio Properties. Make sure the volume is at 100% and that no audio filters are reducing gain. The Noise Gate filter, in particular, can cut off quiet speech if the threshold is set too high.
For Zoom, open Settings, go to Audio, and uncheck “Automatically adjust microphone volume.” Zoom will otherwise lower your input level on its own, undoing your hardware gain settings. After disabling this, set the input volume slider to maximum.
If your mic is quiet in one app but loud in another, the issue is app-specific, not hardware-related. Go through that app’s audio settings methodically.
Step 7: Fix Your Microphone Placement
Even with perfect settings, bad placement produces a quiet recording. Condenser microphones are sensitive, but they still need to be close enough to capture a strong signal.
The ideal distance for a condenser microphone is 6 to 12 inches from your mouth. If you are 2 feet away, the signal drops off dramatically due to the inverse square law. Doubling your distance from the mic reduces the signal by approximately 6dB.
Pay attention to the polar pattern of your microphone. Most condenser mics are cardioid, meaning they pick up sound from the front and reject sound from the rear. The front is usually marked with a brand logo. If you are speaking into the wrong side of the microphone, your signal will be extremely weak.
Using a pop filter can actually encourage better placement. Position the filter about 2 inches from the mic grille, then speak just behind it. This naturally sets the right distance without you having to think about it.
A shock mount also helps by isolating the mic from desk vibrations that muddy the low end and make the overall signal seem weaker.
Step 8: When to Upgrade Your Equipment
If you have worked through every step above and your condenser mic is still too quiet, the problem is likely your audio interface. Budget interfaces under a certain threshold often have preamps that simply cannot provide enough clean gain for low-output microphones.
Signs your interface lacks sufficient gain include needing to max out the gain knob, hearing significant hiss at usable volumes, and signal that never reaches a healthy level in your recording software.
Two options exist. First, you can add an inline preamp like a Cloudlifter or Triton Audio FetHead. These devices sit between your microphone and interface, adding 20-25dB of clean, noise-free gain. They are especially effective for dynamic mics but also help with low-output condensers.
Second, you can upgrade to an interface with better preamps. The Focusrite Scarlett Solo (3rd or 4th Gen) and the MOTU M2 both provide more clean gain than entry-level Behringer interfaces. Real users on audio forums consistently report a noticeable volume and clarity improvement after this upgrade.
If you are using a USB condenser microphone and it is still too quiet after checking all software settings, the microphone itself may have a defect. Contact the manufacturer for warranty support or replacement.
FAQs
Why is my condenser mic so quiet?
Your condenser mic is likely quiet because phantom power (48V) is not enabled, the gain on your audio interface is set too low, or a faulty cable is degrading the signal. Condenser microphones require external power and sufficient gain to produce audible output.
What to do if my mic is too quiet?
Start by enabling phantom power on your interface, then increase the gain knob. Test a different XLR cable, remove any adapters, check your operating system input levels, and verify app-specific settings in Discord or OBS. Work through each link in the signal chain systematically.
How do I make my condenser mic sound better?
Position the mic 6 to 12 inches from your mouth, set gain so peaks stay in the green zone, use a pop filter, enable phantom power, and record in a treated room. Avoid maxing out gain knobs, which introduces hiss. An inline preamp can add clean gain if your interface is underpowered.
Why is my mic barely picking up sound?
Your mic may be barely picking up sound due to a broken XLR cable, an XLR to 3.5mm adapter causing impedance mismatch, phantom power not reaching the capsule, or software muting the input. Test each component individually, starting with the cable and power, then move to software settings.
Conclusion
Fixing a quiet condenser mic comes down to checking each link in your signal chain, from phantom power and gain settings to cables and software configuration. Most cases resolve at the phantom power or gain stage. If you have worked through all eight steps and still have low volume, an interface upgrade or inline preamp is your next move.
Knowing how to fix a condenser mic that’s too quiet gives you confidence to handle future audio issues quickly. Bookmark this guide and work through the steps in order the next time your signal drops.