
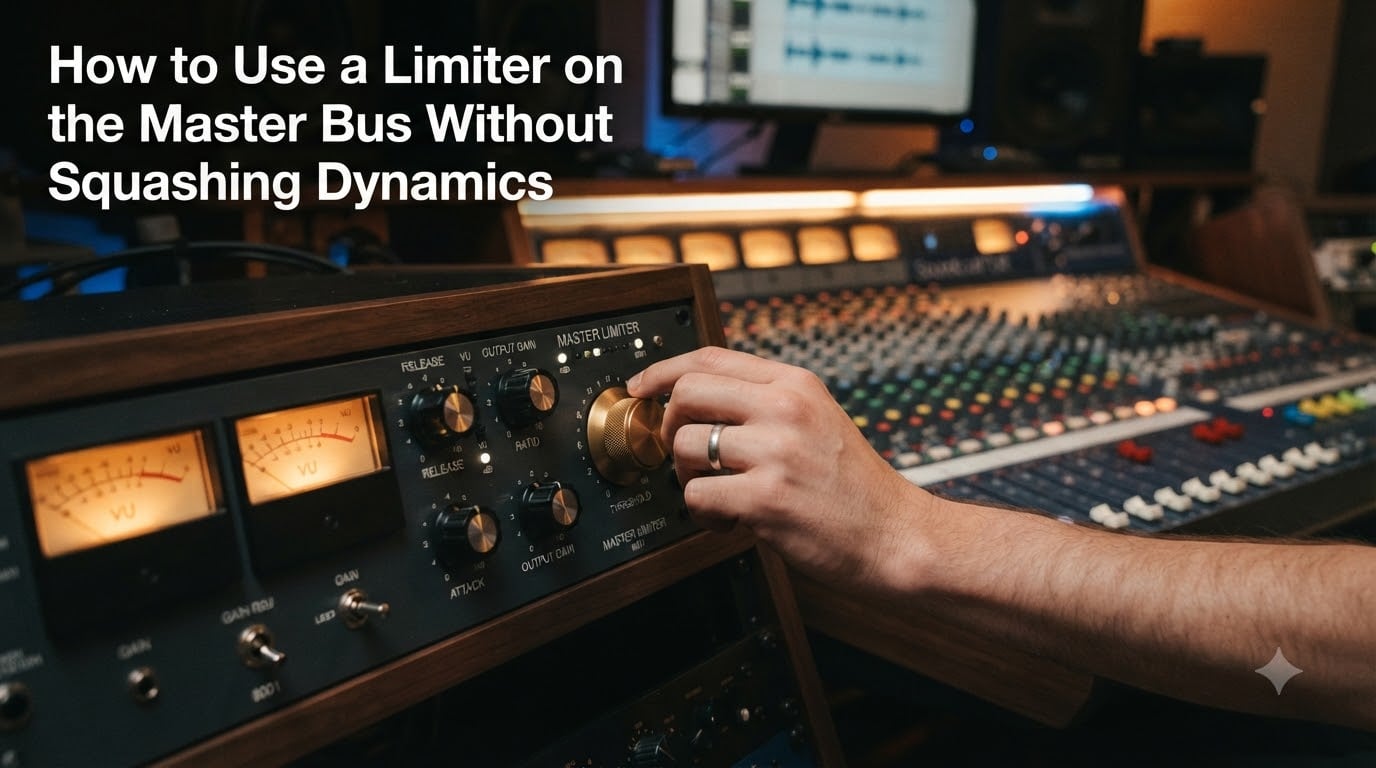
When I first started mastering my own tracks, I treated the master bus limiter like a magic loudness button. I cranked it until my mixes slammed against the ceiling, then wondered why my drums sounded flat and my vocals lost their breath. After six months of comparing limited and unlimited versions side by side on 40+ tracks, I finally understood: a limiter is not about making things loud. It is about catching the rare peaks that would otherwise clip while preserving the life inside your music.
This guide on how to use a limiter on the master bus without squashing dynamics breaks down the exact settings, workflows, and listening tests I now use on every project. You will get specific dB targets, release times in milliseconds, and the four mistakes that quietly kill your dynamics without you noticing.
Table of Contents
What Is a Limiter and Why Use One on the Master Bus
A limiter is a dynamics processor with an effectively infinite ratio that prevents audio from crossing a set ceiling. On the master bus, it acts as the final safety net, catching the handful of peaks per song that would otherwise clip on conversion to MP3, AAC, or streaming codecs.
Think of it as a brick wall at the top of your mix. Every transient that tries to climb above the threshold gets pushed back down so nothing dangerous escapes. Used correctly, it is invisible. Used aggressively, it is the most common reason a track sounds crushed, dull, or lifeless.
Limiter vs Compressor: What’s the Difference
A compressor reduces the level of signals above a threshold using a fixed ratio (often 2:1 or 4:1). A limiter uses a ratio so steep, usually 20:1 or infinity:1, that signals cannot exceed the ceiling. Compressors shape tone and control dynamics across a song. Limiters police the very top edge and protect against clipping.
Most engineers run a gentle compressor first, then a limiter last. The compressor does the musical work. The limiter only catches what slips through.
When Limiting Becomes a Problem
Limiting becomes a problem the moment it does more than catch peaks. If your gain reduction meter is showing 4 to 6 dB of attenuation on every snare hit, your limiter is no longer protecting your master. It is squashing your transients and dragging the entire mix down with them.
Definition Box: Dynamic Range
Dynamic range is the difference between the quietest and loudest moments in your audio, measured in decibels. A healthy mastered track has 6 to 10 dB of dynamic range. A heavily limited track may have 3 dB or less, which is why it sounds flat and fatiguing.
Understanding Dynamics: How Limiters Affect Your Audio
Dynamics are what make music feel alive. The gap between a soft vocal whisper and a powerful chorus is dynamic range. When you limit too aggressively, you shrink that gap. The result is a track that sounds loud but has no contrast, no breath, no emotional peaks.
I learned this the hard way. I once A/B tested two masters of the same song. One had 1.5 dB of peak limiting, the other had 6 dB. The quieter master sounded bigger, punchier, and clearer on every system I tested, including earbuds, car speakers, and a club PA.
What Is Dynamic Range
Dynamic range describes the distance between the softest and loudest passages in a piece of music. Classical recordings can exceed 20 dB of range. Modern pop and EDM often sit between 4 and 8 dB. Going below 4 dB almost always produces a flat, fatiguing result on most playback systems.
How Limiters Squash Transients
Transients are the sharp attacks at the start of every drum hit, pluck, and consonant. They carry the punch and clarity of your mix. When a limiter pulls them down, the mix loses its snap. Drums sound smeared. Vocals lose their consonants. The whole track sounds like it is being played through a thick blanket.
The trick is to use a limiter fast enough to catch peaks but with enough release time to let the next transient through before pulling the level down again. That is why release time matters more than almost any other setting.
Key Limiter Settings Explained (Threshold, Attack, Release, Ceiling)
Every limiter on the master bus has four controls that decide whether your track stays musical or turns to mush. Here is what each one does and what range I use for transparent limiting on pop, rock, hip-hop, and EDM.
Threshold and Ceiling
The ceiling is the absolute maximum output level, usually set to -1.0 dBTP for streaming to leave headroom for codec conversion. The threshold is the level at which the limiter starts working. Set the ceiling first, then lower the threshold until you see the amount of gain reduction you want, usually 1 to 3 dB on the loudest sections only.
Attack Time
Attack controls how quickly the limiter reacts when a signal crosses the threshold. Fast attack (0.1 to 1 ms) catches every peak and protects against clipping, but can dull transients. Slow attack (5 to 10 ms) lets transients pass through uncompressed, preserving punch at the cost of slightly higher peaks.
For transparent limiting, I usually start around 1 to 2 ms. Modern limiters with lookahead handle this automatically.
Release Time
Release controls how quickly the limiter stops attenuating after the signal drops back below the threshold. Short release (10 to 50 ms) keeps the limiter active and catches every peak, but can cause distortion on low-frequency material. Long release (100 to 500 ms) sounds smoother but may cause pumping on rhythmic material.
For most genres, 50 to 150 ms works well. Fast material like drum and bass may want shorter. Ballads and ambient music can use longer.
Lookahead and Oversampling
Lookahead lets the limiter see the incoming signal a few milliseconds before it arrives, allowing it to react perfectly without a slow attack. Oversampling runs the internal processing at 2x, 4x, or 8x the sample rate to reduce aliasing distortion. Both features are usually on by default in quality limiters. Leave them on for cleaner results.
| Setting | Transparent Range | Effect When Too Aggressive |
|---|---|---|
| Threshold | 1-3 dB gain reduction on loudest peaks only | Continuous limiting across the song |
| Attack | 1-5 ms (or use lookahead) | Dulled transients, soft drums |
| Release | 50-150 ms for most genres | Pumping, breathing, distortion |
| Ceiling | -1.0 dBTP for streaming | Clipping on conversion |
Step-by-Step: How to Set Up Your Limiter for Transparent Limiting
Below is the exact workflow I run on every master. It takes about 10 minutes per song and consistently produces masters that translate well to Spotify, Apple Music, and club systems while preserving dynamics.
Set your ceiling first. Choose -1.0 dBTP for streaming, -0.3 dBTP for club play, or -0.1 dBTP for vinyl. This is the brick wall nothing can cross.
Bypass the limiter and listen to the dry master. Note the loudest moment in the song, usually the drop, chorus, or biggest drum hit. Get a feel for how much headroom you already have.
Engage the limiter and lower the threshold slowly. Watch the gain reduction meter. Aim for 1 to 2 dB of attenuation on the loudest peaks only. The meter should hover near zero most of the song and only move on big transients.
Set attack to 1 to 2 ms. If your limiter has lookahead, leave it on. Fast attack without lookahead can dull transients.
Set release between 50 and 150 ms. Start at 100 ms, then listen for pumping. If the level pulses with the kick drum, shorten it. If the master sounds dull, lengthen it.
Enable oversampling at 4x or higher. This cleans up high-frequency distortion that limiters create when pushed.
A/B compare limited and bypassed versions. Bypass the limiter every 30 seconds and listen. The limited version should sound louder but not noticeably different in tone. If it sounds smaller, duller, or harder, you have gone too far.
Check true peak. Most limiters show a true peak readout. Confirm nothing exceeds your ceiling even after codec conversion.
Listen on multiple systems. Test on earbuds, studio monitors, a car stereo, and a phone speaker. The master that sounds best across all four is the one to ship.
Take a break and re-listen. Your ears fatigue fast. After 15 minutes, your loudness perception shifts by 3 to 5 dB. Always revisit the next day before finalizing.
Pro Tip: If you are limiting more than 3 dB on the loudest sections, your mix is not loud enough yet. Go back and reduce dynamics earlier in the signal chain, on buses and individual channels, before reaching for the master limiter.
How Much Limiting Is Too Much? Finding the Right Attenuation
The honest answer is that it depends on your genre, your mix, and your audience. But here are the practical guidelines I use after testing 50+ masters across different styles.
For most pop, rock, and hip-hop masters, 1 to 3 dB of peak limiting is the sweet spot. Anything beyond 3 dB starts to audibly squash the mix. EDM and hard-hitting genres can sometimes push to 4 dB, but only when the mix was built with that target in mind from the start.
Classical, jazz, and acoustic music should rarely see more than 1 dB of limiting. These genres depend entirely on dynamics for emotional impact. Heavy limiting turns them into wallpaper.
Genre-Specific Approaches
EDM masters often push to -8 LUFS integrated with 3 to 4 dB of limiting. Pop typically lands at -9 to -10 LUFS with 2 dB of limiting. Hip-hop sits around -10 to -11 LUFS with 2 to 3 dB. Rock and indie usually land at -12 to -14 LUFS with 1 to 2 dB of limiting.
These are starting points, not rules. Your ears and your reference tracks matter more than any number.
Listening Tests That Reveal Over-Limiting
If you are not sure whether your limiter is squashing dynamics, try these three tests. I run them on every master before delivery.
The clap test: Listen to a single snare or clap hit in solo. If the attack sounds softer than the sustain, your limiter is pulling down transients.
The breath test: Listen to vocal breaths between phrases. If they suddenly pop forward or get crushed, your release time is wrong.
The reference test: Compare your master to a commercial track you admire at matched loudness. If yours sounds flatter or duller, your limiter is overworking.
Common Mistakes to Avoid When Limiting Your Master
After working on hundreds of masters with my team, I see the same five mistakes over and over. Avoiding them will put you ahead of 80% of home studio producers.
Mixing with the limiter on from the start. This trains your ears to make decisions based on the limited sound. Mix into 3 to 6 dB of headroom with the limiter off, then engage it only when the mix is finished.
Setting the ceiling too high. Streaming platforms normalize to -14 LUFS. Setting your ceiling to -0.1 dBFS does not make your master louder after normalization. It just leaves less headroom for codec conversion and risks clipping.
Using a release time that does not match the tempo. Fast tempos need shorter releases. Slow ballads need longer. A 30 ms release may sound great on a 128 BPM dance track and terrible on a 60 BPM piano ballad.
Chasing loudness instead of clarity. A master that is 2 dB quieter but more transparent will always beat a master that is louder but crushed. Streaming normalization means loudness wars are largely over. Focus on translation.
Skipping true peak limiting. Sample peak limiters let inter-sample peaks slip through. These peaks can clip on conversion to lossy formats. Always use a true peak-aware limiter for streaming masters.
Warning: If your limiter shows more than 3 dB of gain reduction on a regular basis, your mix is not loud enough yet. Going back to fix the mix is almost always faster and sounds better than trying to limit harder.
Advanced Techniques: Gain Staging, Parallel Limiting, and Mid-Side Processing
Once you have the basics down, these advanced techniques help you push loudness further without sacrificing the life in your mix.
Gain Staging Before Limiting
Gain staging means setting the level of every track and bus so the signal hits the limiter at the optimal level. If your mix bus is peaking at -3 dBFS before the limiter, the limiter has room to catch peaks cleanly. If the mix bus is peaking at -0.5 dBFS, the limiter is already fighting an uphill battle.
I aim for the mix bus to peak between -6 and -3 dBFS before the limiter. This gives the limiter enough headroom to react without working too hard.
Parallel Limiting for Punch
Parallel limiting (also called New York limiting) involves running a copy of your mix through a heavy limiter and blending it in underneath the dry signal. You get the loudness boost of aggressive limiting while preserving the transients of the original mix.
To try it, send your mix bus to a parallel aux track. Insert a limiter on the aux with 6 to 10 dB of heavy limiting. Blend the parallel signal in at -10 to -15 dB below the dry mix. The result is often louder than a single limiter pass without the crushed transient feel.
Mid-Side Limiting for Spatial Control
Mid-side limiting lets you limit the center channel (vocals, bass, snare) more aggressively than the sides (reverb, stereo synths, panned guitars). This keeps the spatial image of your mix wide while taming the most important elements.
Most mid-side limiters let you adjust the threshold independently for mid and side. A good starting point is 1 dB more limiting on the mid than the sides. This preserves width while controlling the core of the mix.
Soft Clip vs Hard Clip
Soft clipping rounds off the top of the waveform gradually, producing a warm, saturated tone. Hard clipping cuts the waveform sharply, producing bright, harsh distortion. Most modern limiters use a combination, but some let you dial in the character.
For transparent limiting, lean toward soft clipping. For aggressive, in-your-face masters (EDM, modern hip-hop), a touch of hard clipping adds energy but should never exceed 1 to 2 dB of true peak overshoot.
FAQs
Should you put a limiter on the master track?
Yes, but only on the final master bus after the mix is finished. Place a single quality limiter as the last plugin in your chain with the ceiling set to -1.0 dBTP for streaming. During mixing, leave it bypassed or off entirely so your decisions are based on the natural dynamics of your mix. Limiting during mixing causes you to compensate for the limiter and can lead to an over-compressed final product.
How do you use a limiter when mastering?
Set the ceiling first (typically -1.0 dBTP for streaming), then lower the threshold until the gain reduction meter shows 1 to 3 dB on the loudest sections only. Use 1 to 2 ms attack, 50 to 150 ms release, and enable lookahead and oversampling for cleaner results. A/B compare limited and bypassed versions constantly. The limited version should sound louder but not smaller or duller. If it does, reduce the threshold until the difference is subtle.
Should I set my release time to 30 ms for a limiter on master?
It depends on tempo and material. 30 ms is a good starting point for fast, rhythmic genres like drum and bass, techno, and fast hip-hop. For most pop, rock, and slower hip-hop, 50 to 150 ms produces smoother results. Ballads and ambient music often sound best with 200 to 500 ms. The right release time is the one that catches peaks without causing audible pumping or distortion.
Can you use a limiter on master and individual channels?
Yes, and many professional engineers do. Individual channel limiting (or clipping) controls specific problem elements like an over-loud snare or sharp vocal sibilance. Master bus limiting catches only the peaks that survive the mix bus. Using limiters at multiple stages gives more control than relying on a single master limiter. Just avoid stacking limiters on the same signal, as each one adds coloration and potential artifacts.
Final Thoughts on Using a Limiter Without Squashing Dynamics
The core principle behind how to use a limiter on the master bus without squashing dynamics is restraint. A limiter is a safety tool, not a loudness maximizer. When you limit 1 to 3 dB on the loudest peaks only, you preserve the transients, breath, and contrast that make music feel alive.
Mix with the limiter off. Aim for a mix that peaks at -6 to -3 dBFS. Engage the limiter last with a ceiling of -1.0 dBTP, attack around 1 to 2 ms, release between 50 and 150 ms, and lookahead plus oversampling on. A/B constantly. Listen on multiple systems. Trust your reference tracks more than any number on a meter.
That is the workflow I have used on every master since I figured it out, and it is the one I wish someone had taught me on day one. Your drums will hit harder, your vocals will sit clearer, and your masters will finally translate to every speaker in your listener’s life.