
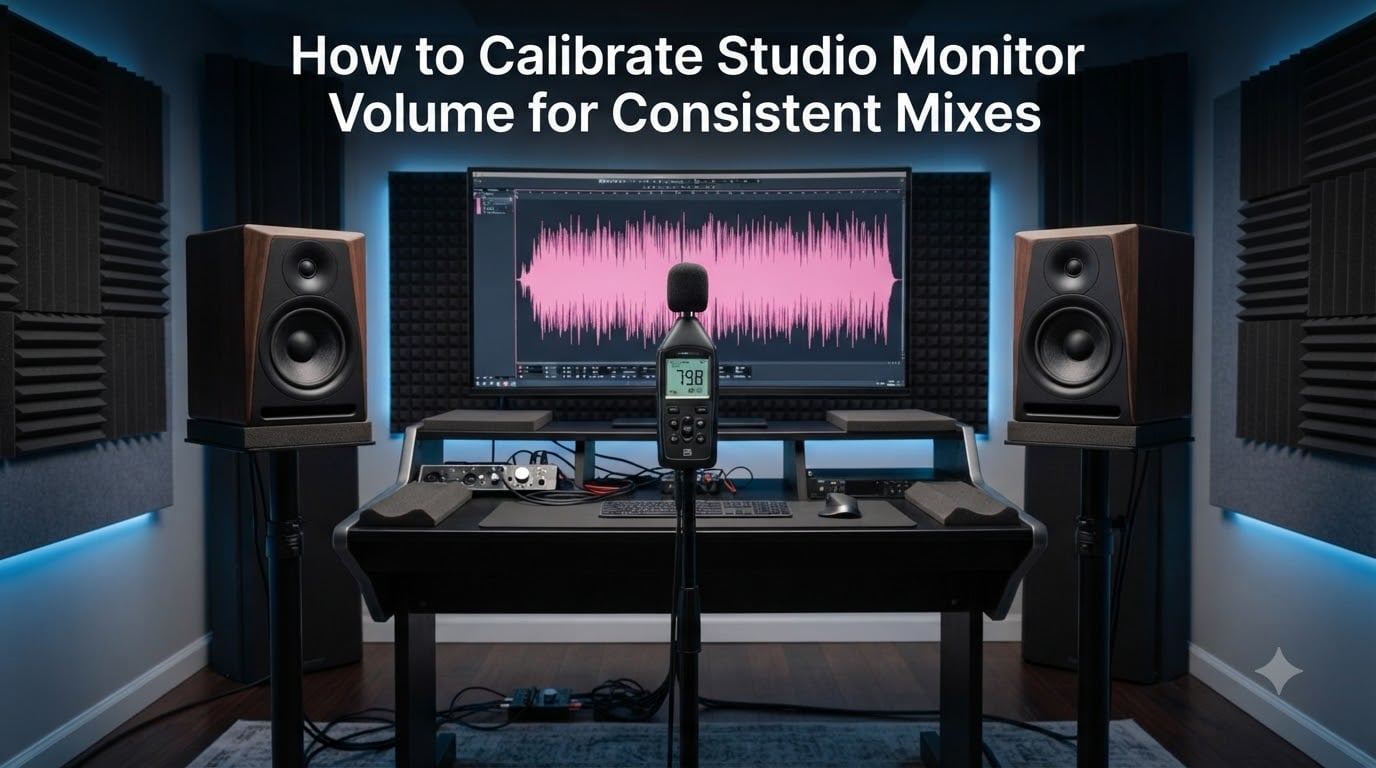
Have you ever finished a mix that sounded perfect in your studio, only to hear it fall apart in your car or on a phone speaker? I have been there too. After years of frustration with mixes that did not translate, I traced the problem to one overlooked factor: I was monitoring at random volumes every session.
Learning how to calibrate studio monitor volume for consistent mixes changed everything for me. Once I locked my monitoring level to a measured, repeatable reference point, my mix decisions became predictable. My low-end stopped disappearing. My highs stopped getting harsh. Most importantly, my mixes started sounding right everywhere I played them.
This guide walks you through the full calibration process from start to finish. We will cover why monitor volume matters, what dB SPL targets to aim for, how to run a pink noise calibration, and how to fix common problems that throw off your levels. Whether you work in a bedroom studio or a treated control room, these steps will give you a reliable reference point for every session.
You do not need expensive gear to do this. A free SPL meter app and a pink noise file are enough to get started. Let us break it down step by step.
Table of Contents
What Is Studio Monitor Calibration
Studio monitor calibration is the process of setting your listening volume to a consistent, measured dB SPL level so you can make reliable mixing decisions. Instead of turning the knob until the music “sounds good,” you set it to a known reference point every single time.
Here is the distinction that trips up most people: volume and loudness are not the same thing. Volume refers to the gain setting on your monitor controller or interface. Loudness refers to how your ears perceive the sound pressure level in the room. Two different volume settings can produce very different perceived loudness depending on the frequency content of the audio.
When you calibrate, you are using a tool (an SPL meter) to measure the actual sound pressure at your listening position. This removes guesswork from the equation. You know exactly how loud 79 dB SPL feels because you have measured it dozens of times.
Professionals treat calibration as non-negotiable. Every major mastering studio calibrates to a reference level. The reasoning is simple: if your monitoring level changes between sessions, your mixing decisions change too. A calibrated level gives you a stable foundation.
Why Monitor Volume Affects Your Mixing Decisions
Your ears are not flat. They do not hear all frequencies equally at every volume level. This is not an opinion — it is physics, and it has a name: the Fletcher-Munson curve, also known as the equal loudness contour.
The Fletcher-Munson curves show that at low listening volumes, your ears are far less sensitive to bass and treble. The midrange dominates what you hear. At higher volumes, your ears hear lows and highs more evenly. This means the same mix sounds dramatically different depending on how loud your monitors are.
This has real consequences for mixing. If you mix at a low volume, you tend to boost bass and treble to compensate for what your ears cannot hear. Then when the mix plays back at a normal volume on another system, those boosted frequencies sound overwhelming. The opposite happens when you mix too loud — you cut lows and highs, leaving the mix thin and lifeless on other systems.
There is a sweet spot. Around 79 to 85 dB SPL, the equal loudness contours flatten out enough that your ears hear a relatively balanced frequency spectrum. This is why calibration targets land in that range. At a calibrated level, you hear an accurate representation of your mix, which leads to decisions that translate across playback systems.
I learned this the hard way. I used to mix loud because it felt exciting. My bass was always thin. Once I started calibrating to 79 dB SPL, my low-end decisions improved immediately. The mix translated to my car test on the first try.
Target dB SPL Levels by Room Size
The right calibration target depends on your room size and what you are doing. Here are the commonly recommended dB SPL levels for different studio setups.
| Room Size | Monitor Distance | Calibration Target (per speaker) | Combined Stereo Level |
|---|---|---|---|
| Small bedroom (under 100 sq ft) | 3 to 4 feet | 73 to 76 dB SPL | 76 to 79 dB SPL |
| Medium project studio (100 to 250 sq ft) | 4 to 6 feet | 76 to 79 dB SPL | 79 to 82 dB SPL |
| Large control room (over 250 sq ft) | 6 to 8 feet | 79 to 82 dB SPL | 82 to 85 dB SPL |
| Mastering suite | Varies | 79 dB SPL | 82 dB SPL |
A common question is whether to calibrate each speaker individually or both together. The standard approach is to calibrate each speaker separately to the same target, so when both play together the combined level is approximately 3 dB higher. This ensures your left and right monitors are matched perfectly.
Many engineers also reference the 38 rule for studio monitors. The idea is to position your monitors so they form an equilateral triangle with your head, with each monitor 38 percent of the room length away from the front wall. This placement minimizes low-frequency cancellation and gives you a more accurate starting point before you even begin volume calibration.
For home studio owners in smaller rooms, aim for 76 to 79 dB SPL combined. Forum users on r/audioengineering consistently report that 76 dB works well in tight spaces. Going louder in a small untreated room tends to excite room modes and standing waves, making the low-end harder to judge.
Choosing the Right SPL Meter
You have two main options for measuring dB SPL: a dedicated hardware meter or a smartphone app. Both can work, but there are trade-offs worth understanding.
Hardware SPL meters like the Reed R8050 or Galaxy CM-130 offer consistent, calibrated readings. They run on batteries and sit on a mic stand at your listening position. If you calibrate frequently or work in a professional environment, a dedicated meter is worth the investment.
Smartphone apps are surprisingly accurate for calibration purposes. The NIOSH Sound Level Meter app (iOS) is the most frequently recommended option in audio engineering forums. It was developed by the National Institute for Occupational Safety and Health and has been tested against professional meters. For Android, Decibel X and Sound Meter are popular choices.
No matter which tool you use, the settings matter. Set your SPL meter to C-weighting, not A-weighting. C-weighting approximates the flat frequency response of your monitors more closely, while A-weighting filters out low frequencies and will give you an inaccurate reading for calibration. Also set the meter to slow response mode, which averages the reading over a longer window and gives you a stable number.
Some professionals recommend using two different SPL meters to cross-check accuracy. If both tools agree within 1 to 2 dB, you can trust the reading. If they disagree significantly, one of them may need calibration or replacement.
How to Calibrate Studio Monitor Volume: Step-by-Step Process
Here is the complete calibration process. Follow these steps in order and you will have a repeatable reference level that holds across every session.
Step 1: Set up your SPL meter. Place your SPL meter on a mic stand at your listening position, positioned where your head would be. Point the microphone directly at one monitor, or use the omnidirectional setting if available. Set it to C-weighting and slow response.
Step 2: Generate a pink noise test signal. Open your DAW and create a mono track. Insert a signal generator or test oscillator plugin set to pink noise at -20 dBFS RMS. Pink noise contains equal energy per octave, making it ideal for calibration because it represents a balanced spectrum.
Step 3: Turn off one monitor. Mute or power off your left monitor. You will calibrate the right monitor first. This ensures each speaker is independently matched.
Step 4: Set your interface output to unity. Set your interface or monitor controller volume to a known position. If your controller has a detented knob, note the position. If not, set it to roughly 12 o’clock or wherever you typically work.
Step 5: Play the pink noise and read the SPL. Hit play on the pink noise track. Read the dB SPL value on your meter. Adjust your monitor’s trim pot or your interface output until the meter reads your target level (for example, 76 dB SPL for a small room).
Step 6: Repeat for the other monitor. Mute the right monitor, unmute the left. Play the same pink noise signal and adjust until the left monitor reads the exact same dB SPL as the right. Both monitors should match within 0.5 dB.
Step 7: Mark the position. Once you find your calibrated volume setting, mark it. Use a piece of tape, a grease pencil, or a sticker on your monitor controller knob. This lets you return to your reference level instantly every session.
Step 8: Verify with both monitors playing. Unmute both monitors and play the pink noise on both. You should see the SPL rise by approximately 3 dB compared to the single-speaker reading. This confirms both monitors are contributing equally.
Step 9: Test with a reference track. Play a commercially released song you know well. Does it sound balanced at your calibrated level? If the bass feels overwhelming or the highs sound harsh, your room acoustics may need attention. Calibration gets you in the ballpark, but room treatment addresses the finer details.
That is the full process. Once you do it once, recalibration takes about ten minutes. I recheck my calibration monthly to make sure nothing has drifted.
Headphone Calibration for Cross-Checking
Speakers are not your only monitoring tool. Many engineers cross-check mixes on headphones, and calibrating your headphone level to match your speaker reference keeps your decisions consistent across both.
The goal is simple: when you switch from speakers to headphones at the same perceived loudness, your mix decisions should stay consistent. If your headphones are significantly louder than your calibrated speakers, you will make different EQ and balance choices.
To calibrate headphones, play the same pink noise signal at -20 dBFS through your headphones. Use your headphone amp level control to reach a comfortable listening level. Then switch between speakers and headphones repeatedly, adjusting the headphone level until the perceived loudness matches your speaker reference.
For a more precise approach, software like Sonarworks SoundID Reference can measure your headphone frequency response and apply correction. This helps ensure your headphones present a similar spectral balance to your calibrated speakers, not just a similar loudness level.
Keep in mind that headphones bypass your room entirely. This is useful for checking detail work like edits and vocal timing, but low-frequency decisions should always be verified on your calibrated speakers where you can hear room interaction.
Common Calibration Mistakes to Avoid
Even with the right process, it is easy to introduce errors. These are the mistakes I see most often in forums and hear from other producers.
Mistake 1: Using A-weighting instead of C-weighting. A-weighting filters out bass frequencies, giving you a reading that does not reflect what your monitors actually produce. Always use C-weighting for calibration. This is the single most common error I see mentioned on r/audioengineering.
Mistake 2: Calibrating once and never rechecking. Monitor trim pots can drift over time. Cables degrade. Room layouts change. Recalibrate at least once a month to catch any shifts before they affect your mixes.
Mistake 3: Mixing at the wrong level after calibration. Calibration gives you a reference point, but that does not mean you must mix at exactly that level the entire time. Use the calibrated level for critical balance decisions. Check your mix at lower and higher volumes periodically to hear how it translates. Just always return to your reference.
Mistake 4: Ignoring room treatment. Calibration sets your volume, but room acoustics determine what you actually hear. If your room has major reflections or standing waves, even a perfectly calibrated level will give you misleading information. Address first-reflection points and bass trapping alongside your calibration efforts.
Mistake 5: Not marking the calibrated position. If you cannot recall your exact volume setting, the calibration is useless for future sessions. Mark it with tape or a sticker so you can snap back to your reference instantly.
Troubleshooting Asymmetric Monitor Levels
One of the most common complaints in audio forums is that one monitor sounds louder than the other after calibration. If you encounter this, work through these checks systematically.
Check your cables first. A damaged or low-quality balanced cable on one side can reduce signal level. Swap the left and right cables and see if the imbalance follows the cable or stays with the speaker.
Verify your monitor trim pots. If one monitor’s rear trim pot is set lower than the other, that explains the difference. Reset both to their factory or unity position and recalibrate from there.
Check for room asymmetry. If one monitor sits closer to a wall or corner than the other, boundary reinforcement will make that side louder, especially in the low end. Move both monitors to symmetrical positions relative to the side walls.
Test with a pan. Pan a mono signal hard left, then hard right. Listen at your calibrated level. If one side is noticeably louder, the issue is in your signal chain or monitor, not the room. If both sides sound equal when panned but differ during stereo playback, your room layout is likely the culprit.
Listen for phase issues. If your monitors are wired out of phase, the stereo image collapses and low frequencies cancel. This can create the impression of an imbalanced level. Check that positive and negative terminals are connected consistently on both speakers.
Working With Reference Tracks and the DIM Function
Calibration sets your volume, but reference tracks verify your judgment. A reference track is a commercially released song in a similar genre that you know sounds great. Playing it through your calibrated monitors confirms your room and level are giving you accurate information.
I keep three reference tracks loaded in every session: one for low-end balance, one for vocal clarity, and one for overall tonal balance. When my mix starts sounding off, I A/B against these tracks at my calibrated level. If the reference sounds right, the problem is in my mix. If the reference sounds wrong too, something has changed in my monitoring chain.
Many monitor controllers include a DIM function, which temporarily lowers the volume by a fixed amount (typically 10 to 20 dB). This is one of the most underused tools in home studios. The DIM function lets you quickly drop to a quiet level to check how your mix translates at low volume, then snap back to your calibrated reference with a single button press.
I use DIM constantly during mixing. After making a series of decisions at my reference level, I hit DIM and listen at the reduced volume. This reveals whether my low-end and vocal balance hold up at quiet listening levels. Then I release DIM and return to my calibration point instantly — no need to hunt for the right volume setting.
If you work with multiple monitor sets (for example, main monitors plus small reference speakers), calibrate each set to the same dB SPL target. Label or mark the volume positions for each set. This way, when you switch monitors to check translation, you are comparing them at matched loudness levels rather than being misled by volume differences.
A monitor controller with recall or detented volume makes this much easier. Some controllers store preset levels, so you can switch between monitor sets and volume references with a single button. If your controller does not have this feature, marking knob positions with tape works just as well.
FAQs
What is the 38 rule for studio monitors?
The 38 rule suggests placing your monitors so they sit 38 percent of the room length away from the front wall, forming an equilateral triangle with your listening position. This placement minimizes low-frequency cancellation and standing waves, giving you a more accurate monitoring environment before you even begin volume calibration.
How do I calibrate my studio monitor?
Play pink noise at -20 dBFS through one monitor at a time. Place an SPL meter (set to C-weighting and slow response) at your listening position. Adjust the monitor level until the meter reads your target level, typically 76 to 79 dB SPL for small rooms. Repeat for the other monitor to match both sides, then mark the volume position for future sessions.
Why is one of my studio monitors louder than the other?
Common causes include mismatched trim pot settings on the rear of each monitor, a damaged or low-quality cable on one side, or room asymmetry where one monitor sits closer to a wall and receives boundary reinforcement. Swap cables to test if the issue follows the cable or stays with the speaker, then check trim pots and room placement.
What dB should my mix be at?
Most engineers recommend monitoring at 76 to 79 dB SPL for small rooms and 79 to 85 dB SPL for larger control rooms. This range aligns with where the Fletcher-Munson equal loudness contours flatten out, so your ears perceive a relatively balanced frequency spectrum and your mixing decisions translate reliably to other playback systems.
Wrapping Up: Consistency Is the Goal
Calibrating your studio monitor volume gives you the one thing every mixing engineer needs: a repeatable reference point. When you know exactly how loud your monitors are every session, your ears learn that environment and your decisions become consistent.
The process is straightforward. Get an SPL meter, set it to C-weighting and slow response, run pink noise through each monitor, and adjust to your target dB SPL. Mark the position so you can return to it instantly. Check your work with reference tracks, use the DIM function for quick translation checks, and recalibrate monthly to catch any drift.
Once you learn how to calibrate studio monitor volume for consistent mixes, you will wonder how you ever worked without it. Your mixes will translate better, your low-end will be more predictable, and you will spend less time second-guessing your monitoring. Set your reference level today and stick with it — your future mixes depend on it.