
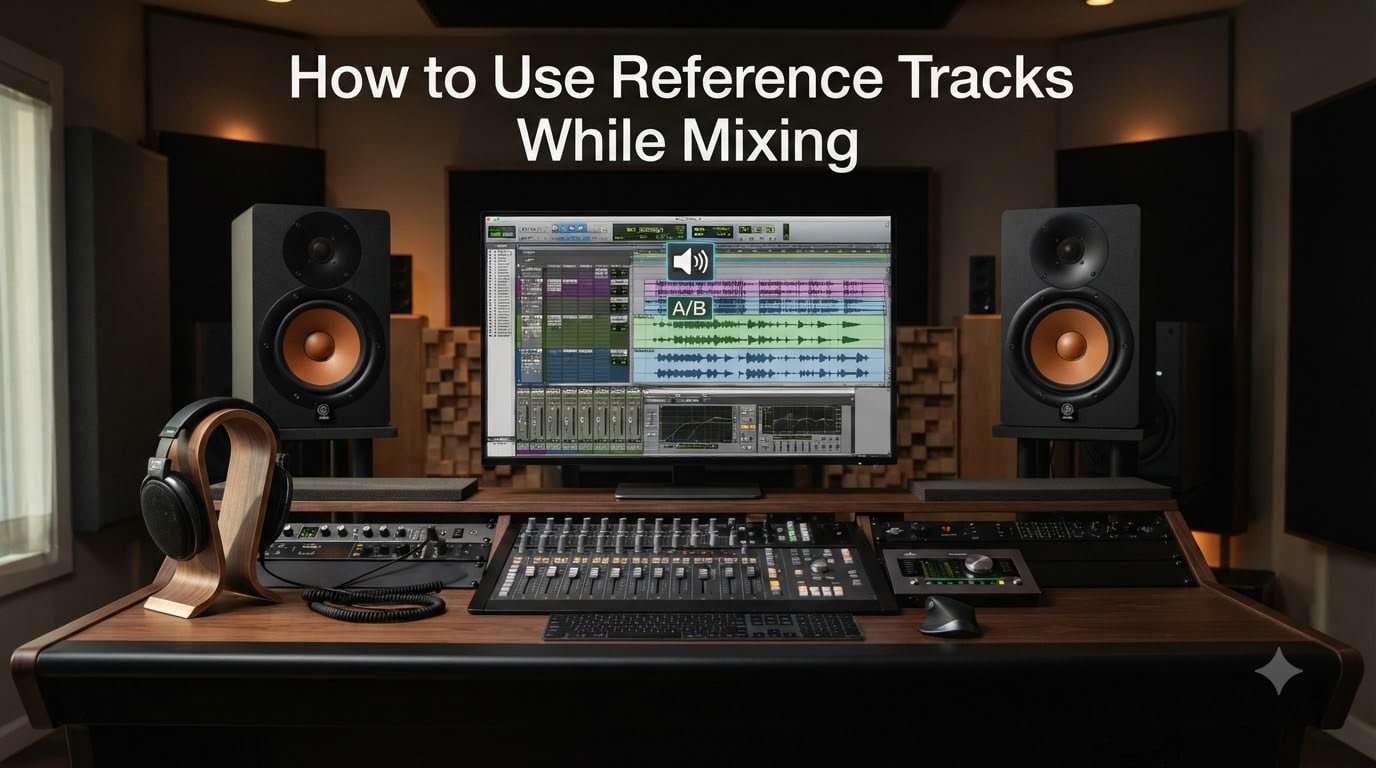
If your mixes sound great in your studio but fall apart on other speakers, learning how to use reference tracks while mixing is the fastest fix I know. A reference track is a professionally mixed and mastered song you load into your DAW to compare against your own work.
In this guide, I will walk you through the exact process I use on every mix. We will cover what reference tracks are, how to choose the right ones, how to set them up in your DAW, how to level match them, what to listen for, and the mistakes I see beginners make over and over. By the end, you will have a repeatable workflow you can trust.
Table of Contents
What Is a Reference Track?
A reference track is a commercially released song that has been mixed and mastered to a professional standard. You load it into your DAW on its own channel, level-match it to your mix, and use it as an objective benchmark for decisions about tonal balance, dynamics, stereo width, and overall loudness.
I keep a small folder of these tracks and pull them up whenever a mix starts to drift. Think of it like a measuring tape. Your ears lie to you after an hour of mixing. Reference tracks do not.
For best results, pick references that are mastered, not just mixed. A mastered track gives you a finished target, including the loudness and EQ curve you would hear on Spotify or Apple Music.
Why Use Reference Tracks While Mixing
The short answer: reference tracks keep your decisions honest. Without them, you are mixing in a vacuum. Your ears adjust to whatever is in front of you, and after 45 minutes your perspective is no longer reliable.
Here is what referencing actually does for you:
Catches translation problems early. If your mix sounds dull next to a reference, it will sound dull everywhere.
Sets realistic loudness targets. You stop chasing louder and start chasing balanced.
Speeds up decision-making. Instead of guessing whether your bass is too loud, you compare.
Trains your ears faster. Every comparison teaches you what professional mixes actually sound like.
The golden rule of mixing I keep coming back to is simple: trust the reference, not your mood. If your verse sounds thin next to a chart-topping pop mix, the issue is the mix, not the genre.
One thing I hear all the time on Reddit is the worry that referencing kills creativity. It does not. I treat references the way a painter treats a color swatch. They guide the palette, they do not paint the picture.
How to Choose the Right Reference Tracks
Not every great song is a great reference. I look for three things: similarity to my project, audio quality, and a finished master.
Here is the criteria I use:
Genre and tempo match. A trap reference helps a trap mix. A jazz ballad reference will mislead you.
Era match. Modern pop mixes in 2026 sound different from 2008 mixes. Pick tracks that match where your song belongs.
WAV or high-bitrate MP3 at 320kbps. Anything lower and you are encoding artifacts into your decisions.
Multiple references per project. I keep two to four references per mix. One main, one alternative feel, one ceiling track, and sometimes one for low end.
Where to find them:
Your own streaming library. Pull tracks from Spotify, Apple Music, or Tidal using a third-party tool like Spotlistr.
Beatport, Bandcamp, and the artist website for fresh releases.
Ask the artist. They often have a clear sonic direction in mind.
Save each reference in a dedicated folder called Reference Pool with subfolders by genre. I date my references because what was loud in 2019 is rarely the target today.
How to Set Up Reference Tracks in Your DAW
This is the practical part. I will walk through it in Ableton, Logic, and Pro Tools terminology, but the same five steps apply in any DAW.
Step 1: Create a reference bus. Make a new audio track called REFERENCE and put your reference file on it. Set the output to your master bus.
Step 2: Disable all processing. Bypass every plugin on the reference channel. You want to hear the song exactly as it was mastered. No extra EQ, no compression, nothing.
Step 3: Set up an A/B switch. In Ableton, hold the A and B keys on your computer keyboard to toggle. In Logic, use the Input Output slot trick. In Pro Tools, use the Reference plugin from iZotope or Nugen Audio AB switch.
Step 4: Mute when not comparing. Reference channels should default to muted. You only solo them when actively comparing. This keeps your mix bus clean.
Step 5: Route for parallel listening. If your DAW supports loopback, route the reference channel through a separate output pair so you can toggle it from a hardware controller without touching the mouse.
Once set up, your typical loop looks like this: mix for 20 minutes, solo the reference, listen, switch back, make a small change, repeat. I never compare for more than 5 seconds at a time at first. Longer comparisons cause ear fatigue.
Level Matching Your Reference Tracks
This is where most beginners get it wrong. A mastered reference will always sound louder than your raw mix, and your ears will favor the louder one even if it is worse. You must level match before you compare.
There are two ways to do it. I use both.
Method 1: LUFS matching. Load a meter like iZotope Insight, Youlean LoudnessMeter, or the free LUFS Meter from dbudd. Measure the integrated LUFS of the reference and the integrated LUFS of your current mix. Adjust your mix bus fader until they read the same. A typical modern master sits around minus 8 to minus 10 LUFS integrated. Your mix will read lower until you finish.
Method 2: Gain matching by ear with pink noise. Pull a pink noise generator onto both the reference channel and your mix bus. Match the perceived loudness. Then bypass the noise and compare. This is faster and surprisingly accurate for short sessions.
The loudness trick matters because human hearing is non-linear. A track 3 dB louder will sound better to most listeners even if it has more distortion. If you skip level matching, every decision you make will be biased toward the louder signal.
What to Listen For: Key Reference Track Criteria
When you A/B switch, do not try to absorb everything at once. Pick one criterion per pass. Here is the checklist I work through.
Low end. Is your kick and bass relationship tighter or looser than the reference? Use a low pass filter on the reference at 200 Hz to compare just the sub frequencies.
Vocal balance. Solo the lead vocal in your mix and compare loudness against the reference lead. The reference vocal should sit on top of the instrumentation. Yours should too.
High end. Pull up the spectrum analyzer like SPAN, Voxengo SPAN, or the Tonal Balance Control plugin. Compare the air band at 8 kHz and up. Is your mix duller? Add a gentle high shelf.
Dynamic range. Listen to the loudest and quietest moments in the reference. Compare them to your mix. Modern masters are more compressed than you think. Aim for similar short-term LUFS variation.
Stereo width. Pan a mono check on your mix bus. Is the reference wider or narrower? Use a correlation meter to compare phase and mono compatibility.
I do one criterion per listening pass. Five short passes beat one long, unfocused pass every time.
Common Mistakes When Using Reference Tracks
After coaching dozens of mixers, I see the same handful of errors over and over. Here are the ones that cost the most mix quality.
Skipping level matching. You will end up chasing loudness instead of balance.
Using MP3s under 320kbps. Codec artifacts bleed into your decisions.
Comparing during mastering processing. References belong during mixing. Once you start mastering, you are past the reference phase.
Over-referencing. Switching every 10 seconds breaks your flow. Set a timer.
Using a reference from a different genre. A lo-fi hip-hop reference will push your EDM mix in the wrong direction.
Trusting the wrong pro track. Some famous songs have odd mixing choices. Cross-check with two to four references before assuming the target.
Not updating your reference pool. What sounded loud enough in 2020 is quiet today. Refresh yearly.
The mistake that hurts the most is using only one reference. A single track has its own quirks. Two to four references average out those quirks and give you a real target.
Reference Track Plugins and Tools
You can do everything in this guide with stock DAW features. But a few plugins make the workflow faster. Here are the ones I keep installed.
iZotope Ozone with Tonal Balance Control. Shows your mix frequency curve overlaid against a genre target. Great for quick visual checks.
iZotope Insight 2. A full metering suite with LUFS, true peak, spectrum, and vectorscope.
Mastering The Mix REFERENCE. A dedicated referencing plugin with solo, level match, and multiple reference slots.
Nugen Audio AB Compare. Simple A/B switching with automatic loudness matching.
MeldaProduction MCompare. A free alternative with multiple switch options.
None of these are required. A pink noise generator, a spectrum analyzer, and your ears will get you 90 percent of the way there. The plugins just save clicks.
FAQs
What is the golden rule of mixing?
The golden rule is to compare your work against a professionally mixed and mastered reference at matched loudness. Your ears drift after an hour, but reference tracks stay consistent. Trust the reference, not your mood.
How do I find reference tracks for mixing?
Pull from your streaming library using a tool like Spotlistr, buy WAVs from Beatport or Bandcamp, or ask the artist for a clear sonic reference. Pick two to four tracks per project, all mastered, in the same genre, and save them in a dedicated folder sorted by genre.
Why do artists use reference tracks?
Artists and mixers use references to make objective decisions about tonal balance, loudness, stereo width, and dynamics. References catch translation problems early, set realistic loudness targets, speed up mix decisions, and train your ears to recognize professional mixes faster.
What are common mixing mistakes to avoid with references?
Skip level matching and your ears will favor the louder track every time. Use MP3s under 320kbps and codec artifacts will bleed into your decisions. Only reference during mixing, not mastering. Use one reference instead of two to four. And never trust a single track without cross-checking it against others in the same genre.
Conclusion
Learning how to use reference tracks while mixing is the single biggest upgrade you can make to your workflow. Pick two to four mastered tracks per project, set up an A/B switch in your DAW, level match before every comparison, and focus on one criterion per pass.
Start small. Add a reference to your next mix and use it for the low end check only. Once that feels natural, expand to vocal balance, then high end, then dynamics. Within a month, you will not want to mix without one.