
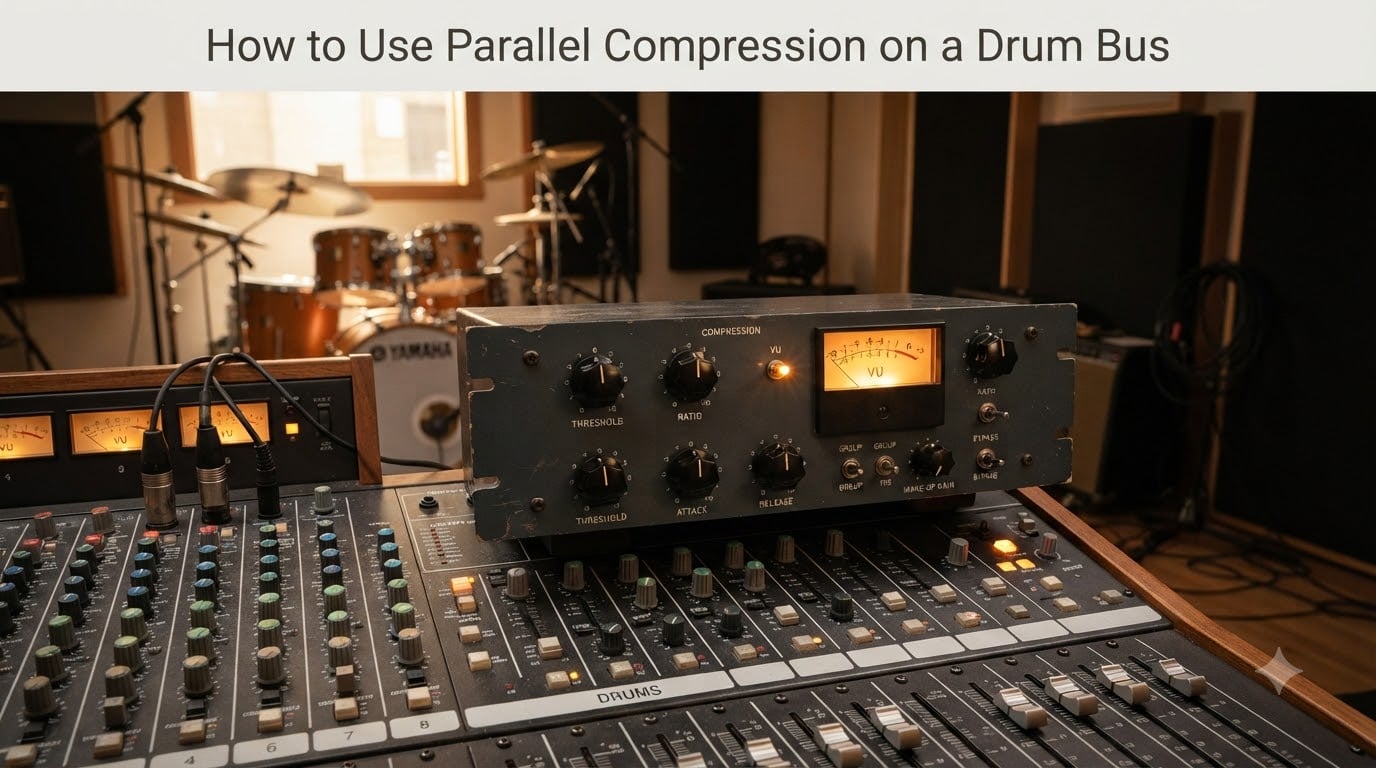
Learning how to use parallel compression on a drum bus is one of the fastest ways to make drums sound bigger, louder, and more aggressive without sacrificing the natural attack that makes them cut through a mix. I have been using this technique on everything from bedroom pop to live rock sessions, and it consistently turns thin, polite drum recordings into mixes that hit hard.
In this guide I will walk you through what parallel compression actually is, why it works so well on drums, and the exact routing, settings, and blending moves I use on every session. You will also get a quick reference settings table, sidechain filtering tips, and a troubleshooting section for the most common beginner mistakes.
Table of Contents
What Is Parallel Compression?
Parallel compression is a mixing technique where you blend a heavily compressed copy of an audio signal with the original, uncompressed signal. Instead of inserting a single compressor on the drum bus and letting it squash the whole performance, you keep the dry drums full of life and layer a crushed, sustain-heavy version underneath for body and weight.
Engineers call the original signal the “dry” signal and the compressed duplicate the “wet” signal. When you mix the two back together, the transients and crack of the dry drums stay on top, while the wet signal adds thickness, sustain, and apparent loudness. The result is drums that feel both punchy and glued.
This is also called “New York compression” because the technique was popularized at mixing rooms in New York during the late 1990s. The core idea is simple: heavy compression on its own usually flattens the sound, but a parallel layer can be pushed hard without destroying the source.
Dry Signal vs Wet Signal
The dry signal carries the natural dynamics of the performance: the initial hit of the kick, the crack of the snare, the feel of the drummer’s hands. The wet signal is the heavily compressed duplicate. By itself, the wet signal sounds pumped, choked, and unnatural, which is exactly why you only want a small amount of it in the final blend.
Why Use Parallel Compression on a Drum Bus
The drum bus is the perfect place to use parallel compression because drums are the most transient-heavy element in most mixes. Every kick, snare, and tom hit starts with a sharp spike of energy, and a serial compressor will fight those spikes all session. Parallel compression lets you control the average level of the kit without ever touching the leading edge of each hit.
I have found three concrete benefits on real sessions. First, the drums get louder and more competitive in the mix without digital limiting or clipping. Second, the room mics and overheads gain a sense of energy and movement that is hard to get from EQ alone. Third, the kit feels “glued” together as a single instrument, even when each individual mic was tracked separately.
Parallel compression is also one of the few techniques that adds apparent sustain to acoustic drums. When a snare is hit, the dry signal decays quickly, but the compressed duplicate stays loud and pumping. Blended together, the snare appears to ring longer, which is a huge win for rock, indie, and pop productions.
How to Set Up Parallel Compression on a Drum Bus (Step by Step)
Setting up parallel compression on a drum bus takes about three minutes once you have done it a few times. The routing is identical in Pro Tools, Logic Pro, Ableton Live, Cubase, Reaper, and Studio One, so follow these steps in any DAW.
Step 1: Create an Auxiliary Track
Add a new stereo aux track and name it something obvious like “Drum Smash” or “Drums Parallel.” This track is going to receive a copy of your drum bus and host the heavy compressor.
Step 2: Send the Drum Bus to the Aux
On your main drum bus, create a new send routed to the new aux track. Set the send to pre-fader so the parallel level is independent of your main drum bus fader. If your fader changes during automation or balancing, the parallel layer stays constant.
Step 3: Insert a Compressor on the Aux Track
Place a compressor on the aux channel as an insert. Any compressor will work, but FET, VCA, and aggressive digital compressors with character tend to give the most obvious results. I often reach for an 1176, an LA-2A, or a colored digital plugin like the Waves SSL G-Bus or FabFilter Pro-C 2 on its “Punch” setting.
Step 4: Apply Heavy Compression
Set a fast attack, a medium-to-fast release, and a high ratio (anywhere from 4:1 to 20:1). Lower the threshold until the gain reduction meter is showing 6 to 15 dB of compression on the loudest hits. The aux signal will sound completely squashed and overcooked on its own. That is exactly what you want at this stage.
Step 5: Blend the Wet Signal In
Bring up the fader of the aux track slowly while the mix is playing. Start with the aux fader all the way down, then push it up until you hear the drums start to fill out and gain weight. Stop just before the drums start to sound choked or the cymbals start to pump. A good starting point is the aux fader 6 to 12 dB below the main drum bus.
Step 6: Fine Tune to Taste
Solo the aux track, mute the dry drums, and listen to the wet signal on its own. Make sure the attack, release, and ratio are giving you the character you want. Then bring the dry drums back and adjust the aux fader to taste. Small moves of 1 to 2 dB make a big difference at this stage.
Recommended Parallel Compression Settings for Drums
There is no single “correct” setting for parallel compression on drums, but the following starting points will get you close in most genres. I keep a printed cheat sheet of these in every session so I am not guessing every time.
Quick Reference Settings Table
Use the table below as a starting point, then adjust to taste. The key idea is that the wet signal should be heavily compressed but not clipping, and the dry signal should be the main voice in the mix.
Natural Sustain (rock, indie, singer-songwriter): Ratio 4:1, Attack 10-30 ms, Release 100-200 ms (auto), Threshold until 6-10 dB gain reduction, Knee soft.
Aggressive Smash (modern pop, EDM, trap): Ratio 10:1 to 20:1, Attack 0.5-2 ms, Release 50-100 ms, Threshold until 10-15 dB gain reduction, Knee hard.
Punchy Glue (live drums, country, folk): Ratio 3:1, Attack 20-40 ms, Release 150-300 ms (auto), Threshold until 4-6 dB gain reduction, Knee soft.
Vintage New York Style (classic rock, soul): Ratio 8:1, Attack 5-10 ms, Release auto or 100 ms, Threshold until 8-12 dB gain reduction, add a touch of saturation.
Ratio
The ratio controls how aggressively the compressor clamps down. For natural-sounding parallel compression, a low ratio of 2:1 to 4:1 keeps the dynamics musical. For an obvious New York style smash, push it to 8:1 or even 20:1. Ratios above 20:1 start to behave like limiters, so be careful with very high values on acoustic drums.
Attack Time
Attack controls how quickly the compressor reacts to a transient. A fast attack (under 5 ms) catches the initial hit and leaves the parallel layer with mostly sustain. A slow attack (over 20 ms) lets the transient through, so the parallel layer sounds closer to the dry drums but with more body. For most drum work I start at 10 ms and adjust from there.
Release Time
Release controls how long the compressor takes to let go after a hit. A fast release (50-100 ms) recovers before the next hit, which keeps the parallel layer pumping and rhythmic. A slow release (200-400 ms) creates overlap and sustain, which is great for room mics but can cause the mix to feel muddy on faster passages. Most modern rock and pop use auto-release or a medium setting of 100-150 ms.
Threshold and Gain Reduction
Threshold is how loud the signal has to be before compression kicks in. On a parallel layer you set the threshold low so the compressor is working most of the time. Watch the gain reduction meter and aim for 6 to 15 dB of reduction on the loudest hits. The aux track fader acts as the makeup gain, so you do not need a separate makeup gain knob.
Parallel Compression Techniques and Pro Tips
Once you have the basic routing and settings dialed in, these techniques will take your parallel compression drum bus from good to great. I use at least one of these on every professional session.
Add a Sidechain High-Pass Filter
The biggest complaint about heavy parallel compression on drums is that the kick and bass start fighting each other. A sidechain high-pass filter (sometimes called a sidechain HPF) tells the compressor to ignore everything below a chosen frequency, usually 80 to 150 Hz. The kick is still present in the parallel signal, but the compressor is no longer reacting to it, so the low end stays punchy and the bass guitar has room to breathe.
Most modern compressors have a built-in sidechain HPF. If your plugin does not, route an external sidechain from a duplicate of the drum bus and high-pass that sidechain signal before it reaches the compressor’s key input.
Try the New York Style Drum Smash
The classic New York style uses a colorful compressor (often an 1176 or a clone) on the parallel bus with a fast attack, fast release, and a high ratio. Push the threshold hard so the gain reduction is bouncing between 8 and 15 dB. The result is a drum sound that is equal parts aggressive and musical, which is why this approach has been used on records from Led Zeppelin to modern pop productions.
Use a Compressor With Character
Clean, transparent compressors work for parallel compression, but character compressors add a second layer of mojo. An 1176 adds harmonic distortion and grit. A tube compressor adds warmth. A Vari-Mu adds gentle compression and a sense of motion. Try swapping your clean digital compressor for a colored one and listen to how the drum bus opens up.
De-Emphasis the Wet Signal
Once the wet signal is heavily compressed, it usually contains too much low-end and high-end information. Cut 2 to 4 dB at 100 Hz and 1 to 3 dB at 8 kHz on the aux track’s EQ. The wet signal will sit better behind the dry drums, and your mix will feel less crowded.
Automate the Blend
Some sections of a song need more parallel compression than others. A quiet verse may only need 3 dB of wet signal, while a huge chorus might want 8 or 10 dB. Automate the aux track fader so the level matches the energy of the song. This single move makes a huge difference on dynamic, evolving arrangements.
Common Mistakes to Avoid
I have made every one of these mistakes myself, and I have heard them on hundreds of student mixes. Watch out for these pitfalls when you start using parallel compression on a drum bus.
Over-Blending the Wet Signal
The most common mistake is pushing the parallel fader too high. If the dry drums start to lose their transient snap or the kit sounds like a single sustained “whomp,” the wet signal is too loud. Pull the fader down 2 to 4 dB and listen again. The goal is to feel the parallel layer, not hear it as a separate sound.
Using a Post-Fader Send
If your send is post-fader, the parallel level will move every time you automate the main drum bus. That makes the effect impossible to control and often causes the parallel layer to disappear during quiet sections. Always use a pre-fader send so the parallel compression is independent of the dry level.
Forgetting About Phase
Duplicating a track in your DAW can introduce phase issues, especially on room mics and overheads. The send method described above does not have this problem because the wet signal is a separate bus, not a duplicated channel. If you do duplicate the drum bus for parallel compression, use a polarity flip on one of the channels and check for cancellation in mono.
Sending Cymbals and Room Mics Too Hot
Cymbals have less dynamic range than the rest of the kit, so heavy compression brings up the noise floor of the overheads and cymbals. If the parallel layer is making the cymbals sound harsh or noisy, turn the send down on those specific channels. A common move is to send the kick, snare, and toms at unity and the overheads and room mics 4 to 6 dB lower.
Using Too Slow a Release
A slow release can make the compressor “breathe” audibly on faster drum fills, which is distracting. If the parallel layer is pumping or wobbling, shorten the release or switch to auto-release. The goal is for the parallel layer to feel like part of the drums, not a separate effect.
Parallel vs Serial (Bus) Compression: Which Should You Use?
Serial compression (also called bus compression) is a single compressor inserted directly on the drum bus. The whole drum signal passes through the compressor in line, which means the compressor shapes every hit. Parallel compression is a layer added underneath, so it changes the feel without altering the original.
Use serial compression when you want glue, cohesion, and a small amount of level taming. Use parallel compression when you want loudness, sustain, and apparent energy without changing the transients. In most modern productions, engineers use both: a gentle bus compressor (1-3 dB of gain reduction) followed by a heavier parallel layer for weight and size.
For a beginner mix, start with a bus compressor at 2:1 with 2 to 3 dB of gain reduction. Once that is sounding good, add a parallel layer to bring the drums forward in the mix. This combination gives you the control of serial compression and the energy of parallel compression, which is exactly what most records have been using since the 1990s.
FAQsin September
What are strong settings for parallel compression on drums?
Strong settings for parallel compression on a drum bus start with a ratio between 8:1 and 20:1, a fast attack of 0.5 to 5 ms, a release of 50 to 150 ms, and a threshold low enough to produce 8 to 15 dB of gain reduction. Blend the wet signal in at 6 to 12 dB below the dry drum bus, and use a pre-fader send so the level stays independent.
How do I set up parallel compression on a drum bus?
Create a stereo aux track, send the drum bus to it on a pre-fader send, insert a compressor on the aux, and push the threshold down until the compressor is heavily reducing gain. Then bring up the aux fader to blend the compressed signal back underneath the dry drums. The wet signal should sound crushed on its own, but feel like added weight when blended in.
What is the difference between parallel and bus compression on drums?
Bus compression (serial) is inserted directly on the drum bus and shapes the entire signal in line, which changes the transients. Parallel compression layers a heavily compressed copy of the drum bus underneath the original dry signal, which adds sustain and weight without affecting the original attack. Most engineers use a gentle bus compressor plus a heavier parallel layer for the best of both approaches.
Do I still need drum bus compression if I use parallel compression?
Yes, in most mixes you want both. A gentle bus compressor (1-3 dB of gain reduction) provides glue and cohesion, while a parallel layer adds loudness, sustain, and apparent size. The two techniques work together rather than replacing each other, and skipping the bus compressor usually makes the drum kit feel disconnected.
Should I include cymbals in parallel drum compression?
You can include cymbals, but send them to the parallel bus at a lower level than the kick, snare, and toms. Cymbals have less dynamic range and heavy compression brings up the noise floor of overheads and room mics, which can make the parallel layer sound harsh. A common approach is to send cymbals 4 to 6 dB lower than the rest of the kit.
Conclusion
Learning how to use parallel compression on a drum bus is one of the highest-value skills you can add to your mixing toolkit. The technique is simple: route the drum bus to an aux track, compress the aux hard, and blend the crushed layer back underneath the dry drums. The result is more punch, more sustain, and more apparent loudness without ever killing the natural transients.
Start with the settings in the quick reference table, use a pre-fader send, and add a sidechain high-pass filter if your low end is getting crowded. Once you hear the effect on your own sessions, parallel compression will become a default move on every drum bus you mix. For more drum mixing techniques and audio production tutorials, explore the rest of our mixing guides.