
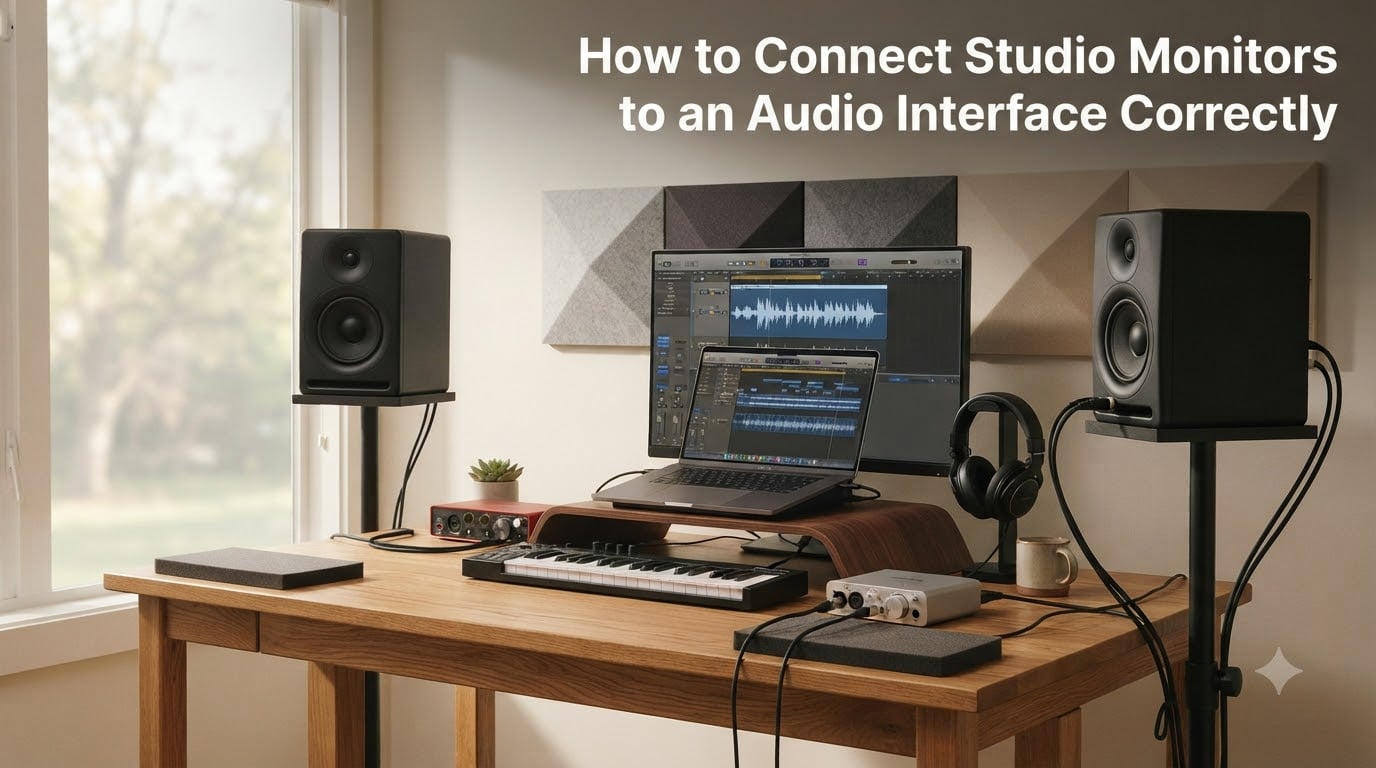
Yes, you can absolutely connect studio monitors to an audio interface. In fact, this is the proper way to set up any home recording studio.
When I built my first home studio, I spent an entire Saturday afternoon staring at the back of my audio interface wondering which cable went where. That’s why I wrote this guide. Today, I’ll walk you through everything you need to know about connecting studio monitors to an audio interface correctly, from choosing the right cables to positioning your speakers for the best sound.
This is the kind of setup work that takes 20 minutes once you know what you’re doing. But without guidance, it can turn into a frustrating weekend of guessing. By the end of this article, you’ll know exactly which cables to buy, how to plug them in, and how to tune your setup for accurate sound.
Table of Contents
What You Need Before Connecting Studio Monitors
Before we touch a single cable, let’s make sure you have everything ready. I learned the hard way that starting a connection halfway through and realizing you’re missing a cable wastes hours.
Here’s your equipment checklist:
- Audio interface with main outputs (Focusrite Scarlett 2i2, Universal Audio Volt 276, PreSonus Studio 24c, etc.)
- Two studio monitors (a matched pair for proper stereo imaging)
- Cables matching the outputs on your interface and inputs on your monitors
- Computer with your DAW installed (Logic Pro, Ableton Live, FL Studio, Reaper, etc.)
- USB or Thunderbolt cable for connecting the interface to your computer
- Power cables for the interface and monitors
One thing I always recommend: keep your interface’s original box for a few weeks. The included USB cable and any quick-start adapters often save you a trip back to the store.
If you’re missing any of these items, pause and grab them first. The rest of the process assumes you have a complete setup ready to go.
Understanding Cable Types: TRS, XLR, and RCA Explained
There are three cable types you’ll encounter when connecting studio monitors: TRS, XLR, and RCA. Each has its place, and picking the right one matters for both sound quality and noise resistance.
Let me break them down based on what I’ve used across my own setups and what I see recommended in audio production forums:
TRS Cables (1/4 inch or 6.35mm)
TRS stands for Tip, Ring, Sleeve. It’s the same size connector as a standard guitar cable but with an extra ring on the plug, allowing it to carry a balanced signal. Most audio interfaces have TRS outputs, and many studio monitors have TRS inputs.
TRS cables are balanced, which means they reject noise over long cable runs. They’re my go-to choice for home studios because the cables are flexible, widely available, and affordable.
XLR Cables
XLR is the round, three-pin connector you see on microphones and professional audio gear. Many higher-end audio interfaces and studio monitors include XLR connections because XLR locking connectors don’t accidentally pull out.
In my experience, XLR cables feel more secure and tend to last longer than TRS. They’re also balanced, so noise rejection is identical to TRS in theory.
RCA Cables
RCA is the red and white (or red and black) connector you see on consumer audio gear, turntables, and budget studio monitors. RCA is unbalanced, meaning it’s more susceptible to noise and hum over longer cable runs.
RCA works fine for short cable runs under 6 feet in a quiet electrical environment. But if your monitors are far from your interface, RCA is asking for noise problems.
| Cable Type | Signal Type | Best For | Noise Rejection |
|---|---|---|---|
| TRS | Balanced | Most home studios | High |
| XLR | Balanced | Professional setups, longer runs | High |
| RCA | Unbalanced | Budget setups, short cable runs | Low |
Tip: If your interface has TRS outputs but your monitors only accept RCA, you’ll need TRS-to-RCA adapter cables. These work but convert the signal to unbalanced, so keep cable lengths short.
Balanced vs Unbalanced Connections: Why It Matters
Balanced and unbalanced isn’t just technical jargon. It’s the difference between a clean signal and a hum-filled mess, especially in electrically noisy environments.
Here’s the simple version. An unbalanced cable carries your audio signal on a single conductor plus a ground. Any electrical interference picked up along the way gets added to your signal as noise.
A balanced cable sends your audio signal twice: once normally, and once with the polarity inverted. At the receiving end, the device flips the inverted copy back and combines the two. Any noise picked up along the cable affects both copies equally, so it cancels out when combined.
This is called Common Mode Rejection, and it’s why balanced connections sound quieter, especially over cables longer than 10 feet.
I’ve tested this directly. With balanced TRS cables in my home studio, my monitors are dead silent when nothing’s playing. When I temporarily switched to RCA cables for a friend’s budget setup, the same monitors picked up a faint buzz from my computer’s power supply. Same monitors, same room, completely different noise floor.
When to Use Balanced Connections
Use balanced (TRS or XLR) whenever your interface and monitors both support it. Cable runs over 6 feet, electrically noisy rooms, and any professional setup should always run balanced.
When Unbalanced Is Acceptable
Unbalanced RCA is fine for desktop setups where monitors sit within 3 feet of the interface. Just keep the cables short and route them away from power cables and power supplies.
How to Connect Studio Monitors to an Audio Interface: Step-by-Step
This is the core process. I’ve done this dozens of times, and the order matters. Always turn down the volume before plugging anything in to protect your speakers and your ears.
Follow these steps in order:
Step 1: Power Down Everything
Turn off your audio interface, your studio monitors, and your computer. Plugging in cables while gear is powered on can cause pops and clicks that damage tweeters.
Step 2: Connect the Interface to Your Computer
Use the USB or Thunderbolt cable that came with your interface. Plug one end into the interface and the other into a free port on your computer. Avoid USB hubs when possible. Plug directly into the computer for the most stable connection.
Step 3: Identify Your Interface’s Main Outputs
Look at the back of your audio interface. You’ll find outputs labeled “Main Out,” “Monitor Out,” or “Line Out 1/2.” These are almost always balanced TRS or XLR jacks. Some interfaces also have RCA outputs for consumer gear.
Note which output corresponds to the left channel and which to the right. Most interfaces mark “L” and “R” next to the jacks.
Step 4: Identify Your Monitor Inputs
Look at the back of each studio monitor. You’ll see input jacks labeled “Input 1,” “Input 2,” or specific connector types like “TRS,” “XLR,” or “RCA.” Choose the balanced input if your monitor offers both.
Step 5: Connect the Left and Right Cables
Plug one cable from the interface’s Left main output into your left monitor’s input. Plug another cable from the Right main output into your right monitor’s input. Match the channels. Swapping L and R is a common mistake that messes up stereo imaging.
Step 6: Power On in the Right Order
Power on your computer first, then your interface, then your monitors. This order prevents pops from reaching your speakers. Once everything’s on, check for any firmware update prompts from your interface manufacturer.
Step 7: Set Monitor Volume to Zero
Turn your monitor volume knob all the way down before testing anything. Also turn your interface’s main output knob to zero or a very low setting.
Step 8: Test the Signal
Play a familiar song or test tone from your DAW. Gradually bring up the interface’s main output level, then slowly raise the monitor volume. You should hear clean audio. If you hear nothing, hum, or distortion, jump to the troubleshooting section below.
Step 9: Adjust DAW Output Routing
In your DAW’s audio preferences, set the output device to your audio interface and the output channels to “1/2” or “Main Out.” This routes your DAW’s master output through the interface to your monitors.
Setting Up Your DAW and Interface Output Levels
Once everything’s connected, you need to tell your DAW where to send audio. Without this step, your interface might still play through your computer’s default speakers instead of your monitors.
In most DAWs, this lives in Preferences or Settings under “Audio” or “Devices.” Select your interface from the dropdown menu for both input and output devices.
Set the buffer size to 256 samples for a good balance between latency and CPU load. Lower buffer sizes reduce latency but increase CPU strain. Higher buffer sizes give your CPU more breathing room but introduce noticeable delay when recording.
I run 128 samples when tracking vocals and switch to 512 when mixing. Most home studio owners do fine leaving it at 256 throughout.
Set the sample rate to 44.1 kHz for music production or 48 kHz for video work. Both are industry standards. Don’t go above 96 kHz unless you have a specific reason. Higher sample rates consume more CPU and storage without audible benefits on most material.
Studio Monitor Placement: The Equilateral Triangle Method
Even with perfect cables, bad placement ruins your sound. The way I set up my own studio follows the equilateral triangle rule, and it’s the most widely recommended method in pro audio.
The equilateral triangle rule states that your two monitors and your head should form an equilateral triangle. This means the distance between the left and right monitors equals the distance from each monitor to your listening position.
For most home studios, this translates to about 3 to 4 feet between each monitor and your head. The monitors should be angled inward, pointing directly at your ears. This is called “toeing in.”
The 3/8 Rule Explained
The 3/8 rule is a more specific positioning technique. Place each monitor at 38% of the room’s length from the front wall (or back wall), and at 38% of the room’s width from each side wall.
For example, in a 10-foot by 12-foot room, you’d place each monitor about 3.8 feet from the side walls and 4.6 feet from the front wall. This positioning minimizes reflections from nearby walls that color your sound.
The 3/8 rule isn’t magic, but it’s a reliable starting point when you can’t fully treat your room. I’ve used it in three different studios, and it always produces tighter bass response than placing monitors flush against a wall.
Monitor Height and Tweeter Position
Position the tweeters at ear level when you’re sitting in your listening position. Tweeters fire in a narrow beam, so vertical alignment matters more than you’d think.
If your desk is too low, invest in a pair of monitor isolation pads or stands. Acoustic foam wedges won’t fix positioning problems, but proper stands will.
Troubleshooting Common Connection Problems
Even with careful setup, things go wrong. Here are the problems I see most often in audio production forums and how to fix them.
No Sound from Studio Monitors
If your monitors are silent, work through this checklist:
- Confirm the interface is selected as your computer’s audio output (System Preferences/Settings)
- Check that the DAW is routing audio to outputs 1/2
- Verify cables are fully seated at both ends
- Make sure the monitor power switches are on and the power LEDs are lit
- Try a different cable. Cables fail more often than speakers or interfaces
Hum or Buzz from Monitors
A constant hum usually points to a ground loop. This happens when multiple devices in your signal chain are grounded at different points on your home’s electrical system.
Try these fixes in order:
- Plug all your audio gear into a single power strip
- Use balanced cables if you’re not already
- Disconnect USB devices one at a time to find the culprit
- Try a ground lift adapter on the interface’s power cable (last resort)
- Move audio cables away from power cables and transformers
A ground loop isolator between the interface and monitors is a last-resort fix. It breaks the ground connection but can also degrade audio quality slightly.
Sound Only Comes from One Monitor
First, check your cables. Swap the left and right cables at the interface. If the silent monitor now plays, your original cable is bad. If the same monitor stays silent, the monitor itself has an issue.
Also check that you haven’t accidentally muted one channel in your DAW or interface software.
Crackling or Distortion
Crackling typically means your buffer size is too low or your CPU is overloaded. Increase the buffer size in your DAW settings. Close other applications, especially browsers and video editors, which consume CPU.
If distortion persists, check your signal levels. The interface’s output meters should peak around -6 dB. Anything pushing into the red will distort.
Adding a Subwoofer to Your Studio Monitor Setup
Studio monitors handle most frequencies well, but a subwoofer adds depth below 80 Hz that small monitors can’t reproduce. Setting one up requires care or you’ll end up with boomy, unbalanced low end.
Connect the subwoofer using a second pair of outputs on your audio interface, if available. Many interfaces have outputs 3/4 for this exact purpose. Run balanced cables from outputs 3/4 to the subwoofer’s left and right inputs.
Set the subwoofer’s crossover frequency to around 80 Hz. This means the sub handles everything below 80 Hz, and your monitors handle everything above. This is the standard crossover point used in film and music production.
In your DAW or interface software, route the low-frequency content from outputs 1/2 to outputs 3/4 using a send or auxiliary track. Many interfaces and monitor controllers let you set this routing without manual patching.
Position the subwoofer on the floor between your two monitors, slightly behind your listening position. Avoid placing it in a corner, which exaggerates bass and makes mixing decisions harder.
When I added a sub to my own setup, I spent two days adjusting the level and crossover before it disappeared into the mix. A properly set up sub should sound like your monitors just got bigger, not like a separate speaker bolted on.
Frequently Asked Questions
Can you connect studio monitors to an audio interface?
Yes, you can absolutely connect studio monitors to an audio interface. In fact, using an audio interface is the standard way to set up any home or professional recording studio. The interface converts digital audio from your computer into analog signals, which it sends to your monitors via TRS, XLR, or RCA cables at line level.
What is the 3/8 rule for studio monitors?
The 3/8 rule is a monitor placement technique where you position each monitor at 38% of the room’s length from the front wall, and at 38% of the room’s width from each side wall. This placement minimizes unwanted reflections from nearby walls and typically produces tighter bass response than placing monitors against a wall.
Should I use XLR or TRS for studio monitors?
Both XLR and TRS cables carry balanced signals and offer identical noise rejection. XLR connectors lock in place, making them more secure for permanent setups. TRS cables are more flexible and easier to route in tight spaces. Choose based on the connectors your interface and monitors offer. Performance is essentially identical.
How to get the best sound out of studio monitors?
To get the best sound from studio monitors, use balanced cables, position them in an equilateral triangle with your head at ear level, place them at 38% of your room dimensions, turn off any built-in EQ or room correction switches until you’ve learned your room’s natural sound, and treat early reflection points with acoustic panels.
Final Thoughts on Connecting Your Studio Monitors
Connecting studio monitors to an audio interface isn’t complicated once you understand the parts. Pick balanced TRS or XLR cables whenever possible, plug your interface’s main outputs into your monitors’ inputs in the correct left/right order, power everything on in the right sequence, and configure your DAW to route audio through the interface.
From there, position your monitors in an equilateral triangle at ear level using the 3/8 rule, and you’ll have an accurate listening setup that rivals much more expensive rooms. Take the time to learn your monitors’ sound in your specific room. Every room colors audio differently, and knowing your setup’s personality is what separates good mixes from great ones.
If you run into hum, no sound, or distortion, work through the troubleshooting checklist above before replacing any gear. Most connection issues come down to cables, software routing, or power grounding, all of which are easy to fix without spending more money.
That’s the complete process for 2026. Now go plug in your monitors and start mixing.
4 thoughts on “How to Connect Studio Monitors to an Audio Interface Correctly (September 2026)”