
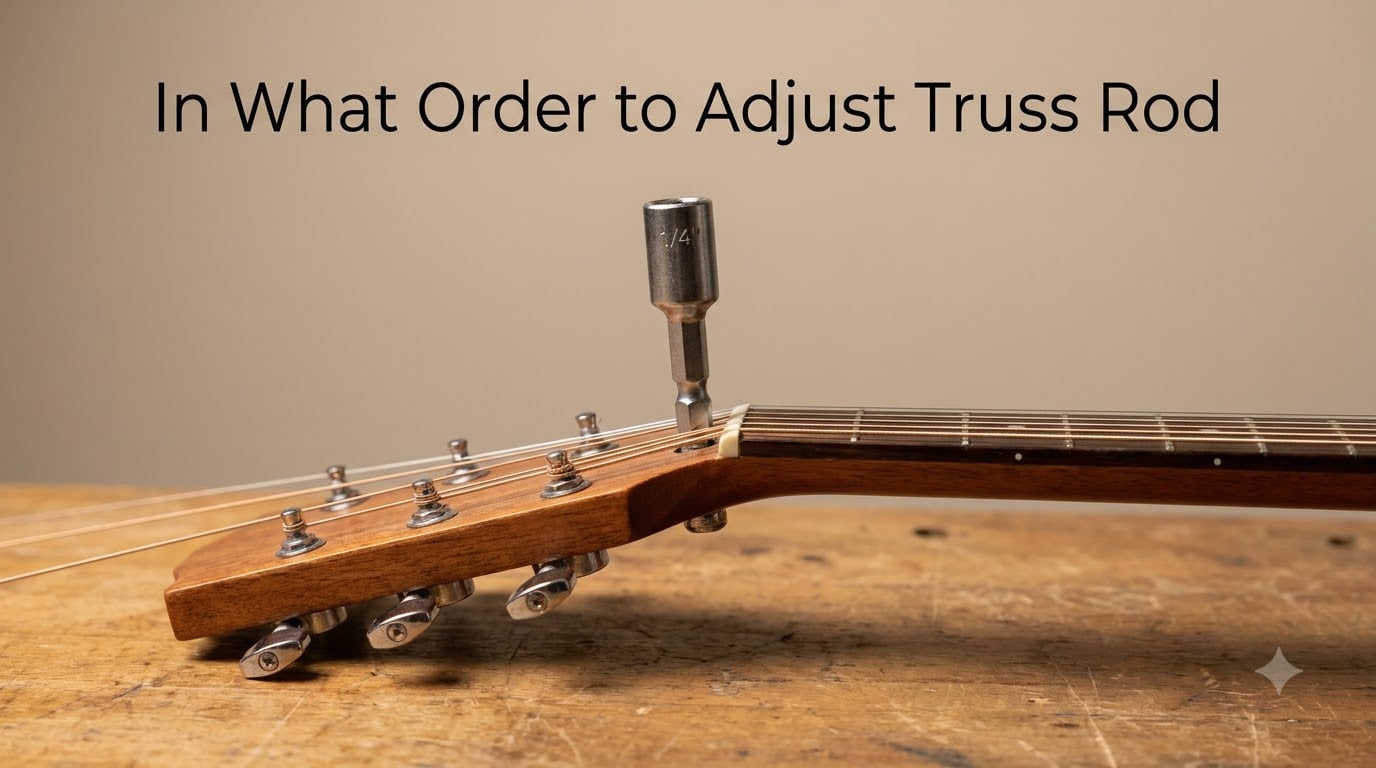
The short answer: the truss rod comes first in any guitar setup. Before you touch your bridge saddles, nut slots, or intonation, you need to set neck relief. Every other adjustment depends on how straight (or slightly bowed) your neck is. I learned this the hard way years ago, fighting endless fret buzz on a Strat that just needed a 1/8 turn on the truss rod before anything else.
This guide walks you through the complete order of guitar setup adjustments in 2026, with a deep focus on the truss rod itself. You will learn what a truss rod does, how to identify forward and backward bow, which way to turn the nut, and how to make safe quarter-turn adjustments without damaging your instrument.
Table of Contents
What Is a Truss Rod and Why Does It Matter
A truss rod is a metal bar running inside your guitar neck. Its job is simple: counteract the pull of string tension so your neck stays straight enough to play comfortably. Without a truss rod, the strings would bow your neck into a U-shape within minutes.
The rod works like an adjustable spine. Tightening it pulls the neck backward, straightening it or even creating a back-bow. Loosening it allows the neck to relax forward into a gentle curve. That curve, called neck relief, is what gives every guitar a small amount of breathing room above the frets.
Why does this matter for setup order? Because every other adjustment depends on the neck being stable first. Action height, saddle radius, and intonation all assume your neck has a known amount of relief. Skip the truss rod and you will chase problems forever.
Understanding Neck Relief: Forward Bow vs Backward Bow
Neck relief is the slight forward curve your neck should have when properly set up. A perfectly straight neck often causes fret buzz because the strings have nowhere to travel during vibration. A slightly forward-bowed neck gives them that little clearance they need.
You have three possible neck conditions:
- Forward bow (relief): The neck curves toward the strings in the middle. This is the normal playing condition for most guitars.
- Straight neck: No visible curve. Often causes fret buzz on the middle frets.
- Backward bow: The neck curves away from the strings. This is dangerous and means over-tightening or a structural issue.
To check your relief, capo the first fret, hold down the string at the fret where the neck joins the body (usually fret 14 or 16), and measure the gap at the 7th or 8th fret. Most manufacturers recommend around 0.010 inch (0.25 mm) for electric guitars and slightly more for acoustics.
If the gap is too small, your neck has too little relief. If the gap is too large, your neck has too much. Either condition calls for a truss rod adjustment before you touch anything else.
The Correct Order of Guitar Setup Adjustments
Here is the definitive order of operations our team uses on every guitar that comes through the shop. This sequence matters because each step builds on the previous one.
- Truss rod adjustment sets neck relief, the foundation for everything else.
- Nut slot height ensures open strings have correct clearance at the first few frets.
- Bridge or saddle height sets the string action once the neck is stable.
- Pickup height balances output volume once action is set.
- Intonation fine-tunes each string’s length so it plays in tune up and down the neck.
A common mistake players make is setting the bridge height before the truss rod. The Reddit guitar community sums it up well: “The neck needs to be straight before you know how to adjust the bridge.” If you adjust saddles first and then set the truss rod, the neck curvature changes and your action goes right back out of spec.
One caveat from our own testing: truss rod and bridge height are interdependent. After a truss rod change, expect to revisit saddle height before intonation is truly dialed in. Plan on a few passes, not a single setup session.
Which Way to Turn the Truss Rod: Clockwise vs Counterclockwise
This is the most-asked question in our DMs, so let me give you the clearest answer possible. Looking at the truss rod nut from the headstock end (where you insert the tool):
- Clockwise (right) tightens the rod, which straightens the neck and reduces relief.
- Counterclockwise (left) loosens the rod, which allows the neck to bow forward and adds relief.
So if your action is too high and you want to lower it, you turn clockwise to straighten the neck and bring the strings closer to the frets. If you have fret buzz in the middle of the neck, you turn counterclockwise to add a touch more relief.
A practical example: on a Fender Stratocaster with a 1/4 inch nut access at the headstock, clockwise reduces the bow and lowers the action. On a Martin acoustic with soundhole access, the same rule applies but the access point is reversed, so clockwise from inside the soundhole actually means looking at the rod from the body side.
When in doubt, check your manufacturer’s manual. The direction can feel reversed depending on whether you are looking at the headstock end or the body end of the rod.
Step-by-Step Guide to Adjusting Your Truss Rod
Follow this process every time you touch the truss rod. Small, patient adjustments beat big swings every time.
Step 1: Tune the guitar to pitch. Truss rod behavior depends on string tension, so the guitar must be at playing pitch before you measure or adjust anything.
Step 2: Check the relief. Capo the first fret, press the low E string at the highest fret, and measure the gap at the 8th fret using a feeler gauge or a business card. Note your starting measurement.
Step 3: Identify the adjustment point. Most Fender-style guitars use a 1/4 inch nut at the headstock. Most Gibson-style guitars use a socket wrench at the headstock. Most acoustic guitars use a socket wrench inside the soundhole.
Step 4: Make a quarter-turn adjustment. Insert the correct tool and turn only 1/4 turn at a time. The bassbuzz forum and most pro techs agree: never more than a quarter turn per pass. That is roughly the width of a clock face from 12 to 3.
Step 5: Re-tune and re-check. The neck shifts slightly when you remove the tool and re-tune. Measure again at the 8th fret before deciding whether to turn more.
Step 6: Repeat as needed. If your target is 0.010 inch and you are at 0.018 inch, you might need three or four quarter-turn passes over a couple of hours. Patience prevents damage.
Tools You Will Need for Truss Rod Adjustment
You only need a few items to do this safely at home.
- Correct truss rod wrench or 1/4 inch nut driver for your specific guitar model.
- Capo to lock the first fret while measuring relief.
- Feeler gauge or business card to measure the gap at the 8th fret.
- Electronic tuner to keep the guitar at pitch throughout the process.
- Clean cloth to wipe the neck and access area.
Using the wrong size tool strips the truss rod nut, which is one of the most expensive repairs on a guitar. If you do not know your truss rod size, check the manufacturer’s website before turning anything.
Signs Your Truss Rod Needs Adjustment
Your guitar will tell you when the truss rod is off. Watch for these common symptoms.
Fret buzz on the middle frets usually means too little relief. The strings are hitting the frets because the neck is too straight.
High action and hard playability often means too much relief. The strings sit too far above the frets because the neck is bowing forward.
Visible gap between string and fret when looking down the neck from the headstock is a clear sign of excessive relief.
Recent string gauge change is a setup trigger. Heavier strings pull harder and may require a truss rod tweak to keep the same action.
Seasonal shifts in humidity are another major trigger. Wood expands in humidity and contracts in dry winter air, which moves the neck. Many players adjust the truss rod twice a year.
Safety Tips and Precautions
The truss rod is one of the few adjustments on a guitar that can cause real damage if mishandled. Follow these rules every time.
Never turn more than a quarter turn at a time. Small movements prevent stripped rods, cracked nuts, and over-bowed necks.
Stop immediately if you feel strong resistance. The rod should turn smoothly. Forcing past resistance can crack the neck or strip the threads.
Never loosen the rod completely. A truss rod should always have some tension on it. Letting it go fully slack invites neck warping and buzzing.
Let the neck settle between adjustments. Wood needs time to adapt. Wait 15 to 30 minutes after a turn before re-checking relief.
Seek a pro for vintage or high-value instruments. If your guitar is worth more than your car insurance deductible, take it to a qualified tech. The cost of a setup is far less than repairing a stripped truss rod.
How Humidity and String Gauge Changes Affect Your Truss Rod
Your neck is wood, and wood moves with moisture. In humid months the neck swells and relief decreases. In dry winter months the wood shrinks and relief increases. This is why a guitar that played perfectly in July may buzz in January.
String gauge changes work the same way. Moving from 9s to 11s increases total tension by roughly 15 percent. The extra pull bows the neck more, so you usually need to tighten the truss rod (clockwise) to compensate. Moving to lighter strings does the opposite.
If you live in a place with big seasonal swings, consider a guitar humidifier for the dry months. Stable humidity means fewer truss rod adjustments and a more consistent feel all year.
Frequently Asked Questions About Truss Rod Adjustment
Which way should I adjust my truss rod?
Looking at the truss rod nut from the headstock end, clockwise tightens the rod and straightens the neck. Counterclockwise loosens the rod and adds forward relief. The direction feels reversed when accessing the rod through the soundhole of an acoustic guitar, so always confirm with your manufacturer if unsure.
Should I adjust the truss rod or action first?
Always adjust the truss rod first. Neck relief is the foundation of every other setup step, so you must stabilize the neck before changing saddle height, nut slots, or intonation. Adjusting action first and then the truss rod will undo your work because the neck curvature shifts after a truss rod turn.
Do you adjust the truss rod with strings on or off?
Adjust with the strings on and tuned to pitch. The truss rod only behaves correctly under real string tension. With strings off or loose, your measurements will be misleading and you risk over-turning the rod once you restring.
Can you overtighten a truss rod?
Yes, and the consequences are serious. Overtightening can crack the neck, strip the truss rod nut, or warp the fingerboard. Stop if you feel strong resistance, never turn more than a quarter turn at a time, and seek a professional if the rod will not move smoothly.
How often should you adjust your truss rod?
Most guitars need a truss rod check twice a year, usually at the seasonal humidity change. You may need additional adjustments after a string gauge change, a long tour, or moving to a different climate. Daily playing does not require frequent adjustment unless humidity is unstable.
Final Thoughts on Adjusting Your Truss Rod in the Right Order
Adjusting a truss rod is not complicated once you respect the process. Start with the truss rod because it sets neck relief, the foundation for everything else. Use quarter turns, measure at the 8th fret, and check your work after every adjustment. Move on to nut slots, then bridge height, then intonation only after the neck is stable.
If you remember the order of guitar setup adjustments (truss rod, nut, bridge, pickups, intonation) and you never turn more than a quarter turn at a time, you can safely set up most guitars at home. For vintage or expensive instruments, our team always recommends a professional setup. Your guitar will thank you.