
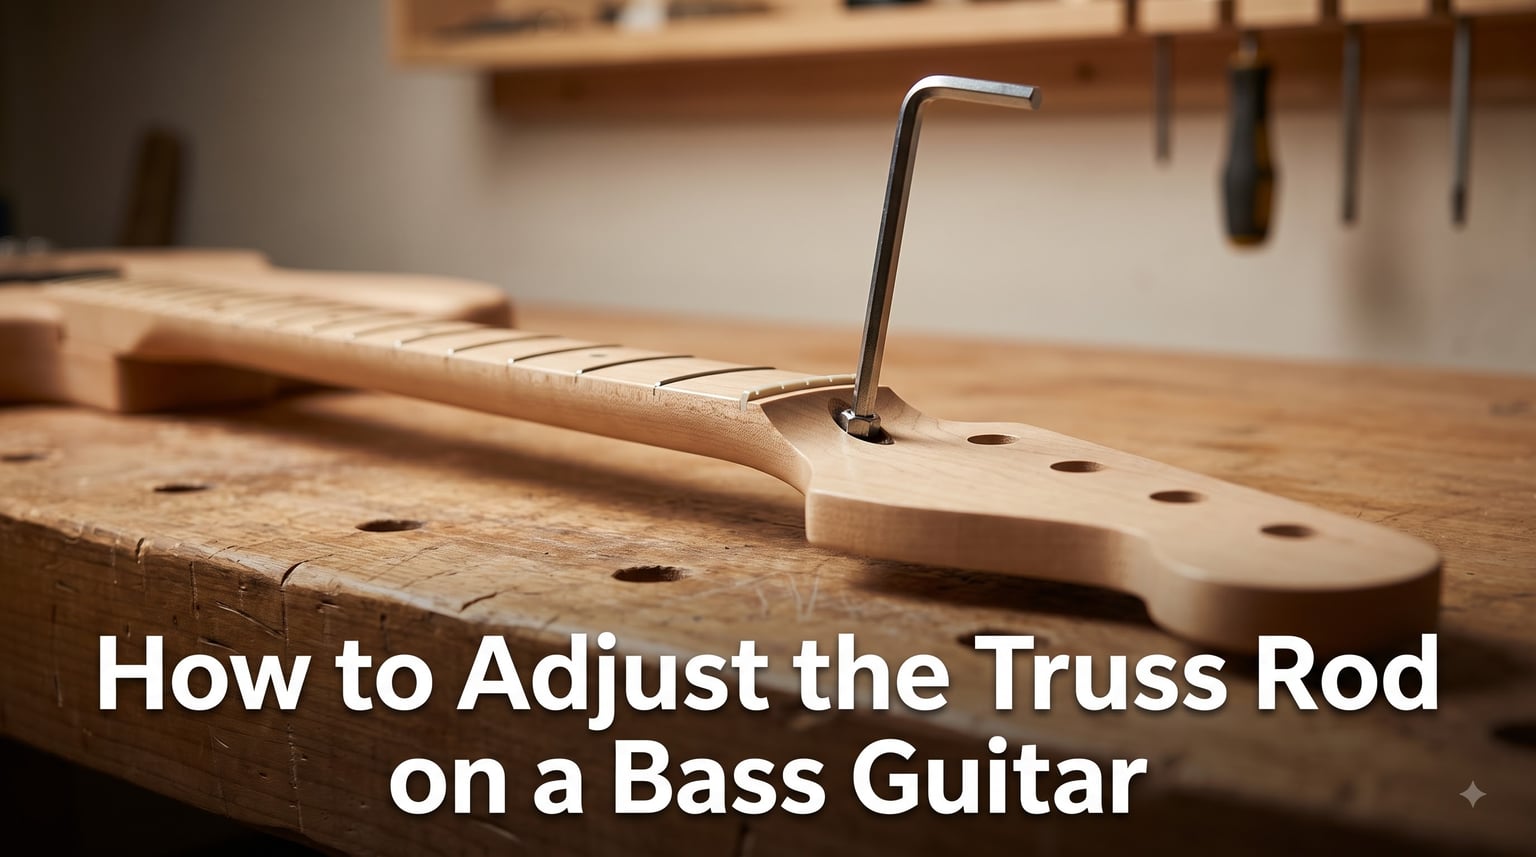
If your bass is fighting you, the truss rod is usually the first thing to check. Whether you’re chasing fret buzz, fighting high action, or just trying to dial in a feel you actually enjoy, learning how to adjust the truss rod on a bass guitar is one of the most valuable skills a player can develop.
I’ve adjusted hundreds of bass setups over the years at our shop, and the same fear shows up every time: people are terrified they’re going to snap something inside the neck. Here’s the truth. A modern truss rod is a robust, engineered component designed to be adjusted. With the right tools, a patient approach, and the guidance in this article, you can do this safely at home.
By the end, you’ll understand what a truss rod does, how to measure neck relief, which direction to turn, and how to avoid the common mistakes that send people running to a tech. Let’s get your bass playing the way it should.
Table of Contents
What Is a Truss Rod and What Does It Do on a Bass Guitar
A truss rod is a steel bar that runs the length of your bass neck, hidden beneath the fretboard or under a cover plate. Its job is simple but critical: to counteract the enormous pull of the strings.
Four bass strings under tension can generate 80 to 100 pounds of force pulling the headstock toward the body. Without a truss rod, the neck would bow forward like a bow and arrow. The rod resists that forward bend, keeping the neck straight enough to play cleanly across all frets.
Most bass truss rods are anchored at the body end and threaded at the adjustment end. When you turn the adjustment nut, you change how much the rod resists the string tension. Loosen the rod and the neck can bow more. Tighten the rod and the neck straightens further. That adjustability is what lets you tune the neck curvature to match your string gauge, playing style, and climate.
There are two main types of truss rods used in modern basses. Single-action rods work against string tension in one direction only. Double-action rods can push as well as pull, giving you a wider adjustment range. Most Fender, Music Man, and Ibanez basses use single-action rods. Some higher-end models and many acoustic guitars use double-action designs.
If your bass has a covered rod at the headstock, you likely have a single-action setup. If the adjustment is at the heel of the neck where it joins the body, check your manufacturer’s documentation. The rod type matters less than the procedure, but it does affect how the neck feels when you change strings or swap gauges.
Understanding Neck Relief: Forward Bow vs Back Bow
Neck relief is the slight forward curve your bass neck has when set up properly. It’s not a flaw. It’s a deliberate feature that gives the strings room to vibrate without buzzing against the frets.
Picture looking at your bass neck from the side, with the headstock to your left and the body to your right. A perfectly straight neck has zero relief. A neck with forward relief bows slightly toward you when held in playing position, with the middle frets sitting a fraction higher than the ends. A back-bowed neck curves the opposite way, with the middle dipping below the line between the headstock and the body.
Forward bow is what you want. A small amount of forward relief creates clearance for the strings to oscillate after you pluck them. Without it, even a perfectly level fretboard will produce fret buzz because the strings vibrate in an arc and need somewhere to go.
How much relief is enough? For most basses with standard .045 to .105 string sets, the target is roughly 0.010 inches, or about the thickness of two business cards, at the 7th or 8th fret when you capo at the 1st fret and press the lowest string at the last fret. That measurement varies based on your playing style. Slappers often prefer slightly less relief for a faster feel. Fingerstyle players sometimes want a bit more for a warmer response.
Back bow is the dangerous one. A back-bowed neck has too little or even negative relief, and it will buzz on every fret in the middle of the neck. If you see back bow, you need to loosen the truss rod immediately to let the string tension pull the neck back into a slight forward curve.
How to Check Your Neck Bow Using the 3 Fret Rule
Before you touch the truss rod, you need to know what your neck is doing right now. The 3 fret rule is the simplest way to check relief without any special tools.
Step 1: Tune your bass to pitch. String tension affects neck curvature, so always measure with the strings at playing tension.
Step 2: Capo the low E string at the 1st fret. This removes the nut from the equation and isolates the playable portion of the neck.
Step 3: Press the same low E string down at the fret where the neck meets the body. On most basses that’s the 22nd or 24th fret. Use your fretting hand to hold it down firmly.
Step 4: Look at the gap between the bottom of the low E string and the top of the frets in the middle of the neck, around the 7th or 8th fret. The gap should be small but visible, roughly the thickness of a business card or two.
If you can barely see daylight under the string, your neck is probably straight or slightly back-bowed. If there’s a noticeable gap, you have forward relief. If you can slide a business card under without resistance, you have too much relief and the strings will feel high.
For a more precise measurement, use a feeler gauge set. Press the 0.010 inch blade against the 7th fret while the string is held at the 1st and last frets. If it just fits with a tiny bit of drag, you’re in the sweet spot. If it slides in loose, you need less relief. If it doesn’t fit at all, you need more.
Check both the E and G strings. The G string should have slightly less relief than the E because it’s a thinner string and vibrates in a smaller arc. Most players aim for 0.008 to 0.012 inches of relief measured at the 7th fret with the string depressed at the 1st and last frets.
Tools You Need Before Adjusting the Truss Rod
You don’t need much to adjust a bass truss rod, but having the right tool for your specific bass matters. Using the wrong size wrench can strip the nut, and then you’re looking at a repair bill instead of a simple adjustment.
Here’s what you’ll need:
Correct hex wrench or socket: Most Fender basses use a 4mm hex key. Gibson and Epiphone basses often use a 5/16 inch socket. Music Man uses 5/32 inch hex. Ibanez varies by model, but 4mm or 5mm is common. Check your manufacturer’s specs.
Feeler gauge set: A basic automotive feeler gauge from any hardware store costs a few dollars and gives you precise relief measurements.
Capo or helper: You can use a capo at the 1st fret or just hold the string down with your hand.
Straightedge ruler: A precision ruler helps visualize neck curvature, though the 3 fret rule usually suffices.
Notepad: Write down how much you turned and which direction. If you go too far, you’ll know exactly how much to reverse.
One tool to avoid: adjustable wrenches. They slip easily and will round off the truss rod nut. Spend a few dollars on the proper hex or socket size for your bass.
How to Adjust the Truss Rod on a Bass Guitar: Step by Step
Now that you know what your neck looks like and which direction it needs to move, let’s make the adjustment. Take your time. This is not a race.
Step 1: Tune the bass to pitch. Always adjust with strings at full tension. If the bass isn’t tuned, your measurement won’t reflect how the neck actually behaves when you play.
Step 2: Locate the truss rod access point. On headstock-adjust basses, remove the truss rod cover (usually held by two small screws). On heel-adjust basses, you’ll need to look inside the sound hole or through the control cavity, depending on the design.
Step 3: Fit the correct wrench. The wrench should slide in smoothly with no wobble. If it feels loose, you have the wrong size.
Step 4: Turn the wrench a maximum of 1/4 turn at a time. Use the 1/4 turn rule as your hard limit. Most adjustments only need 1/8 to 1/4 turn total to make a noticeable difference. Larger turns risk over-correcting and damaging the rod.
Step 5: Pause and let the neck settle. After each adjustment, wait at least 10 to 15 minutes before re-checking. The wood needs time to redistribute tension across the grain. Some techs recommend leaving it overnight for major changes, especially on acoustic basses where the wood is thicker.
Step 6: Re-check relief. Repeat the 3 fret rule or feeler gauge check. If you need more adjustment, turn another 1/4 turn in the same direction. If you’ve gone too far, reverse direction immediately.
Step 7: Retune and play. Once relief looks right, tune up and play a few notes up and down the neck. Fret buzz on the low frets usually means too little relief. Buzz only in the middle suggests the neck is back-bowed. Buzz everywhere means you went too far the wrong way.
Which Way to Turn: Clockwise vs Counterclockwise Explained
This is the question that trips up more players than any other. The good news: there’s a simple mnemonic that works on virtually every bass.
Righty tighty, lefty loosey. Turning the truss rod clockwise tightens it, which straightens the neck by reducing forward relief. Turning counterclockwise loosens it, which lets the neck bow more, increasing relief.
So if your action is too high and the strings feel stiff, turn counterclockwise to add relief. The strings will sit closer to the frets because the neck curves forward more. If you have fret buzz and the strings feel too close to the frets, turn clockwise to reduce relief and straighten the neck.
There’s one important exception. On some double-action truss rods, the direction rule reverses when you’re adding forward bow beyond the neutral point. If you’re adjusting a double-action rod and turning the wrench feels like it’s tightening against string tension rather than with it, stop and check your manufacturer’s documentation. Most players will never encounter this, but it’s worth knowing.
Single-Action vs Double-Action Truss Rods: What You Need to Know
Most basses you’ll encounter use a single-action truss rod. It only works against string tension, meaning it can only pull the neck backward to reduce forward bow. This works perfectly for nearly all playing situations because the strings are always trying to bow the neck forward.
Double-action truss rods can both pull and push. They use two rods or a specially designed single rod with bidirectional threading. This gives them a wider range of adjustment and lets them counteract back bow as well as forward bow. They’re more common on acoustic basses, older Rickenbacker models, and some boutique electric basses.
For adjustment purposes, the procedure is the same: small turns, wait, re-check. The only practical difference is that double-action rods sometimes feel like they have a “neutral zone” where very little happens as you turn. That’s normal. Just keep your increments small and steady.
Headstock Access vs Heel Access: Where Your Truss Rod Lives
Different bass makers put the truss rod adjustment in different places. Fender, Squier, and many Squier-affiliated designs place it at the headstock, often under a small plastic cover near the nut. Gibson, Music Man, and several acoustic bass designs place it at the heel, where the neck joins the body.
Headstock access is generally easier for home adjustments because you can see what you’re doing without removing the strings. Heel access often requires a long socket wrench and may need the strings loosened or the neck removed entirely on some models.
Before you start, check your bass manual or look up the specific model online. A 30-second search saves a 30-minute guessing game.
Seasonal Adjustments: How Humidity and Temperature Affect Your Neck
Wood moves with humidity. In dry winter months, your bass neck may lose moisture and bow forward slightly. In humid summer months, it may swell and straighten out. Most players notice this as fret buzz appearing in winter or strings feeling high in summer.
Our team has seen basses that needed a small truss rod tweak every time the seasons changed. A good rule is to check relief at the start of each season, especially if you live somewhere with significant humidity swings. A small 1/8 turn adjustment is often all it takes to compensate for environmental changes.
Storing your bass in its case with a humidity pack between 40% and 50% relative humidity minimizes seasonal movement and reduces how often you need to adjust.
Safety Warnings and Common Mistakes to Avoid
The truss rod is one of the most robust parts of your bass, but it does have limits. Here are the mistakes we see most often at our shop.
Over-tightening is the biggest danger. Modern truss rods can handle reasonable adjustment, but forcing a rod that has reached its limit can crack the neck or strip the threads. If you feel significant resistance, stop. The rod is telling you it’s at its travel limit. Back off and assess.
Don’t rush the process. Turning the rod every five minutes without letting the wood settle leads to over-correction. Always wait 10 to 15 minutes between adjustments.
Avoid adjustments with old or corroded strings. Old strings have uneven tension and won’t give you an accurate picture of how the neck sits under playing conditions. Change your strings before doing a setup, not after.
Never use power tools. The 1/4 turn rule exists for a reason. Cordless drills have no place anywhere near a truss rod.
Know when to call a professional. If the truss rod won’t turn at all, if it feels gritty or makes clicking sounds, or if you’re dealing with a vintage bass worth serious money, take it to a qualified tech. Some situations require specialized tools and experience to handle without causing damage.
FAQs
Which way do you turn the truss rod to lower action on a bass?
Turn the truss rod clockwise to tighten it and straighten the neck, which lowers action by reducing the gap between the strings and the frets. Make only 1/4 turn increments and wait 10 to 15 minutes between adjustments.
Which way do you turn the truss rod for higher action?
Turn the truss rod counterclockwise to loosen it and allow the neck to bow forward more, which raises the action. Use the 1/4 turn maximum rule and let the neck settle before rechecking relief.
What is the 3 fret rule on bass guitar?
Capo the low E string at the 1st fret, press it down at the last fret, and check the gap between the string and the 7th fret. A small visible gap, roughly 0.010 inches, indicates proper forward relief.
Can you adjust a bass truss rod with strings on?
Yes, you should adjust the truss rod with strings tuned to pitch. The strings need to be at playing tension so you can accurately measure how the neck behaves under load.
How do you know when your truss rod is not working?
If the truss rod won’t turn at all, feels gritty, makes clicking sounds, or you turn the wrench but the neck doesn’t respond, the rod may be seized or stripped. Stop adjusting and take the bass to a qualified technician.
Final Thoughts on Adjusting Your Bass Truss Rod
Learning how to adjust the truss rod on a bass guitar puts you in control of your instrument’s playability in a way that few other skills can match. The process comes down to three core principles: understand what neck relief is and why your bass needs a small amount of forward bow, always make adjustments in 1/4 turn increments, and wait for the wood to settle between changes.
Start by checking your current relief using the 3 fret rule or a feeler gauge. Note what you see before turning anything. Then make a small adjustment, wait, and re-check. Repeat until the neck sits where you want it.
If your bass has been fighting you, this is your invitation to stop fighting back. Grab the right hex wrench, set aside 30 minutes, and dial in the feel you’ve been chasing. Your bass will thank you, and so will your fretting hand.