
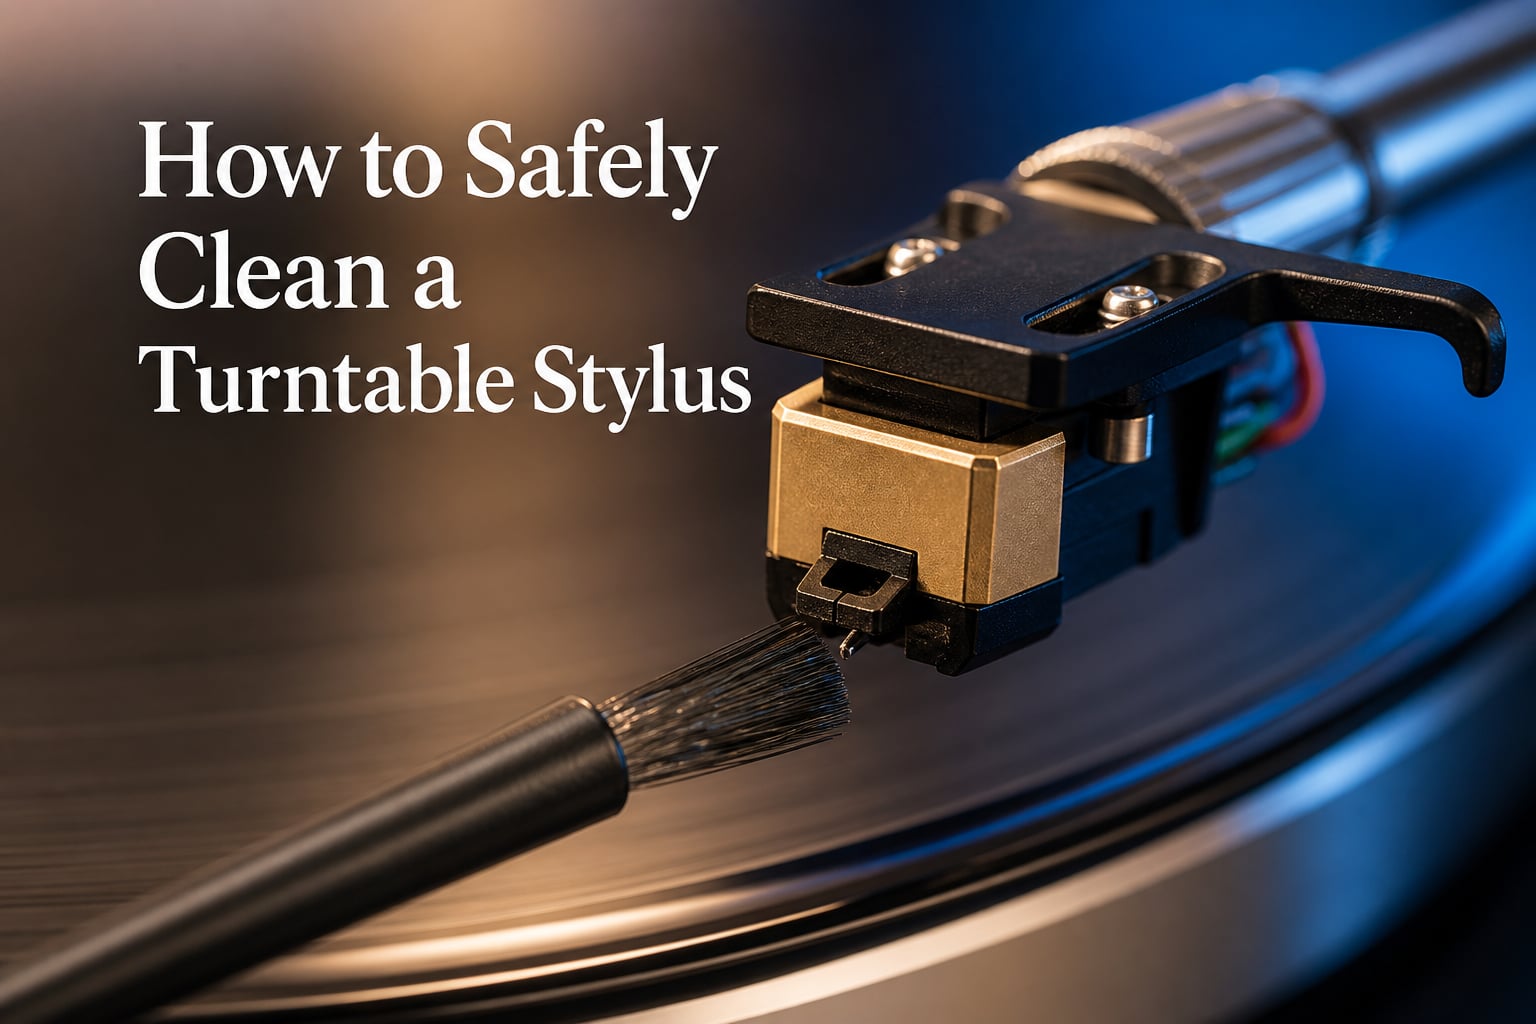
Learning how to safely clean a turntable stylus is one of the most important skills for any vinyl listener. Your stylus is a tiny diamond tip mounted on an incredibly fragile cantilever, and it rides through microscopic record grooves picking up dust, fluff, and grime with every spin. Clean it the right way and your records sound better and last longer. Clean it the wrong way and you can snap the cantilever, dissolve the adhesive holding the tip, or permanently damage your cartridge.
I have spent years working with turntables, and I have seen every stylus cleaning mistake in the book. From snapped cantilevers to dissolved glue, the damage is almost always preventable. This guide covers three safe cleaning methods, how often to clean, and the critical mistakes you must avoid.
Table of Contents
Why Your Stylus Gets Dirty (and Why It Matters)
Your stylus is a real piece of engineering. At its core is a diamond tip, usually shaped as a conical or elliptical point, bonded to a thin metal or aluminum tube called the cantilever. That cantilever connects to a cartridge assembly that converts vibrations into electrical signals. The diamond tip is incredibly hard, but the cantilever supporting it is astonishingly delicate.
Every time the stylus tracks a record groove, it picks up microscopic debris. Dust particles, lint from felt inner sleeves, skin cells, and pressing residue from the vinyl itself all accumulate on the tip. Even visibly clean records shed tiny particles into the groove. A dirty record accelerates this buildup dramatically, which is why record cleaning and stylus care go hand in hand.
The consequences of a dirty stylus go beyond annoyance. Accumulated debris forces the stylus to ride higher in the groove, causing mistracking. Mistracking means the diamond tip skips and jumps over musical information instead of reading it cleanly. This not only degrades audio quality with pops, crackles, and loss of high-frequency clarity, but it can also permanently scratch your vinyl. In short, a dirty stylus damages records.
Signs Your Stylus Needs Cleaning
Your ears and your eyes will both tell you when it is time to clean your stylus. Here are the most common warning signs:
Increased surface noise: Pops, clicks, and crackles that were not present on previous plays.
Loss of treble clarity: High frequencies sound muffled or dull compared to normal playback.
Tracking problems: The needle skips, distorts on loud passages, or mistracks in inner grooves.
Visible buildup: You can see a white or gray clump of dust and lint clinging to the cantilever or around the diamond tip.
I recommend inspecting your stylus visually on a regular basis. A phone camera with macro mode or a cheap jeweler’s loupe works well for this. Look for a small ball of fluff wrapped around the cantilever where it meets the diamond tip. That fluffy buildup is the most common culprit behind sudden sound degradation.
Tools You Need to Clean a Turntable Stylus
You do not need a massive collection of gear to clean your stylus properly. Here is what I recommend having on hand:
Stylus brush: A dedicated carbon fiber stylus brush designed for turntable maintenance. These have ultra-soft bristles that will not damage the cantilever.
Gel stylus cleaner: A tacky gel pad, such as the Onzow ZeroDust, that lifts debris off the tip through adhesion rather than friction.
Mr. Clean Magic Eraser: A budget-friendly DIY alternative to gel cleaners. More on this method below.
Magnifying tool: A jeweler’s loupe, USB microscope, or phone macro lens for inspecting the stylus condition.
Good lighting: A small flashlight or desk lamp so you can actually see what you are doing.
You may notice I did not include stylus cleaning fluid on this list. That is intentional. Many forum users and even some manufacturers warn that liquid cleaning solutions, especially those containing isopropyl alcohol, can degrade the adhesive bonding the diamond tip to the cantilever. I cover this in detail in the warnings section below.
How to Safely Clean a Turntable Stylus: Three Methods
There are three widely accepted methods for cleaning a turntable stylus. Each has its strengths, and I use all three depending on the situation. The golden rule across all methods is the same: always move the cleaning tool from the back of the cartridge toward the front, following the direction the record spins. Never drag anything sideways, and never push front to back against the cantilever.
Method 1: The Brush Method (Best for Daily Maintenance)
The brush method is your first line of defense. I use this before every listening session, and it takes about five seconds. Here is how to do it safely:
Step 1: Make sure the turntable is off and the tonearm is resting in its cradle. You want a stable surface with no vibration.
Step 2: Hold your carbon fiber stylus brush at a slight angle, bristles pointing toward the front of the cartridge.
Step 3: Gently touch the bristles to the stylus tip and sweep from back to front, in the direction the record travels. Use almost no pressure. The weight of the brush itself should be enough.
Step 4: Repeat two or three times until no more dust comes off on the brush.
Many turntable owners on Reddit’s r/vinyl community confirm this is all you need for day-to-day maintenance. The brush removes loose dust and fluff before it gets compacted onto the tip. If you play records regularly, make this a habit before dropping the needle.
Method 2: The Gel Cleaner Method (Best for Stubborn Grime)
When a brush is not enough, a gel stylus cleaner is your next step. Products like the Onzow ZeroDust use a soft, tacky gel that grabs debris through adhesion. No friction, no brushing, no liquid. The gel cleaner method is my favorite for deep cleaning because it is nearly impossible to damage the cantilever if you follow the technique correctly.
Step 1: Remove the gel cleaner’s protective lid and place the container on your turntable platter, directly under the tonearm.
Step 2: Forum users recommend warming the gel pad with your finger for a few seconds first. Body warmth makes the gel slightly tackier and more effective at grabbing debris.
Step 3: Using the tonearm lever, slowly lower the stylus straight down onto the gel pad. Let it rest for one or two seconds.
Step 4: Lift the tonearm straight back up. Do not drag it across the gel. The up-and-down motion is what makes this method safe.
Step 5: Repeat the dip two or three times until the stylus tip looks clean under magnification.
The beauty of the gel method is that there is zero lateral force on the cantilever. You are only moving up and down, which the stylus is designed to handle. Multiple users on StereoNet forums report great results with this approach, especially for removing compacted lint that a brush cannot dislodge.
Method 3: The Magic Eraser Method (Budget DIY Favorite)
If you do not want to spend money on a gel cleaner, a Mr. Clean Magic Eraser works surprisingly well. This is one of the most popular DIY methods in the vinyl community, and it costs a fraction of a dedicated gel pad.
Step 1: Cut a small, flat piece of Magic Eraser, roughly one inch square. You want a clean, unused piece with no cleaning chemicals added.
Step 2: Place the piece flat on your turntable platter under the tonearm.
Step 3: Lower the stylus straight down onto the eraser surface, just like the gel method. Hold for one second.
Step 4: Lift straight back up. Repeat two to three times.
Step 5: After using the Magic Eraser, do a quick brush pass to remove any foam residue that may have stuck to the tip.
The Magic Eraser’s micro-abrasive foam is tacky enough to pull off compacted grime. Forum users consistently report it rivals dedicated gel cleaners for effectiveness. The one caution is residue: always follow up with a brush to make sure no foam particles remain on the stylus.
How Often Should You Clean Your Stylus
Cleaning frequency depends on how much you listen and how clean your records are. Here is the schedule I follow and recommend:
Before every play: A quick brush pass to remove loose dust. This takes seconds and prevents buildup.
Weekly (for daily listeners): A gel or Magic Eraser dip to remove compacted grime the brush missed.
After playing used or dusty records: Inspect and deep clean immediately, since dirty vinyl transfers debris fast.
Monthly check: Use magnification to inspect the stylus tip for wear and embedded debris.
If you listen to records for an hour or two each day, a weekly deep clean is plenty. If you only spin vinyl occasionally, a gel clean every few weeks should suffice. The key is consistency rather than intensity. A few seconds of brushing before each session prevents the kind of stubborn buildup that requires aggressive cleaning later.
Things You Must NEVER Do When Cleaning a Stylus
This section might be the most important part of this guide. The stylus cantilever is one of the most fragile components in all of audio equipment, and I have seen too many people destroy theirs with well-meaning but dangerous cleaning techniques. Here is what you must avoid:
Never use a toothbrush. This is one of the most common questions on vinyl forums, and the answer is always no. Toothbrush bristles are far too stiff and will snap the cantilever or knock the diamond tip out of alignment. Use only brushes specifically designed for stylus cleaning.
Never use isopropyl alcohol or harsh solvents. Alcohol dissolves the adhesive that bonds the diamond tip to the cantilever. Even a small amount can loosen the tip over time, leading to catastrophic failure. This is a warning shared by manufacturers like Ortofon and Audio-Technica. If you must use a liquid cleaner, choose one specifically formulated for stylus cleaning and approved by your cartridge manufacturer.
Never brush from side to side or front to back. The cantilever is designed to flex in one direction only, following the record groove. Pushing it sideways or pulling it backward can bend or break it irreparably. Always brush back to front.
Never apply heavy pressure. The brush should barely touch the stylus. If you are pressing hard enough to see the cantilever bend, you are pressing too hard. The weight of the brush itself is sufficient.
Never touch the diamond tip with your fingers. Oils from your skin can coat the tip and attract even more dust. More importantly, the tip is sharp enough to cut your skin and delicate enough to be damaged by a careless touch.
Never use cotton swabs or Q-tips. Cotton fibers wrap around the cantilever and snag, creating a bigger mess than you started with. They also shed fibers that are nearly impossible to remove without specialized tools.
Keep Your Records Clean to Protect Your Stylus
The best way to keep your stylus clean is to stop dirt from reaching it in the first place. Clean records mean a clean stylus. I always recommend investing in a carbon fiber anti-static record brush for quick pre-play cleaning. For deeper cleaning, a record cleaning machine or a spin-clean style bath removes embedded groove debris that a surface brush cannot reach.
Store your records in anti-static inner sleeves rather than the paper sleeves that come with many pressings. Paper sleeves generate static and shed fibers that wind up on your stylus. High-density polyethylene sleeves, like those from MoFi or Invest In Vinyl, dramatically reduce dust transfer. And always use your dust cover when the turntable is not in use.
When to Replace Your Stylus Instead of Cleaning It
Cleaning fixes dirt, not wear. A diamond stylus tip has a finite lifespan, typically measured in hours of play. Most manufacturers recommend replacement after 500 to 1,000 hours of use, depending on the stylus profile and tracking force. If you listen for two hours a day, that means a replacement every one to two years.
Here are the signs that cleaning will not solve your problem and it is time for a replacement:
Sound quality does not improve after a thorough deep clean.
You notice distortion or harshness in one channel that cleaning cannot fix.
Under magnification, the diamond tip looks visibly worn, flattened, or chipped.
Your records start showing increased wear patterns or light scuffing in the grooves.
When in doubt, consult your cartridge manufacturer’s specifications. Replacing a stylus on time protects your record collection from permanent groove damage that no amount of cleaning can reverse.
FAQs
Can a dirty stylus damage records?
Yes. A dirty stylus accumulates dust and debris that forces the diamond tip to ride improperly in the record groove, causing mistracking. Mistracking produces pops, clicks, and distortion, and over time the debris acts like sandpaper, permanently scratching and wearing down your vinyl. Regular cleaning prevents this damage.
How often should you clean a turntable stylus?
Brush your stylus before every listening session to remove loose dust. Perform a deeper gel or Magic Eraser clean weekly if you play records daily, or every few weeks for occasional listeners. Always inspect and clean immediately after playing dusty or used records.
Can you use a magic eraser to clean a phonograph stylus?
Yes, a Mr. Clean Magic Eraser is a popular and effective DIY stylus cleaner. Cut a small flat piece, place it on the platter, and lower the stylus straight down onto it two or three times, lifting straight up each time. Always follow with a brush pass to remove any foam residue left on the tip.
Can I clean my stylus with a toothbrush?
No, never use a toothbrush to clean a stylus. Toothbrush bristles are far too stiff and can easily snap the fragile cantilever or knock the diamond tip out of alignment. Use only a dedicated carbon fiber stylus brush designed specifically for turntable maintenance.
Conclusion
Knowing how to safely clean a turntable stylus comes down to three principles: use the right tools, always brush back to front, and never expose the cantilever to sideways force or harsh chemicals. Brush before every play, deep clean weekly with a gel pad or Magic Eraser, and keep your records clean to prevent buildup in the first place. Treat your stylus with care and it will reward you with years of clean, detailed sound while protecting the vinyl collection you love.