
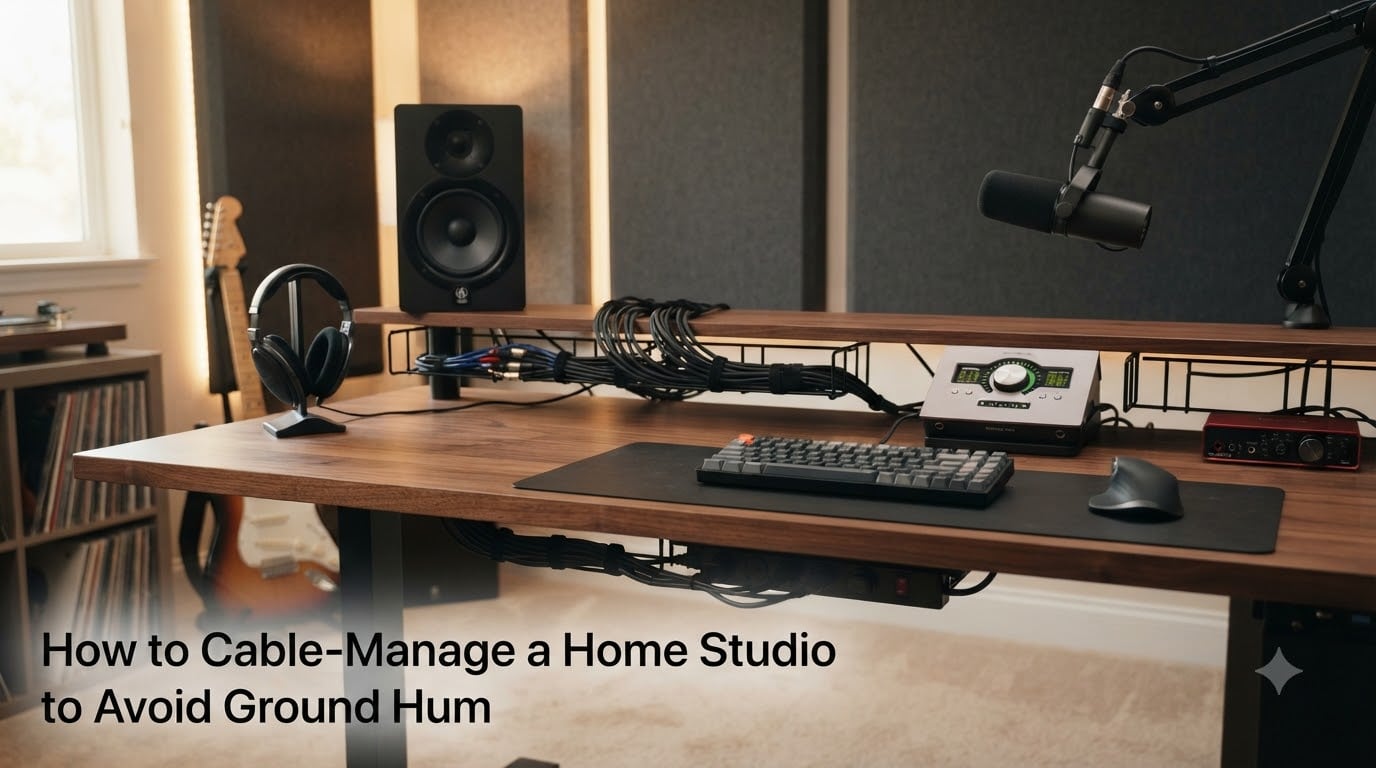
Ground hum is one of the most frustrating problems in any home studio. That low, steady buzz coming through your monitors ruins quiet passages, leaks into recordings, and makes everything you produce sound amateur. The good news is that most hum problems come down to one thing: how your cables are managed and connected. I have spent years troubleshooting hum in my own studio, and I want to share what I have learned so you can get clean audio without spending a fortune.
This guide walks you through the actual causes of ground hum, the systematic way to find which device is causing your problem, and the cable management techniques that prevent hum from showing up in the first place. By the end, you will know exactly how to cable-manage a home studio to avoid ground hum, not just bury it.
Table of Contents
What Causes Ground Hum in Home Studios
Ground hum in home studios is caused by ground loops, which are unwanted electrical paths that let interference currents flow through your audio cables. Every piece of audio gear expects to be at the same electrical reference point, ideally zero volts. When two devices have different paths to ground, small AC currents circulate between them and inject hum into your audio signal.
The hum you hear is almost always at 50Hz or 60Hz, depending on your country’s mains frequency, plus harmonics at 100Hz, 120Hz, 150Hz, and so on. These frequencies come from your power supply and only become audible when they find their way into your audio chain.
The Ground Loop Problem Explained
A ground loop forms when audio equipment is connected to mains power through multiple paths. Your audio interface plugs into the wall, your monitors plug into the wall, and now they are connected with an audio cable. If the two wall outlets have slightly different ground potentials, current flows through the audio cable shield to equalize them. That current creates audible hum.
This is why simply adding more gear increases your hum risk. Each new power connection is one more possible path for a ground loop to form. The cable management you use in your home studio directly affects how many of these loops you create.
How 50Hz/60Hz Hum Enters Your Signal
Most home studio hum problems come from a small magnetically induced voltage in your audio cables. The mains wiring around your studio acts like a transformer, and your audio cables pick up the field just like a guitar pickup senses string vibrations. Poor shielding, cable coils, and long cable runs increase this pickup. The signal chain acts as an antenna, and suddenly that 60Hz hum is sitting right in your mix.
Step-by-Step Cable Disconnection Troubleshooting
When you hear persistent hum, the fastest way to find the cause is the cable disconnection method. I have used this approach in my own studio and recommended it to dozens of producers. It works every time when you stick with it.
Start with One Audio Cable at a Time
Turn on all your gear and let it warm up. Disconnect every audio cable except one. Listen for hum. If the hum is gone, reconnect another cable and listen again. Add cables one at a time until the hum returns. The last cable you added is part of the problem.
This systematic process removes the guesswork. Forum users report that this method is the most reliable troubleshooting approach, especially when combined with a notebook to track results.
Document Each Connection Result
Write down what happens after each connection. Note the device at each end of the cable, the cable type, and whether hum appeared. Patterns will emerge. You might find that hum only happens when your laptop is plugged into the same power strip as your interface, or when a USB MIDI controller joins the chain.
Pinpoint the Offending Device
Once a cable introduces hum, swap the cable for a different one. If the hum follows the cable, replace it. If the hum stays with the same device on a different cable, that device is the source. Now you know exactly what to address.
Balanced vs Unbalanced Cable Solutions
The type of cable you use is one of the biggest factors in whether you hear hum. Balanced cables and unbalanced cables behave very differently when noise is present, and picking the right one is essential for clean studio audio.
Why Balanced Cables Reject Hum
Balanced cables use three conductors: hot, cold, and ground. The hot and cold signals carry identical audio but with opposite polarity. When the receiving end flips the cold signal back and combines it with the hot signal, any noise picked up along the cable is cancelled out because it is in phase on both wires. This is called common-mode rejection, and it is incredibly effective at killing hum.
XLR and TRS cables are balanced. If your interface and monitors both support balanced connections, you should always use them. This single upgrade eliminates most hum problems before they start.
Pseudo-Balanced Cable Option
Pseudo-balanced cables are a budget-friendly alternative. They use a TRS jack with the cold pin tied to ground through a resistor network. This creates a balanced-like behavior at the receiving end without needing a true differential output. Useful for connecting gear that only outputs unbalanced signal, but not as effective as a true balanced connection.
When Unbalanced Cables Cause Problems
RCA and standard instrument cables are unbalanced. They use a single signal conductor plus a shield. The shield acts as both the return path and the ground, which makes it vulnerable to picking up hum. Long unbalanced cable runs, especially near power cables, are a recipe for noise. Keep unbalanced cables under 6 feet when possible.
DI Box and Transformer Isolation for Stubborn Ground Loops
Sometimes proper cable management is not enough. When you have a stubborn ground loop that survives every troubleshooting step, you need transformer isolation. This is where a DI box or ground loop isolator earns its place in your studio.
How Galvanic Separation Works
Galvanic isolation breaks the direct electrical connection between two devices. A transformer in the signal path transfers the audio magnetically without any wire connection. This means ground loops cannot form because there is no shared ground path. The audio passes through cleanly, but the noise is blocked.
DI boxes designed for this purpose have a ground lift switch that disconnects pin 1 on the XLR, breaking the shield ground path. This is the classic fix for hum between a computer and an audio system, or between two pieces of rack gear.
Choosing the Right DI Box
For home studios, a quality passive DI box with a ground lift switch handles most hum cases. Active DI boxes are best for low-output instruments like passive basses. Look for ones with proper transformer isolation, such as the Radial Engineering JDI or equivalent. The investment pays for itself the first time it solves a hum problem that nothing else touched.
Cable Organization Methods for a Quieter Studio
Once you have fixed your current hum issues, the next step is preventing them from coming back. The way you physically route your cables matters more than most people realize. Smart cable management in a home studio reduces both cable clutter and the chance of creating new ground loops.
The Zero Loop Area Concept
Think of your audio cables as forming loops. Each loop is an antenna that can pick up hum from nearby mains wiring. The zero loop area concept means routing your audio cables so that small loops are kept tight and away from power cables. In practice, this means running signal cables in one direction and power cables in another, never letting them run parallel for more than a few feet.
I started doing this in my own studio after seeing how much quieter everything became. Cables cross each other at 90 degrees when they must cross, and never run together.
Maintenance Loop Techniques
Maintenance loops are extra length left in a cable run so the cable can be moved, replaced, or rerouted without re-terminating the connection. On my panel and data runs, I suggest leaving maintenance loops for everything. Tuck the loop behind the rack or in a cable tray. This small step makes troubleshooting future problems much easier, because you can pull a cable out to test it without disconnecting everything.
Sweetwater and other studio builders recommend this practice, and it has saved me hours of frustration over the years.
Separating Power and Audio Cables
Power cables carry the very interference you are trying to avoid. Audio cables pick up that interference when they run parallel to power cables. Keep them physically separated. Use different cable trays, run them on opposite sides of the room, or use shielded cable when separation is impossible.
USB cables can also be unexpected sources of hum. Many forum users have been surprised to find that the hum only stops when a USB cable is disconnected. Treat USB runs with the same respect as audio cables, and keep them away from power.
Color Coding and Labeling
Color coding your cables makes troubleshooting faster. Use one color for inputs, another for outputs, another for power, and so on. Label both ends of every cable with a tag or label maker. When you can read the label on the back of your rack without crawling behind it, you save time every time you need to swap or trace a connection.
Power Conditioners and When They Help
Power conditioners are often recommended for studios, but they are not a cure-all for ground hum. They excel at protecting your gear from voltage spikes and filtering out high-frequency noise from the mains. For ground loop issues, they are limited.
Surge Protection vs Power Conditioning
A basic surge protector only guards against voltage spikes. A power conditioner adds filtering for RF noise and sometimes provides isolated outlets for analog and digital gear. This can help reduce some hum sources, but it does not break ground loops. If your hum is caused by ground loops, a power conditioner alone will not fix it.
Limitations for Ground Loop Issues
Some power conditioners have isolated sections that reduce the chance of ground loops forming between devices plugged into the same unit. This is a side benefit, not their main purpose. Do not buy a power conditioner expecting it to solve your hum problem. Address the actual cause first using the troubleshooting steps above.
Safety Warnings About Lifting the Ground
Some older articles suggest lifting the ground wire on a mains plug as a quick fix for hum. I cannot stress this strongly enough: do not do this. Lifting the ground wire on any mains-powered equipment is dangerous and can be fatal. The ground wire exists to protect you from electrical faults. Removing it leaves you exposed to shock and your gear exposed to damage.
Safe alternatives include using a DI box with a ground lift switch, which only breaks the audio ground path, not the mains ground. This is the correct way to address ground loops without risking your safety.
Frequently Asked Questions
How to eliminate a ground loop hum?
Eliminate a ground loop hum by disconnecting audio cables one at a time until the hum stops, then identifying the offending device. Replace unbalanced cables with balanced XLR or TRS cables, and use a DI box or ground loop isolator with a ground lift switch for stubborn cases. Never lift the mains ground wire on any equipment.
How to organize cables in a home studio?
Organize cables in a home studio by separating power and audio runs, using color-coded cables for inputs and outputs, labeling both ends of every cable, and leaving maintenance loops at panel connections. Use cable trays, raceways, or wall pegs to keep cables off the floor and visible for troubleshooting.
How can I avoid ground loops in my audio equipment?
Avoid ground loops by plugging all studio gear into the same power outlet or power strip, using balanced cables wherever possible, and routing audio cables away from power cables. If hum persists, add a DI box with transformer isolation or a ground loop isolator at the offending connection.
Do ground loop isolators really work?
Yes, ground loop isolators work when they use proper transformer isolation with a ground lift switch. They break the electrical path between two devices so ground loops cannot form, while still passing the audio signal. Cheap passive isolators without transformers are less reliable than quality DI boxes designed for studio use.
Final Thoughts on Cable-Managing a Home Studio to Avoid Ground Hum
Ground hum is solvable. The systematic approach of disconnecting cables one at a time, upgrading to balanced connections, and properly routing your cables will eliminate most hum problems in any home studio. For stubborn cases, transformer isolation through a quality DI box is the final piece of the puzzle. Keep safety in mind, never lift the mains ground, and your studio will sound clean and professional.
1 thought on “How to Cable-Manage a Home Studio to Avoid Ground Hum (September 2026)”