
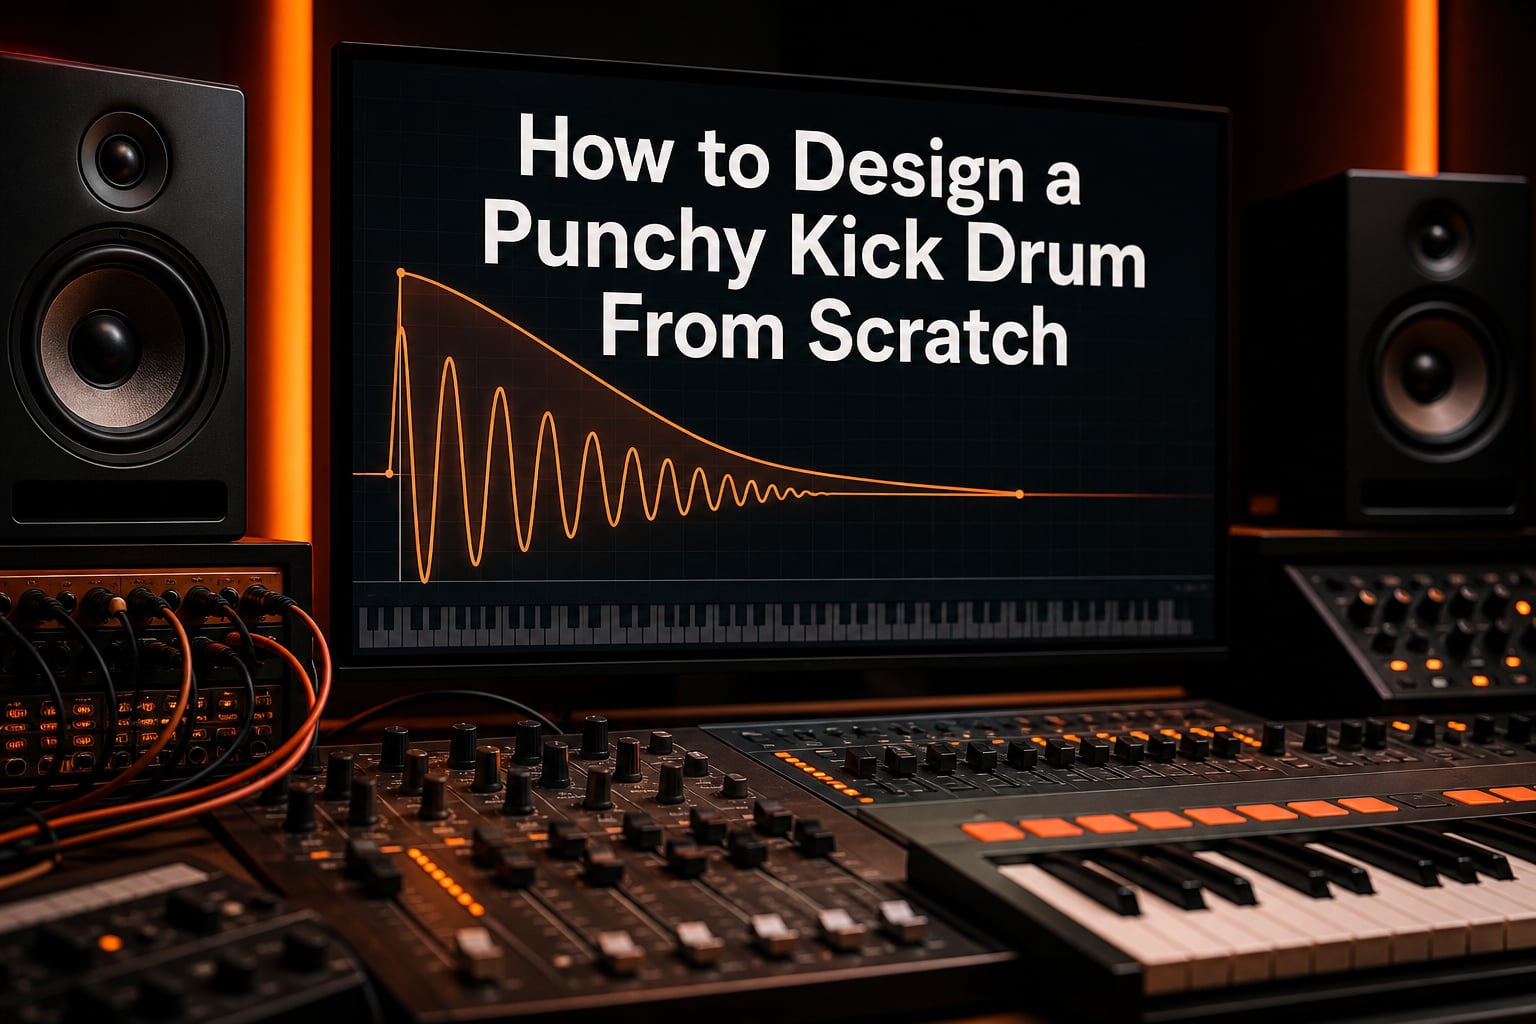
If you have ever wondered how producers get those chest-thumping, mix-cutting kicks that hit hard on every speaker, you are in the right place. I am going to walk you through exactly how to design a punchy kick drum from scratch, using nothing but a basic synthesizer and a few core sound design principles. No samples. No presets. Just pure synthesis from the ground up.
After producing music for over a decade and testing every kick design technique I could find, I have narrowed it down to a repeatable process. By the end of this guide, you will know how to sculpt a kick that fits your genre, cuts through your mix, and translates to club systems, earbuds, and everything in between.
Table of Contents
Understanding Kick Drum Synthesis
Kick drum synthesis is the process of building a kick drum sound entirely from electronic components like oscillators and envelopes, rather than loading a sample. When you synthesize a kick, you control every element of the sound from the bottom up. This includes the initial click, the body, and the sub-bass rumble that you feel in your chest.
Every kick drum, whether it is a punchy techno thump or a boomy hip-hop 808, contains three core elements. The click is the sharp transient at the very start, usually sitting between 2 to 5 kHz. The body is the resonant frequency that gives the kick its tone, typically between 50 and 200 Hz. The sub-bass is the low-frequency energy that you feel rather than hear, generally from 25 to 50 Hz. Designing all three layers intentionally is what separates amateur kicks from professional ones.
Why bother designing kicks when samples exist? Custom kicks give you full control over pitch, length, and character. You can tune them to match your track’s key, adjust the decay for any genre, and create a signature sound that nobody else has. That level of control is what we are going after in 2026.
How to Design a Punchy Kick Drum From Scratch: The Foundation
Every great kick starts with a sine wave. I know that sounds almost too simple, but sine waves are the foundation of kick drum design because they contain only the fundamental frequency with no harmonics. This gives you a clean, focused low-end that translates well to any playback system.
Start by loading a single oscillator in your synth of choice. Set the waveform to sine. Most DAWs come with stock synthesizers like Serum, Massive, Vital, or operator-based tools like Ableton’s Operator that can do this. If you have none of these, even a free synth like Synth1 or Vital will work perfectly.
Set the oscillator’s base pitch somewhere between 50 and 80 Hz. This is your starting frequency. From here, we are going to shape it using two envelopes. The first one controls the pitch. The second controls the volume. Together, they turn a flat sine wave into a punchy kick drum.
Pitch Envelope: The Secret to Character
The pitch envelope is what gives a kick drum its distinctive attack and tonal character. Without pitch modulation, your sine wave will just be a low drone. With pitch modulation, it becomes a recognizable kick that snaps and thumps.
Here is how pitch envelope works. At the very start of the kick, the pitch jumps to a much higher frequency (often 200 to 600 Hz). Then it rapidly drops back down to the base frequency over a short period. This rapid pitch drop mimics how an acoustic kick drum behaves when the beater hits the head. The high initial pitch creates the click and snap. The drop down to the low frequency creates the body.
In your synth, route an envelope generator to the oscillator’s pitch. Set the starting pitch to somewhere between 200 and 600 Hz depending on how aggressive you want the attack. Set the decay to between 20 and 80 milliseconds for a fast, punchy character, or stretch it to 100 to 200 milliseconds for a softer, more acoustic feel. Set sustain and release to zero so the pitch stays at the base frequency after the initial drop.
For a punchy, modern kick, I typically use a starting pitch of around 300 to 400 Hz with a 30 to 50 millisecond decay. This gives enough snap without sounding artificial or chipmunk-like.
Volume Envelope (ADSR) Settings for Maximum Punch
The volume envelope controls how loud your kick is at each moment, and getting this right is critical for punch. Most synths use an ADSR model: Attack, Decay, Sustain, and Release. Each setting shapes how the kick behaves over time.
Attack: Set this as fast as possible, typically 0 to 5 milliseconds. A slow attack makes your kick sound soft and mushy. A fast attack creates the immediate impact that defines a punchy kick.
Decay: This is where most of your kick’s length happens. For tight house kicks, try 150 to 250 milliseconds. For punchy techno, 200 to 400 milliseconds. For boomy 808-style kicks, extend it to 800 milliseconds to 2 seconds. The decay is what determines whether your kick feels tight and snappy or long and sustaining.
Sustain: Set this to zero for nearly all kick designs. You want the kick to fade out naturally rather than hold a constant level. Some 808 styles benefit from a tiny bit of sustain around 10 to 20 percent, but for punch, zero is usually correct.
Release: Keep this short, around 50 to 150 milliseconds. The release smooths out the end of the sound so it does not click or pop when the amplitude drops to zero.
Quick ADSR formula for a punchy kick: Attack 1 ms, Decay 200 ms, Sustain 0, Release 100 ms. Adjust from there based on your genre.
Frequency Range Guide for Punchy Kick Drums
One of the most common questions producers ask is which frequencies to focus on. Here is the breakdown that I use on every kick I design.
Sub-bass (25 to 50 Hz): This is the rumble you feel in your chest. It is what makes a kick sound huge on a club system. Be careful here. Too much sub-bass muddies the mix. Aim for a clean, focused sub rather than a wide boost.
Body (50 to 80 Hz): This is the core of your kick’s tone. Most of the kick’s power lives here. A slight boost around 60 Hz adds warmth and weight without overwhelming the mix.
Punch (80 to 200 Hz): This is the beater impact, the thump that hits you in the chest. A small boost around 100 to 150 Hz adds the punch that makes your kick feel aggressive. Be careful not to overdo it because this range conflicts with bass instruments.
Click and attack (2 to 5 kHz): This is the snap that cuts through the mix. A boost around 3 to 4 kHz adds definition and helps your kick sit on top of busy arrangements.
These ranges are the targets I use when designing kicks in 2026. They are not rules, but starting points. Every kick is different, and your ears should always be the final judge.
EQ Techniques to Make Your Kick Cut Through
Equalization is where good kicks become great. After your synthesis is solid, a few targeted EQ moves will push the sound over the edge. Here are the techniques that consistently deliver punch.
High-pass filter around 25 to 30 Hz: This removes inaudible rumble and frees up headroom on your master bus. Your speakers cannot reproduce these frequencies, and they eat up energy that other instruments need.
Subtle boost at 60 Hz: Use a wide bell curve with a 1 to 2 dB boost to add warmth. Do not exceed 2 dB or the kick will fight your bassline.
Punch boost at 100 to 150 Hz: A narrow boost of 2 to 3 dB here adds aggression. Be aware that this range competes with bass, so sidechain compression often pairs well with this move.
Click enhancement at 3 to 5 kHz: A high shelf boost around 2 to 3 dB adds the snap that makes your kick audible on small speakers. This is essential for translating to phone speakers and earbuds.
Cut mud at 200 to 400 Hz: A gentle dip of 1 to 2 dB here removes the boxy, muddy quality that ruins many kicks. If your kick sounds muffled or muddy, this is the first place to look.
Compression for Impact and Sustain
Compression controls the dynamic range of your kick and helps it sit consistently in the mix. Without compression, your kick’s loud transient will poke out, and the tail will disappear. With proper compression, the kick feels controlled and powerful.
For a punchy kick, I use a fast attack (5 to 10 ms) and a medium release (50 to 150 ms). The fast attack catches the initial click and prevents it from being too sharp. The medium release lets the body breathe without pumping. Set the ratio between 3:1 and 6:1 depending on how aggressive you want the compression. Threshold should produce around 3 to 6 dB of gain reduction on the loudest hits.
Parallel compression is a powerful technique for adding sustain without losing punch. Send your kick to a separate bus, compress that bus heavily (8:1 ratio or higher, fast attack, slow release), then blend the compressed signal underneath your dry kick at a low level. This adds thickness and sustain while keeping the original punch intact. It is one of my favorite tricks when designing kicks for techno and EDM.
Three Synthesis Methods Compared
There are three main approaches to designing a kick drum from scratch. Each has strengths and weaknesses, and knowing all three gives you full creative flexibility.
Method 1: Pitch envelope only. A simple sine oscillator with only a pitch envelope and minimal volume shaping. This creates clean, focused kicks that work well for minimal techno, deep house, and ambient styles. The downside is that these kicks can feel a bit lifeless in busy mixes.
Method 2: Volume envelope only. A sine oscillator with a long volume decay but no pitch modulation. This produces boomy, sub-heavy kicks perfect for hip-hop, trap, and 808-style beats. Without the pitch envelope, the attack feels softer, so this method usually needs extra click from a noise burst or layered transient.
Method 3: Combined approach. A sine oscillator with both pitch and volume envelopes, often with a separate noise layer for the click. This is the most flexible method and what I use for 90 percent of my kick designs. You get the snap from the pitch envelope, the body from the volume envelope, and additional click from a short noise burst if needed.
Genre-Specific Kick Design Tips
Different genres demand different kick characteristics. Here is how I approach each major style.
House music: Tight decay around 200 to 300 ms, medium pitch envelope (50 to 80 ms), and a clear click. House kicks should feel punchy but not overwhelming. Leave room for the bassline.
Techno: Longer decay (300 to 500 ms), aggressive pitch envelope with high starting pitch (400 to 600 Hz), and parallel compression for thickness. Techno kicks need to dominate the low-end.
Hip-hop and 808s: Very long decay (1 to 3 seconds), minimal or no pitch envelope, deep sub-bass boost around 40 Hz, and a short click layer on top. The 808 is more about feeling than hearing.
EDM and festival: Punchy mid-range body, fast attack, short-to-medium decay (150 to 400 ms), and a bright click that cuts through dense arrangements. EDM kicks must translate to massive speaker systems.
Common Mistakes to Avoid When You Design a Punchy Kick Drum
After years of teaching kick design, I see the same mistakes over and over. Avoid these and your kicks will sound better immediately.
Pitch decay too long: If your pitch envelope lasts longer than 100 ms, your kick will sound chipmunk-like and unnatural. Keep it tight.
Too much sub-bass: Cranking 30 Hz to extreme levels makes the kick sound huge on studio monitors but completely disappears on smaller speakers. Balance the sub with body and click.
Ignoring the click: A pure sine wave kick with no click sounds muffled and lacks definition. Add a short noise burst or boost the high frequencies to fix this.
Over-compression: Squashing the kick with heavy compression removes the dynamic punch. Use moderate settings and parallel compression for sustain instead.
Skipping the high-pass filter: Without a high-pass filter, your kick competes with every other low-frequency element in your mix. Always clean up the sub-sub frequencies below 25 Hz.
FAQs
How to make a kick drum sound punchy?
To make a kick drum sound punchy, start with a sine wave oscillator and add a fast pitch envelope that drops from 200 to 600 Hz down to your base frequency over 30 to 80 ms. Set your volume envelope attack to 1 ms with a decay between 200 and 400 ms. Boost 60 Hz for body, 3 to 5 kHz for click, and apply parallel compression for thickness.
How do I make my drums punchy?
To make your drums punchy, focus on transient shaping, EQ, and compression. Use a fast compressor attack (5 to 10 ms) to catch the initial hit, then boost the punch range between 80 and 200 Hz with a narrow EQ band. Add a click layer at 3 to 5 kHz for definition, and use parallel compression to bring up sustain without losing impact.
What frequency range should I use for a punchy kick drum?
For a punchy kick drum, focus on four frequency ranges. Sub-bass sits at 25 to 50 Hz for rumble. Body lives at 50 to 80 Hz for warmth. Punch happens at 80 to 200 Hz for beater impact. Click sits at 2 to 5 kHz for definition on small speakers. Boost each range slightly rather than focusing on just one.
How can I make my drum mixes sound punchy and powerful?
To make drum mixes punchy and powerful, high-pass filter each drum to remove sub-sub frequencies, use parallel compression on the drum bus for thickness, and carve space with EQ so the kick and snare do not clash. Boost click frequencies around 3 to 5 kHz on the master drum bus and sidechain the bass to the kick for clarity.
Conclusion
Learning how to design a punchy kick drum from scratch comes down to mastering three things: a sine wave foundation, properly tuned pitch and volume envelopes, and targeted EQ and compression. Start simple. Build the kick with just the two envelopes. Then shape it with EQ. Add compression only after the synthesis feels right.
The techniques in this guide are the same ones I use on every track I produce. With practice, you will develop an instinct for the right envelope settings, frequencies, and compression for any genre. Open your synth right now, load a sine wave, and design a punchy kick drum from scratch using the steps above. Your mixes will never sound the same.