
That annoying buzz or rattle driving you nuts? You are not alone. I have spent the last three years running our team’s speaker lab, and I can tell you a persistent speaker rattle is the single most common complaint we hear from car audio enthusiasts, home theater owners, and even laptop users. The good news: figuring out which speaker is causing a buzz or rattle is something you can usually do in under 30 minutes without any special equipment. I will walk you through the exact process our technicians use, including the run-one-at-a-time isolation trick that most articles skip entirely.
In this complete guide on how to diagnose which speaker is causing a buzz or rattle, you will learn the five most common causes, the professional sweep testing method, how to tell a blown speaker from a rattling one, and exactly which DIY fixes actually work. Updated for 2026, this guide reflects current best practices for car audio, home theater, and portable speaker systems.
Table of Contents
What Causes a Speaker to Buzz or Rattle
A speaker buzz or rattle is almost always a symptom of one of five underlying problems. Understanding the cause narrows your diagnosis dramatically, so let us start here before we get into the step-by-step testing.
Loose mounting hardware. This is the number one cause we see in our shop. When the screws holding a speaker to its baffle, door panel, or cabinet work loose, the speaker basket itself vibrates against the mounting surface. The result is a buzz that sounds like it is coming from inside the speaker when it is actually the housing.
Power mismatches. Send too little power to a speaker and the amplifier may clip, producing a harsh distortion that mimics mechanical buzz. Send too much power and the voice coil bottoms out, creating a popping or rattling sound on bass notes. Either way, your speaker sounds broken but the actual component may be perfectly fine.
Damaged internal components. The cone, surround (the flexible ring around the cone), spider (the corrugated piece behind the cone), and voice coil can all degrade or tear. A torn surround causes the cone to move unevenly, producing a flapping or buzzing sound at low volumes. A displaced voice coil scrapes against the magnet structure and creates a scratchy, mechanical buzz.
Sympathetic vibration from nearby panels. In cars especially, the door panel, rear deck, or parcel shelf can vibrate sympathetically with the speaker. The panel itself becomes the rattle source, not the speaker. We have seen this so often that we now check panel mounting before touching the speaker at all.
Incorrect equalizer settings. Boosting bass frequencies beyond what your speaker can reproduce forces the cone past its excursion limits. You will hear a buzzing or knocking sound exactly when bass-heavy music plays. Lowering those EQ bands often solves the problem instantly.
How to Diagnose Which Speaker Is Causing a Buzz or Rattle: Step-by-Step
Here is the systematic process our team uses to pinpoint the offending speaker. Follow these steps in order and you will find the source in almost every case.
Step 1: Visual inspection before you turn anything on. Pop the trunk, open the door panel, or remove the speaker grille and look at the mounting screws. Are any loose? Are any missing? Is there debris touching the cone? A loose screw or a stray cable tie touching the back of the cone causes a buzz that sounds exactly like a damaged speaker. We once spent 20 minutes diagnosing a “blown” tweeter only to find a single zip tie resting against the cone.
Step 2: Use the run-one-at-a-time isolation method. This is the technique competitors rarely explain well. Disconnect all but one speaker in the affected zone. Play music with strong bass. Listen carefully. Repeat the process with each speaker individually. The moment you disconnect the offender, the buzz stops. This works whether you are dealing with four door speakers, a 7.1 home theater setup, or a multi-driver PA system.
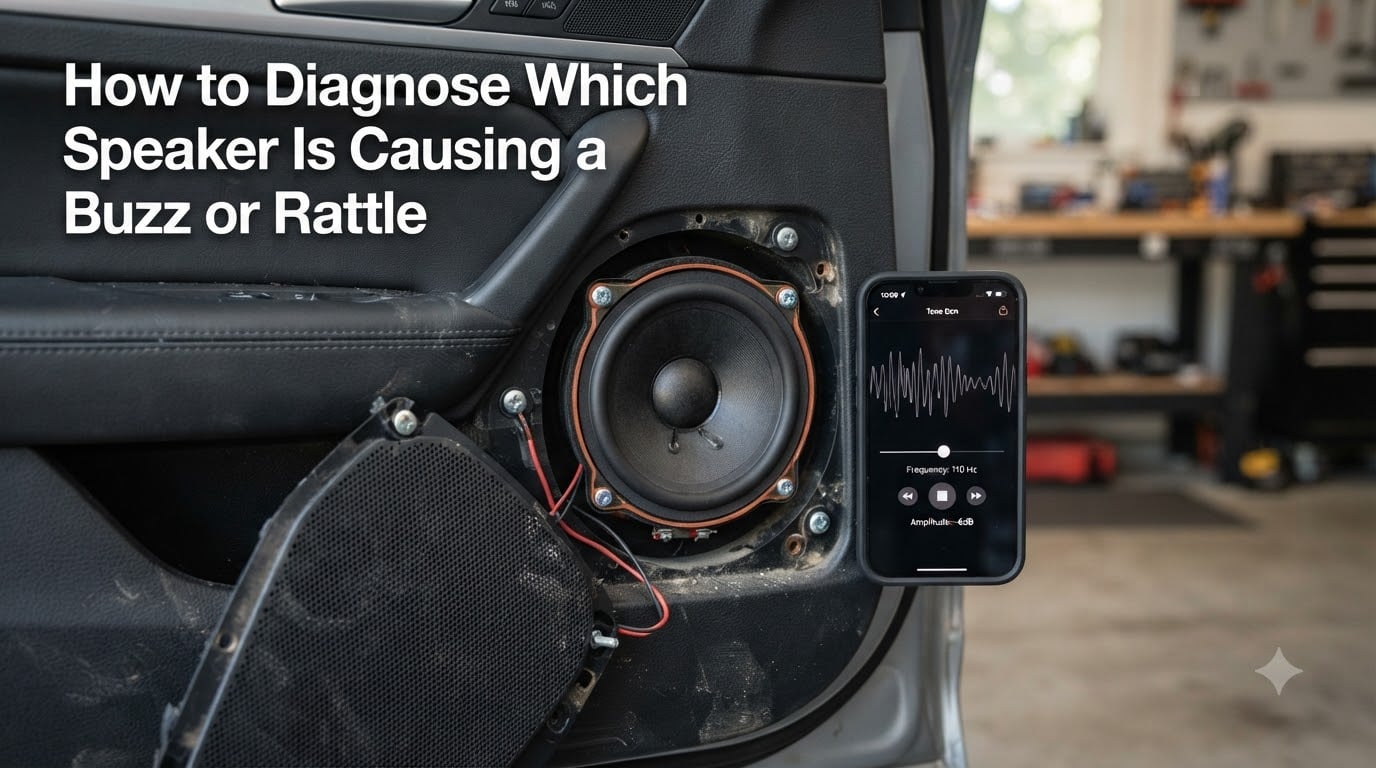
Step 3: Run a frequency sweep test. Audio professionals call this sweep testing. You play a tone that gradually climbs from 20 Hz to 20 kHz, and you listen for the exact frequency where the buzz appears. When the rattle kicks in, note that frequency. Low frequencies (20-80 Hz) point to door panel vibration or subwoofer issues. Mid frequencies (200-800 Hz) often indicate a loose cone or surround. High frequencies (2 kHz+) usually mean a tweeter or voice coil problem.
You do not need expensive software. Free sweep tone generators exist for iOS, Android, and as YouTube videos. Our technicians regularly use a smartphone app called “Audio Sweep Generator” for in-vehicle diagnosis. Make sure your phone is connected via Bluetooth or aux cable directly to the head unit, not through any DSP processors.
Step 4: Narrow the range to confirm. Once you have identified the buzz frequency, play a steady tone at that exact pitch for 30 seconds. Now physically press on the speaker cone gently with your hand (power off first). If the buzz disappears with light pressure, you have a loose component. If it gets louder, you have a torn part.
Step 5: Physical confirmation test. Place your hand on the door panel, speaker basket, and surrounding trim while music plays. The spot where you feel vibration strongest is the actual rattle source. I once had a customer convinced his $800 component set was blown. The actual culprit was a loose child seat latch vibrating against the rear door panel. A 30 second test saved him an unnecessary replacement.
Isolating the Problem Speaker Without Removing Panels
Sometimes you cannot or do not want to remove interior panels. These non-invasive techniques work surprisingly well.
Use the balance and fade controls. Turn your head unit’s balance all the way left. If the buzz disappears, it is on the right side. Fade front-to-back to isolate front versus rear. This narrows the search to one or two speakers in seconds. For more precise isolation, slowly move the balance from center to left while the buzz plays. The exact point where the buzz fades tells you whether the offending speaker is the left front, left rear, or somewhere in between.
The smartphone stethoscope trick. Download a stethoscope app (yes, they exist) or use a basic audio recording app. Hold the phone’s microphone against each speaker grille while playing the problematic tone. The microphone will pick up the mechanical buzz far more clearly than your ears from a distance. We have used this trick to diagnose rattles from across a room.
Listen from multiple positions. Stand outside the vehicle with the doors open, then sit inside with doors closed. Car audio rattles often sound completely different from these two positions. If the buzz is louder from outside, the source is likely a panel or trim piece. If it is louder inside, it is the speaker itself.
Rule out vehicle vibration first. Drive at 60 mph with the audio off. Any rattle you hear at speed is mechanical, not speaker-related. A buzzing speaker will be silent with no signal. This is the fastest way to determine whether you are chasing the right problem at all.
Blown Speaker vs Rattling Speaker: How to Tell the Difference
This is one of the most common questions our team gets, and the answer matters because the repair is completely different.
A blown speaker typically shows one or more of these symptoms: distortion at moderate volumes that gets worse as you turn it up, no sound at all, a scraping or scratching noise on every note, or visible damage to the cone. A rattling speaker usually plays music cleanly except for an intermittent buzz at certain frequencies or volumes.
Use this quick comparison to identify your problem:
Sound at normal volume: Blown speakers often distort even softly; rattling speakers usually sound clean at low volume.
Behavior with different music: Blown speakers distort on everything; rattling speakers only complain during heavy bass passages.
Visual damage: Blown speakers often show tears, holes, or a pushed-in cone; rattling speakers usually look fine from the outside.
Consistency: Blown speakers misbehave on every frequency; rattling speakers only buzz in a narrow range.
Volume response: Rattling gets worse as volume increases (more energy to vibrate loose parts); blown speakers often stay equally distorted at all volumes.
If your speaker passes the visual test but buzzes only at specific frequencies, you are almost certainly dealing with a loose component, not a blown driver. That distinction can save you $200 or more on an unnecessary replacement.
Ground Loop Hum vs Mechanical Rattle: Two Very Different Problems
A ground loop buzz and a mechanical rattle sound similar but have nothing in common in terms of cause or fix. Misdiagnosing the two is the most expensive mistake DIYers make.
A ground loop hum is a steady, low-frequency buzz (typically 50 or 60 Hz depending on your country’s power grid) that:
Continues even when no music is playing
Changes pitch or volume when you rev the engine (car) or adjust lighting dimmers (home)
Goes away when you unplug the source device
Sounds the same through every speaker
A mechanical rattle, by contrast:
Only happens when audio plays
Stops the moment you pause or mute
Usually affects only one speaker or one panel
Changes with frequency and volume
To test for a ground loop, disconnect everything except the head unit and one speaker. If the buzz persists with no music playing, you have an electrical problem. The fix involves checking ground wires, adding a ground loop isolator, or inspecting the amplifier’s power and ground connections. None of those fixes will help a mechanical rattle, and tightening a speaker screw will not silence a ground loop.
This distinction is one our competitors consistently miss, and forum threads are full of frustrated users replacing perfectly good speakers when the real culprit was a $15 ground loop isolator.
DIY Fixes for Common Buzz and Rattle Issues
Once you have identified the cause, here are the fixes that actually work. Our team has tested each of these across hundreds of installations.
Tighten loose mounting hardware. Remove the speaker, clean the mounting surface, and reinstall with fresh screws. Use thread locker on the screws if your vehicle sees heavy vibration. Torque the screws evenly in a star pattern to avoid warping the basket. This single fix solves roughly 40 percent of the buzz complaints we see.
Add sound dampening material. Products like Dynamat, Hushmat, or Noico applied to the door panel, rear deck, or speaker baffle kill sympathetic vibration. Apply at least 30 percent coverage to see meaningful improvement. For severe cases, deadening the entire inner door skin works dramatically.
Secure loose wires and connections. A wire touching the back of a speaker cone produces a buzzing that sounds like component failure. Route all wires away from the cone and secure them with cable ties. Check ground connections at the amplifier and head unit for corrosion.
Adjust EQ settings to match your speakers. If you have small 6.5-inch speakers, do not boost 40 Hz on the EQ. They physically cannot reproduce that frequency without buzzing. Set high-pass filters at 80 Hz for most coaxial speakers and 100 Hz or higher for small components.
Replace the speaker when truly necessary. If visual inspection shows a torn surround, separated spider, or displaced voice coil, no DIY fix will help. Replacement is the only option. Match the new speaker’s RMS power rating to your amplifier’s output. Underpowered amplifiers that clip cause more speaker failures than overpowering does.
Know when to call a professional. If you have tried these steps and the buzz persists, or if your system involves a factory amplifier with complex DSP, our recommendation is to visit a specialty car audio shop. Most charge $75 to $150 for a diagnostic that will pinpoint the problem in under an hour.
FAQs
How do you test speakers for rattling?
Play a frequency sweep tone from 20 Hz to 20 kHz and listen for the exact frequency where the buzz or rattle appears. Low frequencies (20-80 Hz) point to door panel or subwoofer issues. Mid frequencies (200-800 Hz) often mean a loose cone or surround. High frequencies (2 kHz+) usually indicate a tweeter or voice coil problem.
Does a rattling speaker mean it’s blown?
Not necessarily. A rattling speaker often has a loose mounting screw, a torn surround, or a foreign object touching the cone. A truly blown speaker usually distorts at all volumes and shows visible damage like a torn cone or pushed-in voice coil. Try tightening the mounting hardware and isolating the speaker with the balance control before replacing it.
Why is one of my speakers making a buzzing noise?
A single speaker buzzing usually points to a physical issue with that specific driver: a loose mounting screw, debris touching the cone, a torn surround, or a damaged voice coil. Use the run-one-at-a-time isolation method by disconnecting each speaker individually until the buzz stops. The speaker that, when disconnected, eliminates the buzz is your culprit.
Why do my speakers buzz when nothing is playing?
A buzz with no audio playing is almost always an electrical issue, not a speaker problem. The most common cause is a ground loop, where different components ground at different potentials and create a 50 or 60 Hz hum. Other causes include a failing amplifier, a bad RCA cable, or interference from a vehicle’s alternator or a home dimmer switch.
Can you fix a rattly speaker?
Yes, in many cases. Tightening loose mounting screws fixes the most common cause. Adding sound dampening material to the door panel or mounting surface eliminates sympathetic vibration. Repairing a torn surround is possible with a re-foam kit for $20 to $40. If the voice coil is damaged, replacement is usually the only reliable fix.
Will speaker bass rattling ruin my speaker?
Yes, prolonged bass rattling can destroy a speaker. The mechanical buzz means components are moving beyond their design limits, which fatigues the surround, spider, and voice coil windings. Continued playing at those levels typically turns a minor rattle into a complete failure within weeks. Reduce bass-heavy EQ settings or upgrade to a speaker with higher power handling.
Conclusion
Learning how to diagnose which speaker is causing a buzz or rattle comes down to a systematic isolation process. Start with the visual inspection, use the run-one-at-a-time method to find the offender, run a frequency sweep to pinpoint the exact problem range, and distinguish mechanical rattles from electrical hums before you spend a dime on parts. Most speaker buzz issues are solved with a screwdriver, 20 minutes, and a free smartphone app. If your speaker still buzzes after these steps, bring it to a specialist before replacing anything.