
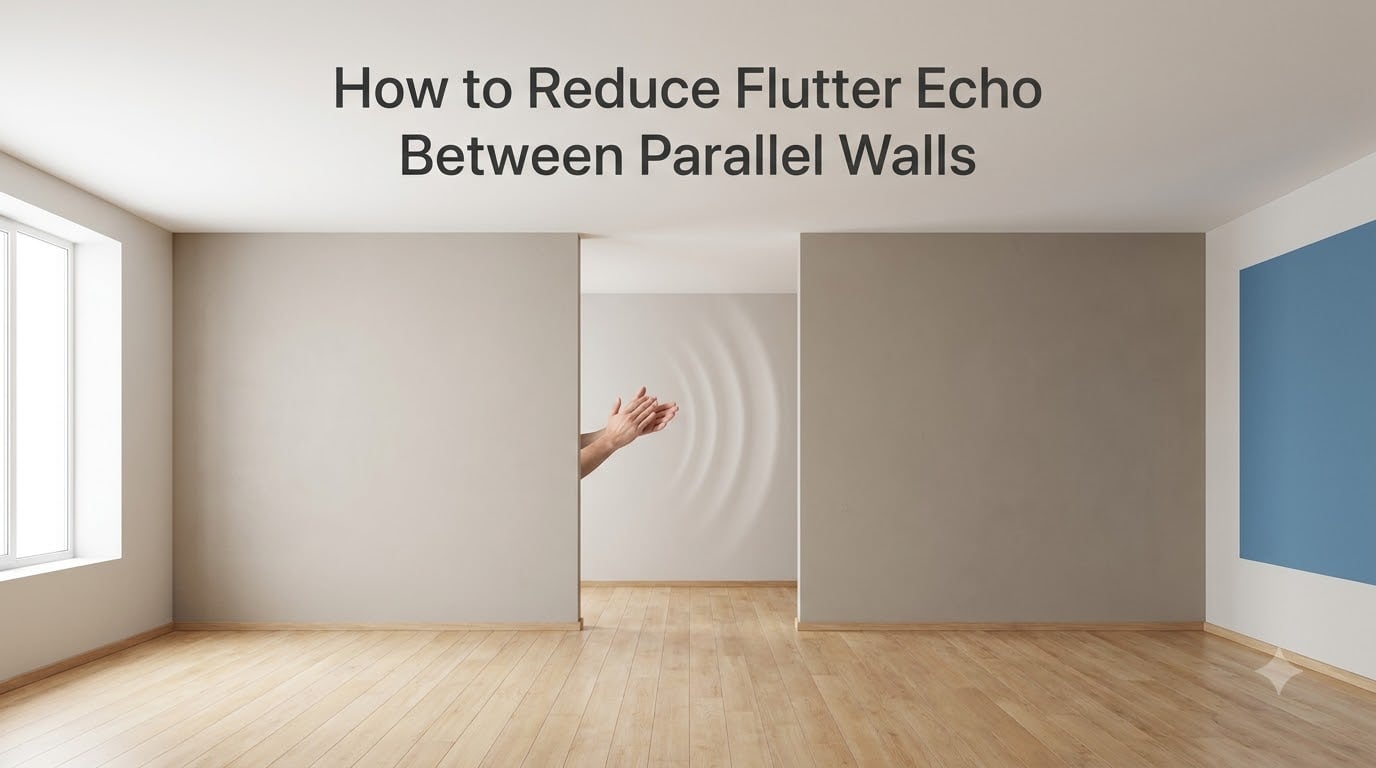
Flutter echo is that fast, metallic buzz you hear when you clap in an empty room with two hard parallel walls. If you have ever stood in an unfurnished bedroom, a stairwell, or a bare home studio and heard a rapid “bwiiing” trailing off after a handclap, you have experienced flutter echo between parallel walls. I have measured this in dozens of rooms, and the good news is that it is one of the most predictable acoustic problems to fix once you understand why it happens.
In this guide, I will walk you through what flutter echo actually is, the physics behind it, three reliable ways to detect it, and the exact treatment strategies our team has used to tame it in recording studios, home theaters, corridors, and living rooms. No product reviews, no fluff, just the practical information that solves the problem.
Table of Contents
What Is Flutter Echo?
Flutter echo is a rapid, ringing repetition of a sound that occurs when sound waves bounce back and forth between two parallel reflective surfaces. The repetition is so quick and so tightly spaced that your ear blends it into a metallic, buzzing tone rather than hearing it as separate echoes.
It is important to distinguish flutter echo from two related acoustic issues that often get confused with it:
Reverberation is the dense, prolonged wash of sound you get in large reflective spaces like cathedrals. It is a diffuse field of reflections from many angles, not a back-and-forth pattern.
Standing waves are low-frequency pressure buildups between two surfaces caused by room modes. They mainly affect bass below 300 Hz, while flutter echo is most noticeable in the mid and high frequencies (around 500 Hz to 4 kHz).
Flutter echo sits in between. It is geometric and directional, lives in the mid and high frequencies, and is caused by repeated parallel reflections rather than diffusion or modal buildup.
If your room sounds “buzzy” or “zippy” between two walls but otherwise feels normal, you are hearing flutter echo. The fix starts with understanding what is making it happen in the first place.
Why Parallel Walls Create Flutter Echo
Flutter echo is not random. It requires three specific conditions to occur, and removing any one of them will kill the effect. Understanding the physics is the fastest way to choose the right treatment, so let me break down each condition.
The Three Conditions for Flutter Echo
After measuring rooms professionally for years, I have confirmed that flutter echo only appears when all three of the following are present at the same time:
Two parallel reflective surfaces. Walls, ceilings, floors, or window glass all count. The surfaces must be roughly parallel, typically within a few degrees.
Limited absorption between them. Anything soft (curtains, carpet, furniture, people) will damp the reflections. Empty rooms with bare drywall, tile, or glass are the prime suspects.
A source and listener positioned between the surfaces. Both you and the sound source (your voice, a speaker, a handclap) need to sit between the parallel surfaces for the back-and-forth pattern to be excited and heard.
Remove any one of those three, and the flutter collapses into ordinary, much less bothersome behavior. That is why an empty bedroom echoes wildly, but the same room after you move in a bed, a wardrobe, and curtains sounds perfectly fine.
Flutter Frequency Formula
The “buzz” you hear has a specific pitch that is mathematically tied to the distance between the two surfaces. The formula is simple:
Flutter frequency (Hz) = Speed of sound / (2 x distance between surfaces)
Speed of sound at room temperature is roughly 343 m/s, or 1,130 ft/s. That means the further apart the walls are, the lower the buzz. The closer they are, the higher and harsher the buzz.
Here is a quick reference table I use when surveying rooms:
| Wall-to-Wall Distance | Flutter Frequency | How It Sounds |
|---|---|---|
| 1.5 m (5 ft) | ~114 Hz | Low, boomy buzz |
| 2.5 m (8 ft) | ~69 Hz | Warm, organ-like |
| 4 m (13 ft) | ~43 Hz | Very low, near room mode range |
| 8 m (26 ft) | ~21 Hz | Sub-audible, often felt more than heard |
Most residential rooms are 3 to 5 m apart, which puts the flutter frequency right in the 35 to 60 Hz range. If your room sounds “hollow” between two walls rather than “buzzy,” you are more likely dealing with a low-end standing wave than flutter echo. The treatment approach is different for each.
How to Detect Flutter Echo
You do not need a degree in acoustics or a $5,000 analyzer to know whether your room has flutter echo. The three methods below go from free and instant to professional-grade, and I use all of them when I am evaluating a space.
The Clap Test
This is the oldest trick in the book, and it works because flutter echo is essentially a self-amplifying response to a sharp transient. Here is how to run it properly:
Stand roughly in the middle of the room, halfway between the two parallel walls you suspect.
Make sure the room is as quiet as possible. Turn off fans, AC, and music.
Clap once, sharply, with your hands flat and aimed straight ahead.
Listen for a rapid “bwiiing” or “shhhh” that lingers for a second or two after the clap.
Now turn 90 degrees so you are facing one of the walls, and clap again. The buzz should mostly disappear.
If the buzz is loud when you face the gap and quiet when you face the wall, you have confirmed flutter echo between the two parallel surfaces. The direction of the buzz is your smoking gun: it always travels along the perpendicular axis between the two walls.
Impulse Response and Measurement Tools
For a more rigorous check, I pull out a measurement microphone and a free tool like Room EQ Wizard (REW). I play a sine sweep or a starter pistol sample through a speaker, record the response, and look at the time-domain plot. Flutter echo shows up as a series of evenly spaced, decaying spikes called a “comb filter” or “echo train.”
The time gap between those spikes is the round-trip travel time between the walls. Multiply that by the speed of sound and you get exactly how far apart the offending surfaces are. This is how I confirm which wall pair is responsible when a room has several parallel candidates.
Treatment Strategy 1: Absorption
Absorption is the most common and most reliable way to reduce flutter echo between parallel walls. An absorber soaks up sound energy on contact instead of reflecting it back, which breaks the back-and-forth pattern that creates the buzz.
Best Absorptive Materials for Flutter Echo
For mid and high frequencies where flutter echo lives, almost any porous material thicker than 2 inches will do meaningful work. Here is what I have seen work in real installations, ranked by typical absorption coefficient in the 500 Hz to 4 kHz range:
2-inch fabric-wrapped fiberglass panels (2 to 4 lb/ft³ density). The professional standard. Absorption coefficients around 0.85 to 1.0 at 1 kHz.
Mineral wool panels (e.g., Rockwool). Cheaper than purpose-made panels, almost as effective when faced with fabric. Coefficients around 0.70 to 0.95.
High-density acoustic foam (2 to 3 inch, sculpted or flat). Decent mid-high absorption, but most foam underperforms fiberglass at low frequencies. Coefficients around 0.40 to 0.80.
Heavy fabric curtains (with pleats, full coverage). Surprisingly good if they are dense and floor-to-ceiling. Coefficients around 0.30 to 0.60 when hung flat against a wall, higher with air gap.
Thick moving blankets or upholstered furniture. Emergency fixes that work in a pinch, but coverage is usually limited.
One important note: thin foam, egg crate mattress toppers, and most “acoustic foam tiles” sold as decorative squares are too thin to do much for flutter echo. If you can see daylight through the material when you hold it up, it is not thick enough.
How Much Coverage Is Needed
This is the question I get asked the most, and the honest answer is that it depends on how dead you want the room. From a practical standpoint, here is what I have found across dozens of rooms:
| Coverage on Each Wall | Effect on Flutter Echo | Best For |
|---|---|---|
| 10 to 20% | Reduces but does not eliminate flutter | Living spaces where you want some life |
| 25 to 40% | Eliminates flutter echo in most rooms | Home theaters, podcast rooms, content creators |
| 50% and up | Dead-sounding, studio-like | Vocal booths, drum rooms, mix rooms |
For most homes and offices, treating about 30% of each of the two parallel walls with 2-inch absorbers will kill the flutter without making the room feel uncomfortably dead. Spread the panels out across the wall in a “checkerboard” or random pattern rather than clustering them in one strip, because the goal is to break up the parallel reflection path, not just dull one section.
Treatment Strategy 2: Diffusion
Diffusion scatters sound energy in many directions instead of absorbing it or reflecting it back. A well-designed diffuser on one wall, paired with a hard wall opposite, will eliminate flutter echo because the sound no longer comes back along the same path it arrived.
The most common type is a Quadratic Residue Diffuser (QRD), which is a panel with wells of varying depths calculated to scatter a specific frequency range. Skylines (also called polycylindrical diffusers) do the same job with curved wooden sections.
Diffusion has one big advantage over absorption: it keeps the room sounding lively and natural. That is why diffusion is the preferred treatment in concert halls and high-end listening rooms. It also has one big limitation for our purposes: it only works if there is no flat hard surface opposite it. If both walls are flat and parallel, diffusion on one side still leaves the other to act as a mirror.
Here is a trick I have used many times in home studios: a floor-to-ceiling bookshelf filled with books of different depths and heights is a surprisingly effective diffuser. The irregular spines and depths scatter mid and high frequencies beautifully, and you get storage as a bonus.
Treatment Strategy 3: Geometry and Furniture
If you cannot add panels or diffusers, you can attack the geometry. The goal is to make the two surfaces no longer parallel, or to fill the space between them with absorbing mass.
Common geometry fixes include:
Angled walls or splayed surfaces. Tilting one wall by 5 to 10 degrees breaks the parallel path. This is the standard solution in professional control rooms.
Bookshelves, wardrobes, and dressers placed against the wall. Their irregular surface, combined with the absorbing mass of their contents, breaks the reflection and adds absorption.
Floor-to-ceiling curtains on one side. A pleated, heavy curtain is absorptive and slightly irregular, both of which help.
Large rugs on the floor between seating and walls. Useful for floor-to-ceiling flutter, which many home theater owners miss.
Plants, screens, and room dividers. Less effective but they add some scattering and absorption in the room’s center.
This is where the forum wisdom lines up with the physics. A frequent complaint I see in home theater forums is “I put up panels and the flutter is still there.” Almost always, the problem is that the floor and ceiling are still parallel and bare. Treating walls while leaving a hardwood floor and a flat drywall ceiling untouched is a common reason the buzz persists.
Flutter Echo in Different Room Types
Flutter echo shows up everywhere two parallel hard surfaces exist, but the fix looks a bit different in each setting. Here is what I typically recommend.
Recording studios and home studios. Treat the wall-wall pair first, then the floor-ceiling pair. The wall pair is usually louder because the source and microphone are usually positioned vertically. 2-inch broadband panels at the early reflection points work well.
Home theaters. Treat the side walls (which face each other across the seating) and the ceiling directly above the seats. The floor is usually carpeted already, which helps. Aim for 25 to 35% coverage on the side walls.
Corridors and hallways. These are the classic flutter echo chambers because they are long, narrow, and usually have hard floors, walls, and ceilings. Treat at least the lower 4 feet of the two side walls with a continuous run of absorbers, or hang baffles from the ceiling.
Stairwells. The vertical parallel surfaces are the problem here. Adding a thick rug on the landings plus absorbers on the side walls at each landing reduces the buzz dramatically.
Gymnasiums and indoor courts. The floor-ceiling pair is the main issue because the ceiling is so high and reflective. Ceiling clouds (large absorbers hung horizontally above the action) are the standard solution.
Conference rooms and classrooms. Treat the wall behind the speaker, the wall behind the audience, and the side walls at first-reflection points. Speech intelligibility improves noticeably once the flutter is gone.
DIY Solutions vs Professional Treatment
You can fix most residential flutter echo with a Saturday afternoon of work and under a few hundred dollars in materials. A 4-pack of 2-inch mineral wool panels, some fabric to wrap them, and a handful of french cleats will handle a typical bedroom or office.
That said, there are times when calling a professional makes sense. If your room is large, has unusual geometry, or is part of a venue where speech intelligibility or recording quality is critical, an acoustician with measurement gear can identify the dominant reflection paths and recommend a precise treatment layout. I have seen DIY treatments succeed and I have seen them waste money, usually because the placement was wrong.
A practical middle path: do the absorption work yourself following the coverage guidelines above, and if the flutter is still audible after a few days of living with the room, hire someone for a one-hour consultation to fine-tune the placement.
One last piece of advice from years of measuring furnished rooms: a fully furnished living room rarely has flutter echo. If you are building out a space and have not yet moved in furniture, the flutter you hear today may mostly disappear once the sofa, rug, bookshelves, and curtains arrive. That is not a reason to skip treatment, but it is a useful reality check before you invest in a wall full of panels.
FAQs
What causes flutter echo between parallel surfaces?
Flutter echo is caused by sound waves bouncing back and forth between two parallel reflective surfaces, such as bare walls, glass, or a flat ceiling and floor. When the room is empty, lacks soft materials, and both the sound source and listener are between the two surfaces, the repeated reflections create a rapid, metallic buzz.
How do you detect flutter echo with a clap test?
Stand in the middle of the room, halfway between the two parallel walls, and clap once sharply with your hands flat. Listen for a rapid u0022bwiiingu0022 or u0022shhhhu0022 that lingers after the clap. Then turn 90 degrees to face one of the walls and clap again. If the buzz is loud when you face the gap and quiet when you face the wall, you have confirmed flutter echo between the two parallel surfaces.
What materials absorb flutter echo most effectively?
The most effective materials are 2-inch or thicker fabric-wrapped fiberglass or mineral wool panels, which absorb 70 to 100 percent of mid and high frequencies. Heavy pleated curtains, dense acoustic foam, and thick upholstered furniture also help. Thin foam, egg-crate mattress toppers, and decorative acoustic tiles are usually too thin to make a meaningful difference.
How much coverage is needed to treat flutter echo?
For most rooms, treating 25 to 40 percent of each of the two parallel walls with 2-inch absorbers is enough to eliminate flutter echo. About 30 percent per wall is a reliable target. Spread the panels across the wall in a checkerboard or random pattern so the parallel reflection path is broken at multiple points rather than in a single strip.
Can flutter echo be eliminated without professional treatment?
Yes. Most residential flutter echo can be fixed with DIY absorption or geometry changes. Adding 2-inch panels, hanging heavy curtains, filling bookshelves against the offending walls, or placing a thick rug on a hard floor will solve the problem in a typical room. Professional help is most useful for large, oddly shaped, or critical spaces like recording studios and concert halls.
Reducing flutter echo between parallel walls comes down to three steps. First, confirm the problem with a clap test and figure out which pair of surfaces is responsible. Second, choose your treatment strategy based on your room: absorption for the most reliable fix, diffusion for a livelier result, and geometry or furniture for low-cost DIY options. Third, spread 2-inch absorbers across 25 to 40 percent of each offending wall, and do not forget the floor and ceiling if they are also bare and parallel.
Once you understand that flutter echo is a simple geometric problem with three known conditions, the fix is almost always within reach of an afternoon’s work and a modest budget. Measure, plan, treat, and listen. The buzz will be gone.